

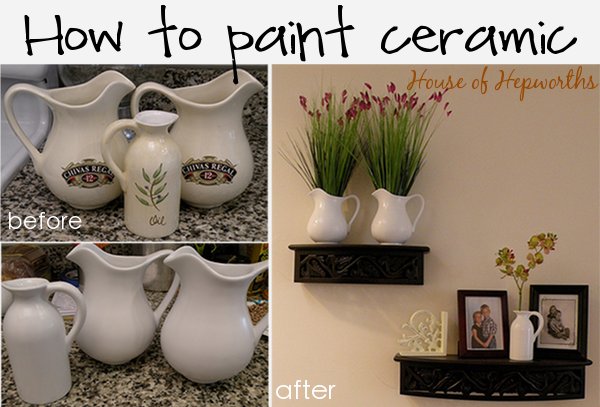
Today I’m going to show you how to paint ceramic pitchers and then how to fill them with a spring floral arrangement.
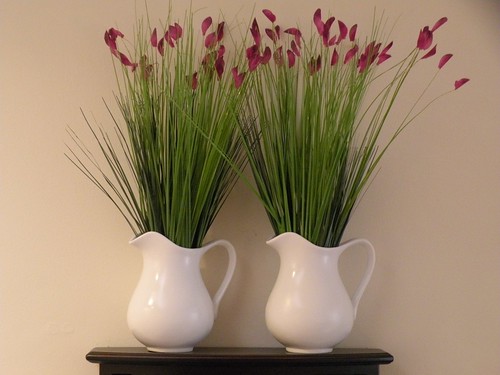
I went to Goodwill and found these vases:
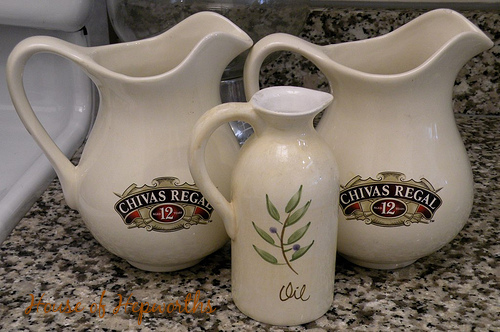
I love the shape of them, but I’m not loving the decals painted on them.
No need to fear! Painting ceramic is super-duper easy. Even easier than I originally anticipated.
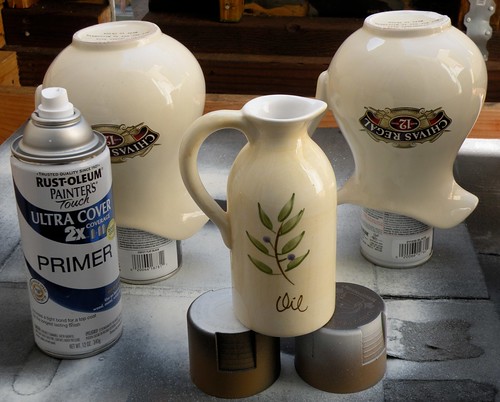
After I ran them through the dishwasher, I took them outside and spray painted them with a white coat of Primer.
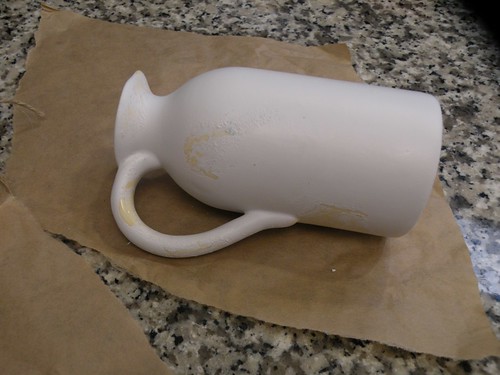
Whoops. This one fell over and got totally yucky.
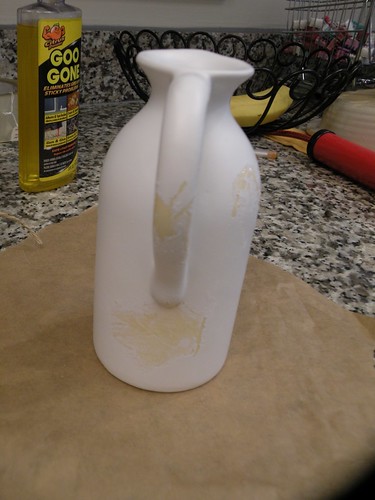
No biggie. Just let it finish drying, wipe it down really well, and take a little sand paper and buff off the bumpy edges. Then just prime it again.
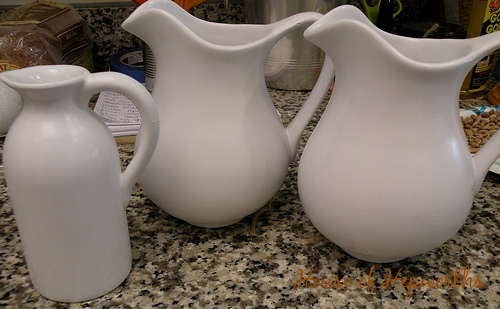
After they were all primed, I painted them with Rust-oleum Lacquer High Lustre Coating in white.
Don’t they look so great?! I {heart} spray paint!
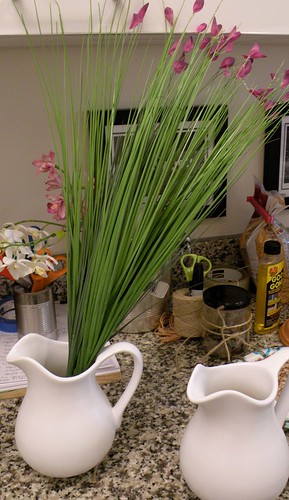
(Each floral bunch was $3.99 @ Michael’s Arts and Crafts.)
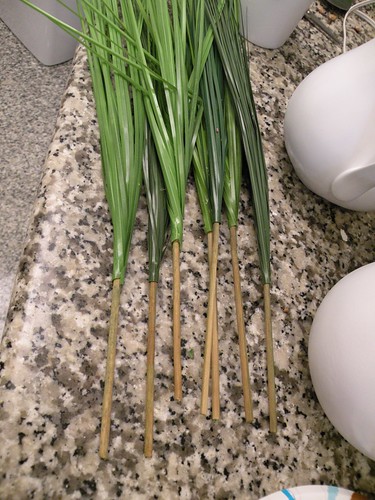
The floral bunch I bought for each pitcher is way too tall. What to do?!
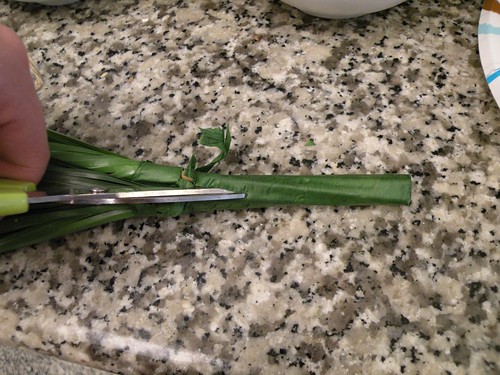
The first thing you need to do it cut the bunch apart. Just cut right through the floral tape.
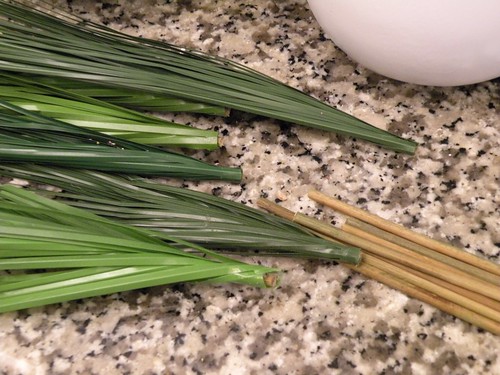
Once the floral tape is removed, separate each piece.
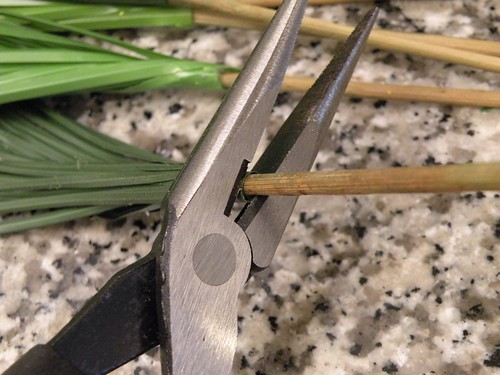
And then just snip off the extra that you don’t need.
This bunch was so full that I didn’t need to use floral foam in the bottom of the pitcher. I just stuck it right back in.
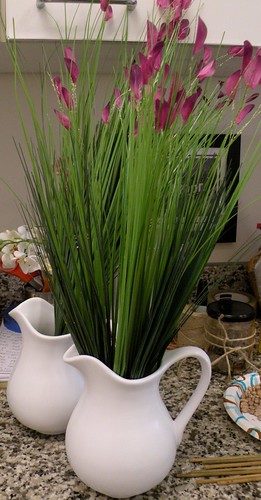
Much better height.
Love it!
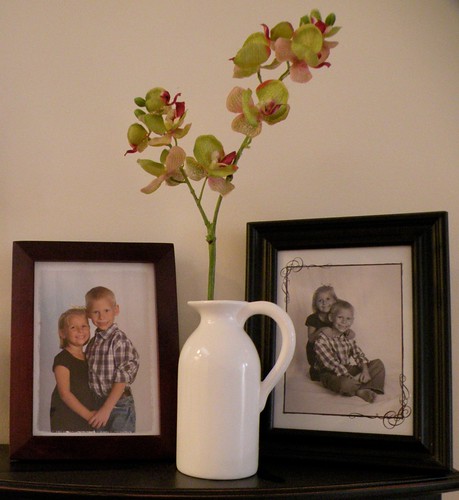
And for the little one, I just added a fake orchid.
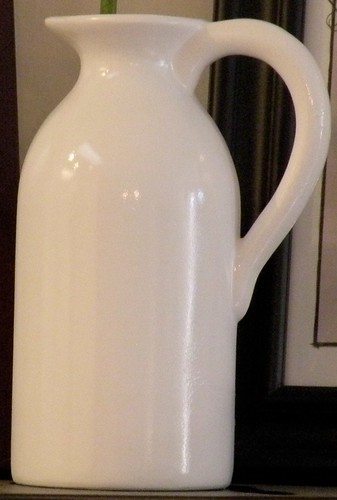
You can’t even tell that it got all gross while I was priming it.
From ugly:
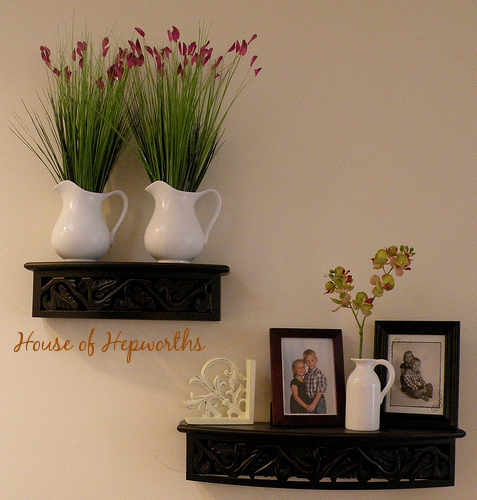
To ah-mazing!!!
Pretty fab, hua?
I am so glad you shared this. I am wanted to paint some ceramics and wasn’t sure how it would look! Thanks for sharing!
These are so gorgeous! Thanks for sharing your technique…I spray paint often, but am often hesitant on things like ceramic and glass…will definitely try now, though!
Agreed – they look so clean and fresh now!
Great job! They look wonderful!
Your website is seriously amazing. I am planning on redoing my bedroom, but I live in an apartment right now so I don’t want to invest a lot of money into it. But you have given me SO many amazing ideas!! I check here everyday.
Love what you did with the ceramics! They are beautiful!
I love these! So cute! Thanks for sharing.
Shelley
I love that you showed the one that messed up…stuff like that always happens when I am spray painting. It’s nice to know that it is pretty easy to fix! Thanks for sharing!
Oh! I love these! So soft and pretty!
Oooh, so cute! I’m especially loving this post because I just picked up a rather ugly ceramic acorn hoping I could spray it, looks like I can!
So pretty! I’m still looking to make my cloche, no luck so far, but I found a brand new pizza stone for $4.99! Score!
Pretty! I love the simple white against the bright green and pink of the flowers. So springy!
Hi! I’m stopping over from seven-thirty-three. I love your projects! Those pitchers look brand new pottery-barnish after painting. What a great project.
They do look amazing! I check for pitchers every time I go to the thrift stores. No luck yet though.
Ugh I so wish I had those! I have been looking EVERYWHERE for glass pitchers!! (okay CHEAP glass pitchers!)
WOW, they are sooooo pretty!
I am going to have to try this as soon as I find some!!! These look so great! You would never know they weren’t “the real thing”. Great job!
I can’t believe these ended up looking so good–I will be doing this soon. Thanks for linking up!
i want to do this now!
Thanks! I finally found the easiest way to paint ceramics. Really cute display!!
Hi Allison,
What a transformation! I love spray paint too. ♥ Thanks for showing us how you did this.
I’m visiting for Get Your Craft on Thursday..I’d love for you to stop by for a visit when you have a moment.
Have a wonderful day…
Hugs,
Stephanie ♥
These turned out great!
Thanks for joining Get Your Craft on Thursday! Please join me next week for another great party!
I always wondered if you had to a primer for ceramic. Very cool. I might have to do this.
They look so beautiful now. I’m glad to hear that you can paint ceramic so easily. I have a few things that could use it!
Those turned out great. I’ve been dying to try this, but have to wait for some warm weather to spray outside. Did you spray the inside as well?
Absolutely darling my dear!!! I am hit or miss with spray paint. I think I need a wee bit more patience.
Cheers~
e
I LURVE me some spray paint. Those pitchers are so sweet! You did it again.
You are right they are amazing!!
Love this. I need to think more out of the box and utilize spray paint.
Amazingly creative
I dig me some spray paint too…I need some cute vases like these…? Hmmm…time to visit the thrift shop! Thanks for linking up to Mad Skills Monday!
Ginger
SSB
Very nice! Looks just like real milk glass. Spray paint rocks!
Thanks for the tips. Love white and love pitchers, so loved your post!!
Tracey
Those turned out great!! Thanks for sharing at ‘Look at me, I’m SO Crafty!’ at Fun to Craft.
Super cute, love the color now!
That is amazing…I would never have thought of even trying to do that! You’ve opened up a whole new world for repurposing nifty thrifty treasures.
BTW, see if holding down the “alt” key while you hit the number 3 …hopefully it will give you a ♥ like this one.
I love your paintings. They are so nice. Also I paint whatever I found. I really wanted to hear your comments about my paintigs. See you soon I hope….
That does look great. I love how spray paint can unite! Thanks for sharing with Made it Monday! Jules
Thanks for joining my Flaunt it Friday party at Chic on a Shoestring Decorating!
Spray paint is awesome, those pieces turned out lovely.
Hope to see you again Friday to “Flaunt It”!
You are so clever. The vases look wonderful!
Great idea… I would have probably just spun them around so the design was in the back and no one could see….but I like your idea SSOOOOOO much better.
Kelley, thanks for your comment! I should have clarified that the decal was on both sides of each pitcher. Can you beleve that?! I guess that company reeeeally wanted their logo displayed. Lol.
Gosh, I’ve walked by countless items like this because of really ugly decals or pictures on them. Next time, I’ll stop and take a better look. Thanks.
THOSE do look AMAZING! Thanks for sharing! So glad I saw this on the blog hop!
I love going to thrift stores with an eye out for stuff that would look great spray painted!! It such a great money saver. These are just so fun. Thanks for sharing @ “AP Tuesdays”
Those are beautiful!
Thank you for linking this to A Little Craft Therapy, with Life in the Pitts.
Love the instructions. I need some spray primer. Thx Nice blog layout too. Love orange.
The transformation is amazing. Thanks for the inspiration. Watch out, here comes the spray paint. Fun post.
These are super cute. Any idea how to add an initial to the vase to personalize?
@Little Lizzard King – I would just buy a vinyl one and stick it on.
I love love love this! I will never pass by a white pitcher with wording or pictures any more! I am so glad you shared and happy to have found your blog tonight! Wendy
Great job!!
Thanks for the lesson!
blessings
barbara jean
Wow another fabulous transformation! Thanks for sharing! ~ Stephanie Lynn
Thanks! Now that I know how to paint ceramics, I think I’ll go back to the thrift store and get that vase!!!
Thanks for the heads up on the primer on ceramics. I have no idea what I am doing yet with some of the junk I am waiting to redo. Ha ha
LOVE YOUR SITE! You are too funny sista!
Love the spay painting lesson. Have no idea what to do with the stuff half the time even though I teach art. Love your site. You go girl!
very beautiful, you make them absolutly gorgeous, I can find some like this on trift shops too I am sure… love it. and waiting for your next project…
I know this comment comes over two year since this was posted but I just wanted you to know that it is brilliant.
I have a bunch of vases that I need to get re-painted and never know how to get it done. Now I do. Your instructions were clear and the pictures really helped. Thank you very much.
Where have you been all my life? I recently discovered you and I can’t decide which I love more – your clever “instructions” or your amazing “transformations”! YOU rock!
I came across you on you tube and you are fantastic. THANK YOU THANK YOU THANK YOU
love this post, and the advice! would this work for painting a ceramic bathroom sink?
Your items looked so beautiful after you sprayed them. I’ve already tried spraying something, but I couldn’t find the sprays by Rust-oleum. Instead I used a Valspar primer and a Valspar Lacquer High gloss in white that can be used on wood and metal. And the item came out so beautifully that I am giving you a pat on the back because without your help and support, I probably would have messed it completely up.
When you took the after pics, you turned the sides that had the printing away from the camera – like they would look if you’d just turned them around. Would have been nice to see how the paint covered the printed sides. :-p I mean, that’s the point of this, right?
The picture was printed on both sides of the vases. They painted beautifully and you couldn’t see the image at all.
A tip a learned eons ago about how high the flowers or plants should be: Two-thirds higher than the container/vase. Here’s how to easily figure this out: Lay the container down on a sheet of newspaper or any paper you don’t mind having marks on it, get out a marker and a ruler/yard stick, mark on the paper where the bottom and top of the container hit the paper. Move the container up the paper so that the bottom is at the mark you made for the top of it. Repeat this one more time and you’ll know exactly how tall to make your flower or plant arrangement.
I have nasty tile around my fireplace. They are ceramic and Ug-Ly!! Could I use the same paint process. Rustoleum? Its a gas fireplace and the tiles aren’t inside, just facing out.
How did you get the orchid to stand up straight? Tia!