The saga continues!
Tuesday I showed you my in-progress piano room makeover.
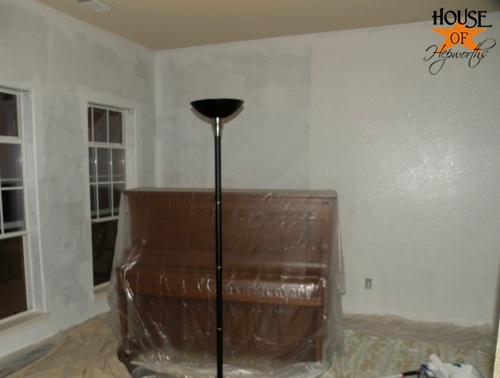
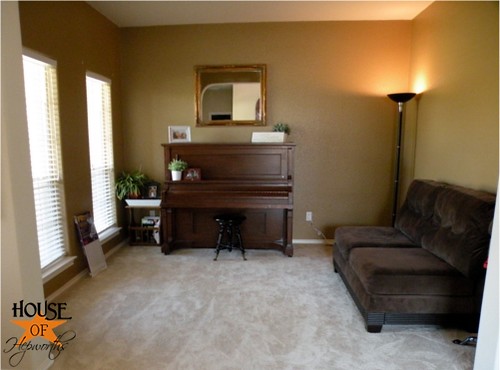
My goal is to go from this to this:
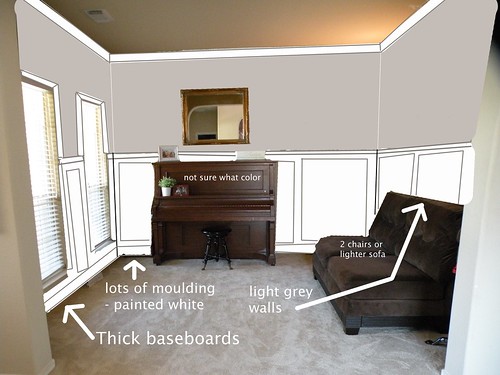
Once I finally finished priming the walls (omg that was torture!), I hung some moulding around the windows, hung chair rail, and hung box moulding.
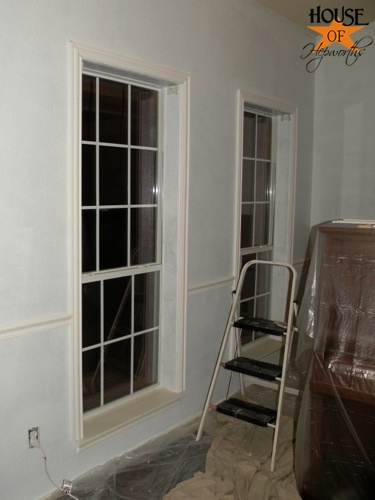
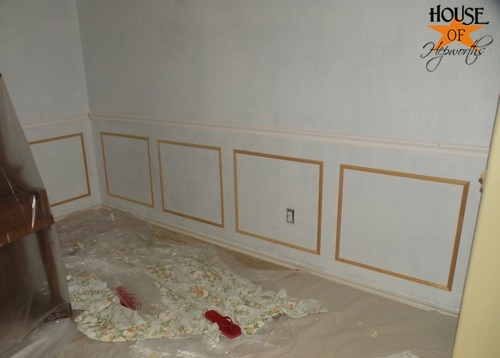
I am so excited about the way this room is coming along!!!
This project is crazy messy though.
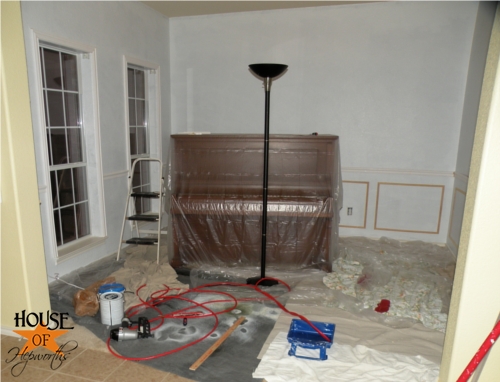
I’m knee deep in chaos over here!
To hang the chair rail I first needed to figure out what height to hang it at. I finally decided that I liked it at about 32″. I created a “jig” type system to help hang it all at the proper height.
I took a ruler and cut it at 31″. I cut at 31″ instead of 32″ because I subtracted an inch to accommodate the baseboard.
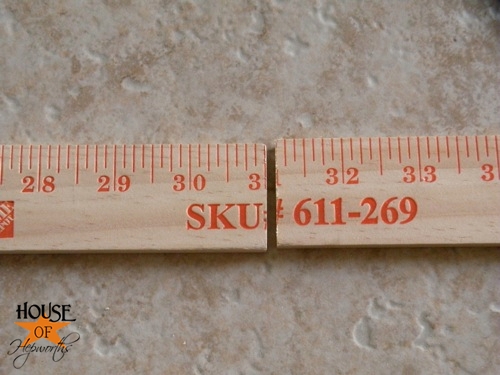
After my chair rail was cut the right length, I’d set my ruler on top of the baseboard and then set the chair rail on top of it and nail one end onto the wall.
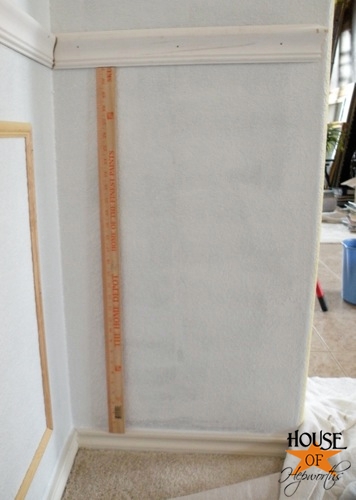
Once the first end was nailed in, I’d move the ruler down the wall and make sure the chair rail was resting on top of it. From there I’d add another nail. I did this all the way down each wall until I made it to the other end. That way ever 18″ or so the chair rail would be remeasured and nailed.
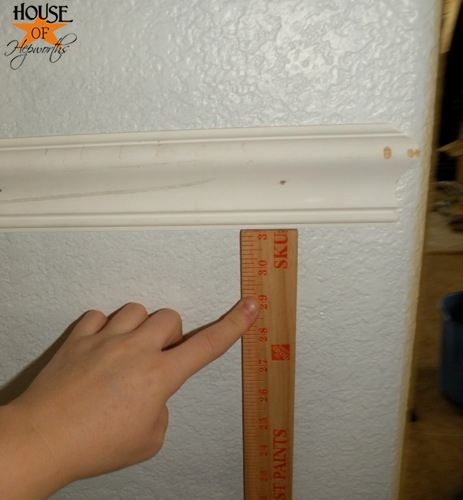
The result? A chair rail that was perfectly parallel with the baseboard.
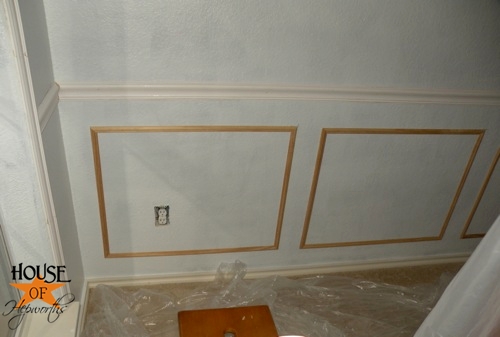
Most of the rail went on without a hitch, but can you say “oh my!” when you see this one wall?
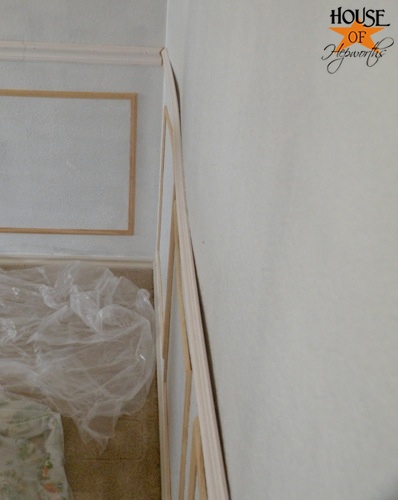
The chair rail is perfectly level and straight. The WALL itself is so unlevel and wonky!
Can you even believe how horribly unlevel this wall is?!
I’m not worried about it though. This is one reason CAULK was invented!
As for the boxes?

Those were a little bit more tricky. I’m sure there are ten billion ways to hang a box on a wall. I’ll tell you how I did it, but like I said, I’m sure this isn’t the only way.
First I needed to figure out how big to make each box. I decided to have a 4″ border around each box (distance from the baseboard and chair rail to the box and distance between each box).
Since the distance from the baseboard to the chair rail is 31″ I just subtracted 8″ from that which left me with 23″. This is the length of every vertical box piece.
The width was a bit trickier. For the small walls that only have one box each I just measured the width of the wall and then subtracted 8 from it. For the longer walls, I eyeballed how many boxes I wanted (I decided 4 per wall), measured the wall, and subtracted 20″ (there are 5 sections of 4″ that needed to be accounted for). From there I divided by 4 for my final number. That number is the number of inches each box’s horizontal side is.
As for the angle of each corner?
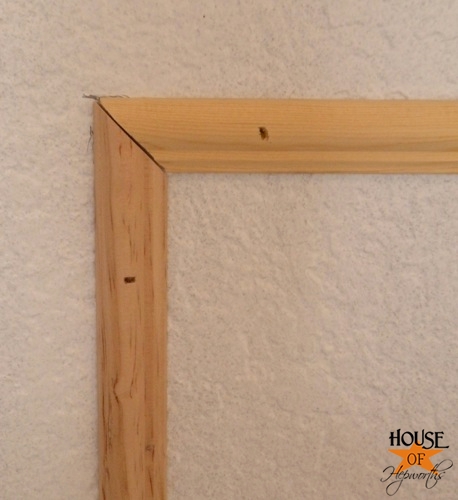
Just set your saw at 45 degrees.
How to attach a box to the wall. Step 1:
I measured 4″ in and 4″ down and drew a + on the wall.

I put my horizontal piece in the corner of that + and made sure it was level.
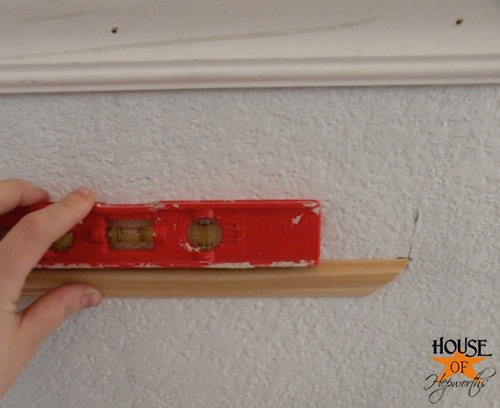
Then I just used my nail gun to attach the top piece.
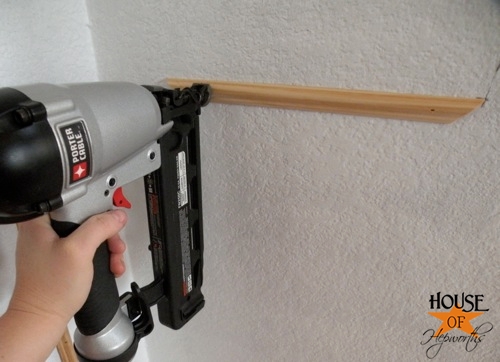
Step 2: I took my side piece and set it in place and leveled it and nailed it on top and bottom to secure it.
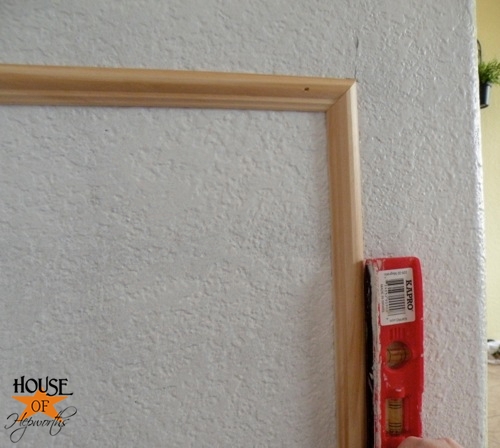
Step 3: Put the other side piece on BUT ONLY ATTACH IT WITH ONE NAIL at the top.
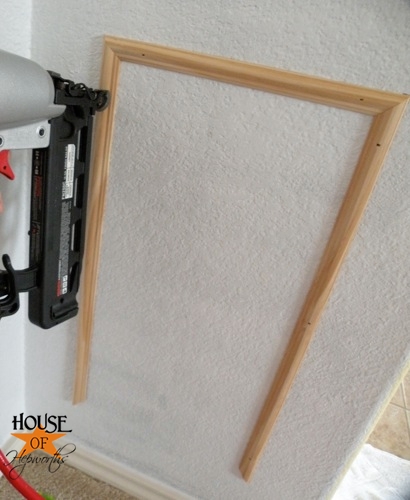
You now have a top and side piece fully attached and the other side piece attached only at the top.
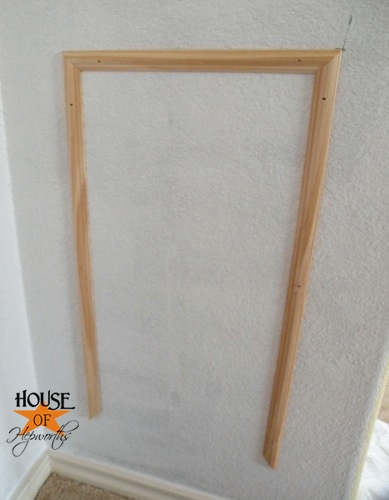
Step 4: Take your bottom piece and attach it with one nail in the bottom right corner. You want it attached close to the side piece that is fully attached.
The reason for this? Now you can take your two pieces that are only attached with one nail each and make sure their corners line up perfectly. Once you have them lined up perfectly then take your nail gun and finish attaching both pieces.
This gives your pieces just enough give that if your measurements are slightly off there won’t be a gap in that corner.
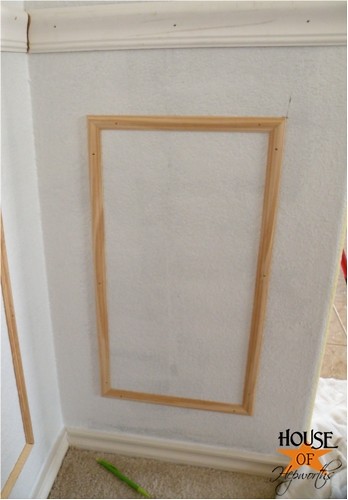
It isn’t too tricky to attach boxes, just extremely time consuming. There’s so much cutting and measuring and positioning involved! In the end I used 14 pieces of 8′ moulding.

I’m pooped! Whew.
Next on the list is to just finish this room! I have to caulk and paint everything and then I’ll be done. The hard part is done, but painting is so tedious. I’ll let you know how it goes!
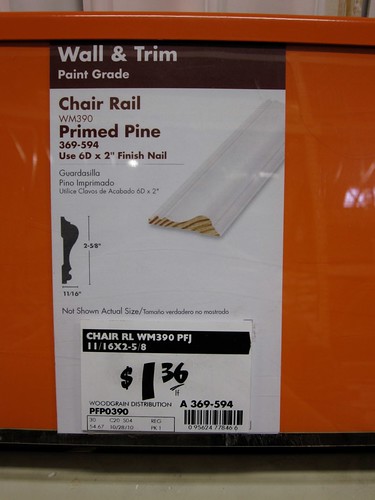
Here are the three types of moulding I used, FYI. I bought all my moulding from our local hardware store.
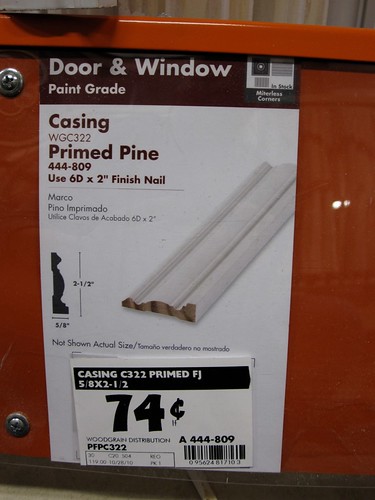
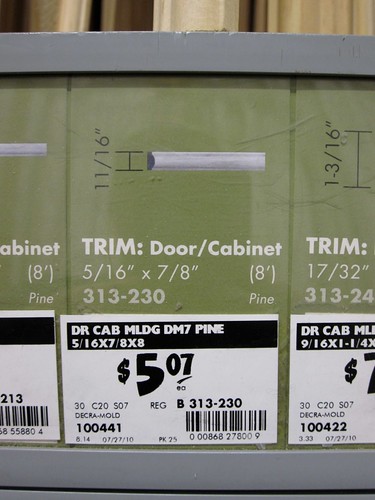
Hopefully I’ll be able to get the room painted and finished soon. Then the fun really begins when I get to think about DECORATING!
Yay!
Wow! You have been BUSY! The “prep” work (ie, the not-so-much-fun-part) always seems like it takes forever. But it will be so worth it in the end when you can have fun decorating! And the room will have so much more character with the details you’re adding. Can’t wait to see how it comes along!
You are a genius! I’m so impressed — always wanted to learn how to miter and add mouldings, etc. I can hardly wait to see it all finished. Great job!!
Your make-over is coming along beautifully. Can’t wait to see it finished.
Just FYI for you and others, if you have a lumber yard in your area, you may find the molding a lot cheaper. At least we do in our area. The only molding we buy from HD or Lowe’s is if we just need one piece. Any quanity is bought at the lumber yard for half the price.
We also learned of a “speciality” warehouse that sells nothing but moldings and they were also very cheap and had a huge variety. We bought all the pieces for our mantle for under $100. We found these guys advertised on Craigs under the “building materials” heading.
Have a nice day.
Patsy
Isn’t it crazy how not perfect walls can be? This is going to look awesome!
Wow, quiete a project. Not sure I would be brave enough. It will be great when done.
Brooke
Wow! A lot of work but it all looks beautiful!! Can’t wait to see it painted!
Hugs
SueAnn
looking great! cant wait to see it done!
This is SUCH a great tutorial! I have already sent it to the boyfriend with the subject: I want to do ALL of these things to our dining room. Thankfully, we’ve already got the chair rail up, but the boxes and casing around the windows are definitely on the to-do list. Great post.
Fantastic! I cannot wait to see the end result!
Looking good!!! Can’t wait to see the end result, it will be fantastic!! 🙂
Wow! That wall is seriously wavy. It sort of looks like you held a fun house mirror up to it and snapped a picture. You’re doing an amazing job with the chair rail and box moldings. I can’t wait to see how the piano room turns out.
Don’t ya love new construction homes?? Not a square wall/corner/window to be found! We had our house built 5 years ago and everytime we try to remodel a room…we have issues with everything matching up – because it doesn’t and no matter what you do, it doesn’t!! Yes, thank goodnes for caulk and moulding to cover all the ‘inperfections’! I feel your pain…but I’m sure you will come up with a great solution to camoflauge those ‘waves’ 😉
Shantel @
http://www.itsapricelesslife.blogspot.com
I have this envisioned for my sons’ room- when the devil am I going to get up there?
WOW, looks great! You are my home improvement hero! 🙂