I’m still recovering from The Great Flood of 2010 here at the Hepworth house.
Today I patched the huge gaping hole in my closet ceiling! Yay!
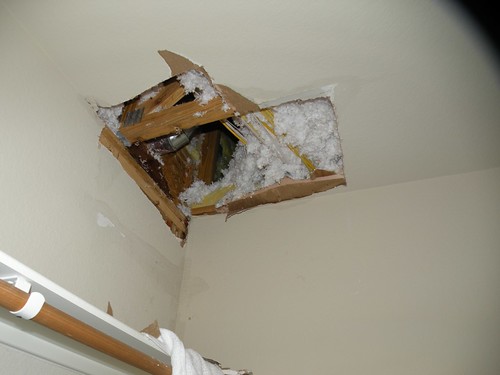
(This is the BEFORE picture. ;))
Hanging Sheetrock is one of my most favorite things to do! Ever!!
It was challenging, but I did manage to think of a few things that are in fact more fun than hanging Sheetrock.
1. Root Canal. Those are always loads of fun.
2. Giving Birth… naturally.
3. Tonsillectomy.
4. Being run over by a car. I’ve never tried it, but I hear it’s such a rush!
5. Waterboarding. Really, there’s nothing better.
But anyway, even though I’d rather do any of those Top 5, I Sheetrocked (is that a word? With the ‘ed’ on the end? Well, it is NOW.) instead.
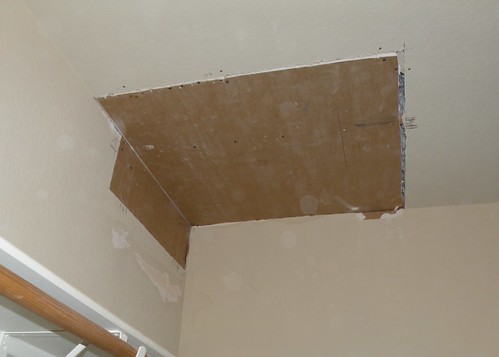
(This is the AFTER photo.)
I’ll show you how to hang Sheetrock in just a sec, but first I guess I should update you as to WHY we had a flood in the first place.
I found a roofer who came over at 8:30am the next morning. He climbed on the roof and poked around.

These cute little things (not these exact ones, but Raccoons in general) were using this Crepe Myrtle BEFORE I chopped it down…
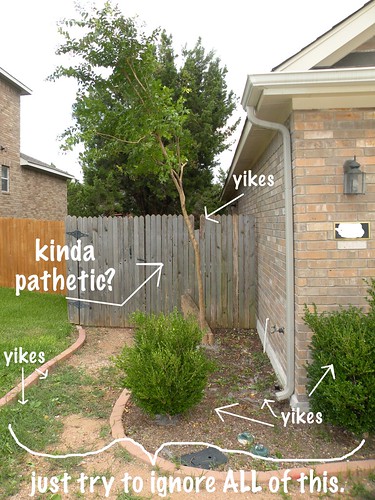
to climb on my roof and “play”. During their “play” time they would POOP. Some of this POOP hardened and got wedged under the ?flashing? (I think that’s what it’s called…) and created a dam. As the water would flow down the flashing, it would hit this Raccoon dam, get backed up (no pun intended! ha!) and would flow under the shingles and into my house.
Niiiice.
How’s that for a story?
The roofer was way cool though and cleaned out the poop for FREE!!!
So, now because of some crappy Raccoon turd, I’m left with a hole in my ceiling that I’ve got to patch. Good times.
Here’s how to Sheetrock:
Disclaimer: This is how *I* Sheetrock. I’m sure it’s probably not the professional accurate way, but it works for me.
First, I had to get rid of the rest of the gross Sheetrock as well as square it out so that I could easily cut a new piece to fit in.
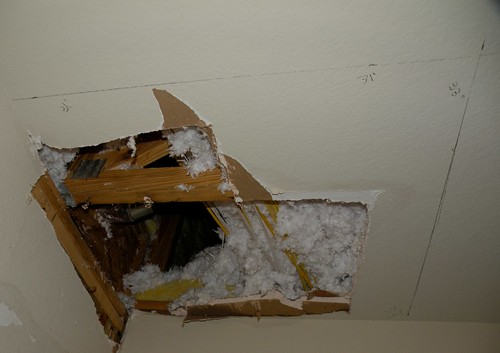
Do you see where I drew my lines to cut?
After lots of sweat and dust in my eyes, I’ve now got a nice square hole.
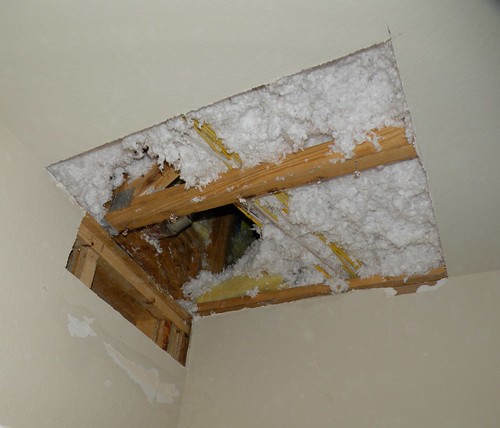
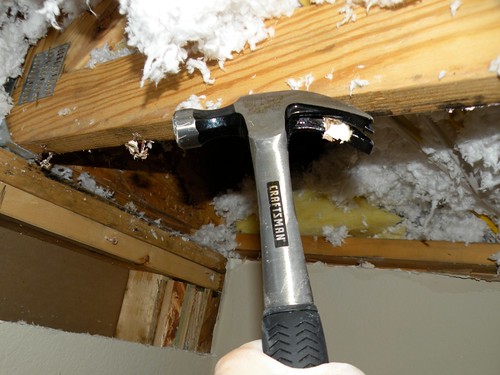
After the hole was cut I removed all the extra nails that were sticking out. It’s kinda hard to hang Sheetrock if nails are blocking the way.
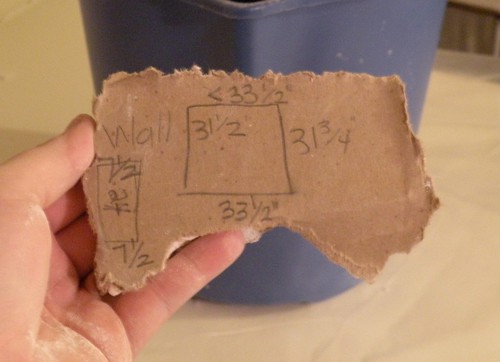
Then I measured the space and drew out a map of what to cut.
Here’s my Oh-so-accurate-very-professional-measurements drawn on the back of a piece of Sheetrock trash.
When I lived in Dallas (before Beverly Hills) I did lots of renovating on our house. I had a piece of Sheetrock leftover that I INSISTED we pack and take with us. I’m kinda crazy about my renovation supplies.
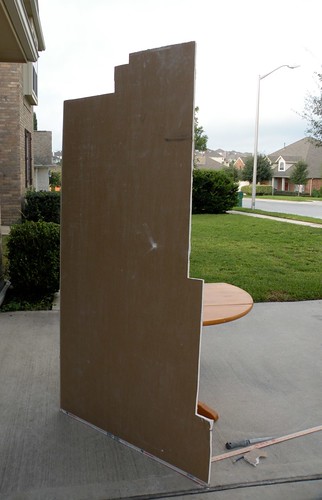
Fortunately I had my huge piece of leftover Sheetrock to work with.
I measured out the size I needed and drew it out on the Sheetrock. Then it was time to cut.
Here’s a tip when cutting Sheetrock. If you score the Sheetrock (not even very hard – just enough to cut the top layer of paper), you can just tap on it and it will snap in two.
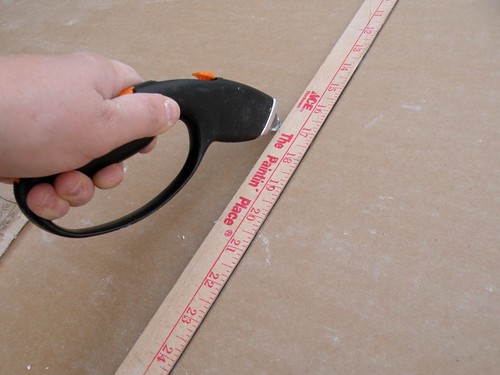
After I scored it, I just tapped it, and voila!
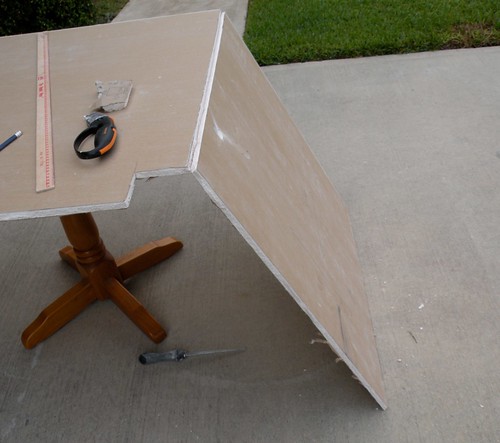
Then I just went back with my blade and cut the bottom apart. So easy!
Now I’m ready to hang the crappy stuff and get on with my life!
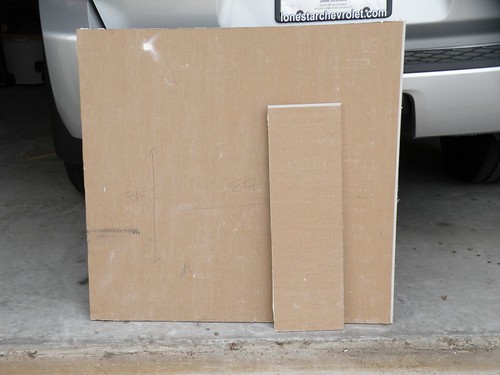
It took me an additional 10 minutes or so, but thankfully I managed to find my leftover Sheetrock screws.
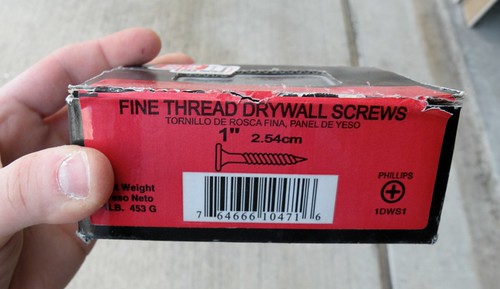
Now here’s another tip:
It’s generally easier to hang Sheetrock if you actually know where the studs are, so mark them first!
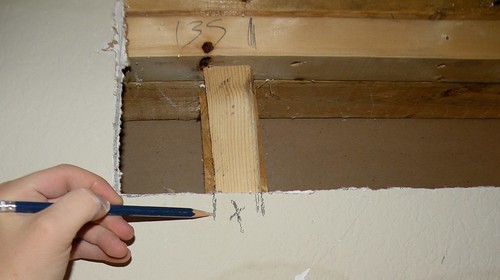
Here they all are marked with an X.
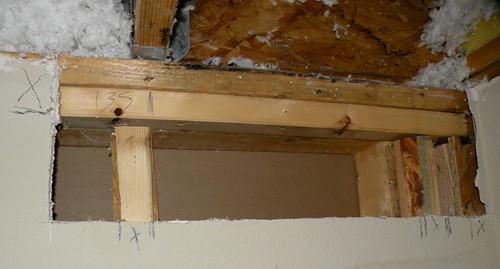
Finally, just put the Sheetrock piece in the hole, and following your markings for the studs, sink the Sheetrock screws into the studs.

Now I’m ready to tape and float the area and then apply the texture.
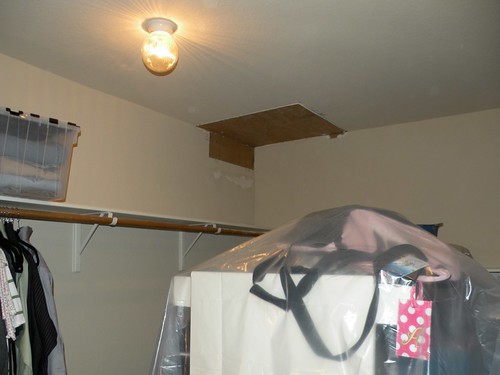
But I’m tired, and I don’t care anymore (for today at least). This project has lost my attention span. Maybe I’ll get it finished tomorrow. Or next week. Or in a few months.
BUT at least NOW I know that no rats or spiders or roaches or anything GROSS will be creepy-crawling it’s way down into my closet!
I can live with unfinished Sheetrock. I just couldn’t take the thought that something gross might come bite my toes! Ack!
So, that, my friends, is how you install Sheetrock.
It looks easy — and it is easy. It’s just dirty and dusty and requires me to sweat a lot which I don’t particularly love doing.
Oh, and also I don’t like breathing the dust. I hope I don’t get lung cancer.
We went from this:
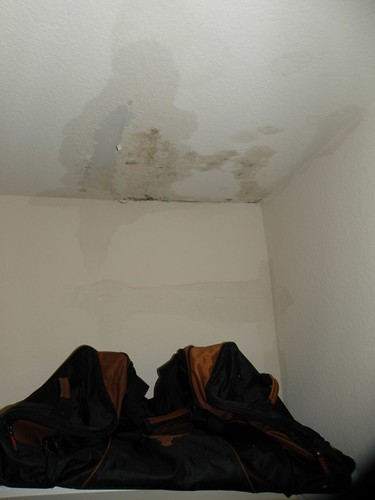
to this:

And finally this:

Oh, I also did something super cool and FUN to this closet that I can’t wait to show you!!!
Maybe tomorrow…


Can you show us how to apply the texture?… I need to do this at our house The lovely renters kicked a hole in the wall when their landlord foreclosed. That and a few other fun things bought the sale price down $45,000 but I have no idea what to do after the sheet rock has been installed.
Oh gosh, I don’t know what I’d do if someone told me poop was flowing down in my house. Gross!! Glad you fixed your hole though!
Go you! Any girl who can do this is a rockstar!
Great job patching it! A thought though, from someone who’s currently finishing a basement. There’s a white side to the drywall and a brown side. Generally you want to hang the lighter side face out because it’s easier to paint. Just something for those trying to do it themselves as well. Also, I’ll have to get back to you on texturing the wall (the commenter before me, anyway) since we’re doing that next week. If you come up with tips on texture, share, please!
2 things –
1 – raccoon poop is gross.
2 – You could have tried inviting your inlaws over to spend the night and critique your parenting. that is also more fun than hanging sheetrock.
3 – i know i said 2, but whatever. I would love it if you linked up this post to my Smarty Pants Blog of the Week linky! More info here: http://www.peggyanndesign.com/2010/09/smarty-pants-take-2.html
Wow, you are a true DIY-er. I am impressed!
What a great tutorial! And I’m with Alecia (above). I want to see the rest of the process! Although I’m sure it would be faster if you didn’t have to stop and take pictures every 45 seconds…
What a woman!! Great job. All that sweating saved you some dough for other fun projects, right
Amazing what us moms will do when we have to! Betcha never thought you’d be doing a DIY project on sheetrock!!
Coons? Really?? I would have thought possums more common hereabouts.
Is that a Fiskers exacto? Have not seen one of those. Looks easier on the hand than the box cutter hubby uses. Is it comfy for long term usage??
Oh goodness girl!! You are amazing because that stuff in a pain in the you-know-what to put up on the walls, let alone the ceiling!! Your list of other things to do is right on!! You are too funny! Can’t wait to see what you did after!!
Your hired, you start Monday!!
Nice job! I hate drywalling, too. Actually, DH does it. I just hat the mess it causes!
You did a wonderful job with the sheet rock!! Looks great!
Hugs
SueAnn
Good job! We did sheetrock several times at our previous house, and well, I would have rather listened to nails across a chalkboard. Good thing this was in your closet and not somewhere else in the house.
Wow ~ I am so impressed!! I would have had to call someone in to do that kind of work, but after your tutorial…maybe not!! You did a great job, girl!!
Aimee @ Justkiddingaroundatlanta
You did a great job and if there is an upside to this adventure, it is that the hole was in the closet and not in the middle of your living room ceiling.
Good job! I hope you don’t mind if I add 2 pointers:
The light side is supposed to go on the outside. And leaving a “floating corner” makes a weak spot and encourages cracks in the sheetrock putty. If you do this again in a less hidden spot, I encourage you to cut the rectangle to where it ends in the middle of a stud. That gives more strength and stability for the new piece. Trust me, hanging sheetrock is only fun for so long!
PS: You even take notes like the professionals! LOL Really!
I still have a hole in the living room ceiling because I HATE drywalling ceiling so much! Maybe this post will shame me into hauling out my supplies this weekend.
Um, you’re amazing! That is so awesome that you did that by yourself! This totally confirms by belief that it’s really not that hard financially to be a sahm, because you have more time to do things yourself instead of paying someone to do it while you are at work. I love that your blog shows other women they really can do these things themself!
Nice job, I hope to see it all done.
You’re my hero. Actually my husband just patched a very similar hole in our family room ceiling that we’ve been looking at for 3 years since we moved in. lol If only I had seen your tutorial – I could have done it sooner and surprised him. NOT!
Thanks for sharing in the Project Parade. Very helpful information to have!
You know, I read this post the day you posted it and I hoped I would never have to come back and read this post again. But not so much. Here I sit reading this post again and taking notes becasue when we came home from vacation what do I find? A leaky ceiling. Bye bye popcorn ceiling. Now to get the roof fixed, repair the drywall and then repaint the wall and ceiling. Yay. NOT. I wish I had a love for sheetrock. lol