Do you remember when my ceiling flooded and I had to tear out the sheetrock and replace it with new sheetrock?
Last month I ended my post with my sheetrock looking like this:
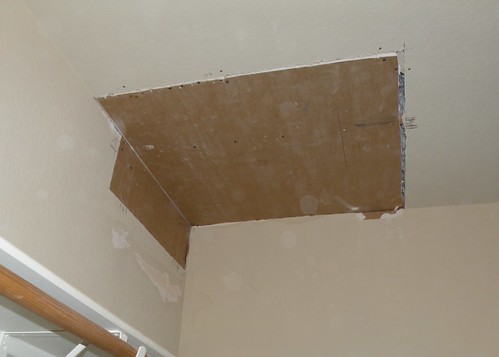
Unfortunately this is NOT a follow up tutorial for how to finish installing sheetrock (aka texturing it to look like the rest of the ceiling). Nope my friends, I STILL have not finished the patch job. It still looks like it did a month ago.
However, when I was patching the hole and ended up with the above result, the reson I never finished the job is because I got totally sidetracked on a different impromptu closet project…
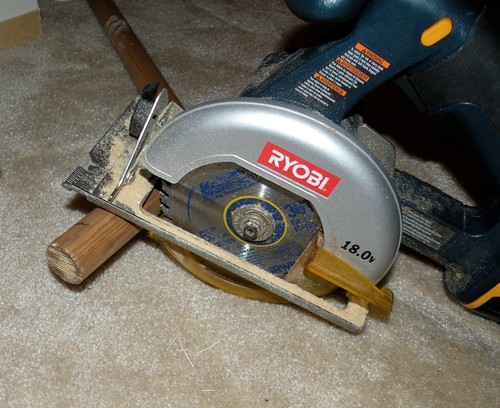
I’ve been keeping this poor saw busy lately!
The reason I borrowed this saw from my dad was for this closet project, not the fence project like you might assume. Fortunately for my husband, I already had this saw on hand when I did the fence job which is the only reason the fence was fixed and not just knocked over.
Okay, so what on earth did I do???
The closet looked like this when we bought the house:
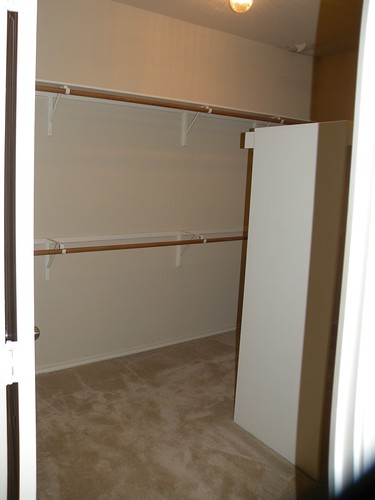
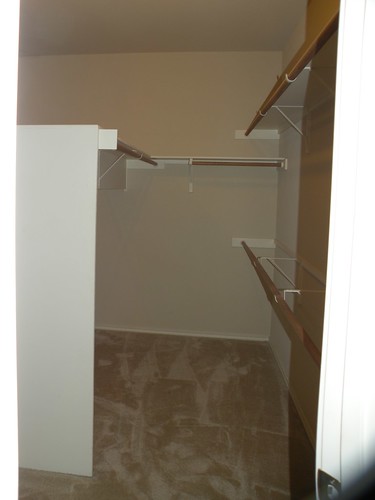
I put two pictures side-by-side to try to show the the whole closet.
I cleared all the clothes off the middle section and moved everything out of the way.
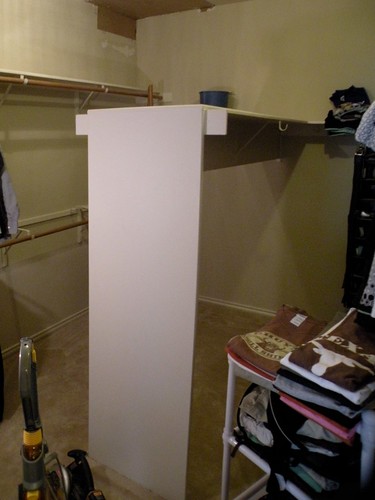
This middle section is coming out! It just makes the closet so claustrophobic and dark. I will lose a little hanging space, but do we really need that much anyway?
I made sure that if I removed it it wouldn’t mess up the carpet where it was attached to the floor. To my surprise and sheer excitement this section was installed after the carpet was installed. Basically the side piece of wood was just sitting on top of the carpet. I have the green light to proceed!
I probably should have moved everything out of the closet because of all the sawdust flyin’ but I figured the closet was already covered in insulation from the ceiling drama, so I just kinda shoved all the clothes out of the way…
Next thing I did was to measure where I needed to cut the top of the shelf.
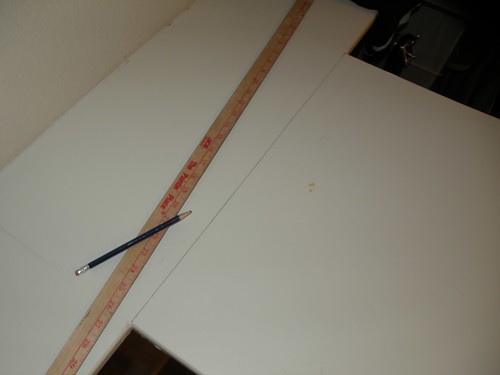
Then I just took that little saw and cut on my line praying the entire time that this project actually works and I don’t ruin my closet.
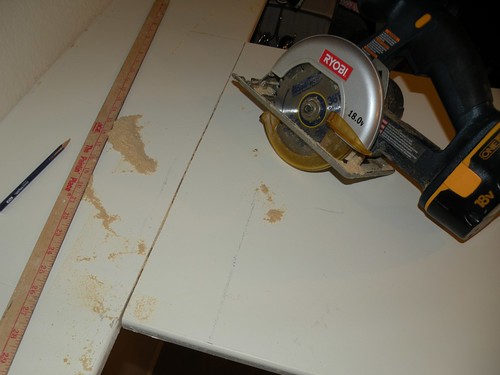
T-iiiiiiii-mmmmmm-bb-eeeeee-rrrrrrrrrrrr!
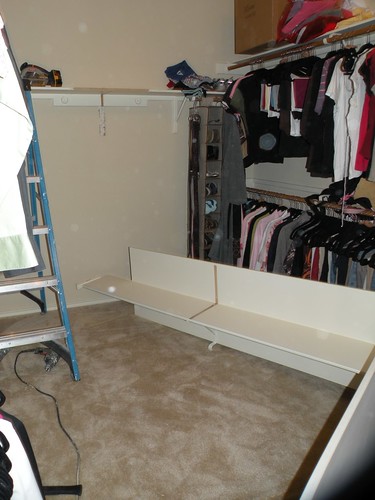
Okay, so it really wasn’t that dramatic. I had to wedge it and force it over, but regardless, the center section fell over.
Here are the two pieces I’m left with now – the piece that made the side of the shelf and the piece that made the top of the shelf.
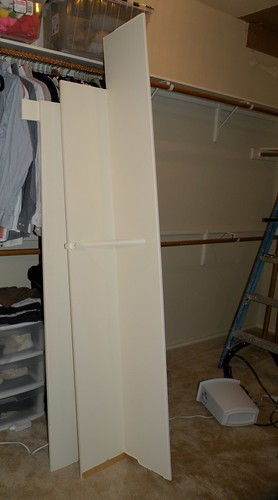
I removed one of the closet rod holder things from this leftover wood and attached it to the middle section on my wall that I just cut apart.
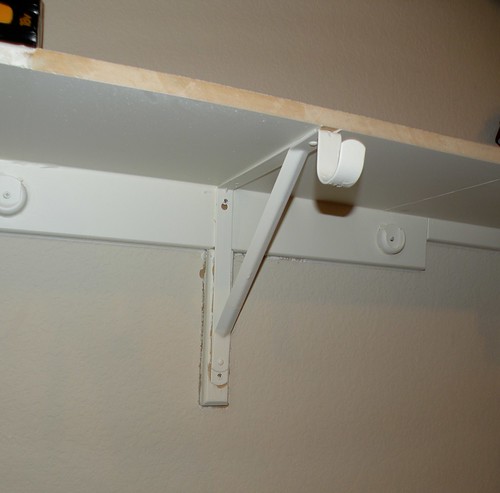
I installed this metal closet rod holder right on top of where the previous wood was attached for the section I removed.
Now it looks like this:
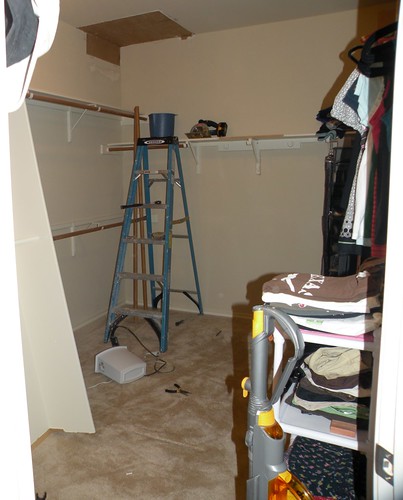
I just need to cut one of the leftover clothes rods to fit in the empty space along the back of the closet.

Perfect!
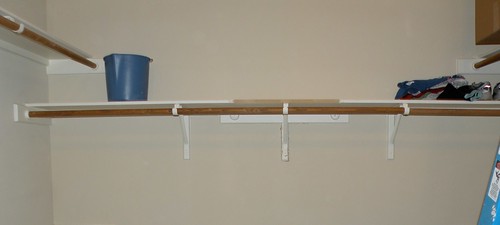
The lower levels of clothes rods on either side of the closet didn’t have any shelves on them. They were just open bars, so I couldn’t set anything on top of them to use as a shelf.
I took my leftover wood and cut it down the middle to form two pieces.
Once they were cut I just set them on top of the clothes bars to create a shelf.
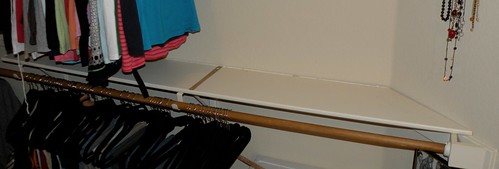
This shelf needed to be cut at an angle which was really fun trying to figure out the angle to cut it.
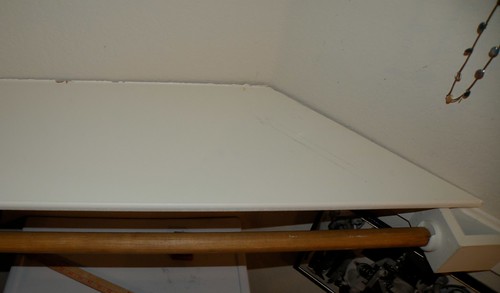
You can tell I made these shelves out of the leftover shelving because there are sections that aren’t painted. Also, I need to add a layer of caulk around the back edge of each shelf between the wall and the shelf.
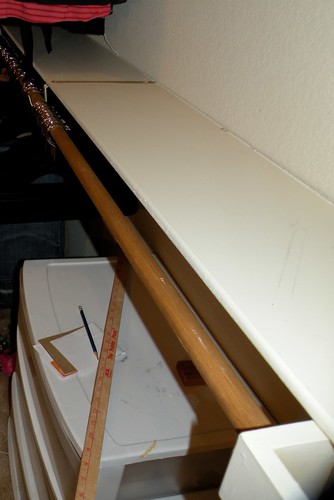
Here’s the closet almost finished.
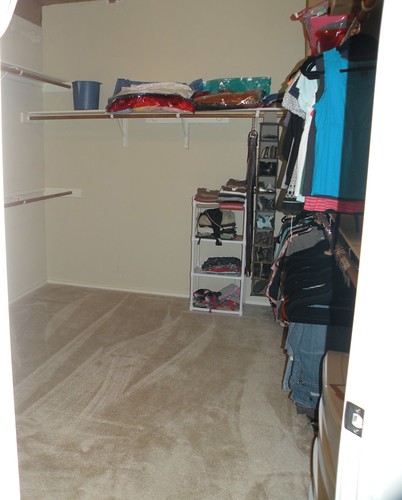
Here’s another angle of the new shelf above the lower level clothes rod. You can tell I reused the wood.
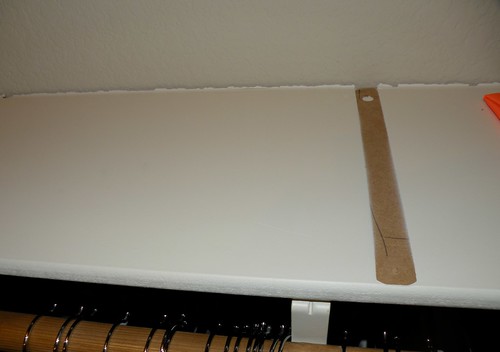
I ran out of wood so the shelves don’t go from end to end…
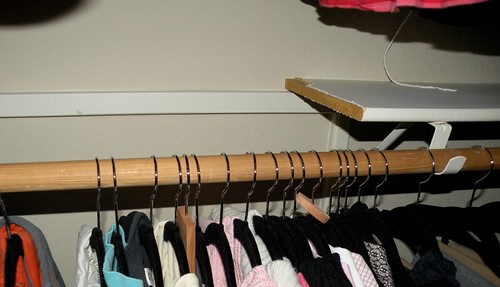
But honestly, I like having them not finihsed because it created a little space to store less-used items of clothing like suits.
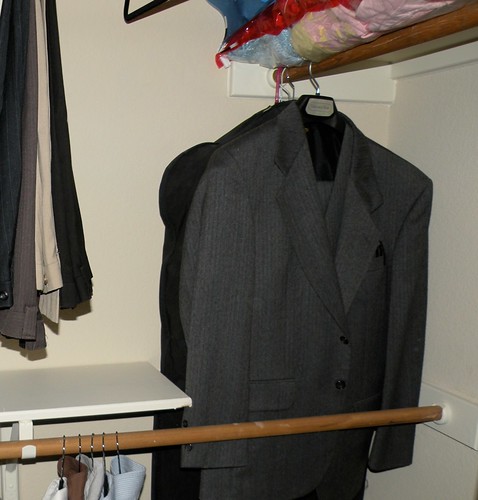
And the finished result:
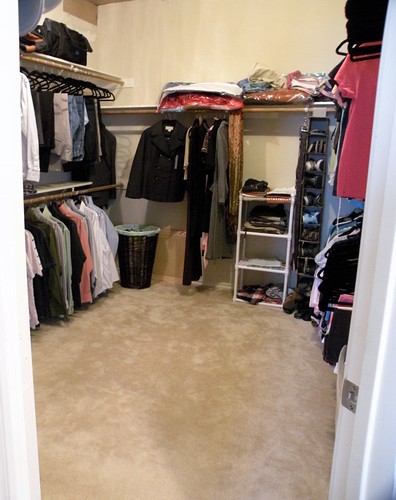
Before I got crazy and ripped out an entire shelf in my closet:


AFTER I finished:

I still need to caulk and paint, but overall I’m LOVING the new space.
By removing some shelves and taking away some storage space, I created a more open bright space that has room for dressing in the middle.


I am so jealous of your huge closet! Taking out that section leaves all that room in a middle. I would totally put a super cute bench there =]
Love it! Now all ya need is an ottoman in the middle. I saw one in the middle of a closet on a tv makeover and now I wish my closet was big enough for one….sadly it’s not.
I would die without my little ryobi.
Scaraficing a little storage for comfort totally worked. Niiice job!
-dani
So jealous!!! Now you should put a dresser type island thing in the middle like all those rich and famous people!
woo-hoo! it looks GREAT!! you go girl!
The closet looks wonderful. I believe you might be Super Woman!
Great job! I seriously look at the projects you tackle and think, “Wow!” Your closet redo is awesome, and I agree with the other comments…a plush chaise or island dresser would look great. And maybe a blingy chandelier. You’ve got the room!
Oh yeay, this is a winner. At first I couldn’t figure out why you would get rid of extra storage space, but after seeing the end result, I can see that it is more than enough room even without that shelf unit. I hate dark closets, too. I agree with everyone that an ottoman or bench will be awesome in there. Good job on the closet makeover.
ALso wanted to thank you for your awesome comment on my BODY FOR LIFE post. I know that I will reach my target of losing another 13 pounds, especially with all the support from my blogging friends. Check back to see my before pics, they are quicte scary, but very necessary to suceed. Bella ~~
Hey, did you know your sheetrock is backwards!
Bwahahahahahaha!
The closet looks great!
I love how big you closet is!! What a great idea to take out that middle section it just opens it up and makes it look so much brighter.
Definitely opened up the space. It looks terrific!! Good job!!
Hugs
SueAnn
I love what you did with your closet!! It’s so much larger looking now and you still have all the same amount of hanging space.
Good thinking!
Oh my gosh – your closet is huge! =) My mother-in-law did the exact same thing to hers… she ripped out that storage in the middle that was a pain and loves the more open look.
awesome job!!!!
Your closet looks great! Much more functional this way and it’s HUGE!
you are my hero!! Look at you, using those power tools!! (Those things scare me, lol). Like the new blog look.
WOW! You did a great job! I LOVE how huge your closet is
Wow! That makes SUCH a difference! Definitely a HUGE improvement. I doubt you’ll really notice the lack or storage space too, because the openness is so awesome. Just today we tackled our master bedroom closet too, and it is so fun! This was my first time over here, and I’ll definitely be back! Great job!