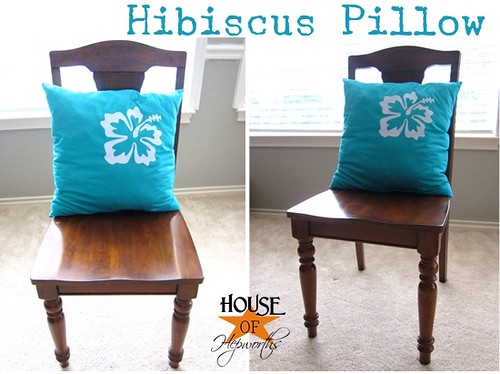
A few months back I scored several decorative pillows from my neighbor’s garage sale, all for $1 each.
A dollar for a pillow is cheaper than buying a bag of pillow stuffing!
If you need a pillow, like, right this very second, or you just aren’t lucky enough to find a garage sale 3 doors down with dollar pillows, Goodwill always has a plethora of crappy pillows to choose from.
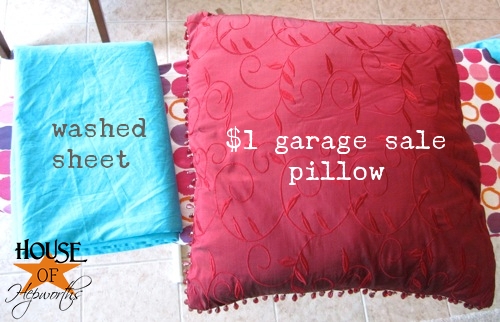
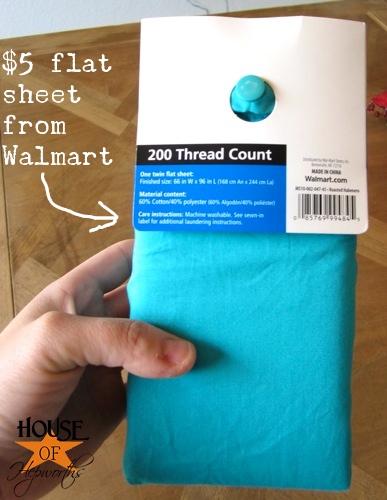
Then I found this purdy teal flat sheet at Walmart for only five bucks.
Yes, I went to Walmart. {sigh} I try to avoid it at all costs (you guys know how much I love Target!}, but sometimes I head over there just to check out the decor. Walmart has some pretty good decor, believe it or not. (Shocking, I know!)
Anyway, I washed the sheet, just in case you didn’t figure it out from the photo above labeled “washed sheet”.
Making your own pillows is so easy. It’s probably the easiest thing to sew.
Okay, so the making of the pillow… It’s so easy, if you blink you may miss the tutorial, so pay close attention!
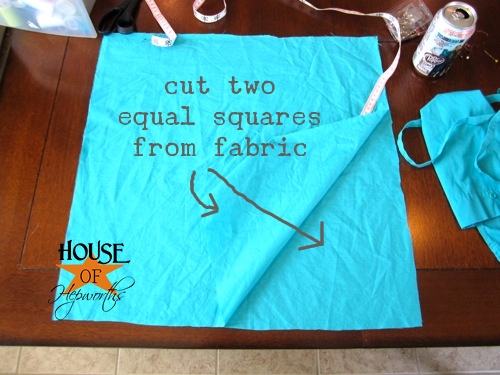
Cut two equal squares. Make sure they are square. Make sure they are the same size. I folded my sheet in half and cut both at once. I *think* they were 18″ squares. Just measure the size you want your pillow and add like 2 inches. This will allow for a nice thick 1 inch seam allowance that should hold up to fraying.
{See, I’m so lazy I don’t even finish the edges.)
Now, bust out the sewing machine and sew the fabric together around the edges. Make sure to put the right sides facing each other and to leave a big gap on one side to stuff the filling in.
I could NOT for the life of me figure out which was the right or wrong side of this sheet, so I just picked one. Made my job a whole heck of a lot easier.
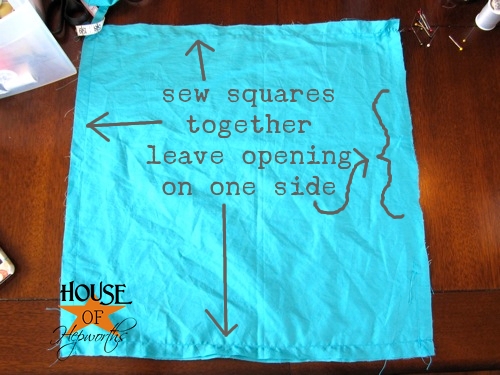
Now is where I tell you to fold your pillow right side out, then iron on the big fuzzy hibiscus flower you printed from your Silhouette. But I suck majorly and didn’t take any photos of that.
Also, Target, Walmart, Michael’s, and the like have loads of iron-ons that are ready to go and so ca-ute, so if you don’t have a Silhouette, don’t go drown your sorrows and end up with alcohol poisoning. Just go pick out an equally cute (or cuter) iron-on. They even have blingy ones!
Okay, so once your pillow case is all ironed and your iron-on is stuck and beautiful, grab a pair of scissors and cut your crappy pillow open. Feel free to take out your frustration for not owning a Silhouette on the crappy pillow.
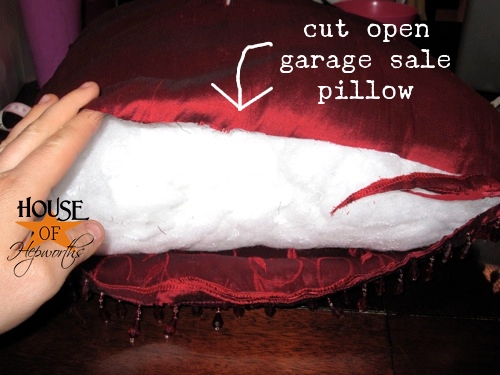
Ah! Glorious pillow filler. Loads and loads of glorious pillow filler. It’s just sitting there begging me to stuff it into a new beautiful pillow.
Okay, so this is the hardest part. Are you ready for it? Seriously. Pay.Attention.
Are you paying attention?
Pull the stuffing out of the crappy pillow. Shove the stuffing into the new pillow.
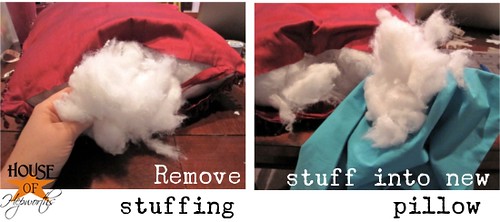
Eek. That was so friggin’ hard. Srsly. Almost killed me.
I’m not sure why I keep on talking and talking since my photos are already labeled with the directions. I just think this tutorial is so nice, I’m repeating it twice.
So this part really is the most tricky part. Honest. I’m not joking this time. {shocking, I know}.
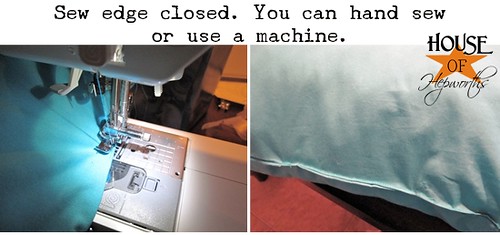
Pin your gaping hole in the side of your awesome new pillow closed. Using a zipper foot on your sewing machine (the foot that lets you sew right up next to the edge), slowly stitch the hole closed.
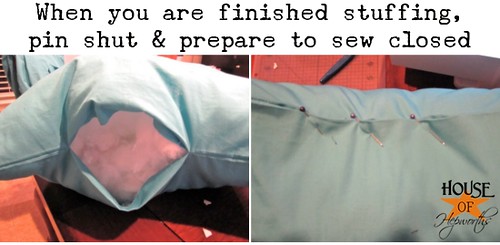
If you and sewing machines just don’t mix, hand sew it instead. Or you can just do what Beth does and hot glue it closed. Whatever floats your boat.
And that, my friends is all there is to it.
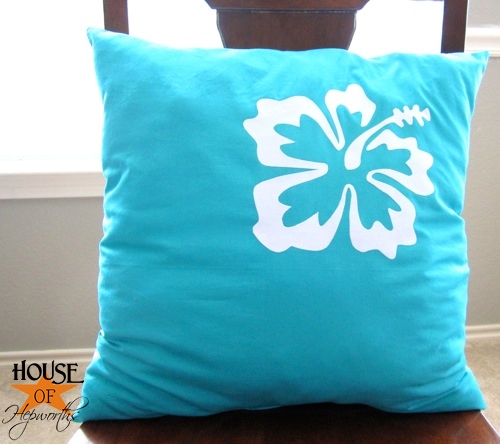
And in case you are thinking I’m crazy for coming home and sewing a pillow, I didn’t. I made it before the vacay. I just never had a chance to post it before we hit the road, Jack.
Cost breakdown:
$1 for crappy pillow
$5 for flat sheet, but I have tons left for other projects
GRAND TOTAL: $6, but probably more like $2 if you subtract the extra leftover fabric.
Oh, almost totally forgot… I made the pillow for my daughter Kinsey’s bedroom.

Here are a few more pillows I’ve made recently (okay, fine, here are all the pillows I’ve made; all two of them.)
Cloth Napkin Pillows (with hidden zippers):
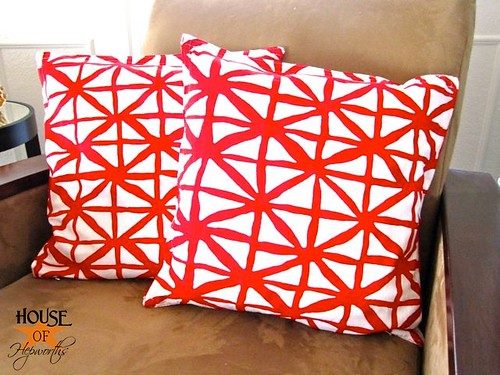
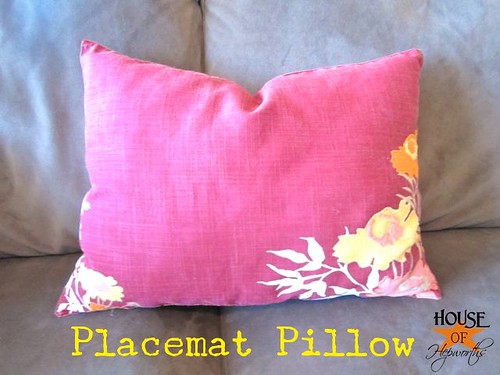
Can it get any more random and DIY than napkins from placemats, cloth napkins, and bed sheets? I’m on a laundry roll.
Have you made any pillows recently? Do you have any totally random things you’ve made lately from linens around your house?


Those pillows are awesome and made me think that you might be just the “helper” we need! My daughter wants to cover a pillow she got for free with some different fabric to match her room….the catch of it all, though, is that the pillow is a circle and so she’s not real sure how to go about doing that, do you have any suggestions. I’m not a sewer at all and she has made pillowcases in the past, but is just not real sure how to go about doing it. Any & all help would be greatly appreciated! Thanks so much, love your blog!
Love it! I love the placemat pillow too!! I tried one of those a few weeks ago. Turned out fabulous!! So glad you are back:)
Love your cute pillow! Love that you’re back even more!!
Great looking pillows! Your how to priceless. lol
Great pillows! I especially like the one where you used napkins to make pillows. Thanks for sharing your ideas:)
Those are so pretty. I love the color. It is so bright and cheery! I love the idea/concept of taking an unlikely fabric source and creating something new.
P.S. Glad you are back! ; )
very easy – I likey
Awesome-so inspired! I made a tea towel pillow for my first ever sewing project. Check it out! http://westcoastleslie.blogspot.com/2011/02/sew-easy-pillow.html
Love it! I seriously NEED to get making pillows! I keep reading about how easy they are (and after reading your tutorial, I totally believe it!), but I just need to muster up the courage to just do it! Thanks for the inspiration!
btw…just started following your blog! Love it!
Ooo, I love the new pillow covers. The turquoise-y color is awesome. <3
Welcome back home. I was wondering when you sewed the pillow. I make stuff out sheets, shower curtains you name it. One time I had a shower curtain for my daughter’s closet. I bought a valance and added an eyelet ruffle to cover the big shower curtain rings. Then when she wanted something new, I used it as a shower in the bathroom. Talk about doing things backwards. lol
Oh you can see the picture of my daughter’s 6 year old room here:
http://katspurrfectboutique.blogspot.com/2011/06/when-natalie-turned-6.html It’s has two posts.