Well guys, I FINALLY finished the Advent Calendar from Silhouette. And, ohmeeegosh, it’s pretty cute. See for yourself.
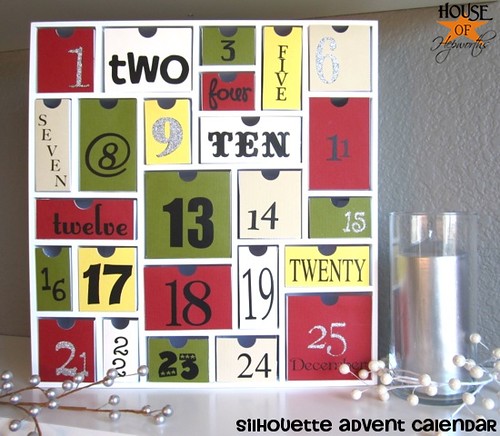
First off, if you want to order one of these, you DO NOT need a Silhouette machine to make one. So if you don’t have a machine, you can keep on reading, mmm-kay?
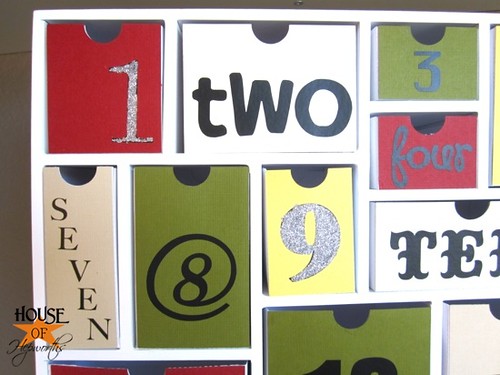
Also, I’m giving all of you the files to cut out all the box fronts as well as all my numbers. They will be at the bottom of this post. Just click them then follow the prompt to save them to your computer.
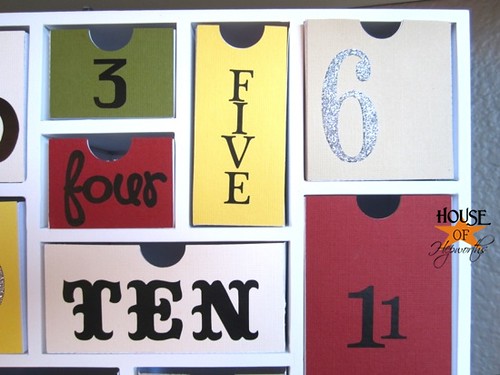
Okay, so you guys love it when I keep it real. So I’m gonna keep it real about this Advent Calendar.
First off, it’s cute. And it’s fun. And you can create any look you want. And lucky you, they are on sale this week if you want to order one. Just use the coupon code HoH4ever to receive a $10 discount. (through November 11th)
But the cons? There aren’t many, but I have a few:
1) cutting out 25 boxes and decorating them is a LOT of work. So be prepared to spend several hours crafting. (Is spending several hours crafting really a con though?)
2) I wanted to cut out just the fronts of the boxes (you’ll see why in a minute) and it was a pain in the patootie to create them. But this isn’t really a con either since I’m GIVING you all my hard work for free at the bottom of this post.
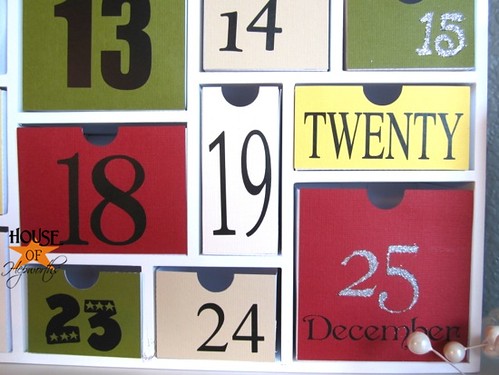
And now, would any House of Hepworths post be complete without a full picture-saturated tutorial? I think not! So here’s how to make this fun festive calendar!
Start by setting up your work space. And get ready to make a huge mess.
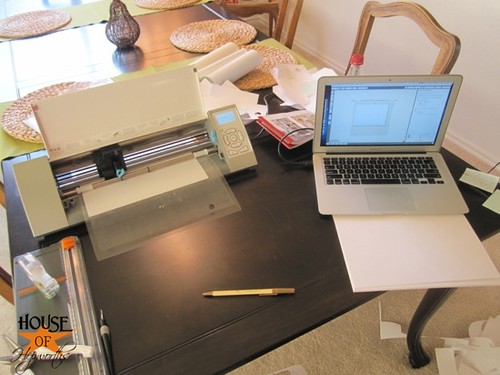
First off, you have to cut out all the boxes. When you buy the calendar it comes with a card to download all the boxes for you. Easy peasy.
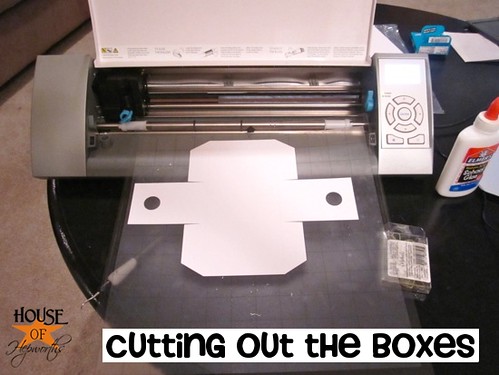
I used 8.5 x 11 white cardstock because that’s what I had on hand. Cutting out 25 boxes on a Silhouette machine, though easier than by hand, still takes a looooooong time.
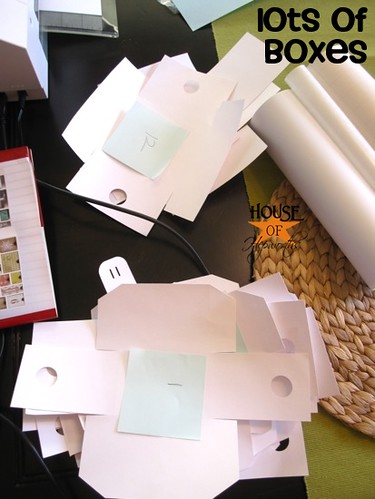
I cut and cut and cut boxes. And to keep them straight I put a sticky note on each one with what number box it was.
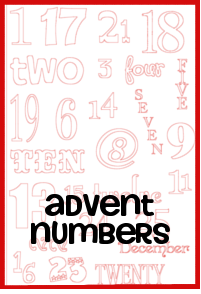
Now it’s time to cut out your numbers. You can put any type of numbers on your boxes, but I chose to create my own vinyl ones and stick them.
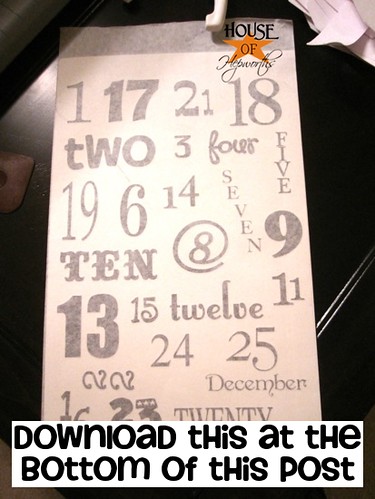
Getting them all the right size and font was not the most fun I’ve ever had, so I’m giving you the ones I made (if you want them) as a download at the bottom of this post.
I was totally being lazy and didn’t want to go to the store to pick up Christmas supplies, so I started making a black and white version. Total fail.
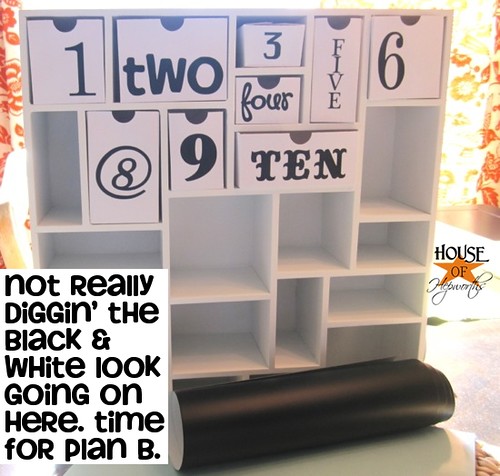
Not so pretty. Time for plan B. Create fronts to each box in different colored paper and glue them onto the already cut out white boxes.
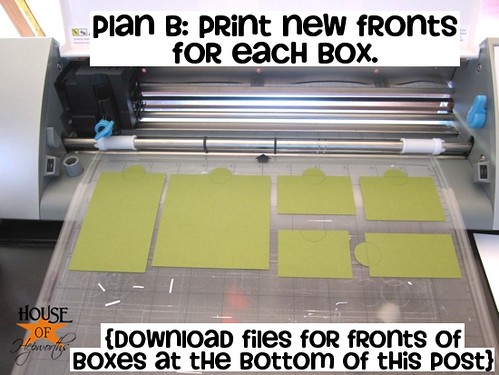
A few things to note: I used very thick textured colored paper, so I had to bump up the cutting settings to Speed 3, Thickness 11, Blade 4.
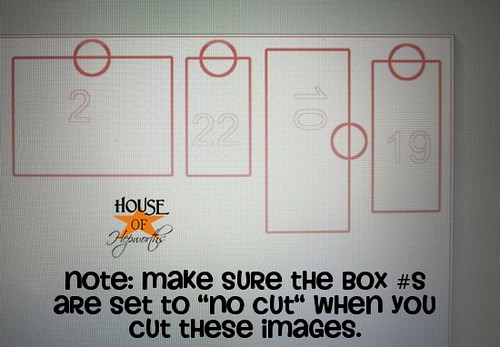
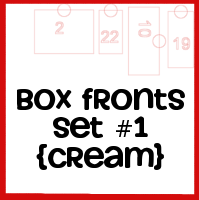
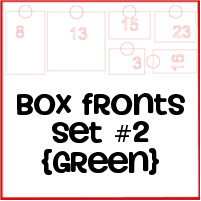
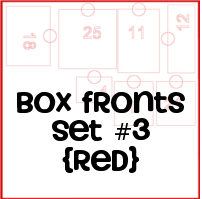
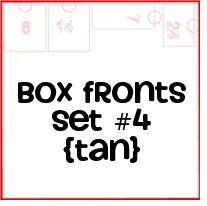
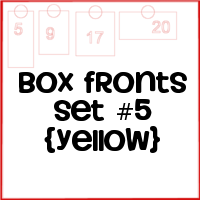
Also, I’ve created and saved all these box fronts for you, and they are already sorted by color. When you import them to your Silhouette Software, make sure that the numbers on each of them are set at “no cut”. Otherwise you will have huge random numbers cut out of the front of each box.
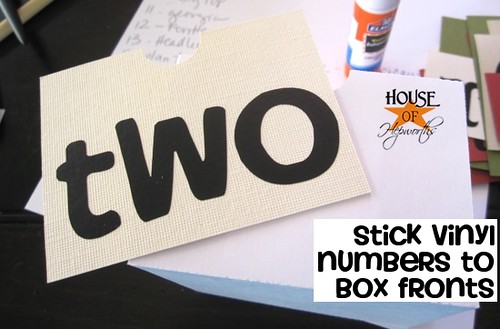
Assembling was the fun part! I just stuck all my pre-cut vinyl numbers to each box front…
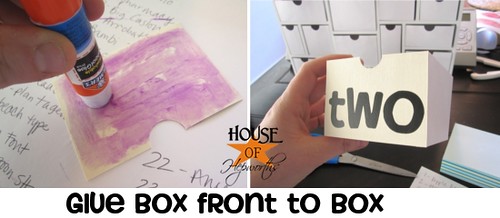
…and then I glued each box front to the white cardstock boxes I had already assembled.
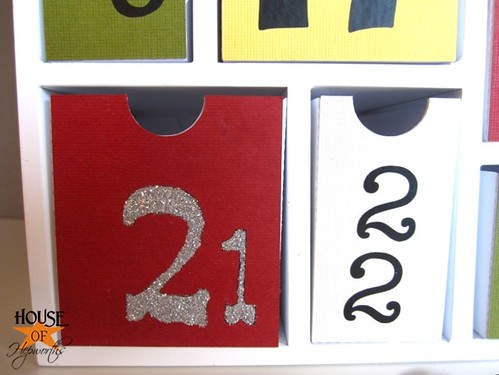
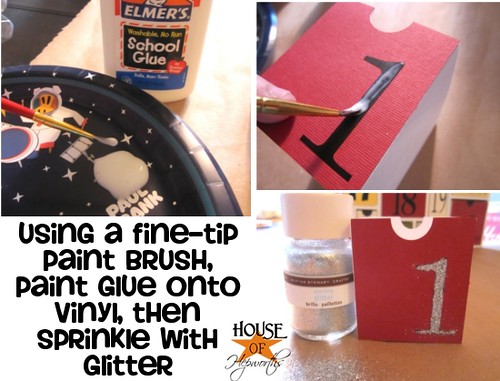
When I was done it was looking a little boring, so I added glitter to a few random numbers for a little bling.
And that’s all she wrote.
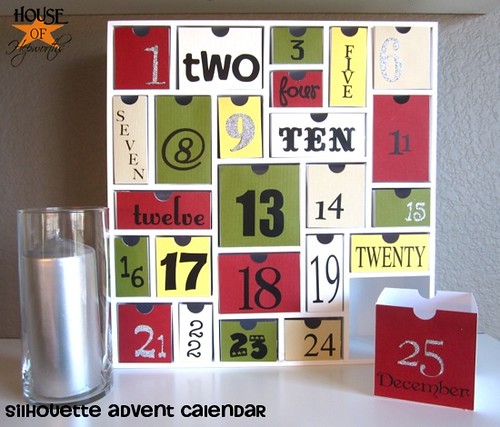
I think it would be so fun to create a 2nd set of box fronts to use on the reverse of each box. You could coordinate them for a birthday countdown, or a countdown to Halloween, or Valentine’s Day, or whatever. That way you can use this beautiful solid wood box calendar year ’round.

Fun, right?!
Now I will try to read your minds and answer any questions you might want to ask.
a) the downloads are at the very bottom of this post
b) if you don’t have a Silhouette, you can still download the Silhouette Software for free. You can print out any image you’d like on your regular printer. You don’t need the machine to enjoy all the downloads. Download the software here for free.
c) What fonts did you use for the numbers? I don’t have links to any of them, but they were all free so if you search online for free fonts you can find them. Here they are: 1-Apple Myungjo, 2-Howser, 3-Krungthep, 4-Mr & Mrs Po…, 5-Palatino, 6-Pharmacy, 7-Big Caslon, 8-Arrobatherapy, 9-Bambi Bold, 10-Big Top, 11-Georgia, 12-Fontleroy Brown NF, 13-HeadlineA, 14-Plantagenet Cherokee, 15-Beach Type, 16-Alan Font, 17-BD Cartoon SH, 18-Jailbird Jenn, 19-Palatino, 20-STIX General, 21-DeLouisville Small ca…, 22-American Typewriter, 23-American Donuts, 24-Times New Roman, 25-Penhurst
d) What is the Advent Calendar promotion again? From Now through Nov 11th you can get the Silhouette Advent Calendar plus all the boxes to cut on your Silhouette for $29.99 ($10 savings) using the code HoH4ever Click here to purchase.
e) Where did you get the accessories? Silver Candle-ikea, silver and white pics- HobLob.
f) What is your wall color? Slate by Restoration Hardware.
And now for the fun stuff! Here are all the files for the Silhouette Studio software. This WILL save you hours of time, so enjoy them and be grateful I’m giving them away for free. (Click each box to download that image)
Happy Crafting, my friends!


You definitely read my mind with the “what fonts did you use” question! Thanks for sharing. Yours turned out fabulous! I especially love the added touch of glitter on some of the numbers. Can’t wait to make an advent calendar for my family this year!
This is adorable! I’m working on a bag version right now but the is too sweet.
That is so cute! Love all the different fonts! ~ Barbara
Intense! I can tell you really love us:) I like that I can do it without a Silhouette.
Love this idea and yours turned out great! Though I just went to order and discovered they only ship within the US – sad for me and my fellow Canadians. Wonder if I could make the wooden box…
It looks great! If you’re wanting to use it for other holidays as well, you could try putting a velcro dot on the front of the boxes and make just a front for each holiday. Just a thought! I don’t know how well that would work.
So cute!! And how nice of you to SHARE away!!
Allison, thank you so much for sharing the software files and answering some questions! I’m so excited to come across your blog with this information. Since discovering these boxes a few weeks ago (while searching for cute advent calendar ideas on Pinterest), then being disappointed that they are no longer for sale, I decided to try to make one myself. So I headed to home Depot for the wood. I found outside measurements (17x16x5) but now I need some of the inside measurements to proceed. Can you help with this by providing those measurements? I’m determined to DIY this shadow box, if I can, because I do want to use it year round as part of my gallery wall in my craft room.
Thank you for any help you can provide!
Cheryl
Where did you get the shadow box that holds all the boxes?