This is our shower situation goin’ on…
(not to be confused with THE Situation)

(Shower mat tutorial here)
Looks pretty nice. But there’s something wrong. Can you figure it out?
I’ll give you a hint.
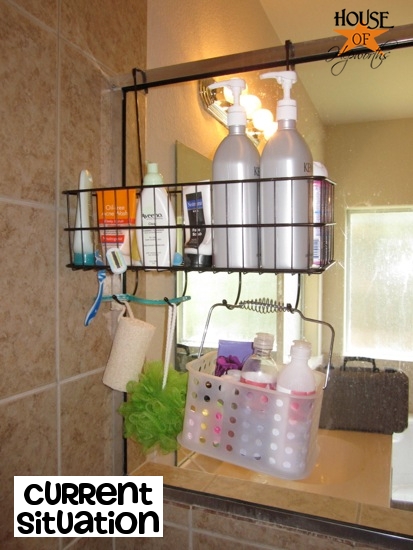
We are using a random over-the-door basket organizer inside our shower instead of a shower caddy around the shower head.
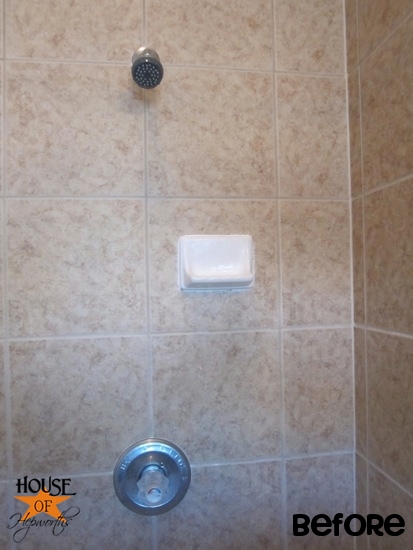
I mean, seriously, we have a perfectly good shower head right there just begging for a nice organized shower caddy.
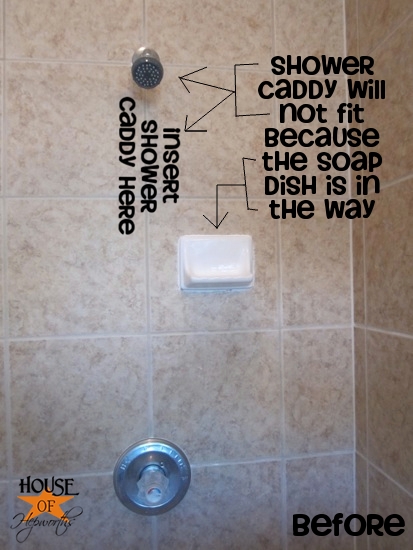
But do you see that little soap dish all up on the shower head’s grill there? It’s so close to the head that a shower caddy wont.fit. I guess I could buy a specialty one, but I like the nice chrome one I brought with me from my previous home. {sniff}
Instead of dropping $30 on a nice brand-new narrow shower caddy (or other feasible option) I decided it would be a better investment to purchase this Grout Removal Attachment for my Dremel Multi-Max (for $30).
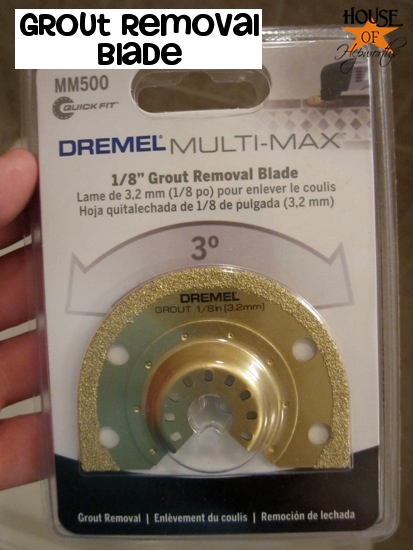
For what?! Well, to remove the grout around the soap dish so I can remove the entire dish. THAT’S “for what?”. Dur.
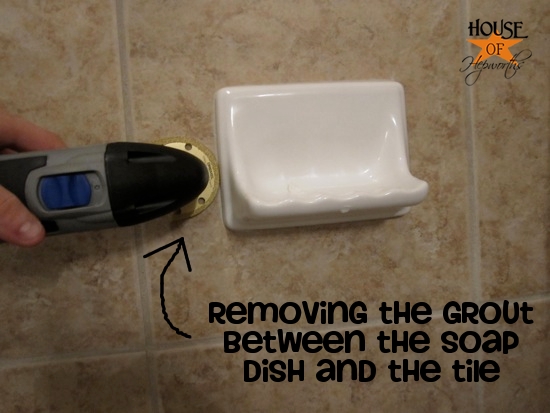
The soap dish seemed like it stuck out far enough from the tile that I assumed it was glued on top of the tile, so why NOT remove it?! Sounded like a great idea to me!
So I cut and cut and cut, and I got all that grout removed from around the dish. And then, the moment of truth…
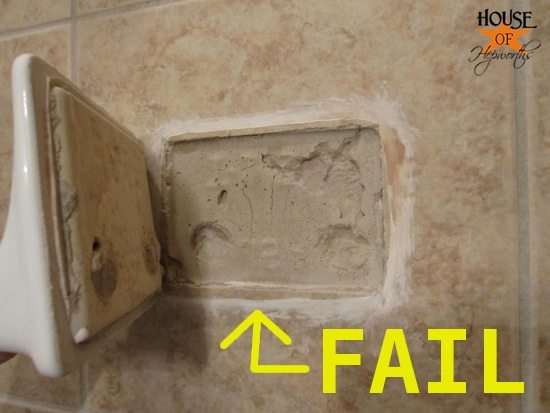
Complete and total FAIL. So, ya, of course it’s glued inside the tile and the tile has a huge hole in it. OF COURSE IT IS.
So now I’ve got two options.
a) cut out the entire tile and replace it. AKA: lots of work (ick!)
b) re-attach soap dish and call it a day.
Uh, ya. I totally chose option B. There’s no way I’m dealing with tiling again. I am still recovering from all the tiling work I did in our old home here and here. The eye twitch is just now starting to go away…
I thought for about 2 seconds and decided that E6000 would be the perfect glue to use inside a shower. Why? I have no idea. It was the closest within reach to me. And I had it on hand. And I’m far too lazy to google and figure out the proper glue to use, then actually go buy said glue. No way, Jose. E6000 all the way, baby.
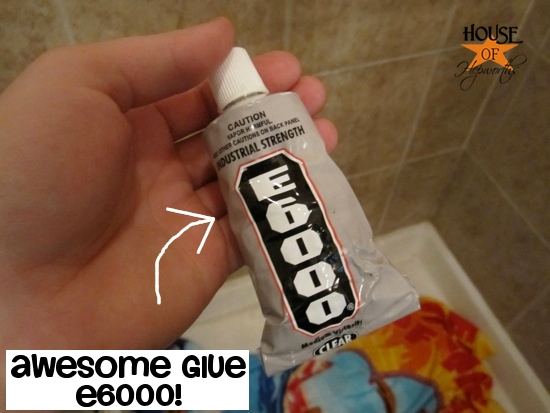
For two days (just to be extra sure it was dry) Ben and I were banished to the guest shower while this complete and total train wreck dried and cured.
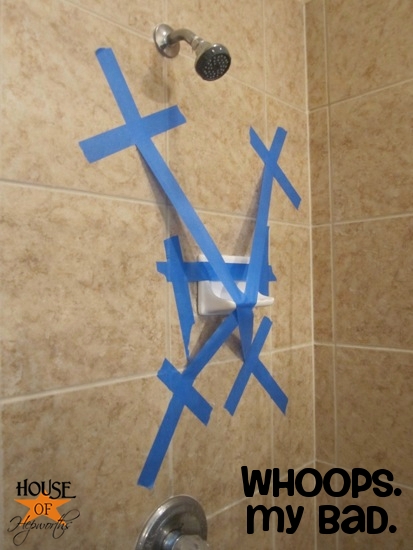
A little bit of caulk around the dish to make sure no water gets behind it…
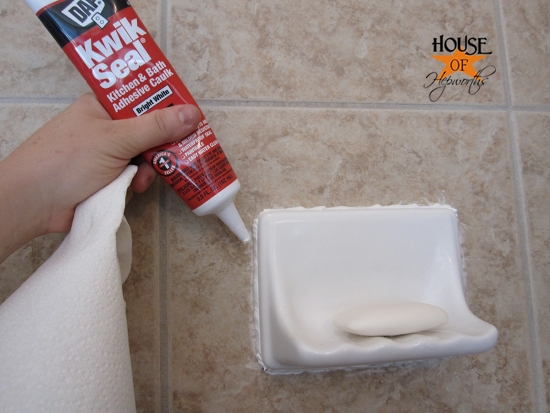
(Don’t worry, I smoothed the caulk out with my finger afterward so it looks nice and clean.)
Good as new.
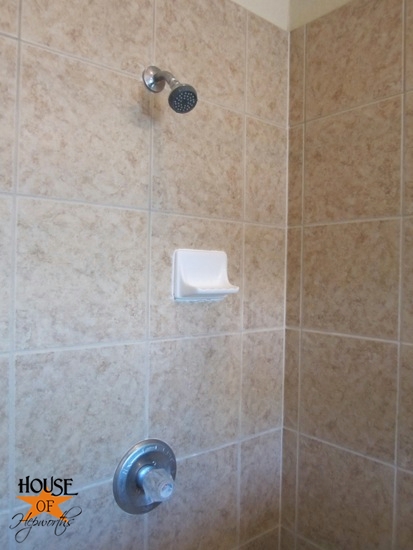
And now for the big reveal! This before and after will BLOW.YOUR.MIND.
Before & After (everyone’s favorite!)

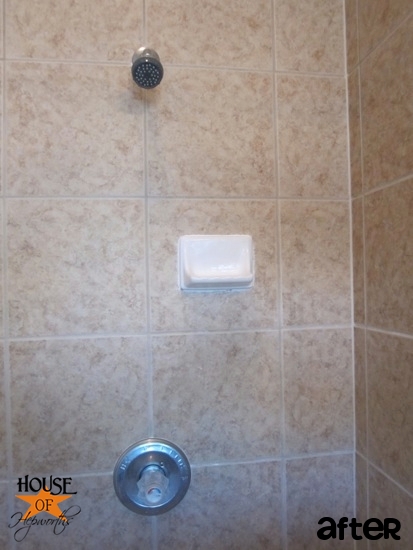
Wasn’t that the best reveal ever?! I knew you’d think so.
Moral of the story: If you screw something up, it’s okay. You can fix it.
It’s better to have tried and lost than never have tried at all.
(But seriously, that was the biggest waste of my time. Live and learn. Live and learn, baby.)


Bummer that didn’t work for you! But you are right, better to try and fail than have never tried!!
Ha! Dur…. I love it.
LMAO!!! Love ya girl! I read your post outloud to my husband in between my laughing. It looks great!
Michelle @ Thrifty 101
We have the exact.same.problem. Glad to know we’re not alone!! haha….thanks for saving me the step of removing mine because chances are mine is going to end up the same way
but at least you got a new dremel attachment, right? thanks for sharing!!
Hi Alison.
Much as I definitely sympathise (all that work for zero gain – damn), that must be one of your funniest posts yet. Loved the before and after. Hehehe.
Love Bec
Your before and after……totally cracked me up!!
Great before and after! While we don’t have that particular issue, we only had a soap dish and negligible space to set other items. I bought the springloaded shower towers and they have been great, especially since no one in this house uses the same kind of ANYTHING. Hope you find something to fit your needs!
Thanks so much for this!! My stepdaughter for some reason thought that a soap dish could hold her weight and of course it didn’t…don’t ask:P Anywho, this post is a huge help on how to put it back on!
Oh gosh ~ I thought for sure it was attached to the top of the tile. Bummer, but nice save though! I need to regrout some areas since my house has settled. Was the attachment tool easy and did it make a big dust mess? I have been putting it off because scraping out grout stinks…… Thanks ~Karen
OMG Allison!! You crack me up!!!
Sorry it didn’t work!
XOXO
Laughed out loud reading this! Doesn’t it stink when things don’t work out? A sense of humor helps! Maybe you could use your Dremel to cut out a section from the shower caddy so it fits around the soap dish??
that was awesome! Honestly though, who builds such an awesome large shower without putting some shelves in it? Some time I wonder if builders are actually robots or at least non-normal humans who don’t need things like shelves.
Or outlets actually within reach of anything!
I know! This house is a nicer(er) home, so you’d expect a little thought into the small things. But nope. Whoever they hire to do the tile work can obviously tile, but has no common sense about soap dish placement and shelves. Why couldn’t the tile person install the dish a foot to the right? Or lower? It just makes no sense. And don’t get me started on light switch placement in this house. My dremel is soon to be in overdrive cutting new holes in the walls to move the switches to smarter places.
Ach! What a bummer. Slim shower caddy it is?
close to same issue.
I found an adjustable one that hangs from the showerhead at BBB
Just fyi.
I really do like it. I had the corner caddy before from BBB but they kept rusting.
Lol, oh my goodness! So funny! Who thought that thing was a good idea?! We have no shelves or ledges or ANYTHING in our shower. I cuss at it every day.
We have a very similar issue! Our master bathroom does have a little bench in it so all our stuff ends up junking up over there. It is not convenient though because it is so far away from the actual water stream
hahahaha I love the before and after pictures!
Before.After.LOL.
Hahaha! I am so glad I’m not the only one that make mistakes like this… AWESOME post!
Allison, have a great Thanksgiving!
This cracks me up!!! Thank you so much for posting this, because it is so nice to know I’m not the only person who does stuff like this!!!
xoxo
Could you use your dremel to make your shower caddy fit? Is your shower caddy you want to use metal wire stuff? Could you just take out one of the bars so it’d fit over the soap dish?
lol you are hilarious. I have this toothbrush holder in my guest bathroom that i’ve been thinking about taking out. i might need to rethink this plan.
This was soooo funny!!! It’s something that would have happened to me. I’m a NEW do it yourselfer. The only thing I’ve been brave enough to do so far is spray paint. But I will most definitely follow you to get courage to go beyond Rustoleum!!! Keep up the good work!!!
Ha ha ha. I love your before and after. You gotta love those projects where you end up right where you started.
Bummer!!! LOL at the reveal pics!!!
Aimee from ItsOverflowing.com
Lmao! It really sucks that you wasted all that time (and money on the dremel attachment), but hey, it happens, and it was still a blog-worthy experience.
hahaha! That make me laugh so hard… totally something I would do and then my husband would be so frustrated with me!