Welcome to my self-imposed “Bedding Week” here at House of Hepworths!
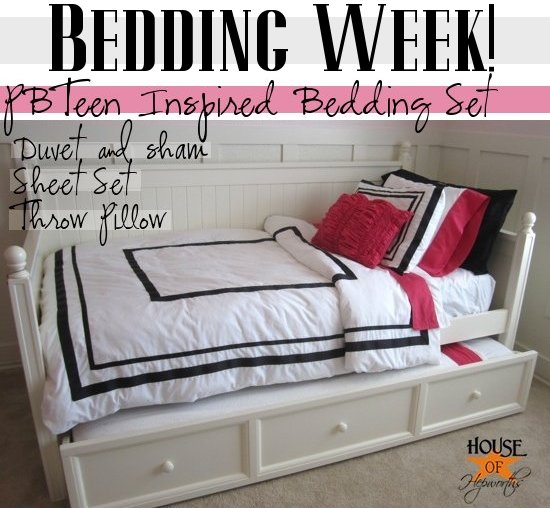
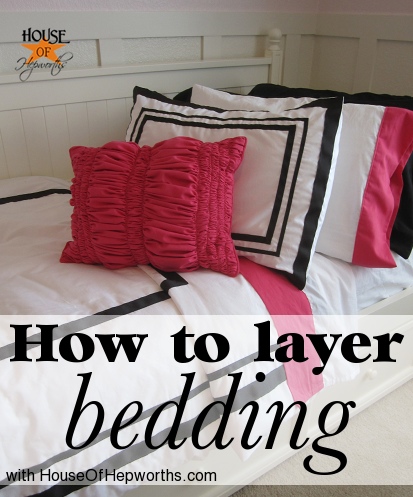
Yesterday I shared that I’ve been busy at the sewing machine creating an entire set of Pottery Barn Teen inspired bedding for my daughter.

The feedback has been above and beyond what I could have hoped for! Thank you so much for not only liking my new bedding, but also leaving such nice comments, sharing it with your friends on facebook, and pinning it! You guys are pinning fools I tell ya!
Today I’m going to show you how to create these fun bed sheets for only $15 (give or take a little).
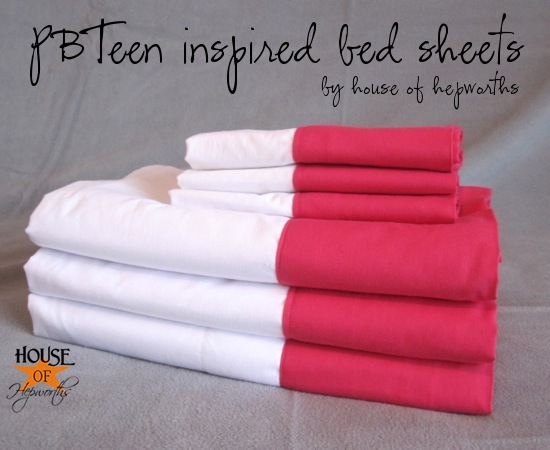
PBTeen offers solid white bed sheets with a pretty colored cuff around the top. I love the simplicity of them, but I didn’t love the $89 price tag! Also, I wanted a HOT PINK but PBTeen only had light pink. And I wanted a thicker cuff – around 4″ thick, instead of their approximately 2″ cuff of fabric.
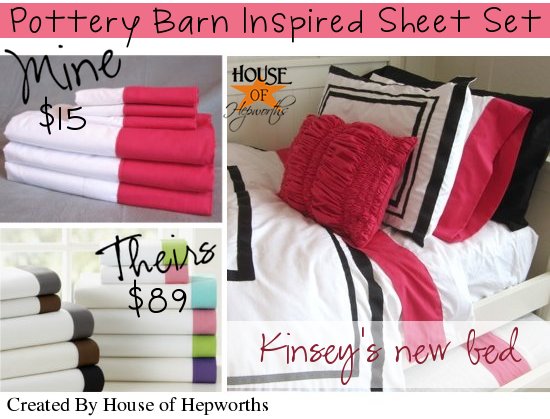
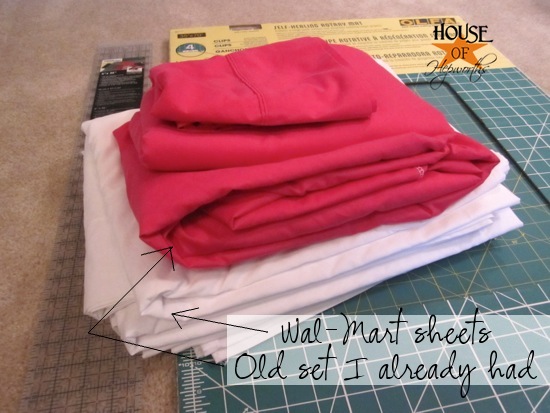
I started with a set of basic white bed sheets from Wal-Mart. They are only 200 thread count (compared to PBTeens 300 thread count), but honestly, the Wal-Mart bed sheets are crisp and feel like pretty decent quality to me. In fact, I even used them to line my dining room curtains.
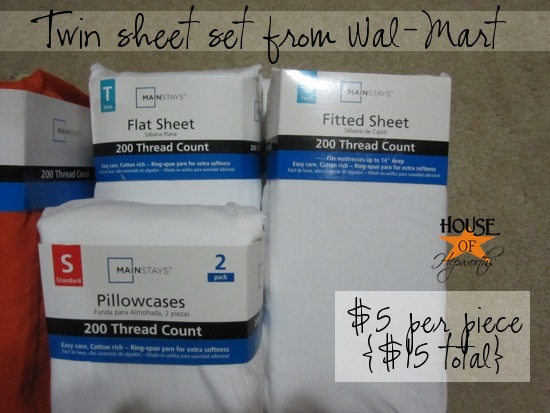
These bed sheets come per item, not in a full set, so when you buy them make sure you get a fitted & top sheet as well as a set of pillow cases. The price varies based on what size bedding you are buying, but for a twin size, each item is $5 (well, the pillow cases are $5.50).
I purchased a whopping 3 sets of bed sheets, which brought my total to $45. Two sets will go on the two mattresses in my daughter’s room, and the extra set is a flux set in case of an accident or what-not.
To make the bed sheets you will need a white top sheet, a white pillow case, and a colored top sheet (or a large piece of fabric). Make sure you pre-wash everything before you begin.
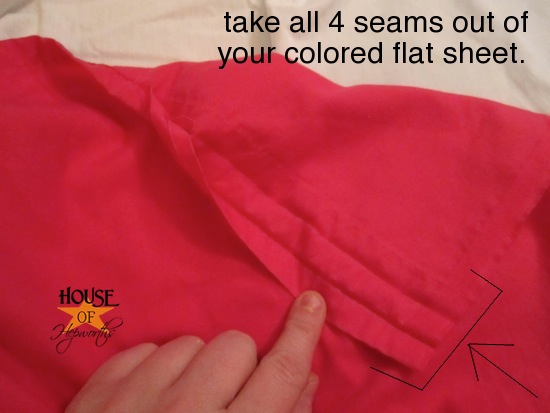
Using a seam-ripper, remove all seams from your colored sheet.
Also, take your white sheet and cut off the entire top edge. Don’t cut any other edges! You can cut the edge off right at the hem.
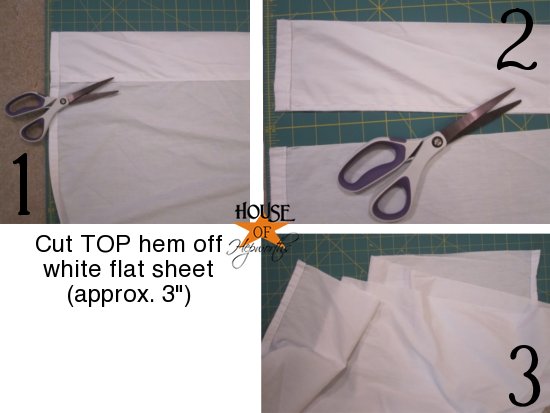
For these sheets, all we are doing is removing the white cuff at the top and replacing it with a colored cuff.
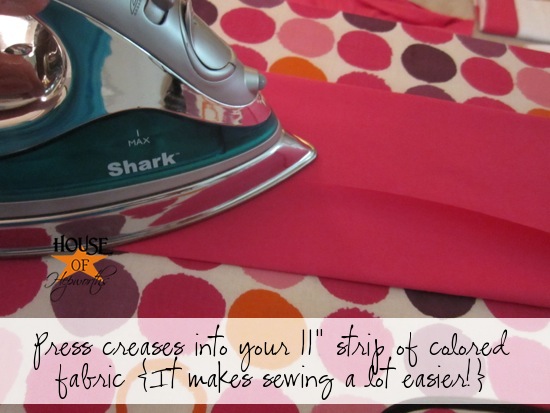
Grab your colored fabric and get ready to iron! If you want a 4″ cuff like mine, you will need to cut an 11″ strip the width of the fabric. I found it easier to iron all my edges first before cutting.
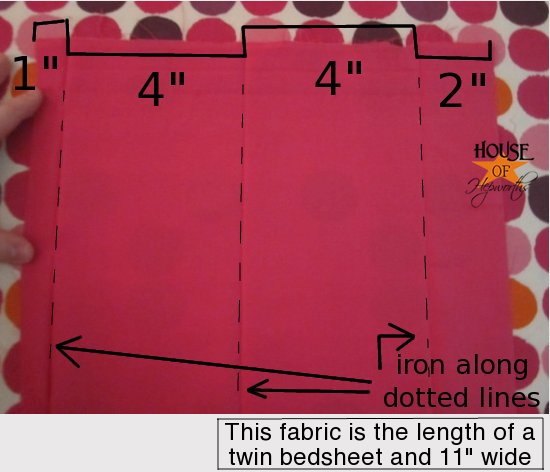
I’m sorry it’s zoomed in so much. I hope you can follow what’s going on here.
Basically, you need an 11″ wide strip of fabric the width of your sheet (not to be confused with the length – or from the head of the bed to the foot of the bed). You will then iron 3 separate creases into the width of the fabric creating 4 separate sections; 1″, 4″, 4″, and 2″.
Here are all my sections ironed into a neat little pocket:
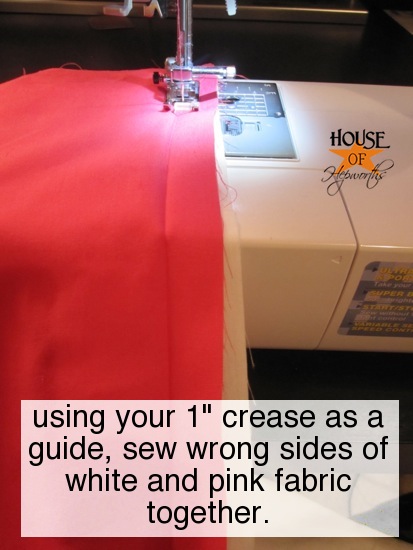
Once you’ve got all your creases in place, take the wrong sides of both fabrics and sew them together along the 1″ crease.
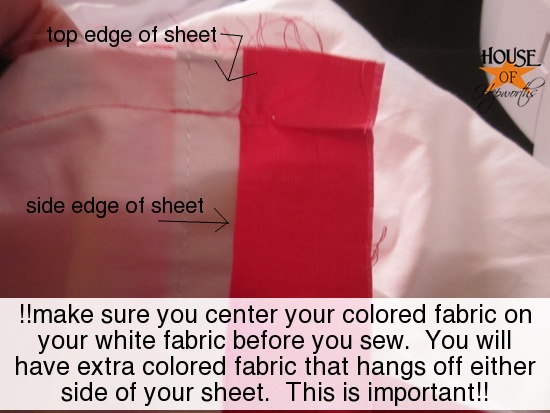
Before you begin sewing, make sure you have your colored fabric centered on your white fabric. You will have an overhang of colored fabric on either end. You need this to create your finished edge at the end!!!
All the sewing for these sheets are basic straight stitches, so it shouldn’t be too difficult.
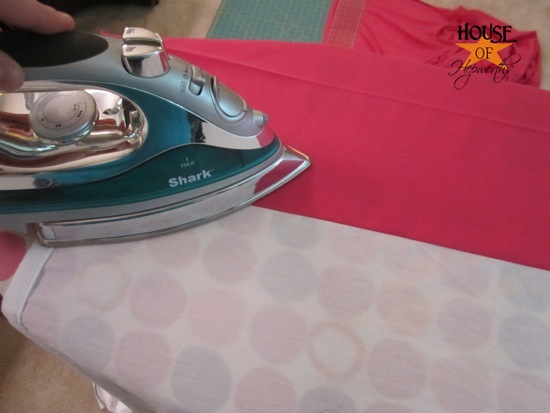
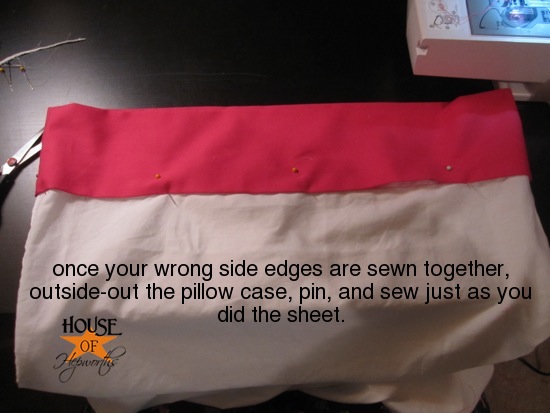
Once your wrong-side edges are sewn together, iron the seam really flat. Make sure the raw edges are folded up toward the colored fabric.
Now it’s time to sew the colored fabric to the front of the white sheet. Simply flip the fabric around and fold it on your already-ironed creases. If you ironed your creases it should just fall into place.
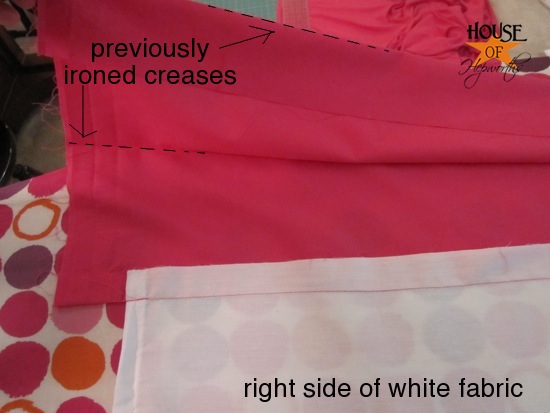
Also, tuck the 2″ section under along it’s crease as well. You will sew a simple straight stitch on top of the colored edge of fabric. Try to get really close to the colored edge, but don’t let the needle slip onto the white fabric.
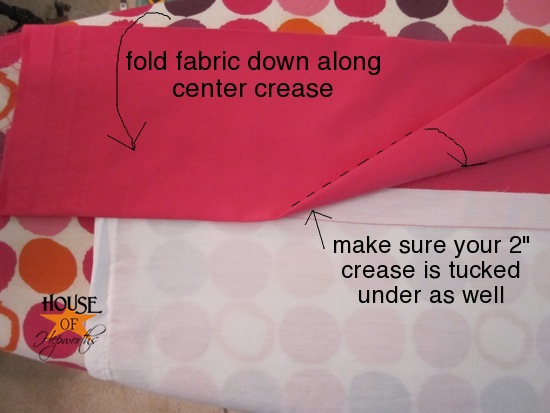
As you sew, make sure your colored fabric edge is barely covering up the stitching from when you sewed the back-side of the fabric.
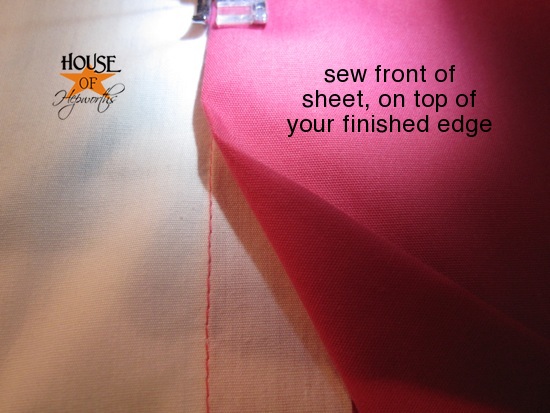
Go slowly and carefully. Eventually you will have a very professional looking seam along the front of your sheet. If you sewed it perfectly, you should have a stitch directly on top of your original stitch along the back as well.
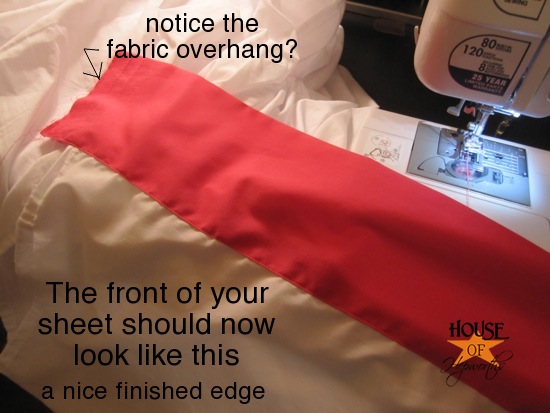
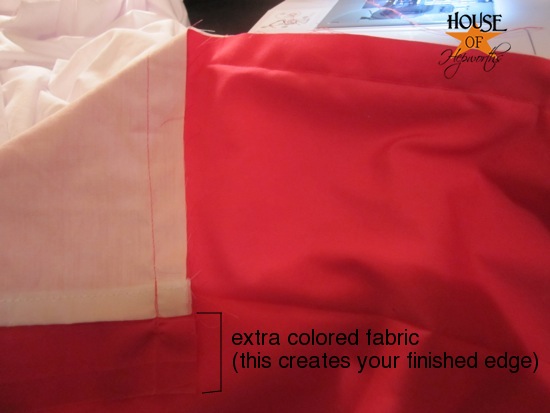
Now let’s finish off those edges! Remember how you had some overhang of the colored fabric? This overhang was created because you took the hem out of the sides of the sheet while you were prepping to sew.
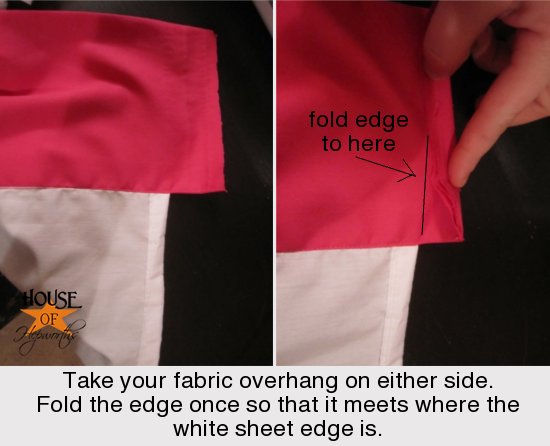
To finish off this edge, all you need to do is fold the raw edge once to meet up with the white edge of fabric. Make sure you are folding towards the back-side of the sheet!
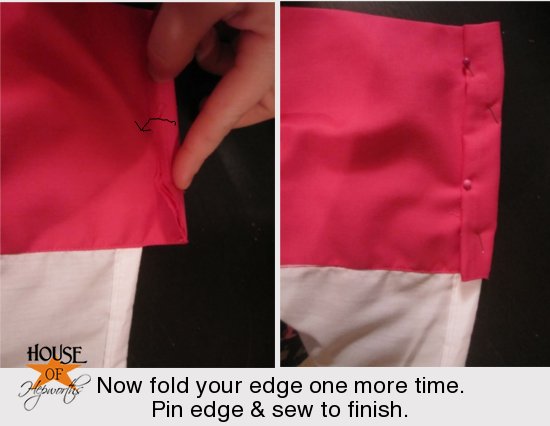
Now fold it once more and pin it. Do a quick stitch along the edge to create your very professional looking finished edge.
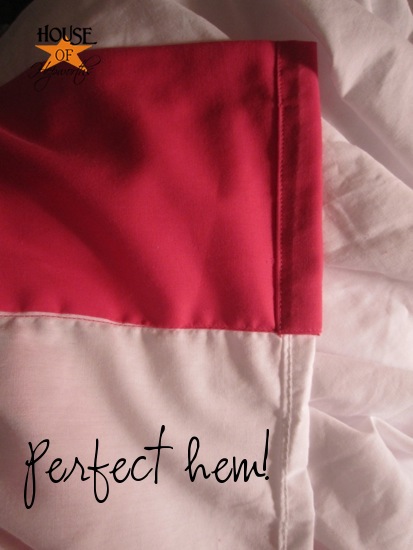
Check out this finished edge. Doesn’t it look professional? See, I told you it wasn’t hard!
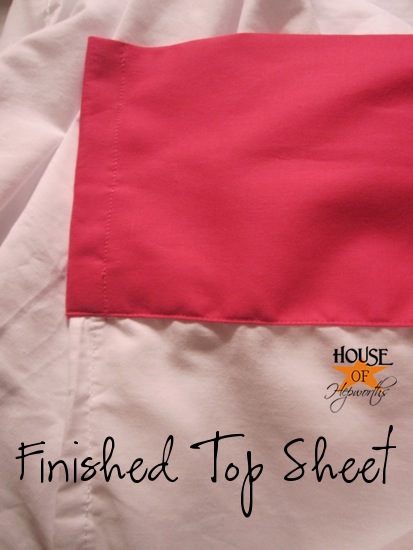
And from the front, this is what your top sheet should now look like:
Now that the top sheet is done, shall we work on the pillow case?
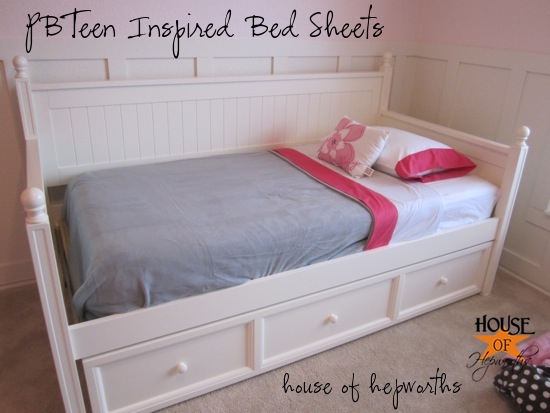
The pillow case is easier because it’s smaller, but it’s also a little more difficult because there aren’t two sides – it goes in a continuous loop.
We’ere going to take what you just learned for the top sheet and apply it to the pillow case.
Start by turning your pillow case inside-out.
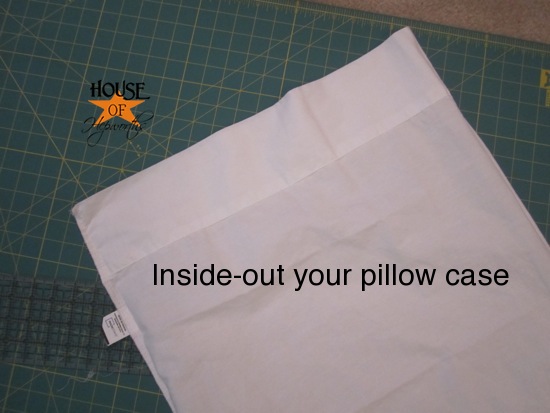
Cut off the cuff of your case:
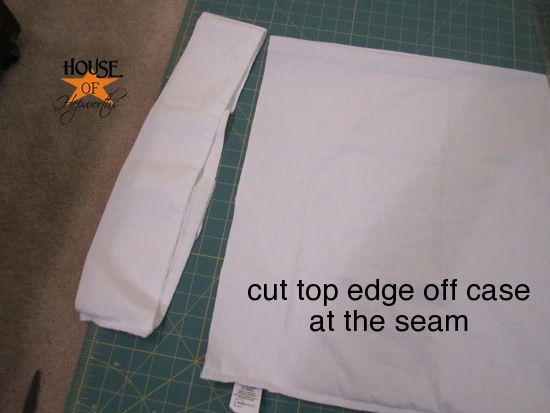
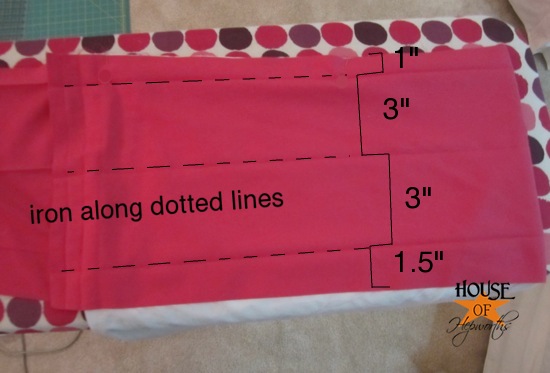
Now you need to get your colored fabric cuff ready. Do this the exact same way as the top sheet, but in smaller proportions. I made my creases at 1″, 3″, 3″, and 1.5″ (a little smaller than the top sheet size). I used the leftover from the top sheet for this cuff as well.
This is where it gets a little tricky. Fold your colored fabric in half width-wise. You want to cut it to be about 1″ longer than your pillow case.
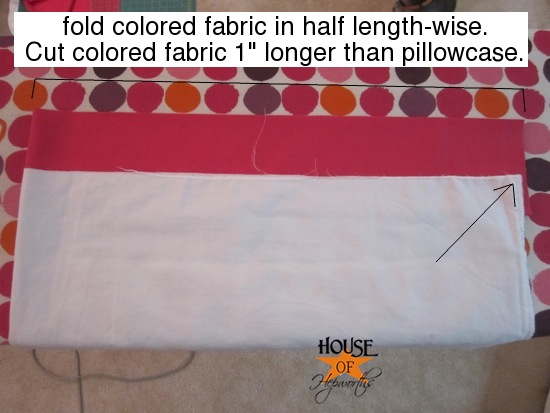
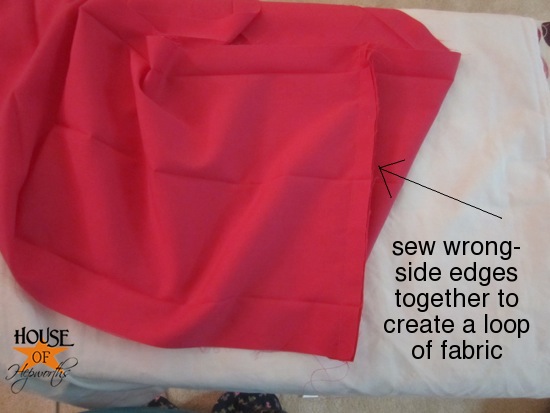
Once you cut your fabric, take the wrong-sides and sew them together. Make sure your hem is 1″ thick so that when you attach it to the pillow case it lines up perfectly.
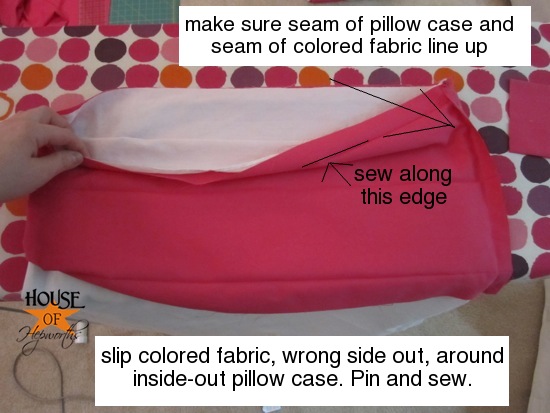
Attach your colored cuff, wrong-side out, to your pillow case which is also inside-out. Attach it on the 1″ seam, not your 1.5″ seam.
Sew along your pre-pressed crease to attach the colored fabric to the pillow case.
Right-side out your pillow case. Do as you did with the top sheet and fold your colored cuff along the pre-ironed creases. They should easily fall into place.
Pin the whole shebang and sew it along the finished edge.
You are officially finished! {Unless you are like me and made 3 full sets!}
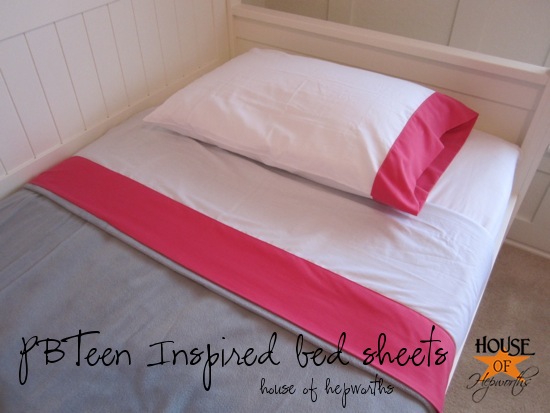
If you are wondering about the fitted sheet, don’t. It stays solid white! Super easy!!
Also, for all three top sheets and three pillow cases I used only a portion of one hot pink top sheet. I had enough left over to make my throw pillow as well!
As for washing, I have already washed these sheets a few times and they wash beautifully. I use color safe bleach and everything looks perfect once they come out of the dryer. No ironing needed! Woo Hoo!!
And that, my friends, is how you make your own PotteryBarn Teen Inspired bed sheets for a fraction of the cost!

Stay tuned this week as I share how to make the duvet and sham set and the ruched throw pillow. Also, keep an eye out for a few good sewing tips, a step-by-step guide to making the perfect bed, and a few bargin tips for finding good quality bedding at a fraction of the cost. It’s all here, this whole week!
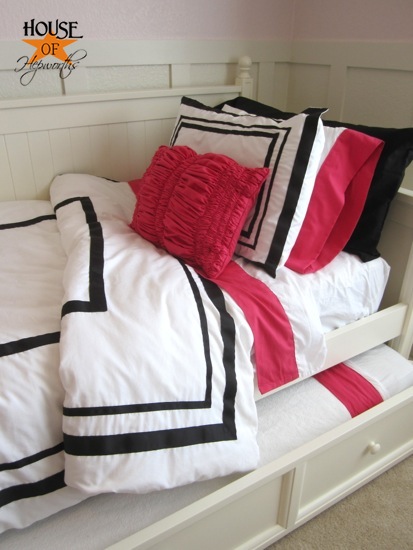
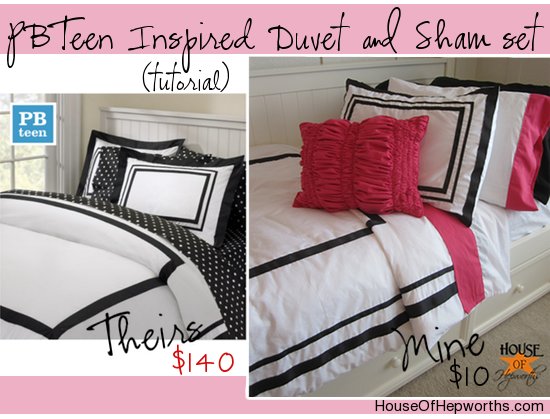
Here’s a quick link to the first post in this series, I knocked off some PBTeen bedding and saved $355 {K’s new bedding}.
Have a great evening! I’ll see you again tomorrow night.
Check out all the other posts in this Bedding Week Series here:


Love it!! I’m definitely going to be copying your whole setup for our guest room – except in blue instead of pink.
Can’t wait to see how you did the duvet – that really has me stumped
Ti scrivo in italiano, per sottolineare quanto lontano arriva il tuo lavoro e la tua passione

Apprezzo moltissimo la filosofia di ispirazione, ricreando modelli bellissimi con tutto il risparmio possibile! Questo dimostra che non c’è bisogno di spendere una fortuna per avere una casa bella e personale!
Ti seguo da parecchio tempo, e continuerò a farlo! Le tue idee mi piacciono moltissimo!
Baci da Roma
you know it looks amazing, but I would be the one to cut something wrong a ruin a whole sheet or something, I can so see myself crying after making a wrong cut. Great work!
I love love LOVE this!!! I can’t wait for the ruffle pillow tutorial!
So cute! I like PB Teen for me, isn’t that awful? But their prices…yikes.
This is EPIC! I love it! Cannot wait to see the rest of the series!
You made that look so easy, my never-used sewing machine doesn’t look *quite* as scary right now.
These are so cool! Definitely pinning for future reference! I really can’t wait to see the comforter!
Girl…..are you an engineering major or something!?!? Holy smokes that is so cool. And I need to make a trek to the big W – Tarjay has way too expensive pillowcases for my college boy.
Nice post. I was checking continuously this I care for such info a lot. I was looking for this particular info for a very long
blog and I am impressed! Very helpful information specially the last
part
time. Thank you and best of luck.