Guess what today is! It’s day 3 of…
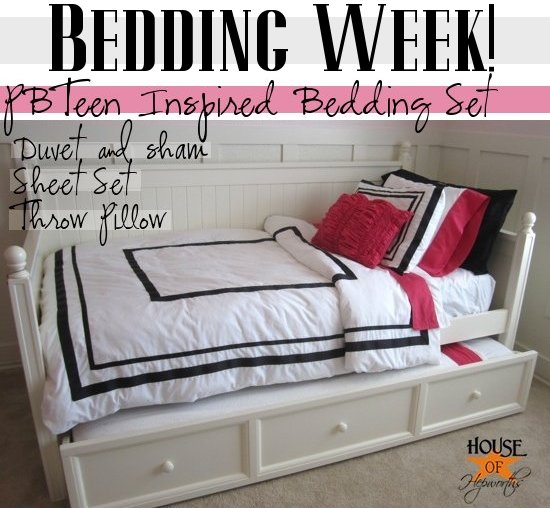
All this week I’m sharing tutorials and tips on how to create your own PBTeen Inspired Bedding set including a:
Duvet and Sham set
Sheet Set with colored edge
Ruched Throw Pillow (small sham)
I’ll also be telling you where I bought everything, how it compares to PBTeen, and the best places to find bargin prices without scrimping on quality.
Yesterday I shared with you how to make your own
PBTeen Inspired Sheet Set.
Today I’m back with another tutorial! This time I’m pulling out all the stops and showing you how to create your own
PBTeen Inspired Duvet & Sham set.
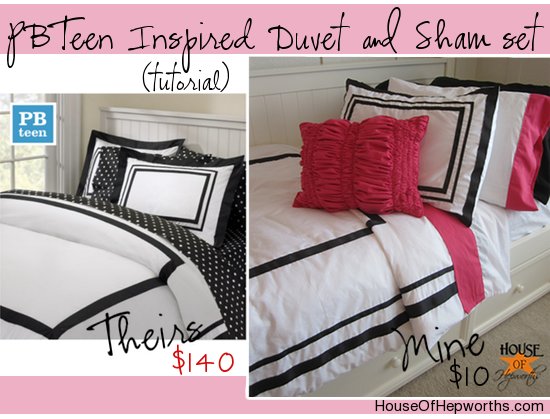
While PBTeen uses fabric to line its duvet, I found the best solution for me was to use grosgrain ribbon. It’s thick and sturdy and you don’t have to worry about trying to cut perfectly straight pieces of fabric.
Also, just to give you an idea before you start the tutorial, basically you will iron the ribbon to the duvet using heat n bond, and then you will sew the ribbon to reinforce it.
To make this Duvet knock-off set, you’ll need a few items:
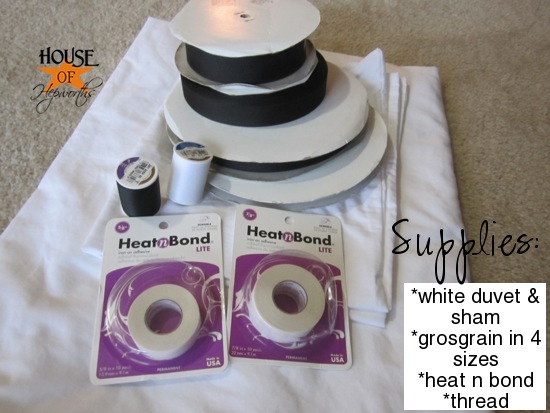
You’ll need a plain white Duvet and Sham Set, Black Grosgrain Ribbon, Heat n Bond, an Iron, and a sewing machine.
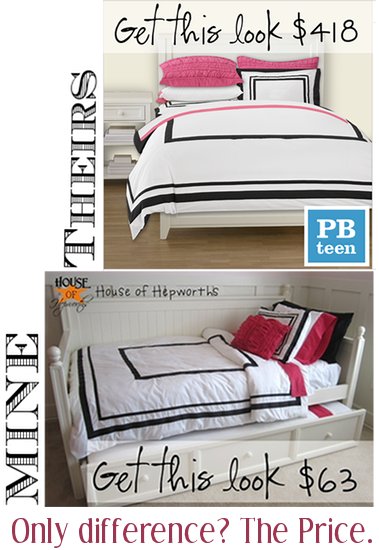
Let’s start with the duvet and sham. I was on the lookout for a white duvet set and found one for $24.99 at Target. Not the best price, but not as bad as the $140 PBTeen is charging.
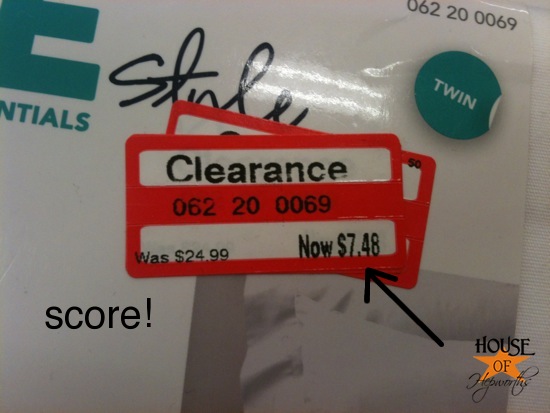
After putting it in my basket, I did my usual walkthrough scoping out all the known clearance sections. Low and behold, I stumbled on this:
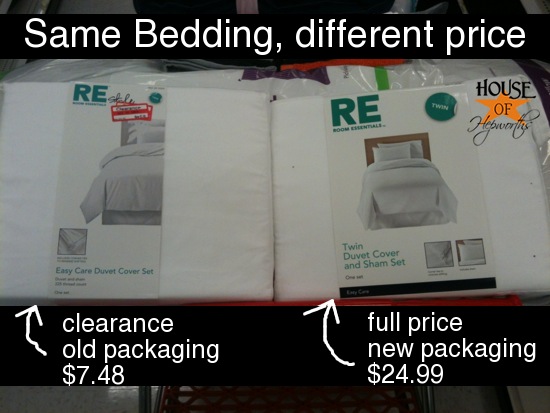
You read that right. Target had the same exact bedding on clearance for $7.48. After combing over it with a fine-tooth comb I couldn’t find any reason for the markdown except it was packaged in an older style packaging.
Thank you Target for redesigning your packaging! You just saved me more than $15 bucks!
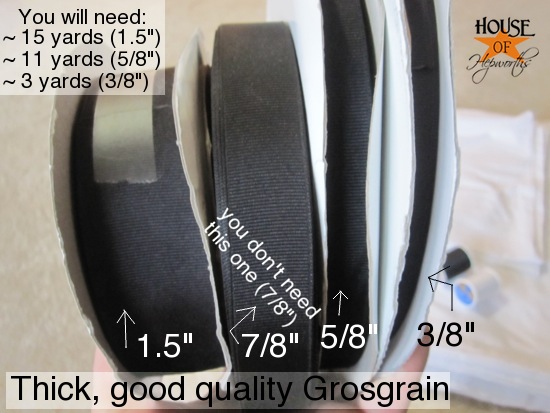
You’ll also need a bunch of grosgrain ribbon. I am super-picky about my grosgrain ribbon. Most stores carry really cheap thin ribbon which I hate. I like crisp thick ribbon that holds it’s shape and weathers well.
I purchase ALL my grosgrain from Ribbon and Bows Oh My. I’ve been buying from them since about 2004 when I started making hair bows for my daughter. I suggest if you need ribbon you order straight from them.
Plus, when you buy it at the local store it comes in only 3 or 5 yard spools. For this project you will need anywhere from 3 – 15 yards, depending on the width of grosgrain. 20 yards of 3/8″ grosgrain ribbon is only $2.71. Can’t beat that. They charge more at Walmart for 5 yards of crappy ribbon!
Here is the direct link to solid grosgrain ribbon at RABOM.
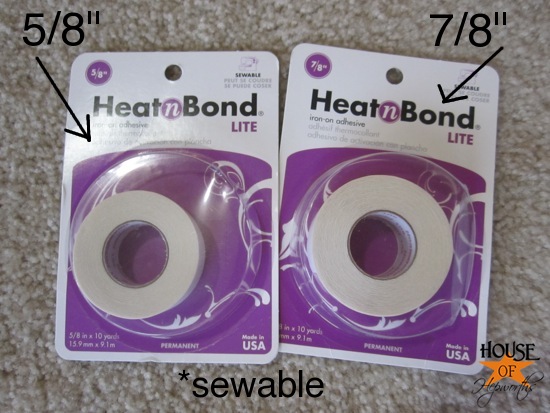
You’ll also need varying widths of Heat n Bond. Or you can just by the thickest width and cut it up the middle. Make sure you get the sewable kind.
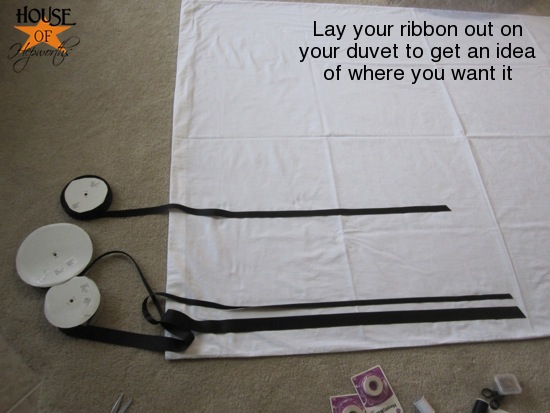
I started by laying out my ribbon on the duvet just to get an idea of what it would look like. It also helped me to visualize what size of ribbon I wanted to use. I ended up using every size in the photo above except 7/8″ ribbon.
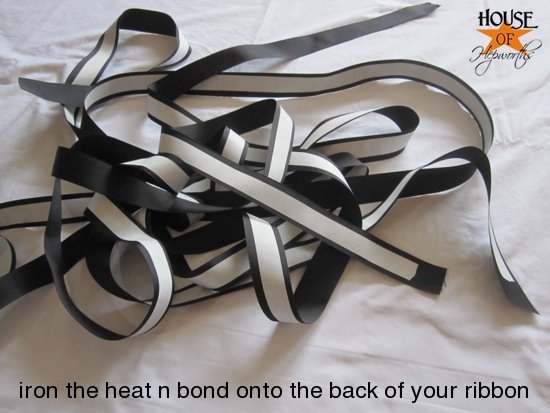
The very first thing you have to do before you even begin attaching your ribbon to your duvet is to adhere the heat n bond to the back of your ribbon. It quickly irons on leaving a paper backing.
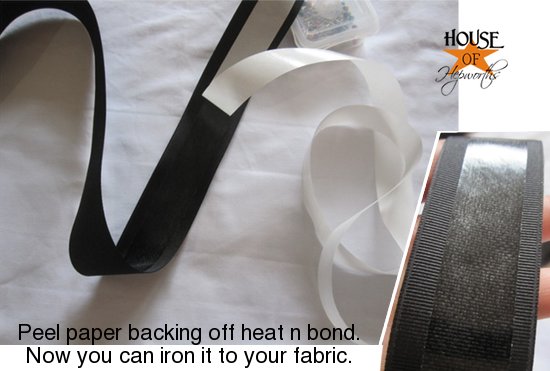
After it’s ironed on the ribbon, peel the paper backing off. It isn’t sticky at all, so don’t worry about it making a mess.
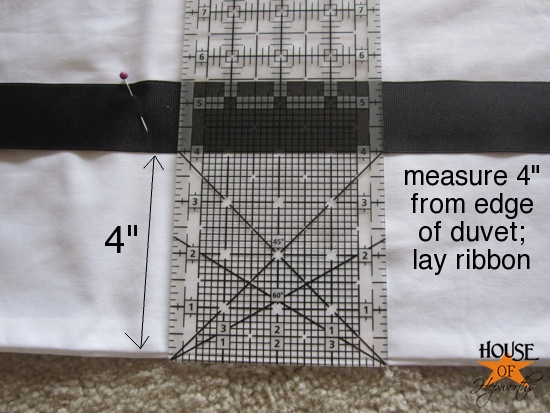
Once your ribbon is ready and your iron is hot, start laying out where you want your ribbon to go. Have a good ruler handy.
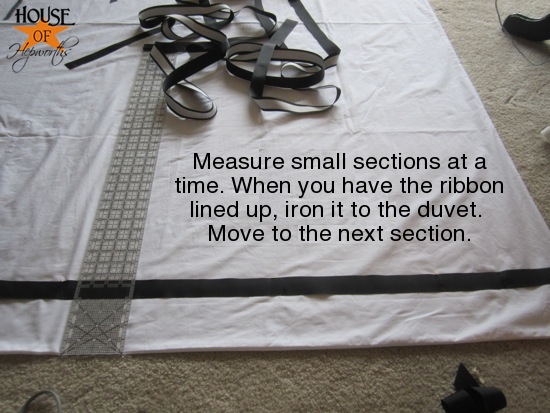
I found the easiest way was to do small sections, about a foot at a time. Line up your ribbon using your ruler, then iron it to the duvet.
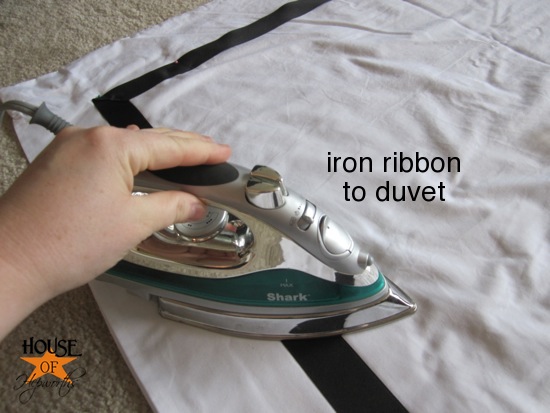
Now schooch over and measure the next section. Work your way around the duvet until you reach the beginning.
Let’s talk corners now:
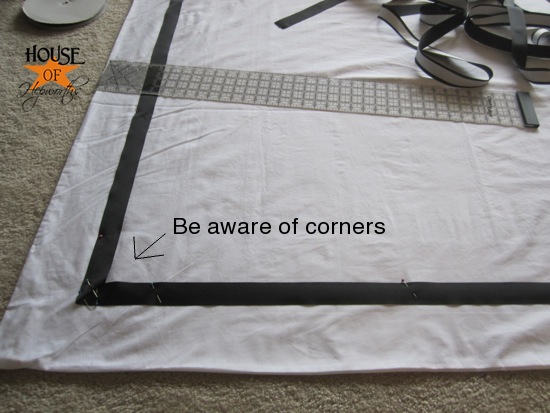
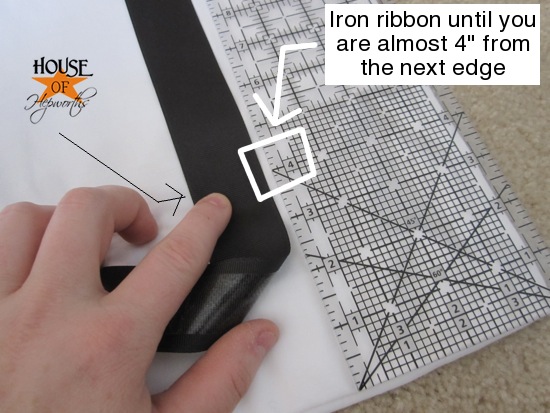
Iron your ribbon down until you reach your turning point.
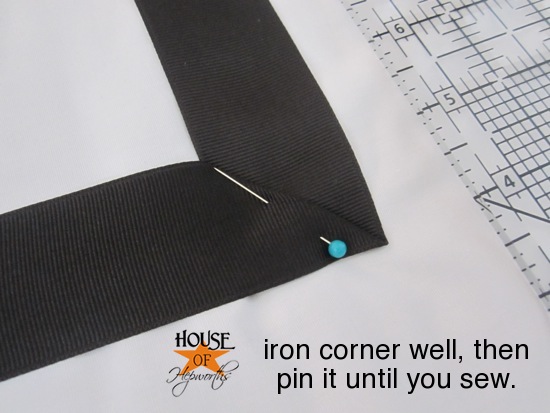
Fold back your ribbon exactly where you want your corner to be. Fold your ribbon over at a 45 degree angle. I drew dotted lines on the picture below to show you how to fold it.
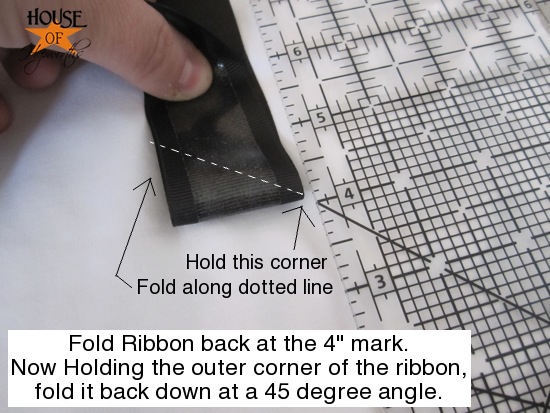
Once it’s folded over, iron it really well and then stick a pin in it to reinforce it until you sew.
Keep working around the duvet until you reach back where you started. For the seam, fold the end of your ribbon over at an angle, then place it on top of the starting point ribbon. Iron flat and pin until you sew.
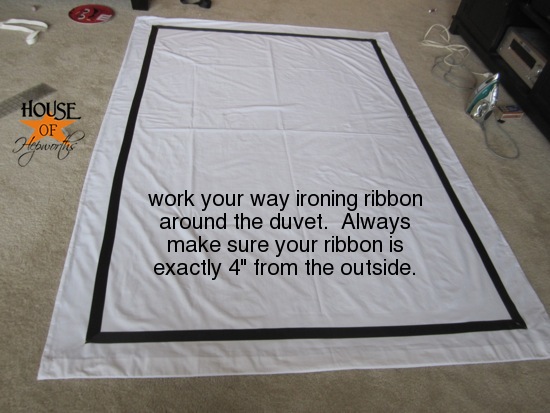
Once your outer line is finished, start on the next line.
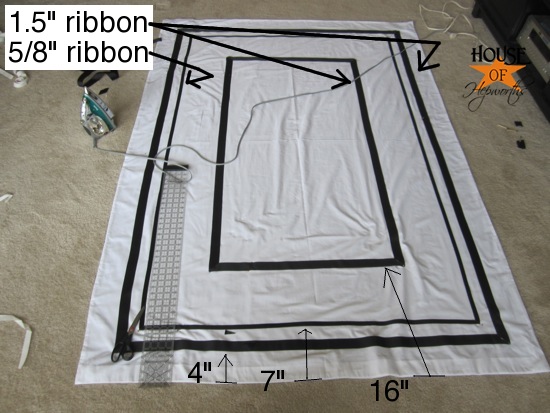
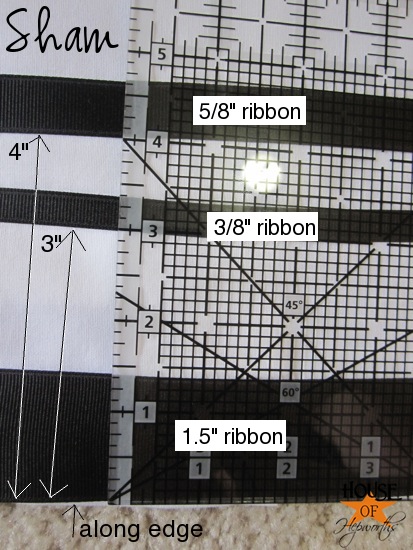
I did the outer line 4″ from the edge of the duvet using 1.5″ grosgrain ribbon. The next line I started at 7″ using 5/8″ grosgrain ribbon. And finally, the inner square is at 16″ from the edge using 1.5″ grosgrain ribbon.
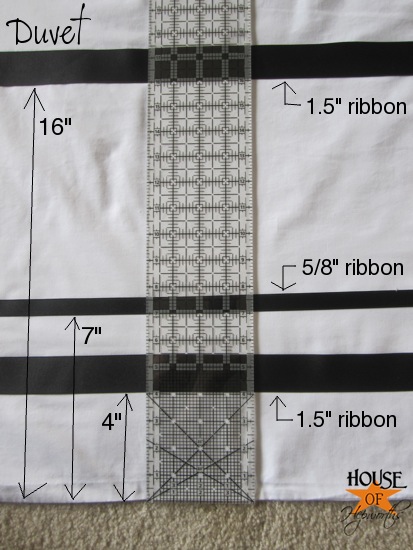
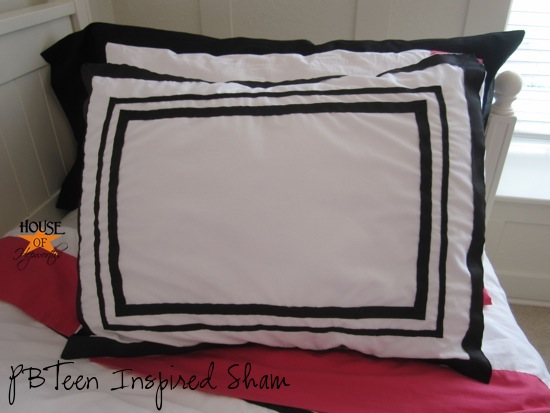
Here are my exact measurements for the sham:
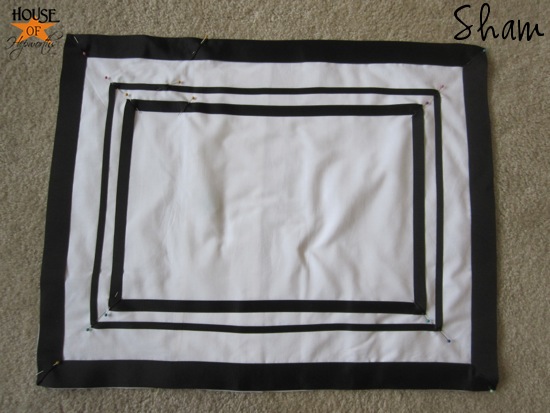
I did the sham the exact same way I did the duvet except I started the outer ribbon directly on the edge of the sham.
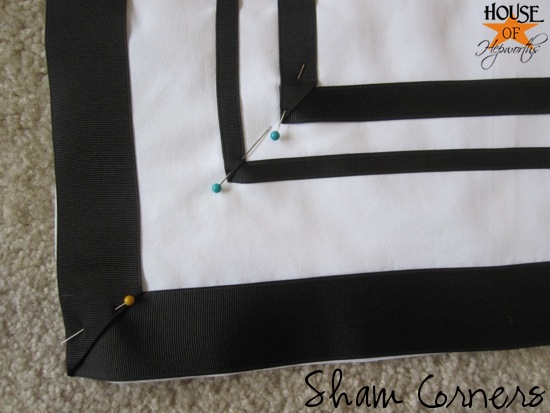
And here’s a great view of the corners and how I attached them.
Once everything is ironed and pinned down, it’s time to sew. Make sure you only sew the top layer of fabric! You don’t want to stitch your duvet or sham closed. I sewed along either edge of all the ribbon so that it will always lay perfectly flat.
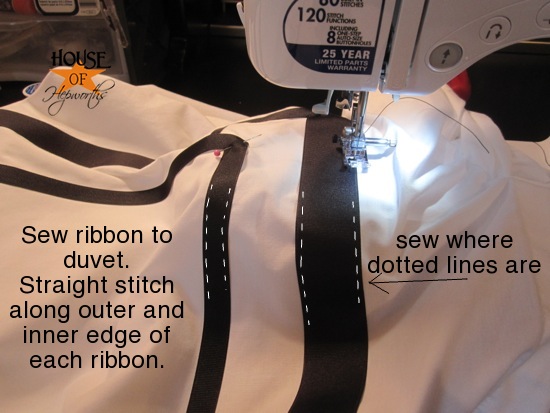
When sewing, try to get as close to the edge of the ribbon as possible. For the corners, I stitched along the diagonal of each corner to sew the seam flat.
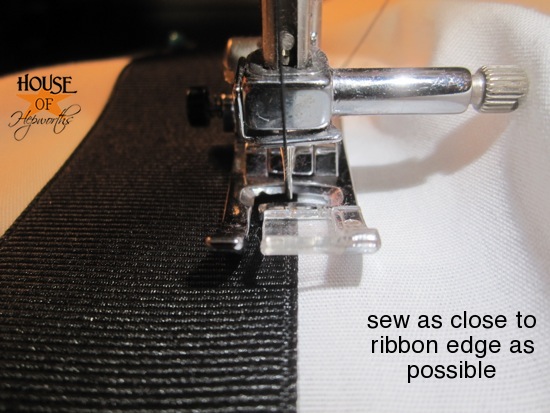
The only main challenge to sewing the duvet is dealing with the massive amounts of fabric being stuffed through the sewing machine (because of the bottom layer of the duvet). It’s really a lot of fabric to deal with, so go slowly and pay attention that you aren’t sewing over any chunks of bunched up fabric.
Also, one more sewing tip to note. Because the outer ribbon on the sham is along the edge of the sham, you cannot get the corners through the sewing machine. It just doesn’t work. Sew as far as you can, then hand stitch the rest.
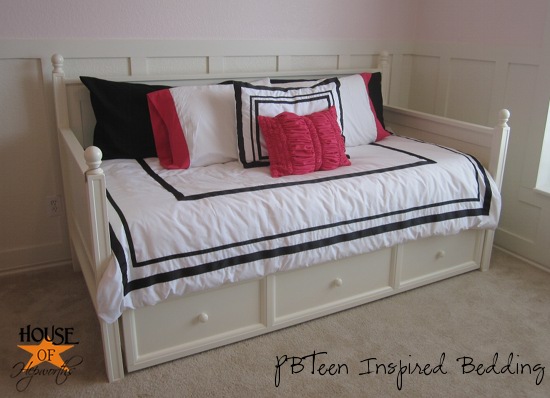
And here’s the finished duvet with the feather and down comforter inside it.
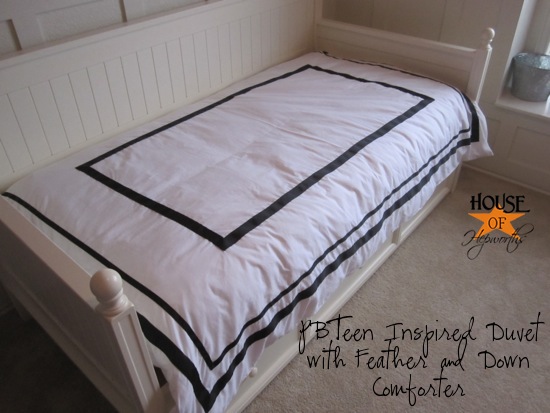
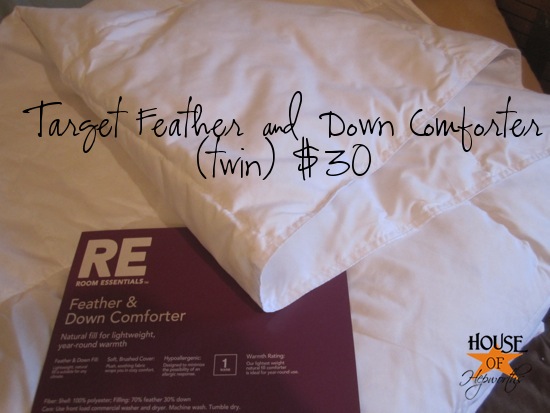
I purchased this one from Target for $30. It’s thin, but in Texas we really don’t need thick hot comforters.
And here’s the duvet with the pillow stuffed in it. In retrospect I may have sewed the ribbon about an inch inside the seam instead of right on it. It would have been easier to see. Oh well! I still like it anyway.
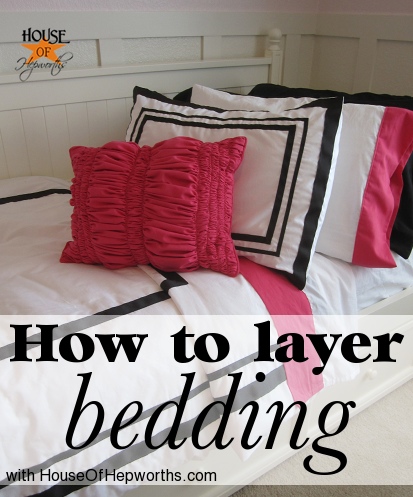
A few have asked about how I make the beds each morning. Well, for all my photos I make it like this:
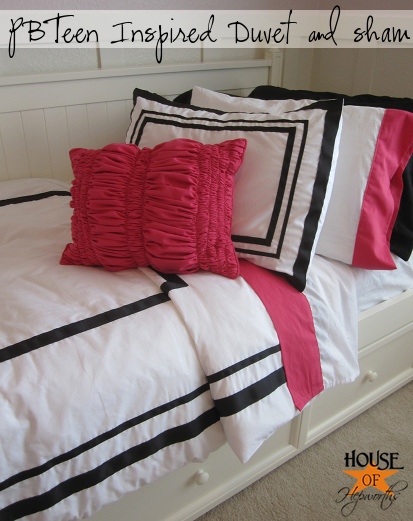
I tried to make it the way PBTeen makes their beds. I think it’s so pretty like this!
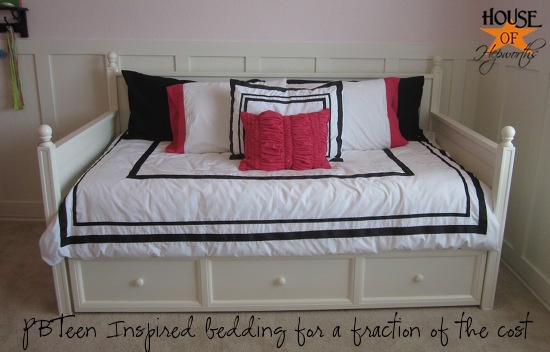
But in real life, I make it like a daybed.
Besides the trundle, one of the main reasons I chose this bed (for both my kids!) is because it’s a daybed. I love the idea that it’s a couch during the day and a bed at night. Now their friends all have somewhere to sit when they come over.
I’ll be doing a bed making post this week, so I’ll go into even more detail on that post.
Thanks so much for hanging around this week while I drone on and on about beds. I hope you’ve enjoyed the posts so far and that they have been useful to you.
*edited to add: The bedding was only $10 for me because I already owned all the ribbon.
Check out all the other posts in this Bedding Week Series here:


Simple & Awesome!! Love it!
I love it and I want a bed like that!
WOW Allison you did a great job! I am sharing it on my Facebook page!
Have a great day!
If I ever have children, a daybed will not work…unless I want to buy them another bed when they hit puberty. Ah, the joys of having parents in the top 2.5 percentile of height! (I’ll be breeding football players, lol)
I’m in awe!
This is so much easier sounding than I would have ever guessed.
Thank you for discovering this and sharing!
I’m going to start scouring the clearance racks at Target for duvet covers now haha
YOU are a genius! I LOVE how this turned out and it doesn’t seem impossible for me to do, so I’ll definitely have to keep this on my radar!
The whole “new packaging” thing is something that, I learned, happens even in the MATTRESS industry where they will simply change the design on the cover of the mattress (yes, the part we never sleep on because we cover it with sheets and other mattress coverings) thus making the old style obsolete and a STEAL when that season comes around.
I was just looking at that today when my catalogs made their way into my mailbox (I never can order anything, so it’s just unnecessary punishment). It’s amazing how much they look alike! This is awesome!!! Thanks for sharing, Allison!
Allison, you are brilliant! This is a beautiful knock off. I’m thinking it might look wonderful in my guest room!
Thank you so much for sharing this set. If you don’t mind, I’d like to highlight you in my Tutorial Tuesday post for next week.
Loving the tutorial on the bedding, working on one for my grandaughter and was tickled to see this. I have already made the sheets with the ric rack and embroidered pillow cases. I have photos of them on my facebook page All a Jumble.
Oh. My. God. GENIUS! I never knew it could be so easy!
I have had nearly this exact idea rolling around in my head for a few weeks, how nice to come across a beautifully executed version with a tutorial. I just have one question: Do you have any problems with the gross grain ribbon bleeding it’s black color onto the white duvet in the wash?
Kudos to you! It looks like a tedious process, but well worth it. Nice job!!
Hey i stumbled upon this post and i was so inspired! I went straight to the fabric store to get materials and made myself a queen size comforter with gray ribbon!!!
OMG that is so awesome! I love hearing this. You are a rock star. xo
Man, I just bought a similar set at Restoration Hardware. It was on semi sale, but I am kicking myself since I literally just washed it. Wish I had not missed this great post!
Does the ribbon bleed when you wash the duvet cover? I know it’s probably a silly question but I just want to make sure before I start this amazing project! And thanks for the ribbon website I can never find ribbon for more than 3 yards!!
Thank you so much – very beautiful indeed! Please keep the ‘knock-offs’ coming!!!
AMAZING job. I translated your pattern into a queen size version and made it myself. I used gray ribbon instead of black and made a comforter instead of duvet. Thank you so much for this post.
I’m so excited to have found this. This has been one of my favorite sets I had my eye on for my daughter. Would happen to know roughly how much ribbon to get for a full vs a twin? I’m excited to tackle this project but don’t know how much ribbon to get. It scares me I won’t get enough
Just add up each of the 4 sides for a full sized set (length + length + width + width) then add maybe another foot just to be safe.