Welcome to another installment of…
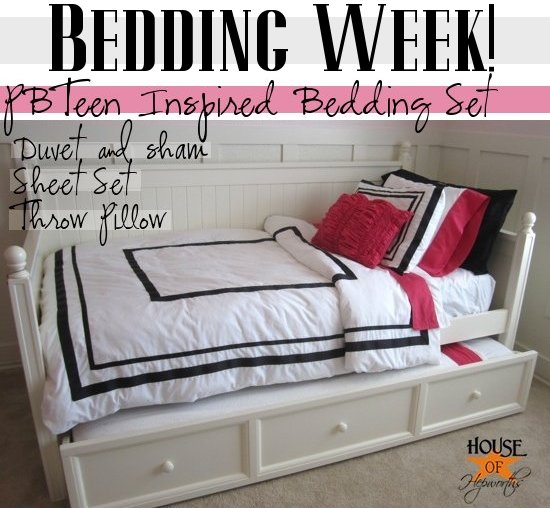
Today I’m going to share some quick tips about bedding.
Let’s start with making a bed.
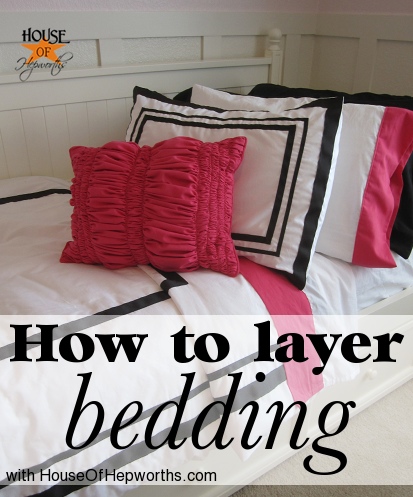
I’m sure there are like 20 billion ways to layer a bed. This is just how *I* do it.
First I start off with my gear:
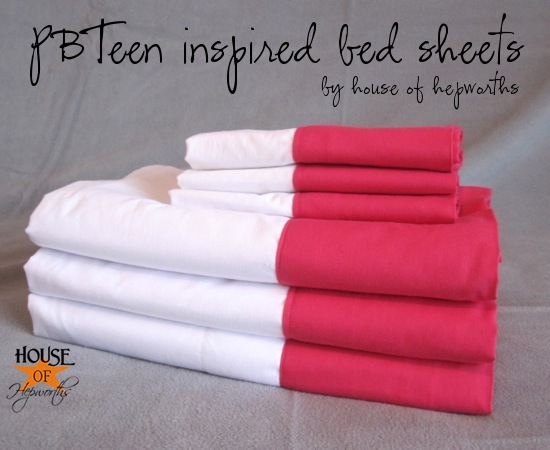
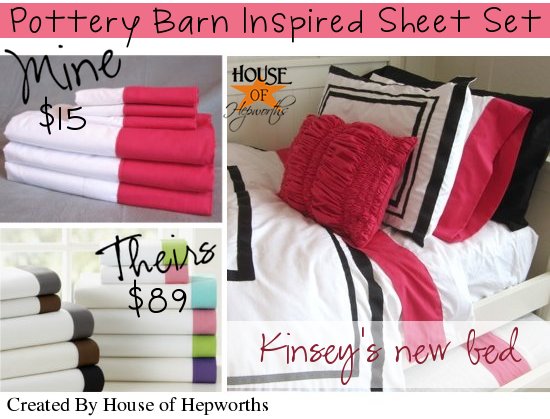
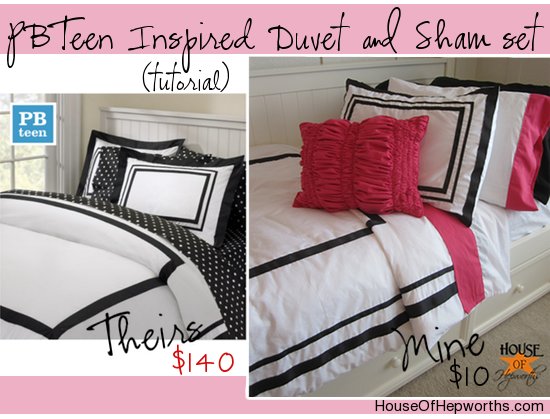
I bought sheets from Wal-Mart for both my kids’ beds. I altered my daughter’s to look like ones at PBTeen.
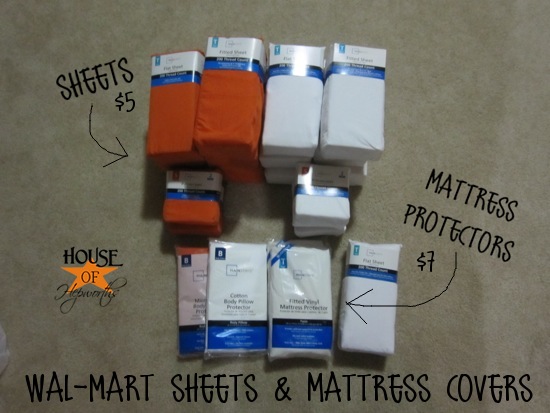
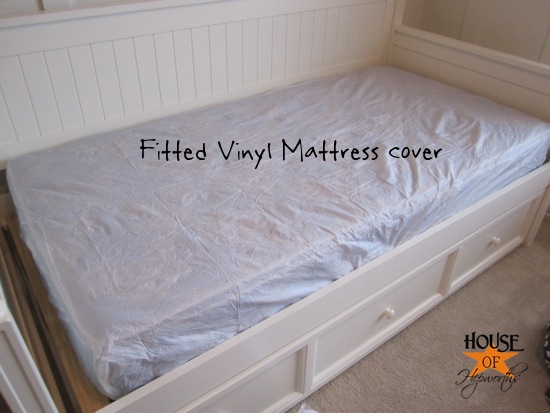
I also bought some of these vinyl mattress covers. These are an inexpensive way to protect your mattress from accidents
(bed wetting and barfing included).
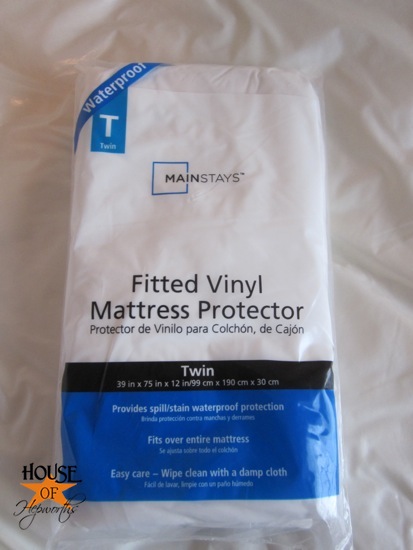
Each kid also has a mattress pad on their bed for more protection and to make it more comfy to sleep on.
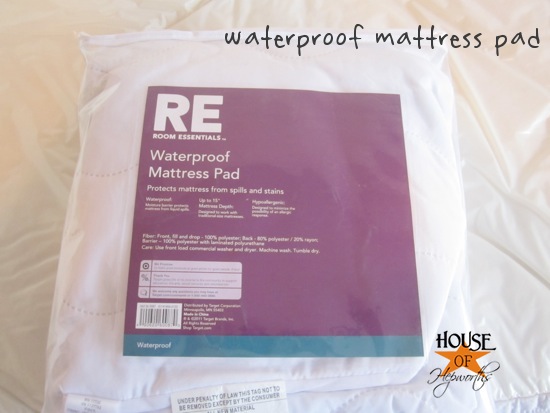
For my daughter’s bed (and her trundle bed) I start by adding the vinyl mattress cover.
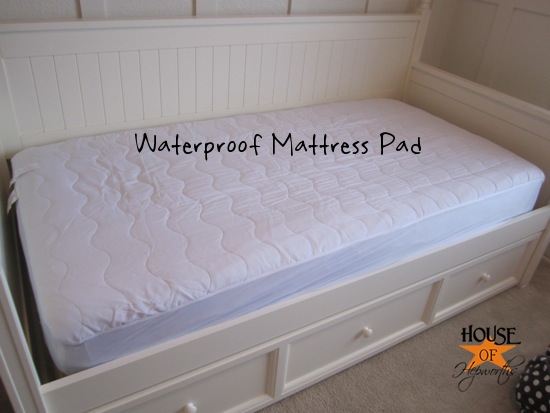
Next I top the vinyl mattress cover with the waterproof mattress pad.
From there I add her sheets:
After that comes a microfleece blanket. I purchased the microfleece blanket from Target.
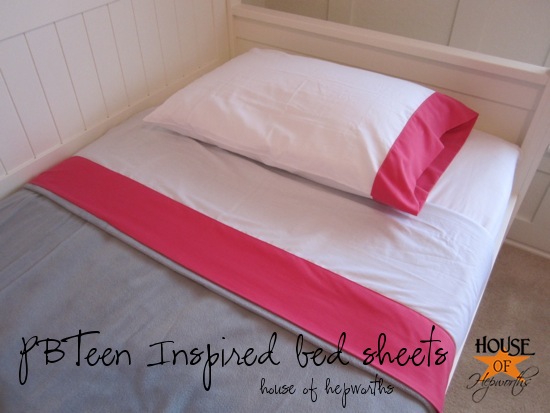
K actually threw such a huge fit about this GRAY blanket that I compromised with her and returned it for a hot pink one.
When decorating your kids’ rooms there’s a fine balance between making the room look cute and still allowing your child’s style to shine. If it were totally up to K her walls would be hot pink with huge purple polka-dots and every stitch of bedding and furniture would be hot pink. We compromise by me letting her pick out a few things she loves.
After the microfleece blanket I add the duvet.
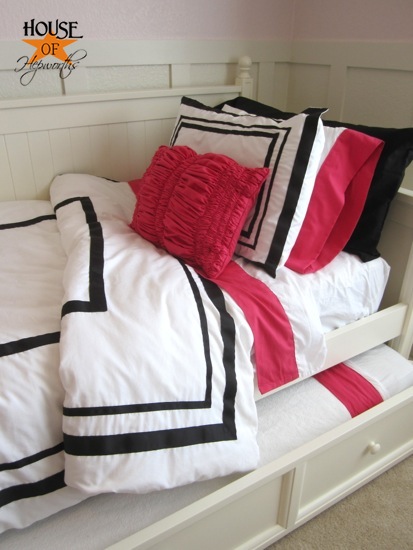
I use to only use a comforter or duvet on top of the sheets, but have recently started adding the thin blanket in between to add texture and to give the kids an option of how warm or cool they are at night.
They usually sleep with the sheet and blanket, but on really cold nights they can reach down and grab the duvet that’s at the foot of their bed.
Plus, using a blanket instead of the duvet each night really saves the wear and tear on the duvet and helps it to last a whole lot longer.
Now, for my son’s bed I add a few more laters, if you can believe it!
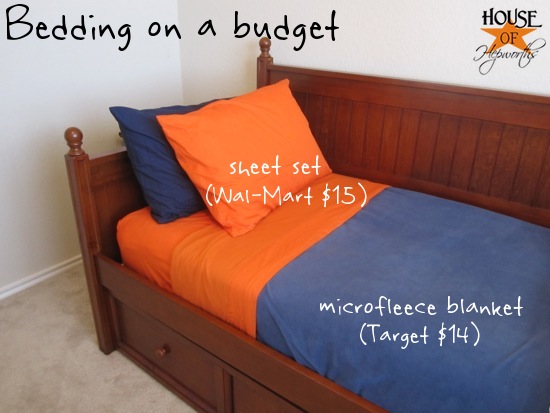
He {unfortunately} has a pretty crappy mattress, but we just don’t have the funds to buy him a new one right now. So I improvised and {cheaply} layered his bed to make it much more comfortable to sleep on.
Here’s a breakdown of all the layers on his bed:

I start with the mattress and top it with a foam mattress topper (looks like an egg crate). I found it on clearance for about $5 at Target (shocker!).
Next I add a waterproof mattress pad. This one has a thick layer of plastic over the mattress pad part, so I invert the cover and put it on upside down, so the plastic is under the mattress pad part. Much more comfortable and less crinkly!
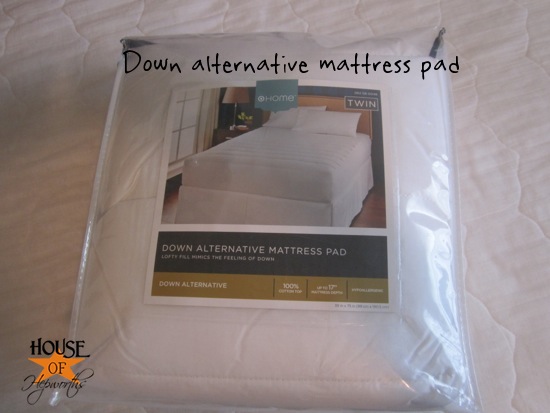
After that I add a down alternative mattress pad. This one was about $21 at Target. Usually I’m too cheap to spend that much on a mattress pad, but the down alternative one is more squishy and thick so I went with it.
From there we can finally add his sheets! I found his at Wal-Mart for $5 a piece ($15 total per set).
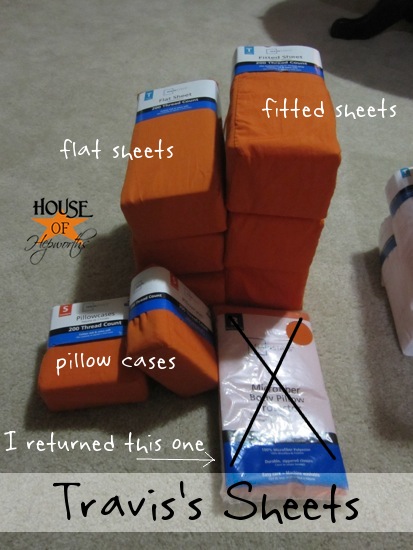
Orange Sheets Tip: I looked high and low for bright orange sheets. The ONLY place I found them was at PBTeen for $67.50.
I googled for at least an hour shopping for orange sheets online. You just can’t buy them anywhere! FINALLY it dawned on me to check Wal-Mart. (Honestly the last place I assumed would have such a color.) I was shocked to find out that of all places, Wal-Mart carries bright orange sheets. And for only $5 a piece (for twin sized).
Wal-Mart Sheets Tip: You’d think coming from Wal-Mart the sheets would be thin, see-thru, and crappy quality. But nope. I’m very impressed with these $5 sheets. They are 200-thread count but actually feel thicker than that. They are crisp yet soft and comfortable.
After the sheets comes the microfleece blanket. It’s $12 at target.

And then finally the duvet which I haven’t shown you yet. Another post, I promise! It’s super cute too.
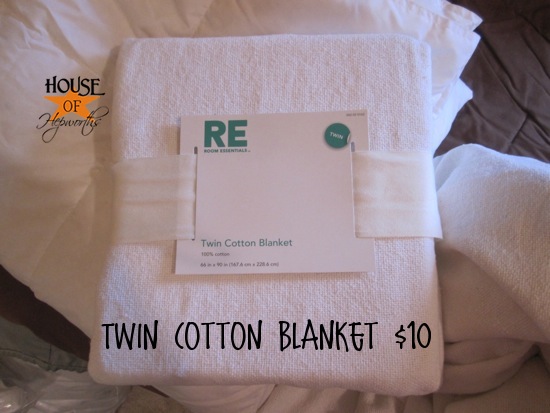
One more thing to note, I also found these cotton blankets at Target for $10. They only came in white though. I bought them before I found the microfleece blankets, so I decided to put them on the trundle beds.
Here’s a source list of all their bedding and how much I spent:
Daughter’s bedding:
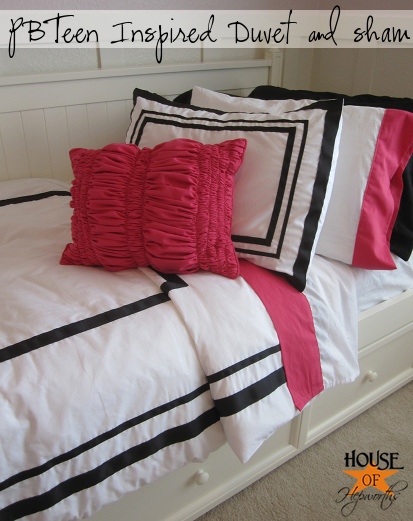
Daybed frame – posted about here
Plastic Mattreses Cover – Wal-Mart $7
Waterproof Mattress Pad – Target $16
Sheets Set – I made here ~$15
Microfleece hot pink blanket – Target $20
Duvet and Sham – I made here ~$10
Down comforter insert for Duvet – Target $30
Black King Sized pillowcases – Walmart $7
Hot pink Ruched Throw Pillow – I made (tut coming soon)
White cotton blanket on trundle – Target $10 (in stores only)
Pillows – Costco 2 for $10
King size pillows – Target $5 each
Travel size pillow inside Ruched Throw Pillow – Target $4
Grand Total for daughter’s PBTeen knock-off bedding (including all pillows, mattress pads, etc):
$139!!!
Son’s Bedding:

Daybed frame – posted about here
Foam mattress topper – Target clearance $5
Waterproof Mattress Pad – already had
Down alternative mattress pad – Target $21
Sheets Set – Wal-mart $15
Microfleece navy blanket – Target $12
Duvet and Sham – post coming soon! It was $20 though.
Down comforter insert for Duvet – Target $30
Navy King Sized pillowcases – Walmart $7
White cotton blanket on trundle – Target $10 (in stores only)
Pillows – Costco 2 for $10
King size pillows – Target $5 each
Grand Total for my son’s bedding (including all pillows, mattress pads, etc):
$120!!!
I was able to redo both kids’ bedding, from mattress pad to duvet, for $259.
Take a minute and think about that. I redid BOTH beds, top to bottom for LESS than what PBTeen is charging for a sheet set, duvet and sham, and throw pillow for ONE bed.
In fact, I did BOTH kid’s beds for a whopping $159 LESS than just the bedding for one bed at PBTeen.
And it’s not even apples to apples here because I’m adding in how much I spent on all the mattress pads, toppers, microfleece blankets, cotton blankets, etc.
My point? If you shop around, you can find good quality items at a fraction of the cost that you will spend at a name-brand designer store. And if you can’t find an exact copy, then make one! I made K’s sheet set and Duvet for a fraction of the cost.
Stay tuned for one more post where I show you how to make the Ruched throw pillow.
Check out all the other posts in this Bedding Week Series here:



fyi – ONE wash/dry of that down alternative matress pad and it totally falls apart :o( …and I had thrown the packaging away.
Their beds look great! Love the UVA colored boy’s bedding (wink, wink.) AND, those waterproof pads are on our kids’ beds too. They are nice quality for low cost.
Thanks for the breakdown, can’t wait to see the duvet.
I love her bedding! I can’t wait for the ruched pillow tutorial, pretty sure I need one
All of it is so cute, and I NEED to know where that bed is from! It’s so similar to the one I want but maybe for a less price?!
Pamela
This is a great post! My son will be transitioning to a “big boy” bed this spring and this post with your great insight will prove to be very helpful for me.
Your ideas are so great. Can’t wait to see your son’s duvet!
PS…seems like the cotton blanket from Target is no longer available on the website. Too bad Looked like a great deal.
Awesome breakdown of bedding cuteness. I buy those colored Walmart sheets for my dd’s bed, too – and I’m usually a sheet snob!
They’ve held up great. Your kiddos rooms are looking so cute. Thanks for the visual breakdown. Love your blogging style I read blogs at night when I’m tired and explanatory pictures work better than loooong wordy posts!
The suggestion on bedding arrangement is looking to get rich look.. I look to extend to my home as well…
Did you ever post the tut for the runched pillow? I’ve been looking for 2 days and I can’t find it!
No, because I suck. I am so sorry! Basically, cut a huge rectangle about 3″ wider than you pillow form and about 3x longer than your pillow form. sew single lines horizontally down one layer of fabric. Do not back-stitch the ends. Make several lines (3 or 4). Once you have them all, you are going to pull one end of each thread per line and cinch the fabric up. Do this for each line until all your fabric is cinched up. Now cut two more rectangles the size of your pillow plus 3″. Pin your ruched fabric to the top of one layer and sew around the entire edge. Now take your ruched side and your other rectangle and sew a basic pillow. Sew up 3 sides, stuff in your insert, then hand stitch the final edge.
Those vinyl covers are kinda noisy. i hated them. i did everything the same except i spent a bit more on a waterproof mattress from http://www.protectabed.com/content/mattress_protectors.asp and its totally worth it, seeing how my son is still having accidents at the age of 7. I love how the bed looks now. thanks for the great post!