I am so excited to show you my newest project!!! My daughter’s room has S-L-O-W-L-Y been getting a royal makeover. You can see all the updates here.
This week I finally got around to making and hanging some new curtains for her. And I am so stinkin’ thrilled about how they turned out!
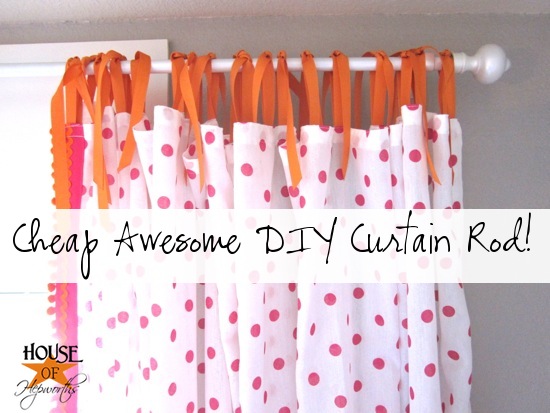
I’m calling them the Polkadot Pom-Pom Curtains. (…With Ribbon Ties made the title way too long.)
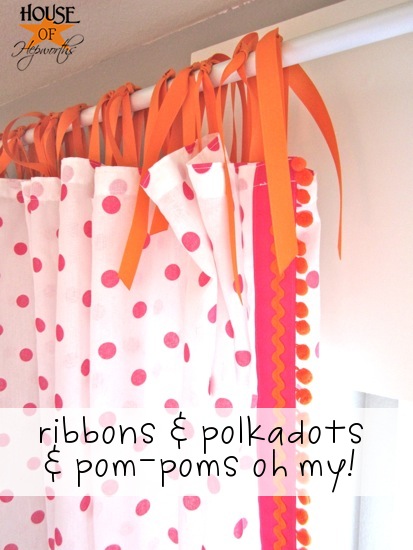
These fun bright curtains have a little of everything. Ric-Rac, pom-poms, ribbon, & polkadots!
** All items used will be listed with links at the bottom of this post. **
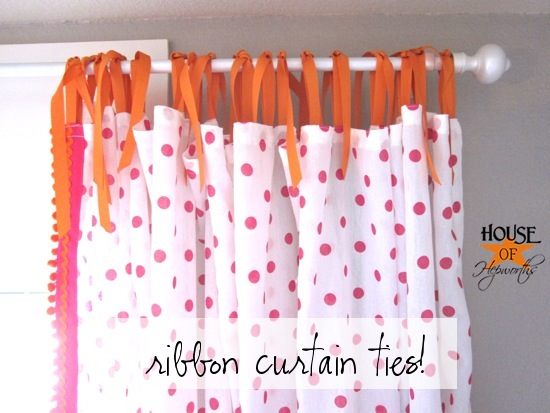
I don’t think I could cram one more texture onto these curtains if I tried. I had so much fun making them, and they were pretty easy. I guess you are wanting to know how?!
I found the most fun white-with-pink-polkadots curtains at ikea for only $13 a pack (each pack came with 2 panels!!) They were 92″ L-O-N-G and were pretty wide, but the fabric is very thin.
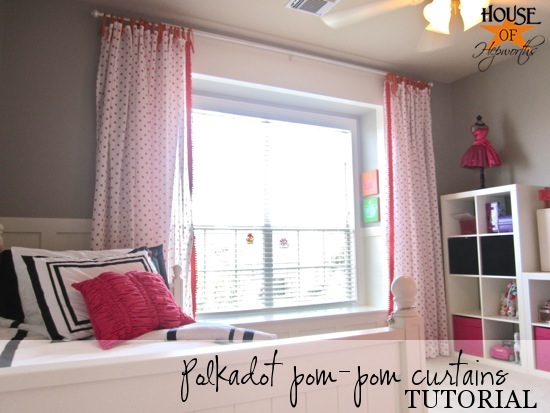
I purchased two packages of the panels with the intention of sewing two panels together to make them twice as wide on either side of the window. It really helped to make them more full looking. Just look how thick and full they look:
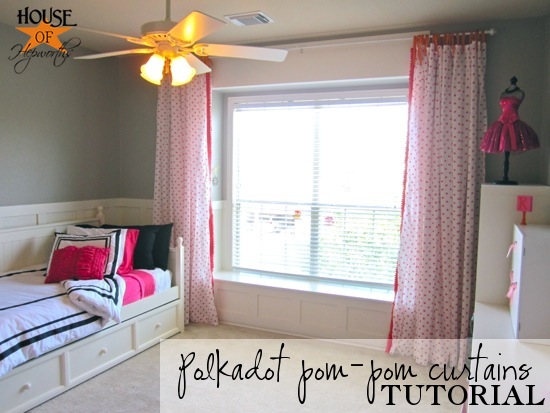
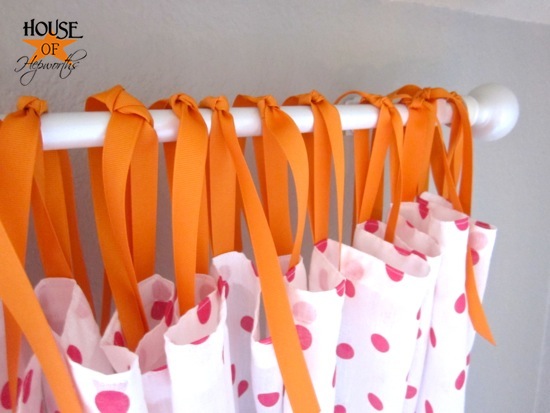
We have 9 foot ceilings. I like to hang my curtains high & wide to give the illusion of an extra large window (it’s an interior designer trick I found over at SAS Interiors). Well, high and wide is great, but when your ceilings are 9 feet, a 92″ curtain panel won’t cut it. So I had to improvise. This is where the ribbon ties idea was hatched.
So, to make these curtains, I started with 4 ikea curtain panels. I first ripped out the thick cuff at the top of each panel and also the edge of the panel where they would meet together (so on one panel I ripped out the right seam and the other panel I ripped out the left seam).
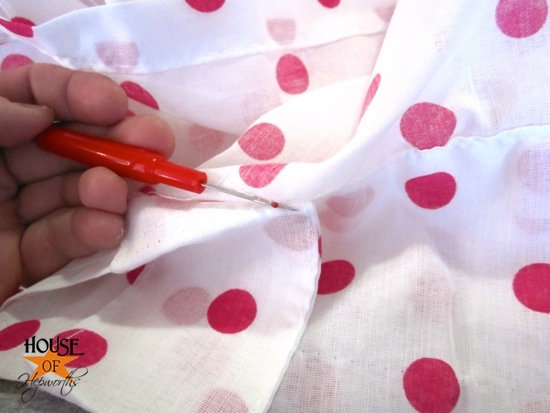
I sewed the two panels together down the raw seams on either side. At this point I left the top raw and dealt with it at the end. Next I worked on the inner ribbon edge.
Each curtain has a ribbon border JUST on the inside of each panel. The left panel has the ribbon down the right edge and the right panel has the ribbon down the left edge.
I started by just laying out all the layers of ribbon on top of the panel to get an idea of what it will look like. I initially planned on orange ribbon instead of ric-rac hence the picture.
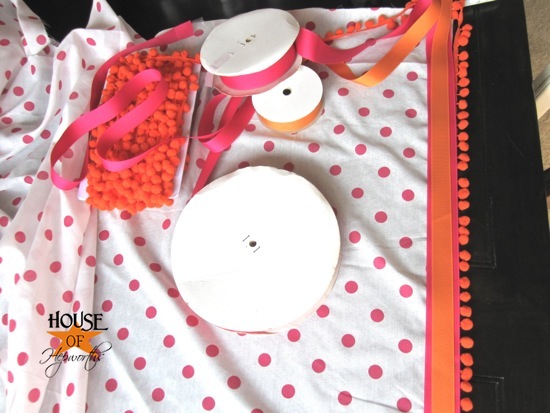
Once I had a ribbon plan I began sewing the layers. I first sewed the pom-pom balls onto the curtain. I sewed on the front of the curtain, not the back.
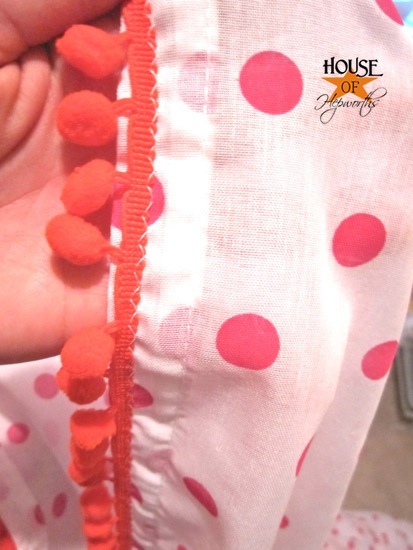
By sewing on the front of the curtain I eliminated any ugly raw edge showing from the pom-pom balls. Here’s a picture of the back seam of the curtain:
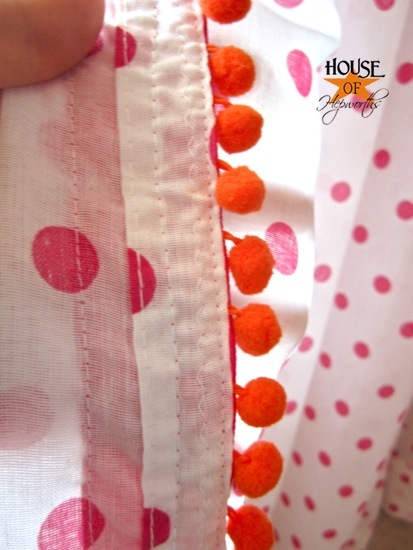
Next I sewed the thick 1.5″ grosgrain ribbon on top of the pom-pom balls.
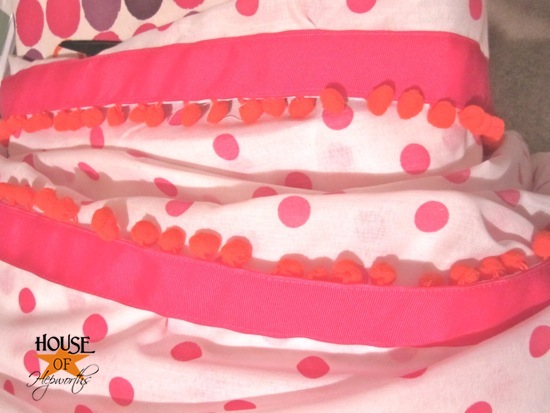
At that point I decided that orange ric-rac would be totally awesome instead of orange ribbon, so I just went with it and sewed ric-rac right over the top of the ribbon.
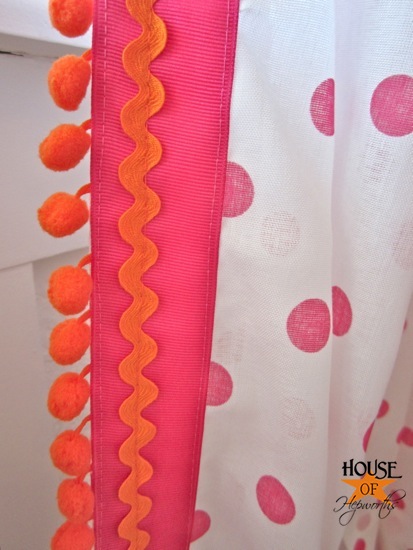
It is pretty awesome, ins’t it!
Now it was finally time to tackle the top of the curtains. First I just sewed a basic 1/2″ finished seam across the top. Super easy.
I happened randomly upon these really cool polkadot curtains over at Pottery Barn Teen.
I decided it was a really awesome way to hang curtains so I totally copied them, only changing the color of the ribbon to coordinate with pink instead of match it. PBTeen even had the number of ties (7) and length of ribbon (1/2″ wide x 13″ long) listed right there on the website. Perfect!
Because my curtains were wider I decided on 16 ties. I cut each piece of ribbon 27″ long (13″ + 13″ + 1″ extra for trimming). I folded each piece of ribbon in half and sewed the folded part onto the back of my finished seam, making sure to space them evenly apart.

Now I can’t really hang a curtain without a curtain rod, can I? So it was time to start making a rod for her extra wide window. The curtain rod is 10 feet long and I followed my
Cheap Awesome Professional Curtain Rod Tutorial
for her window as well.
Each finneal and the 10′ conduit got a good coat of Spray Paint Primer.
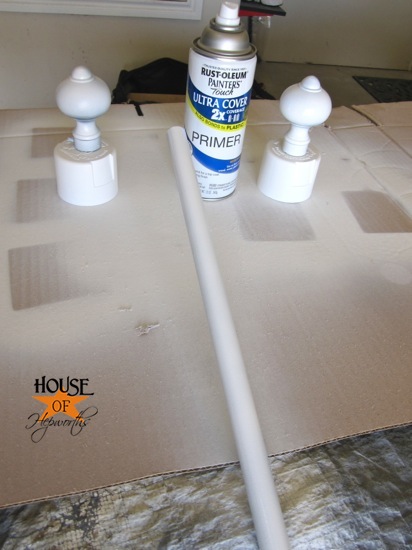
Once it had cured a day I sprayed everything down with the most beautiful Rustoleum 2x color called Rustoleum Universal Metallic Pearl Mist, which apparently isn’t sold anywhere online. I bought mine at our local hardware store.
I love how the rod isn’t stark white but a shimmery pearl color and texture. Perfect for a little gals room.
After the rod and curtains were hung I realized I overestimated a little on the curtain length.
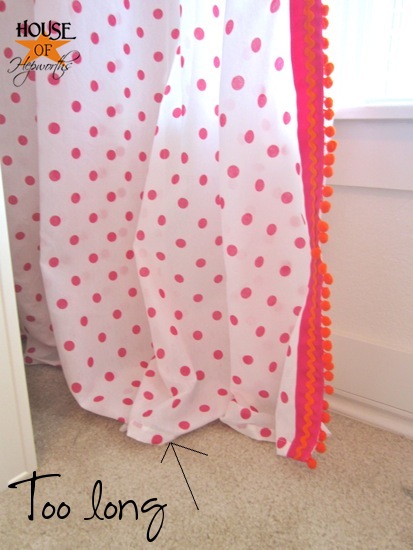
Whoops. Nothing a good ol’ package of heat n’ bond couldn’t correct.
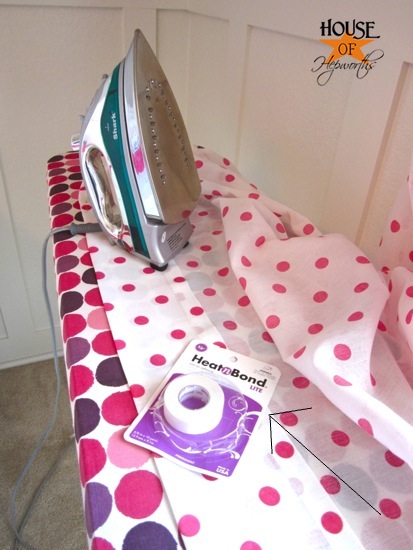
To ensure the exact length I wanted I just hemmed them with the heat n’ bond while they were still attached to the rod. I started by pinning the curtain the exact length I wanted it. I wanted the curtains to reach the floor but just barely NOT touch the carpet.
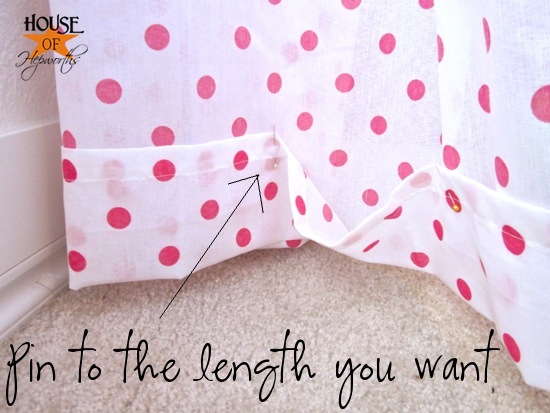
From there I picked up the curtain and ironed the seam together with the heat n’ bond right there next to her wall. Worked like a charm.
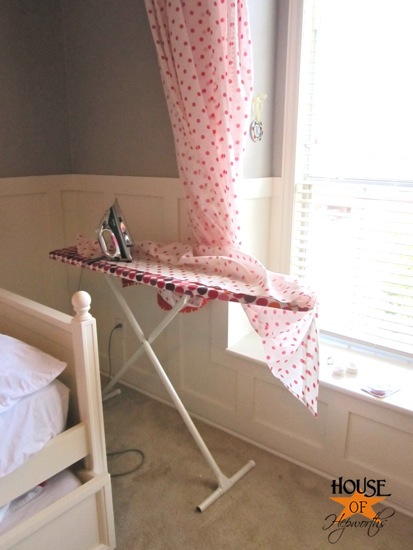
Check out that perfect length. Doesn’t get any better than that!
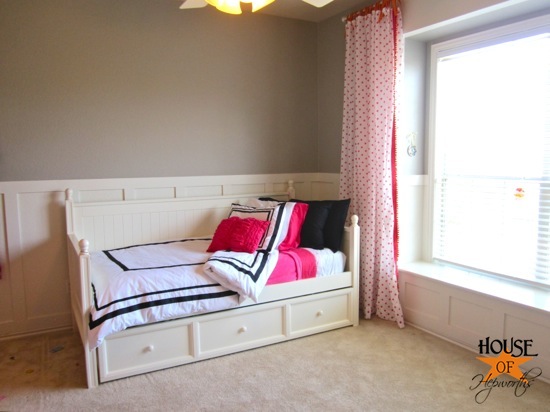
I just love love LOVE how these curtains look with her PBTeen knock-off bedding that I made.
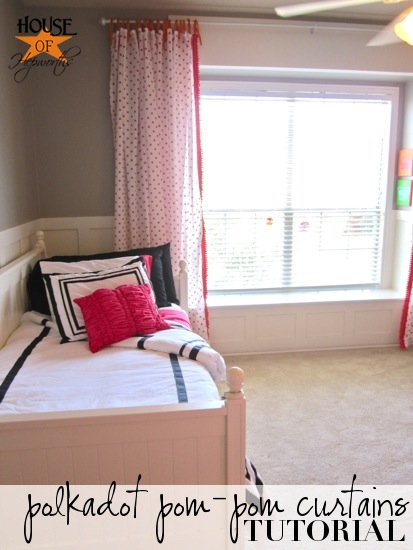
The bedding is so formal and serious, so I wanted a curtain that was playful and light for contrast.
It was a huge risk to add pink and tangerine polkadot curtains next to a formal black and white stripe duvet, but I feel like it just works.
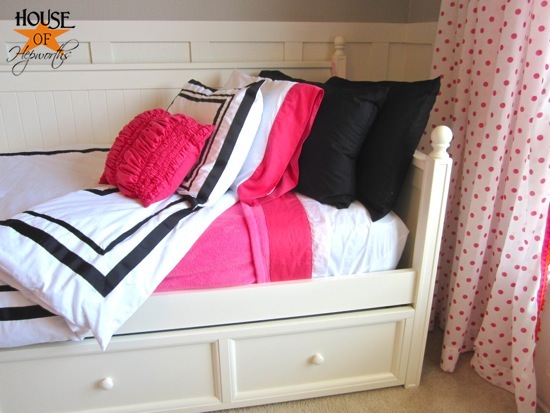
Man, I’m still swooning over that bedding too! I love it so much.
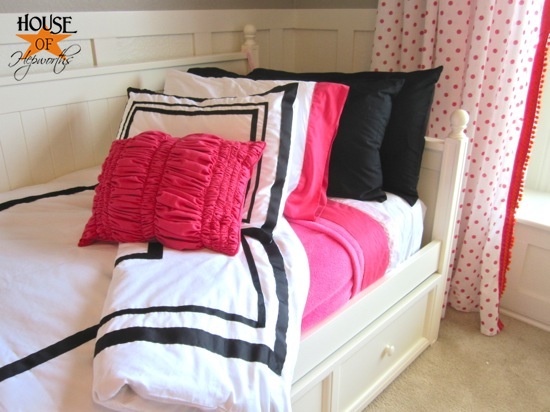

So that’s her room so far! I’ve got so many little details that I’m trying to finish now… mainly spray painting tons of stuff and adding some pictures and art to her walls. I am excited to finish the room but I’m also having a really great time just working on the room.

And now, here is a list with links of everything I bought for her curtains as well as a few additional links to random stuff.
Source list for easier viewing:
*GRÖNSKA PRICKAR ikea curtains. $13
*Finials were from ikea. They were originally black and I spray painted them. $6
*Curtain rod from electrical conduit. Tutorial here. $8
*Spray Paint for curtain rod: Rustoleum Universal Metallic Pearl Mist
*Shocking Pink 1.5″ Grosgrain ribbon from RABOM. $1.72/5 yards
*Pumpkin Pie 5/8″ Grosgrain ribbon from RABOM. $1.01/5 yards. (I bought 7 spools)
*tangerine ric-rac from Create for Less. $8.16/24 yards
*orange 1/2″ pom pom fringe from Create for Less. $18.72/18 yards
*PBTeen inspired Duvet & Sham tutorial here
*PBTeen inspired sheet set tutorial here
*Info about her daybed here
*Mini Monogram Pedestal “K” tutorial here
*info about the dress form and the wall paint color are here
Thanks so much for following along on my crafty DIY journey! I’m glad you’re here!!




what a lucky girl, has she given you any input on what she would like to see? Like is she all, I NEED more pink or anything:)
It’s really a super cute room Allison. Love the polkadots & ricrac. Can’t wait to see what you put up on the walls!
I love these curtain panels, Allison! So cute for a girls bedroom and may steal some of the ideas for my daughters room, which I plan on redoing later this year. And of course, thank you for sharing a link to my site on how to hang panels
xo Jenna
Those curtains are adorable. I love the whole room.
You have an incredible talent for making the best drapes/curtains. I love this idea for your daughters room and the curtains look great with the bedding. I am going to try something like this for my guest room in navy red. Thanks for the great ideas and instructions!
Love love love it!! Kinsey’s curtains turned out so cute! You did an awesome job. Thanks for the tip about the pearl-like spray paint. I think I need some!!
Love the curtains! Are those the same Ikea finials you used for the dining room? They just look different…maybe its just the paint though.
Ever consider sending your resume to Pottery Barn?! You seem to just channel their style!
LOVE this…you do such great step by steps….orange and pink are my faves for little girls;) I have plans to do that in my girls room…someday.
p.s. just followed the new pinterest board;)
What a creative and beautiful idea! They look wonderful and fun!! Megan
Allison, you simply ROCK! If your daughter doesn’t like the room, feel free to bundle it all up and send it my way. I would cheerfully lay my head down here every. single. night.
Holy cannoli these are so awesome!!!!
Wow! These are SO cute. Love that pom pom trim. Really sets them apart!!
Oh. These are ADORABLE. I love them. I wish I would need curtain like those.
Greetings from Germany
Catrin
Adorable curtains! Love the tie idea!
Those curtains are perfect! Orange and pink are so pretty together and I’m always a sucker for ball fringe!
How about a follow-up “ask the readers” about where to find finials for your curtain rod tutorial if you don’t have ikea. I have a new house and plan on making your curtain rods but the small amount of looking for finials has not yeilded anything good for this type of project. I need help!!
I am a new follower. I am in complete love with how you did your daughter’s room. I am going to be decorating my granddaughters room in the near future and will keeping these ideas in mind when I do. I actually already did my livingroom curtains using conduit. I actually did that before finding your sight and did mine a bit differently from yours. FYI, I used 2 hole pipe clamps attached to an L bracket by nuts and bolts to make the rod brackets. Cost for that is only 3.00 for a total of 4 brackets which is more than enough to mount the 10ft rod. I also used dowels on the ends. You buy one size up and then cut to about 2″. Then I sanded them down some on on end, used a hammer to pound them into the end of the rod so it would fit nice and snug. This allowed me to use any finial including those that had to be screwed into the rods. Worked like a charm and everyone that has seen them has no idea they are not 40-50.00 rods!!
Love your blog! Thank you so much for all the ideas! Feel free to check out my blog too if you want. I am new to blogging and need all the help I can get!
Thanks again!
Erin aka nanasrcool
Thanks for the great idea! I’ll definitely try it that way next time I hang a rod.
Just found your website! Your tutorials are so clear and explain every detail. Love your ideas and your creativity! You are super talented thank you so much for sharing and making it possible for us to try some of your ideas!! I am a fan!!!!
Hi for my daughters room. Let me know thx
Love the curtains and bedding!!! Do you take orders? I’m not that crafty . Would gladly place an order
Sorry, I don’t!