I am so so so so so excited to share this next project with you!
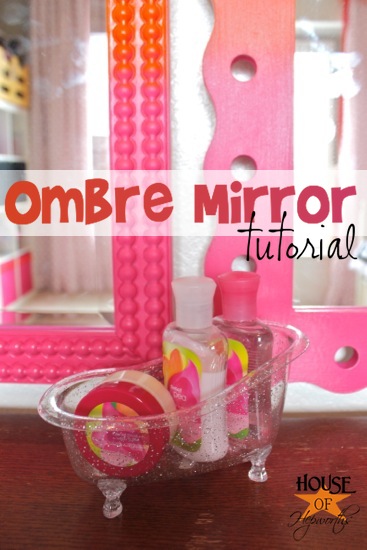
Did I mention I am really excited?
Ahem. Now that we’ve got that cleared up…
I’ve been working on my 8 year old daughter’s room for oh um, like, forever.
In January of this year I hung some shelves in her room and drug in an extra sofa table I had.
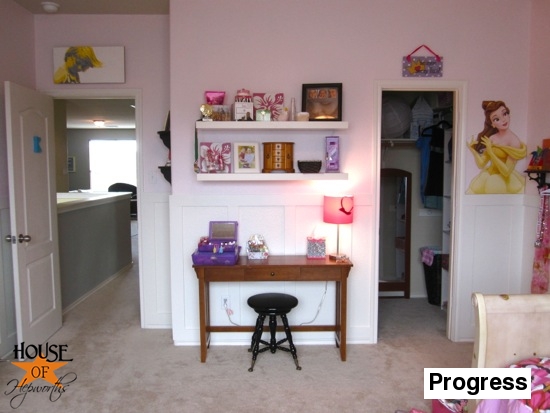
Since then I’ve done tons of other stuff to her room, but nothing to this little dressing area. Until today. Dun, dun, dun.
I want her to have an area where she can sit down and have a little table/desk area for all her primping. This child loves to be girly and her nail polishes, lotions, and jewelry are taking over! Well, you can’t have a girly primp area without a mirror. Or three…
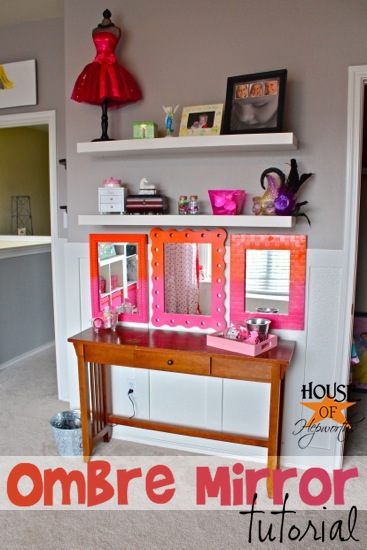
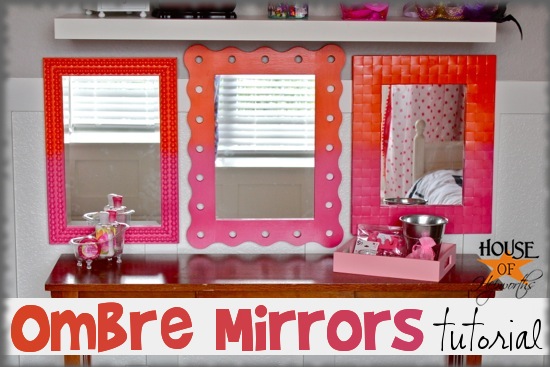
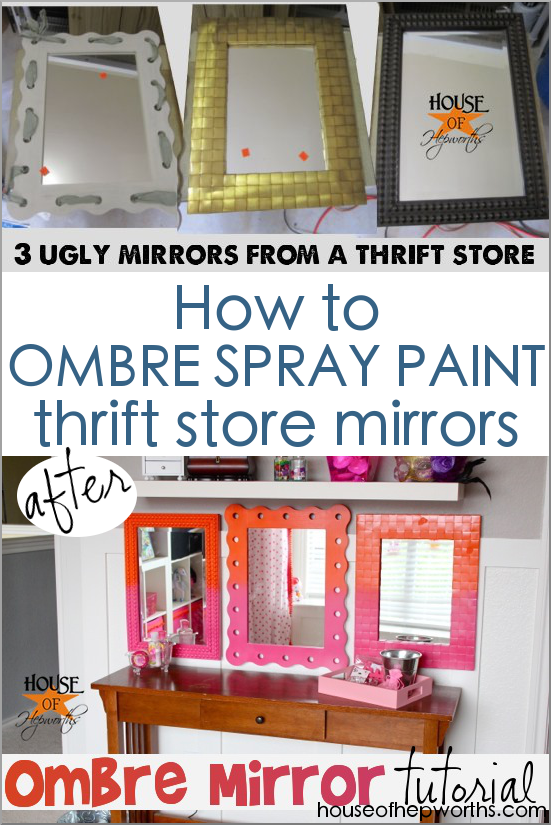
Say hello to her new trio of Ombre Sorbet Mirrors!
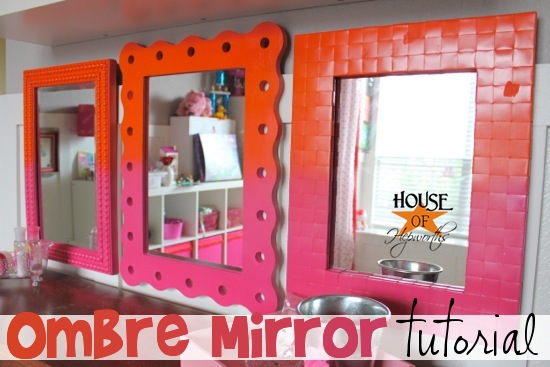
I came up with the three mirrors idea after finding three similar sized but perfectly mismatched mirrors at a thrift store. Once I saw the three mirrors I literally just “saw” in my mind these sorbet-inspired colors blending together.
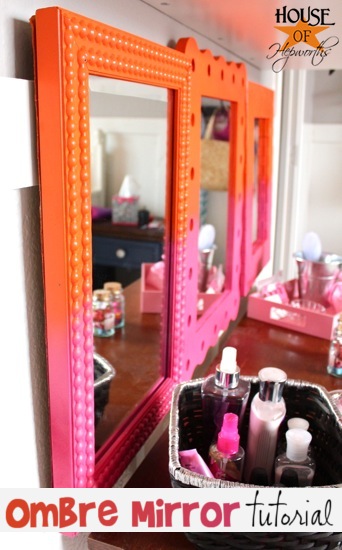
The logistics of figuring out how to turn cans of spray paint into an ombre mirror had me stumped at first, but I figured out a technique that worked pretty darn well.
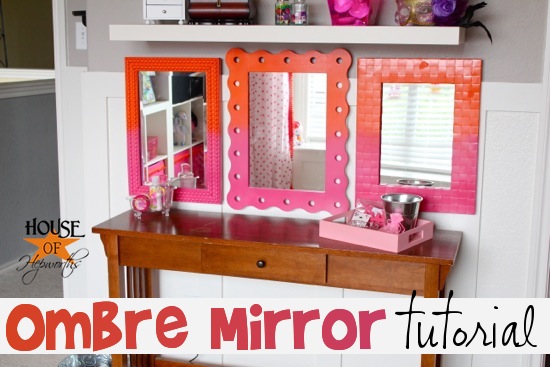
I am pleased as punch with the outcome. I’m also relieved that my picky daughter likes them too.
Here’s a step-by-step for making your own ombre finish using spray paint.
You can apply this technique to pretty much anything you can spray paint, but for this tutorial I’ll stick to mirror frames. First, start out with your mirrors. I found 3 similar sized mirrors at a thrift store for about $7 each.
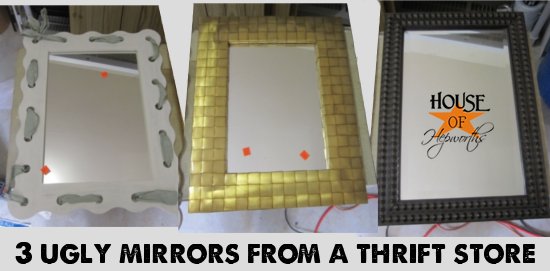
I love that each mirror has its own unique texture and pattern.

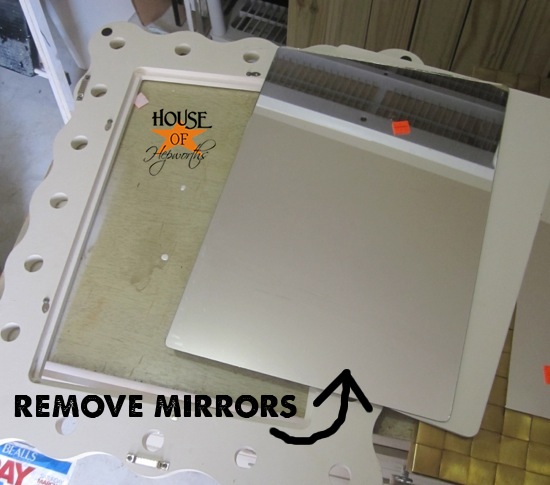
Once you have collect your mirrors, remove all the mirrors from the frames.
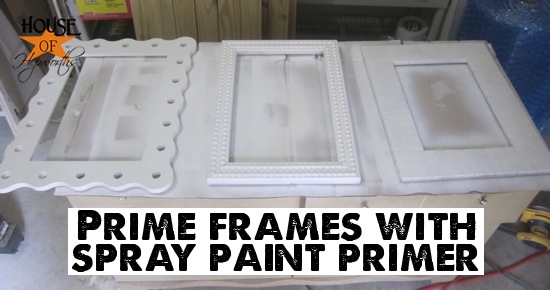
I gave each mirror several thin coats of spray paint primer. I prefer Rustoleum Primer (I prefer Rustoleum brand for all spray paint actually).
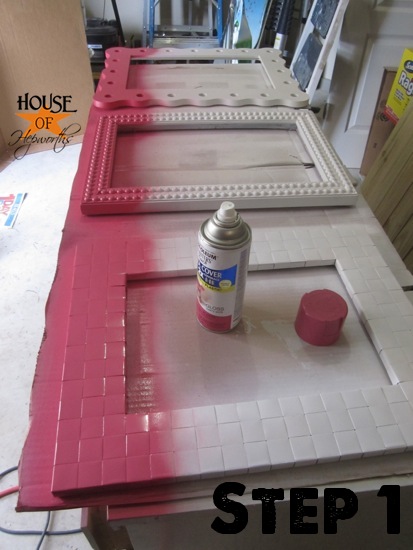
Once the primer is dry you can start with your first color. I used Rustoleum 2x Gloss Berry Pink. Coat the top and inner and outer edges with your pink spray paint. Only paint about a 4th of the frame.
Now move on to the next color and coat the opposite end of the frame the same way. I used Rustoleum 2x Gloss Real Orange.
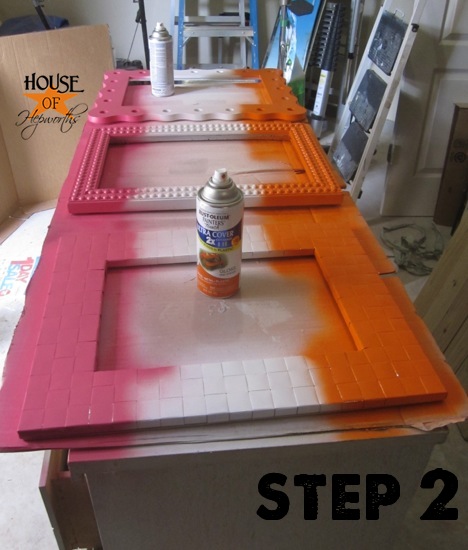
Grab your pink again and this time try to spray from about 2 feet away and lightly dust the frame towards the center.
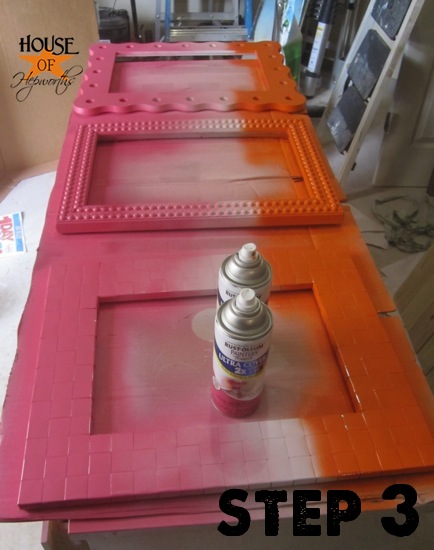
Repeat with the orange.
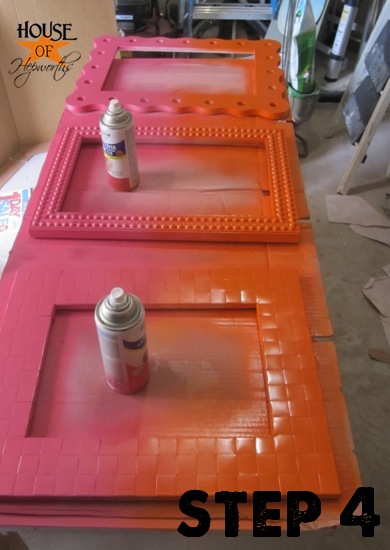
If you hold the can far enough away and lightly mist the area, you will create a blended center without a definite line between the two colors. This gives it the ombre effect as opposed to an actual line where the colors change.
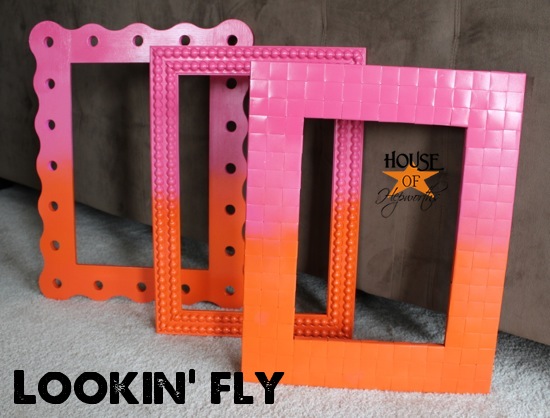
I was so giddy to get the mirrors in the frames! I set them up and was ready to put them all together and then I noticed this:
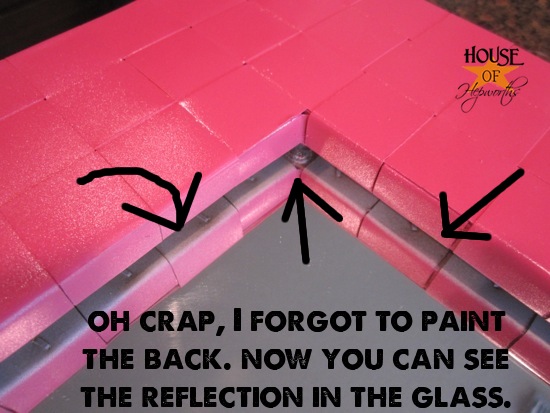
Can I get a “doh!” I so know better than that! Of course the back will reflect onto the mirror. Darn it. It was an easy fix though. I just found some craft paint in my stash that matched almost perfectly and painted it onto the back with a craft brush. The finish is different but because it’s only a small refection you can’t even tell.
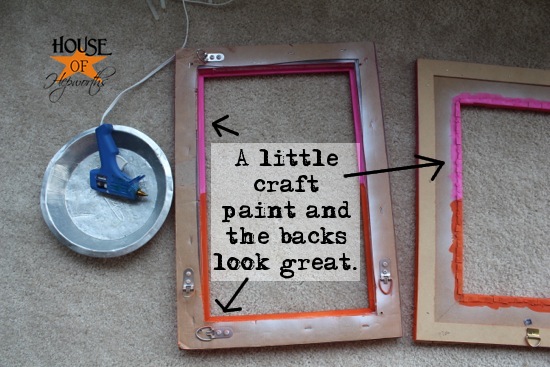
To affix the mirrors I hot glued them all in. So easy. I hung them up and did a few cartwheels (not really) I was so excited.

The sofa table will soon be getting a coat of paint as well, so try to overlook how ugly it looks against those fab mirrors.
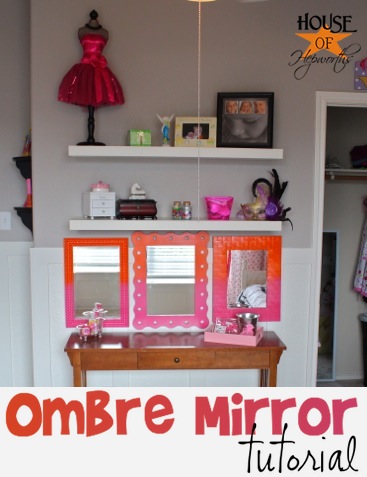
Now my daughter has a place to primp and play with all her little girly polishes and dangles.

The mirrors were hard to photograph! No matter what angle something was being reflected. I really like how you can see the reflection of her Pottery Barn inspired bedding and her ikea-hacked curtains.
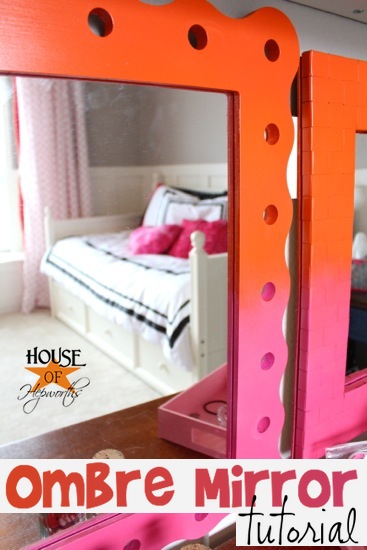
Aren’t the colors so fun?! And I just can’t get over how cool they look all blended together in the middle.
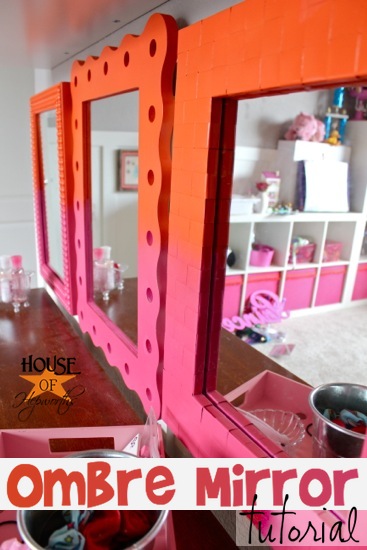
I really hesitated doing ombre because it seems so overdone recently {amIright?!}, but most ombre is only a single color and goes from dark to light. This is different because it’s a mash-up of two different colors. Also, being an 8 year old’s room, I felt like this would be a really fun *POP* against the white board and batten, gray walls, and white shelves.
So, what do you think? Are you a fan of the two-toned ombre effect? If you hate it, that’s okay too, just be gentle when you tell me. 
See all the progress I’ve made on my daughters room here.

Instagram || Facebook || Pinterest || Youtube
Thanks for reading! Have a wonderful week!


How fun!
I love the two colors together.
I’ll admit, when I first saw the “ombre” part in the title I groaned a little. Definitely overdone… but, I like this twist on it with the two colors meeting in the middle!
Not to mention, your daughter won’t outgrow the color combo anytime soon! It’s bright and funky enough to easily transition to a teen’s room — not that you’d want to think about that yet
These look great! In million years I would have never looked at those three frames and seen the potential. Thanks for sharing!
Looks great and I love how you are blending those two colors throughout her entire room. I know what you mean about working on your daughter’s room forever. I’m still working on my 7 yr old’s room but it’s getting there. I think I only have one area left and who knows how long that’ll take. I love the progress you have made so far and can’t wait to see how the desk/vanity turns out.
Love these mirrors! Great job!
I just had to drop by here to say how much I love how all three of your mirrors turned out. Oh, I can see me doing the same thing as you by not painting the backs while you’re in the painting mode. Live and learn is my saying. :0)
Love it! Like it on FB, pin it!! All of the above, thanks for sharing.
OH MY!!! These ugly ducklings turned into beautiful swans!
These turned out darling! Thanks for sharing
Love these! I agree about initially groaning at the thought of yet another ombré project, but this be two-tone spin is refreshing. And that’s a good thrifter’s eye to see that ugly trio and envision this. Kudos! I have a “big girl” room on the horizon for my daughters, and I’m loving the bright orange and pink you used. Thanks for the inspiration!