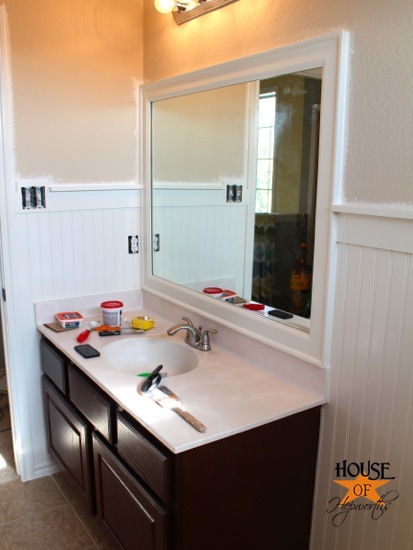
The past few weeks I’ve been working on renovating the kids’ bathroom. Today I’m going to show you how I framed out their mirror. I have never framed out a mirror before so I ended up putting it off in our house for more than two years. After completing one all I have to say is, dude, this is pretty darn easy. Expect me to go on a tangent and frame out all the mirrors in this house over the next month.
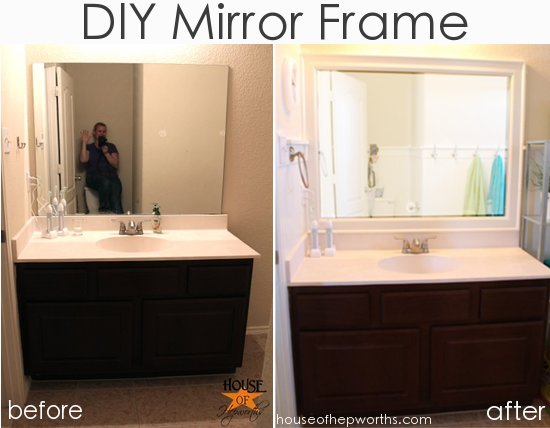
Such a huge difference. I can’t even believe how much of a difference this simple update has made. Just to recap, so far I’ve shared my plans for the bathroom complete with a moodboard and I’ve shown you how to install beadboard.
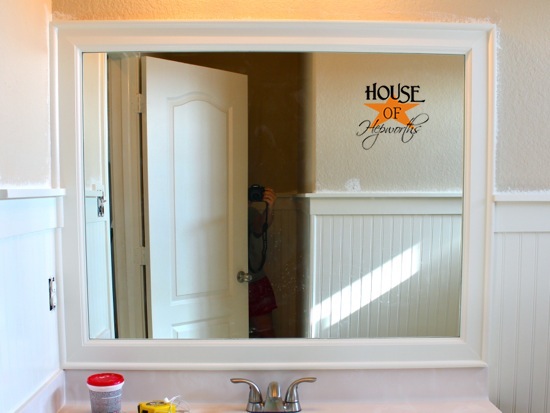
I pretty much followed the tutorial from The House of Smiths. I have looked at several dozen framed out mirrors and the frame of hers is my favorite, so I tried to replicate it. I did a few things differently and I’ll get into that below.
To frame out the mirror, I first had to gather my moulding of choice. Shelley used a baseboard and quarter round glued together so I did the same thing. Our local hardware store didn’t have the same baseboard that Shelley used, so I purchased this one instead:
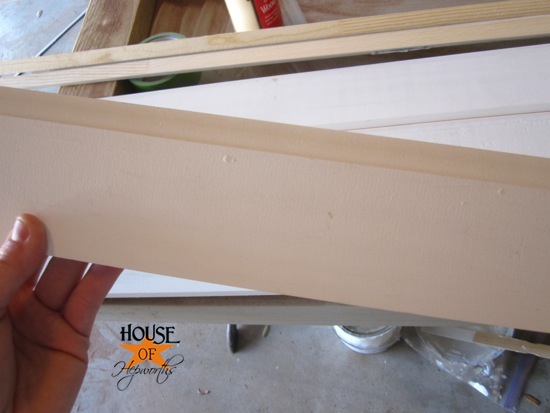
I also purchased some quarter round to sit on top of the baseboard to create the outer edge of the frame.
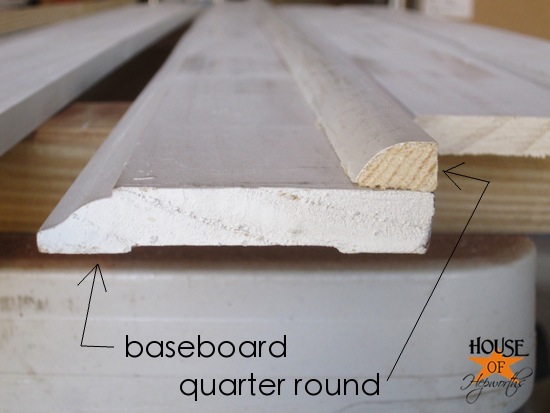
Before I headed to our local hardware store for my supplies, I measured the mirror and got some rough measurements. This way I could cut my moulding at our local hardware store so it would fit better in my car. I added about 6″ or so to each of my measurements and did rough cuts at the store.
When I got home the first thing I did was glue the quarter round to the baseboard. This is one of the steps I did differently than Shelley, but either way works just fine. I glued mine first so that I only had to cut each section once, and also to make sure both pieces of moulding (the baseboard and the quarter round) fit perfectly together with less room for error.
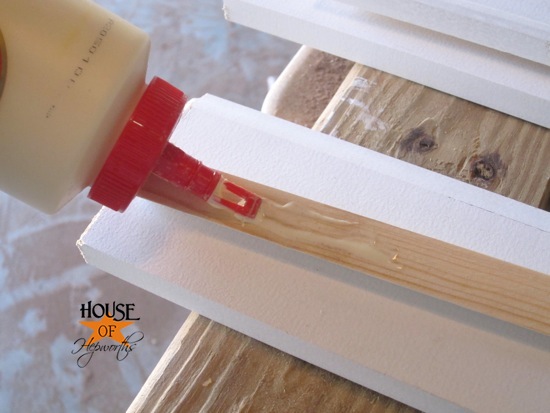
To attach the quarter round, add wood glue to the back then use some painters tape to secure it while it dries. Pay close attention to the outer edge and make sure the quarter round is flush with the baseboard.
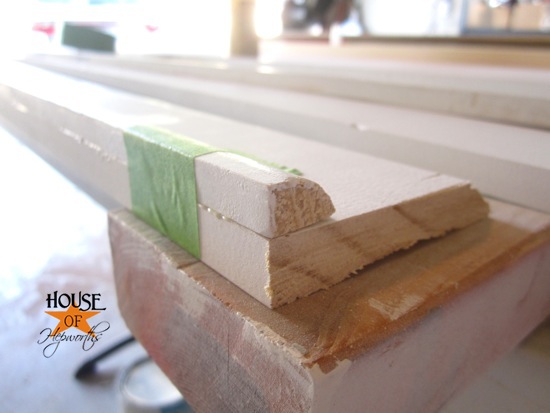
Methodically go through and glue all of your pieces together. Notice that I haven’t made any angled cuts around the edges yet.
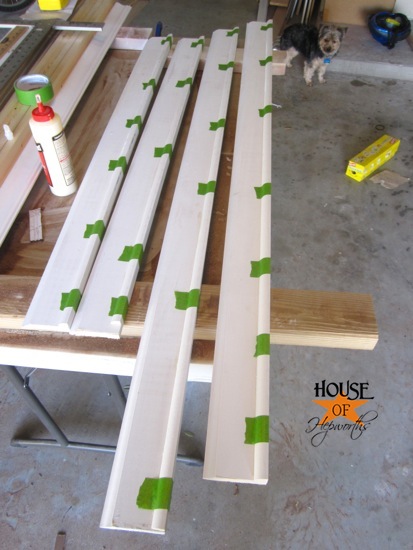
Here’s a better picture to see exactly how they are attached.
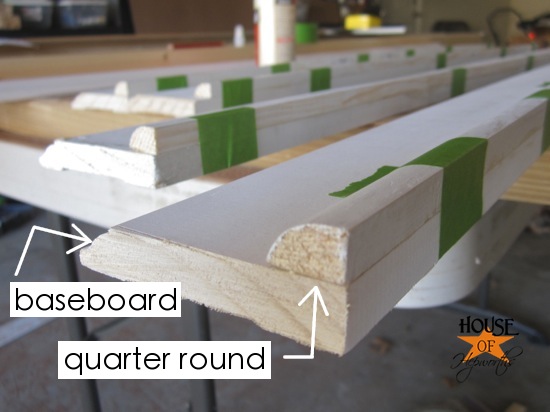
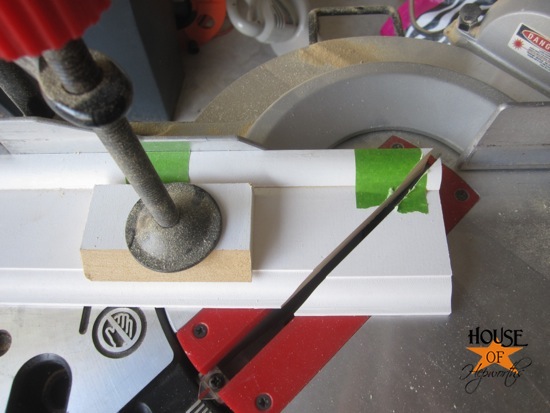
While the tape was still attached to the moulding pieces, I made my 45 degree cuts on either end of each board. This is where they will meet at a 90 degree angle to form the frame. I used a little scrap block on the clamp to protect my moulding from getting damaged from the clamp. Also, in case you are wondering, it is totally okay to cut through the painters tape with your saw.
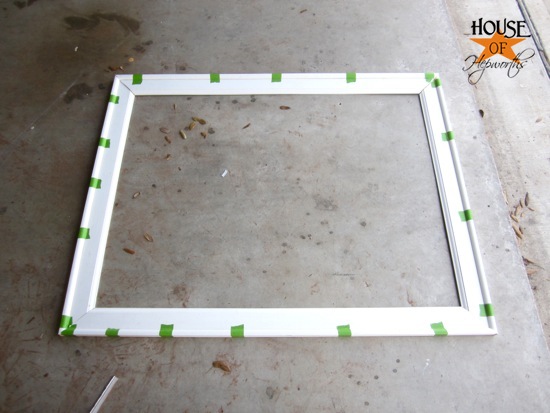
Once the pieces were cut I laid the frame out on the floor of the garage to make sure it all fit together. Looking great! (I did not attach the frame together beforehand, I just did a dry run).
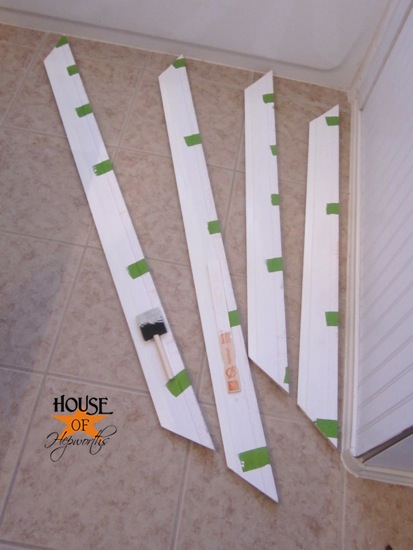
When you are attaching a frame to a mirror you will be able to see a sliver of reflection of the back of the frame through the mirror. Make sure you paint about 1/2″ of the inner side of the back of your frame before you attach it to the mirror.
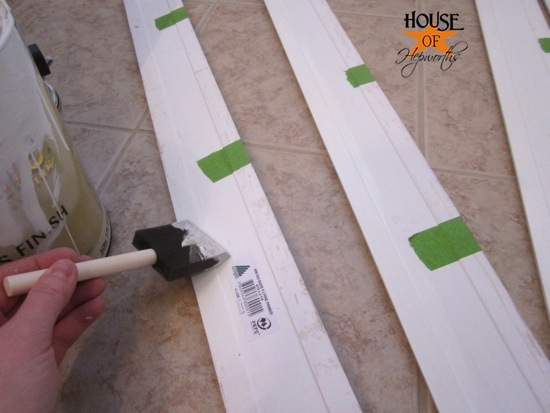
While the paint was drying I left the pieces upside down on the floor.
*edited to add: if you have clips on your mirror (as opposed to the mirror being glued to the wall), Remodelaholic did a tutorial showing how to install a frame around this type of mirror.
Normally I attach moulding with a nail gun, but you can’t put a nail gun through a mirror or it will shatter. 
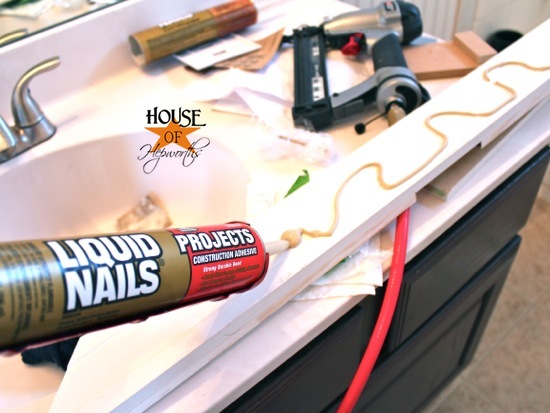
While the Liquid Nails dried I held it on with painter’s tape.
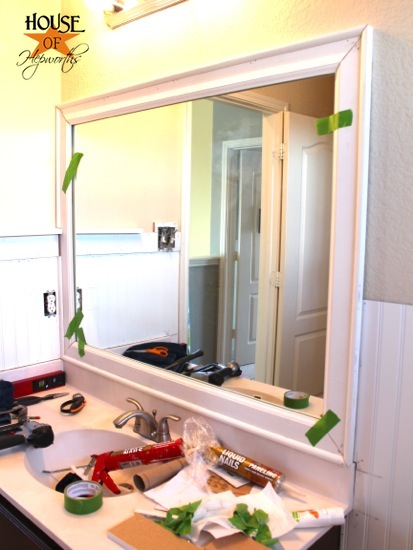
I hope this doesn’t confuse you, but I chose to make my frame extend wider than the outside of the mirror on the right side and the top. I didn’t want to take away too much mirror real estate, so I just made sure that about 1/2 the width of the moulding covered the mirror on both of those pieces. Because my moulding hung off the outer edge of the mirror by about 2″, I used my nail gun on the outer corner of those peices to attach the moulding to the wall. If you do this just be extra careful that you don’t put a nail through your mirror.
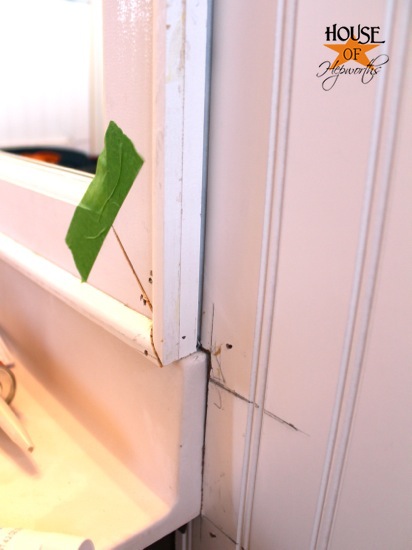
I also made sure I had the beadboard added before I attached the mirror so that the beadboard edge would sit under the frame for a cleaner look.
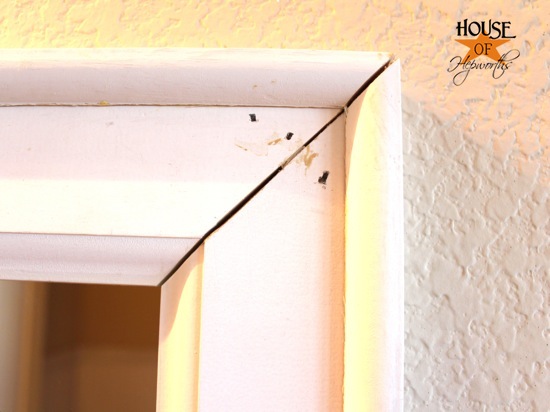
Even though the frame is full of gaps and nail holes that need to be filled and painted, you can already see how great it’s going to look.
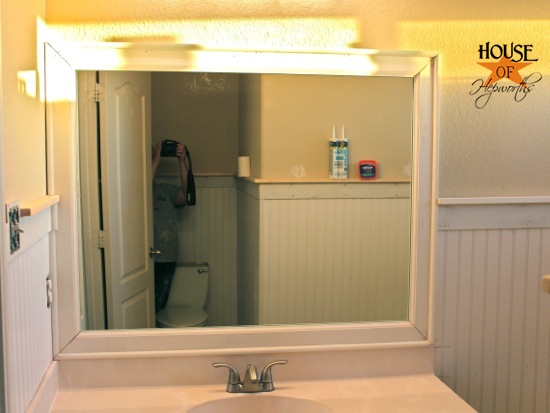
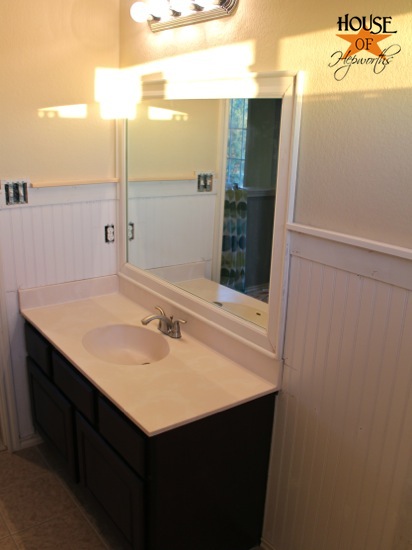
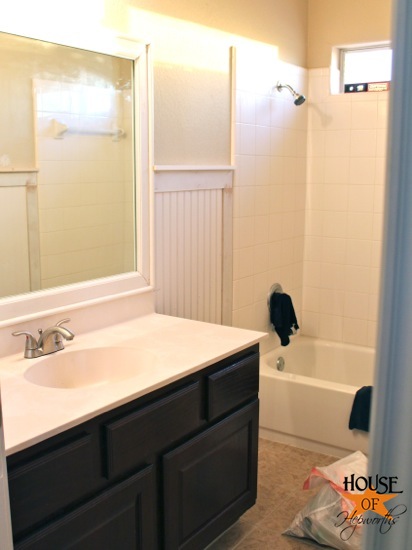
I filled all the nail holes with wood putty, and then I filled all the raw seams with caulk. When all that was dry I taped off the inside of the mirror and began painting. My favorite trim paint that I use exclusively on all trim in my house is a Sherwin Williams color called Alabaster. I mostly use semi-gloss.
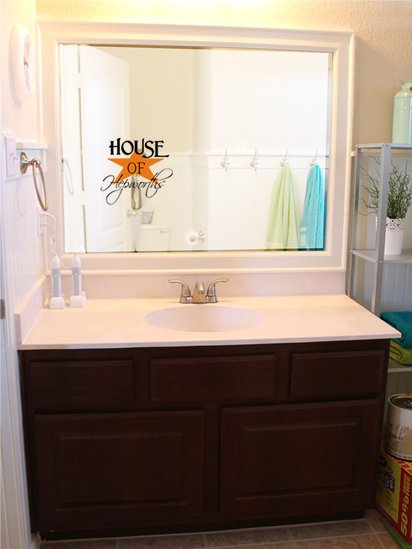
Because the walls are going to get painted I didn’t bother taping them off.
I know there are dozens of tutorials online for trimming out a mirror, but each is unique and offers different tips. If you want to do this I encourage you to go out and read other tutorials and tackle this project the way you feel most comfortable.
After doing one mirror now, in the future I would most definitely glue my quarter round to my baseboard before cutting. That made it so much easier. However, I would probably glue my frame completely together and paint it before attaching it to the mirror. That way all my corners are perfect and tight. All in all it was an easy project and I am absolutely doing it to the other 4 bathroom mirrors in this house (3 more bathrooms – one with 2 mirrors).

What’s left?
*Paint all beadboard, trim, and baseboards
*add moulding around small window above tub
*attach hardware (hooks, tp holder, hand towel ring)
*paint walls – still undecided on a color
*accessorize!
*DONE
Have you tackled a mirror and blogged about it? I would love to see it! Please leave your link in the comments and I’ll try to pin it.


Talk about great minds thinking a like. I blogged about how I replaced a giant builder’s mirror in my guest bathroom by repanting a beat up thrift store mirror on Condo Blues http://www.condoblues.com/2013/02/painted-thrift-store-bathroom-mirror.html
I want to do this with my mirror but the mirrors not stuck on the wall. It’s held on by those clip thingys. Should I take off the clips and glue the mirror to the wall or cut out notches in the back of the moulding to compensate for them? Decisions, decisions….
I think you can do either. Both are good options.
Your tutorials are the best! I want to frame out some of the windows in my house, so i’m pinning this…I’m sure the process would be similar, yes?? #roadtripnorth??
Looks so great!! Seriously one of the best ways to dress up a mirror.
I can’t tell from the picture, but were there mirror clips at all? This is what I am worried about – i really want to do this, but don’t know how to deal with the plastic mirror clips that are holding up the builder grade mirror.
Here’s a good tutorial for framing around a mirror with clips:
http://www.remodelaholic.com/2012/11/framing-large-bathroom-mirror/
Looking good! I am excited for you and the bathroom progress! It is going to look fabulous!
This looks great! And not *too* difficult! Thanks! On another note, my mom and I just made some curtains for my kitchen and used your “how to make professionally lined curtains” posting, and it was SUPER helpful!
the frame makes such a difference! I have been thinking about doing this in Q and Cece’s bathroom and think you just made my mind up for me!
I’m so inspired! I wonder if I can do this myself, though I have extremely limited (a.k.a. zero) experience working with wood and molding. At the bottom 1/4 of my bathroom mirror is where the tile on the wall is. Do you think I could cover tile with the molding? Do you think it would it look weird to do everything except for the bottom row plus those two little bits on the side?
what a difference!! you’ve inspired me to find all the frameless mirrors in my home…i can’t wait to do this project.
This has been on my to-do list for ages. It really looks a thousand times better! I may have to move this project closer to the top of the list!
What a great tutorial. I do not have a mirror to frame but I am going to use this to frame some cork board. Pinned it!!!
Looks great! I have 3 like this in my house….need to get them done at some point As it really moves things up a notch from builder grade!
I definitely want to try this for our bathroom mirrors! It makes them look sooo much better!
I just love this, must show hubby all of our mirrors are like your were.
beautiful. looks so much more elegant!
I love this Allison! Love that way of using the different moldings to do the mirror frame. Definitely pinning this to do in my master bathroom.
I have tackled a frame in my guest bathroom – you can see that here – http://thefrugalhomemaker.com/2012/07/16/how-to-frame-your-bathroom-mirrors-beach-inspired-bathroom-makeoverpart-1/
Great job on framing out the mirror. It looks 100 times better with a frame!
My bathroom mirror is built ino a vanity unit and the lower edge is silving due to moisture over the years. Right now I have perfume bottles on the built in ledge in front of it to hide the silvering. What can I do to cover the silvering without making it look cheezy?