I am blown away by this cabinet upgrade. I would never have thought you could make a builder-grade cabinet look so great! I think you guys will all be amazed with the following tutorial as well.
*****


Hi, y’all! It’s Kristi from I Should Be Mopping The Floor. So happy to be hanging out with my friend, Allison, over here at House of Hepworths. I had the pleasure of hanging out with Allison at Blissdom in March and we had such a blast. We are both native Austinites and have a passion for DIY fun {but you probably already knew that about her!}.
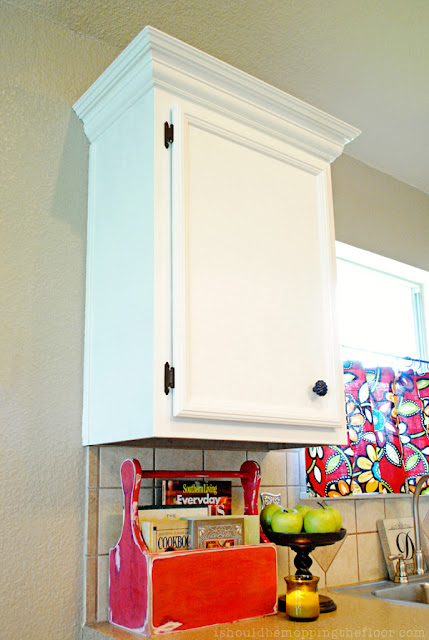
Over at my place, we’re currently knee-deep in a kitchen redo. I thought I’d share one of the projects that we’ve put together to take our builder-grade kitchen to something more custom and up-to-date.
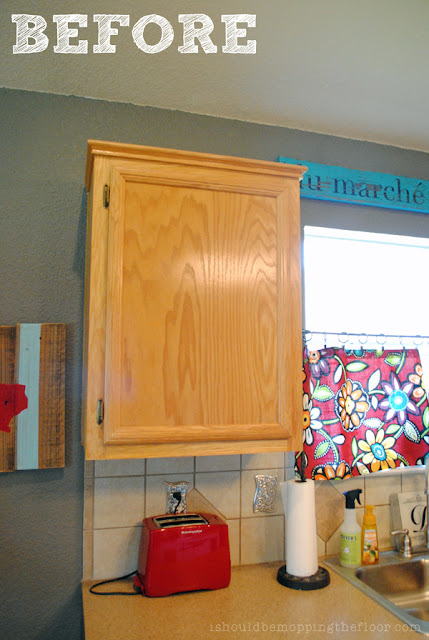
Here’s the before. We had smaller molding on the cabinet tops, oak stain {that had drastically lost its luster over the six years we’ve lived here} and no hardware.
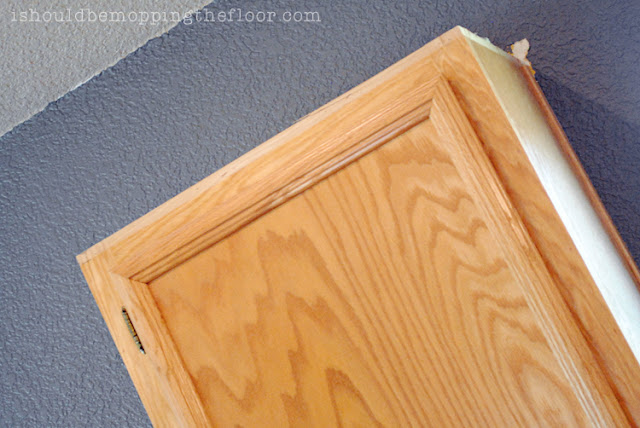
We started by ripping off the old molding…which, literally, ripped right off.
Not much effort needed here.
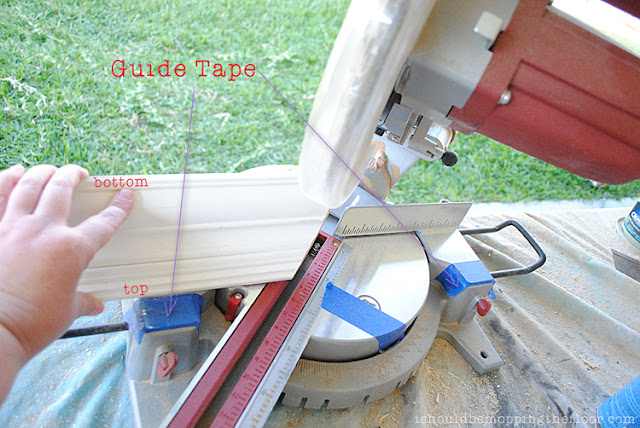
Let me preface this by saying it took us three entire eight-foot lengths of crown to figure out what in the heehaw we were doing. But, once we finally got it…we got it. Cutting crown can vary from project to project and I by no means feel qualified to give an entire tutorial on it. But, I’ll let you know a few tips that really helped us {that and watching about 100 youTube videos on crown molding cutting}.
Ideas to keep in mind when cutting cabinet crown molding:
You’ll be making outside cuts only, for the most part {we had one weird angle where we had to make an inside cut, but the other several dozen cuts were all outside angle cuts}.
As referenced in the photo above, adding tape guides to your saw for cutting is the only way to do this…it took us three lengths of molding to finally figure that one out. Some compound miter saws come with crown molding guides, but ours didn’t. You want tape on both ends to ensure that you line your molding the exact same way every time. Even being off by a millimeter can make a big difference.
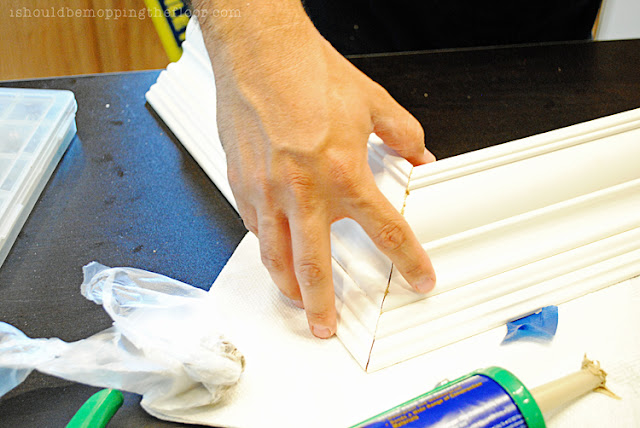
This next step we did a bit out of the norm {but there’s always several ways to attack a project, in my opinion}. We assembled this one “on the ground” before mounting. We did this step differently on every single cabinet. But this one seemed to work great for us. I liked “on the ground” assembly because it was easier to match up corners. We connected it all with liquid nails, let it dry and then took it up to the cabinet tops.
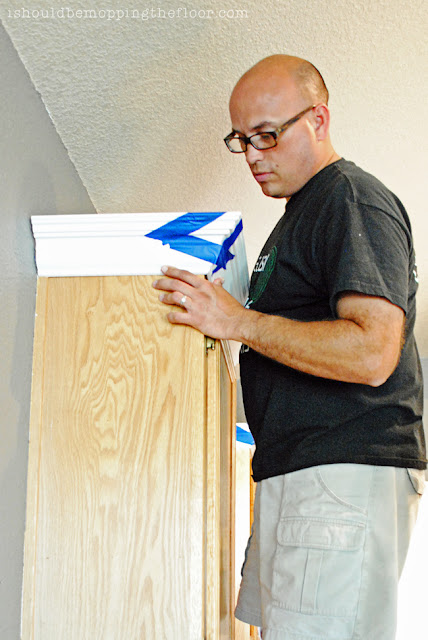
A lot of tutorials recommended an additional board for mounting your molding to. Since our original molding wasn’t on a board and the top of our cabinets were not what we expected, structurally, we attached ours directly to the tops of the cabinets. We used finishing nails to attach the molding in place.

Then fill, fill, fill. We used DryLock {a spackling type of putty} to fill in all corners, nail holes and gaps. Once it was dry, it got a good sanding.

Then I painted everything. I plan to do a full tutorial on kitchen cabinet painting on my blog in the next few weeks, be sure to stop by for the fun! My basic approach is to use a primer that adheres to any surface {to prevent a whole lot of sanding}, two coats of that; two coats of satin latex paint; and polyurethane {be careful on the polyurethane, it can turn white cabinets yellow if it’s the wrong kind}.
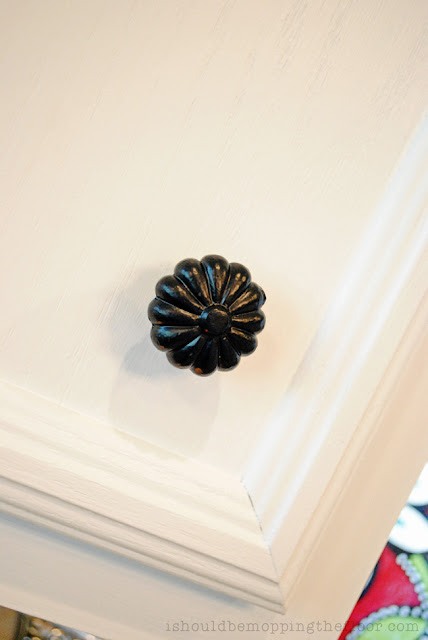
We also added some vintage reproduction hardware to give the cabinets a special touch.
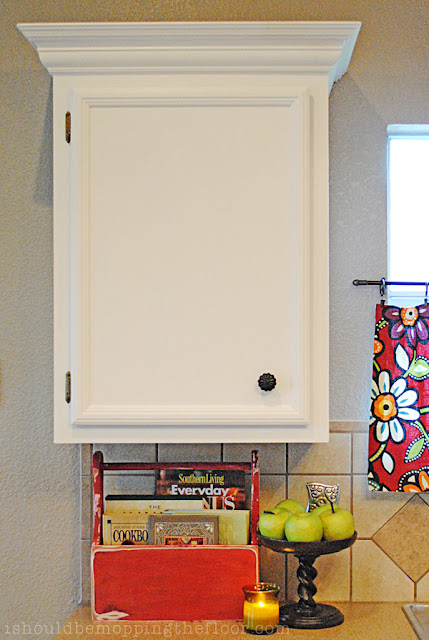
Really enjoying the brightness this added to the kitchen.
I’ll be posting on different projects from our kitchen over the next few weeks.
Would love for you to pop by and say hello at ishouldbemoppingthefloor.com!
Thanks bunches for having me over, Allison!

What an incredible improvement. You must totally love your new cupboard!
The hardware you picked up has added a totally different feel to it. It is gorgeous!
Sheree
Thanks so much, Sheree! I’m such a vintage-hardware kinda girl!!
I love this! My cabinets look just like the “before” and this fall I’m planning to paint them white! I love the added moulding and hardware! Thanks for the inspiration Kristi!! Off to check out Kristi’s blog to see what else she’s up to!
Thanks so much, Emily!! Let me know when you do your cabinets…I’d love to see your results, too!
What a dramatic difference! Great job and great tutorial. I always have to stand there and flip and turn and flip and turn to figure out which way to cut he molding! Glad I’m not the only one!
I know…that molding cutting can drive me insane. It truly is frustrating…and way too math heavy for me sometimes!! Thanks so much for your kind words.
What a wonderful change! Good job!
Thanks bunches, Camille!
What a difference! I love the update Kristi made, the white paint and dark hardware look so good together
xo, Tanya
Thanks, Tanya!! I’m loving the hardware, too…what a concept, actually using a knob to open cabinets…LOL!
Looks fantastic!
Well worth the effort.
Thanks so much!!
Great advice on the polyurethane type. I wanted to know how you painted and sanded the actual cabinets that looks so hard and how long do have to wait for all to dry? Also how do you eliminate the brush strokes? Your blog is wonderful and your cabinets beautiful…I love white!!!
Hi Monica!
Thanks so much for your kind words. I actually will be doing a full tutorial on cabinet painting over at my blog in the next couple of weeks. That part of the job IS a lot of work {I’m still not done with the other side of the kitchen, actually…it’s never-ending}. I personally, like the brush strokes and try to keep them in the direction of the grain of the wood. If you don’t care for them, you can brush your paint on and then lightly go over it with a small foam roller to pull out the strokes. I hope that helps!
Wow! What a transformation! Those cabinets look amazing! I can’t wait to paint ours, eventually!
That Kristi is so clever! I love her projects. So glad to see it here. Sharon