Today is my last scheduled guest post for the summer. It has been so fun to see so many creative people! I hope you have enjoyed the weekly house guest here. Thank you everyone for being patient with me while I took some time off this summer to spend with my kiddos.
Erica is here today to show us how to add contact paper to the back of a cabinet for more visual interest. I love the way her project turned out! And I want to make special note to point out that she took the time to make sure her pattern lined up across the entire back of the cabinet. I see so many great projects online that make me cringe a little because the pattern didn’t line up. I know it sounds corny, but I notice these things. It’s amazing how many people are oblivious to it!
*****
Hello House of Hepworth Readers! I’m Erica from Craftivity Designs and I’m so excited to be sharing on Allison’s blog today. I’ve loved watching her start to transform her new home this summer–I can’t wait to see more! My friend, Lora, and I are big fans of creating fun DIY home decor pieces and we picked one of our favorite DIY projects to share with you today!
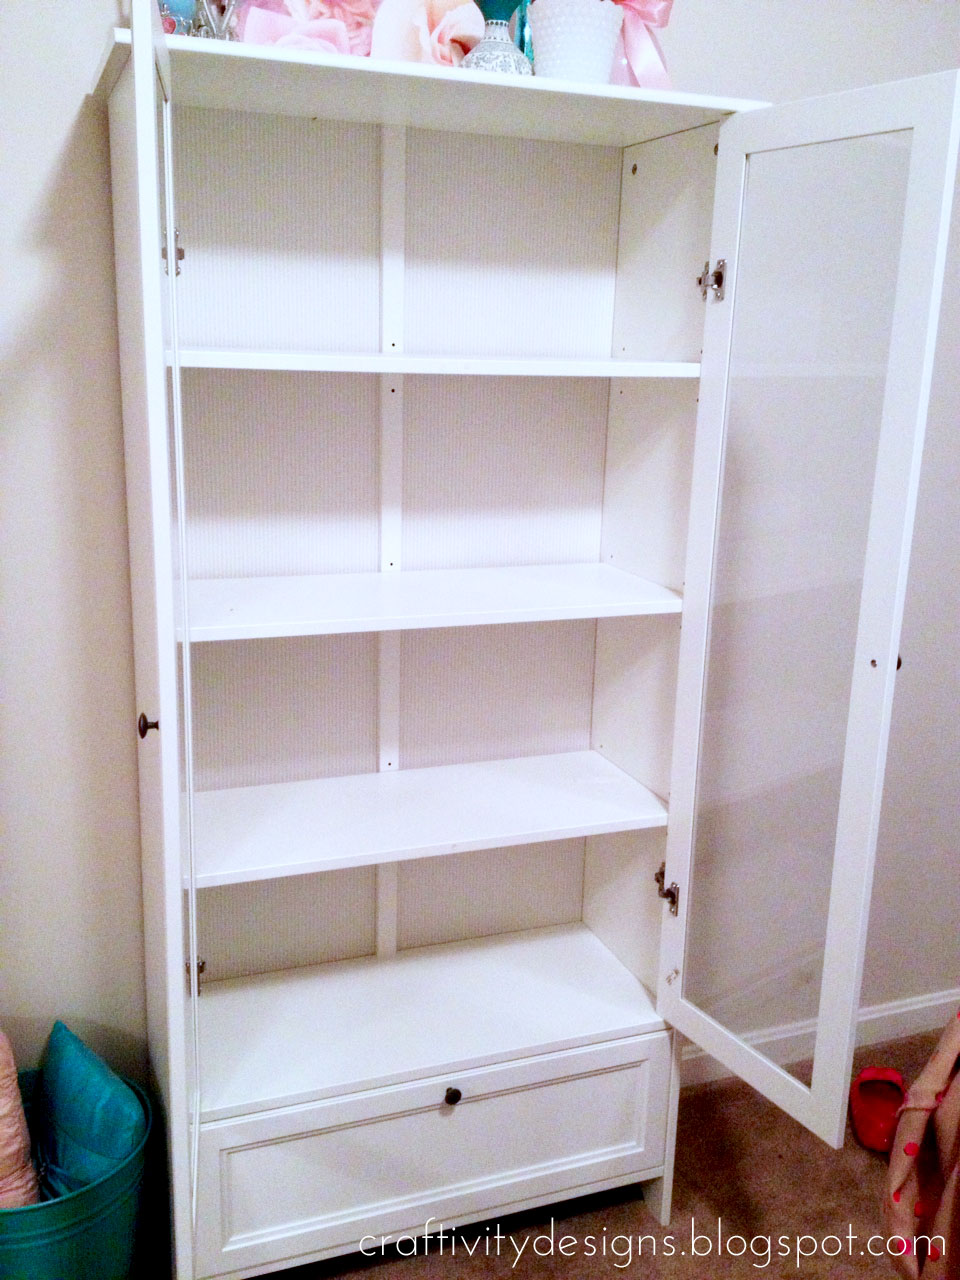
If you read through some of my posts on our blog, it won’t take long to see that I love IKEA! One of my favorite IKEA pieces in my home is this white cabinet (no longer available at IKEA) in my bedroom. Since the walls in my room are an off-white, the cabinet tends to blend in. I wanted to add something to make it POP!

After creating my painted tray, I was looking for more ways to incorporate this chevron contact paper in my home. My bedroom colors include aqua, coral, and gold details (like my polka dot knobs) so the aqua chevron print would work perfectly in my room.

I began by measuring the back of the cabinet however, my tape measure was nowhere to be found–so I ended up just using a piece of ribbon instead! I’d measure the distance with the ribbon and then hold it against the grid on the back of the paper in order to determine where to make the cut.

With all the shelves removed, I started peeling the backing off of the contact paper. At first, I pulled too much paper off at once, and it was a big sticky mess! So make sure to peel slowly, only removing a small amount of the backing while smoothing the contact paper onto the cabinet.


I continued this process of measuring and applying the contact paper until the entire back of the cabinet was covered.

After finishing with the contact paper, I began my favorite part–filling the shelves! I love how the chevron paper looks with my floral scarves that are stored in white wicker baskets.


The best part about this project? It was cheap and simple! I spent $4 on a 2-pack of contact paper (I still have a whole roll left) and the project was complete in less than an hour.

Is it perfect? No. Are there bubbles in the paper? Yes. However I’ve made my peace with the bubbles in the paper and I’m okay with them. What I love about using contact paper is that it’s easily removable so when I get tired of chevron, I can take it off and start all over again!

I hope you enjoyed learning about how the addition of contact paper can quickly take a piece of furniture from boring to fabulous! To see more projects created by Lora and I, check out our project gallery!


Okay, I just HAD to comment when I saw this post! I have the same Ikea bookcases (4) in my living room and I LOVE them. My sister wanted to buy them and was so sad when Ikea got rid of them. I have some vintage wallpaper that I taped into the back of my bookcases and it looks fab. And on top of that, I ordered the exact same contact paper in gray and just put it up in the kitchen. LOVE it! Great job!
This looks awesome Erica!! And I love that it’s a quick and easy project! I saw tons of this contact paper at TJ Maxx months ago and didn’t get any…now I’m kicking myself because I can’t find it anywhere.
I’ve seen some at Marshall’s and Home Goods lately. Try there? Also, I found adorable wrapping paper at the Target dollar spot. You’d have to tape or glue it on though.
I have a large (and uber ugly) old bookcase in my laundry room for storage. I CAN NOT wait to try this out to spruce things up!
I bet it will look amazing!
Looks amazing! And I love that cabinet!
Allison,
Thank you SO much for sharing my cabinet makeover! Have a wonderful day!
Erica @ Craftivity Designs
You are welcome Erica! I think everyone loved it! It was too cute.
Love the floral picture on top! Where did you find it? Its so beautiful!