The kitchen renovation continues! We are just plugging right along, trying to live our normal lives amidst this chaos and dust. It’s been so much work, and living in a house during a major renovation is definitely not for the weary or faint of heart!
After we finished demoing and filling up the huge dumpster, it was time to prep for the framers and electrician. I did as much as I could before they all arrived in order to cut down on the cost. Time is money so if I can remove drywall for them, or cut down some studs or something, they won’t be here as long and we save money.
In order for the framers to lower the bar-height wall to counter-height, we had to trim down some copper piping where the sink goes.
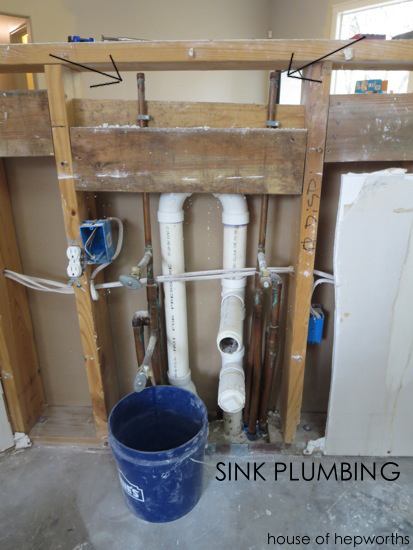
I assumed a plumber would come out, but our builder, John, who is running the show around here assured me it was an easy job that I could do myself, thus saving a few hundred dollars. John is seriously the bomb dot com and I will absolutely hire him again in the future. He has been great to work with.
He told me to go to our local hardware store and buy a product called SharkBite. They make copper pipe fittings that don’t need to be soldered. You just push the fitting on and it “bites” the pipe and creates a seal. I was sold. Done and done.
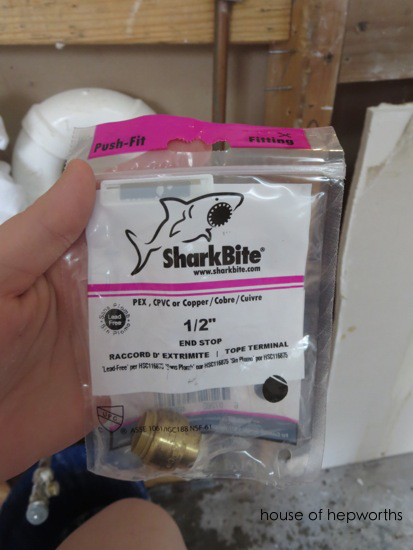
Before doing plumbing work you need to shut off the main water to the house. I taught Travis how to shut off the water and gave him a quick course in plumbing. Our house only has a shutoff at the road. Some have a 2nd near the house.

Once the water was shut off, I flushed as much water out of the system as possible by turning on the bathtub and letting it run dry. After that I used my little pipe cutter that I use on conduit when I make curtain rods to trim down the copper pipe.
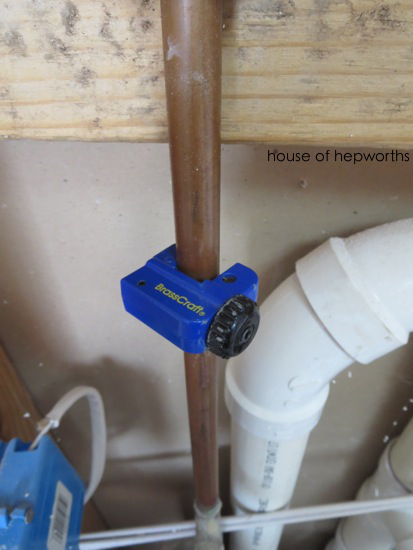
The copper pipe was easy to cut and only took a few rotations of the little pipe cutter.
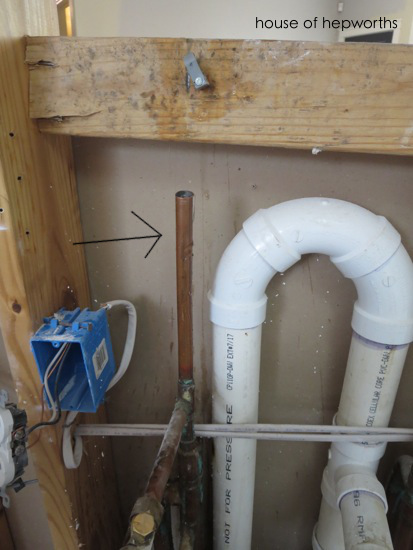
There was a little water left in the kitchen pipes that drained out once the pipes were cut – hence the water on the floor. I quickly snapped on the Shark Bites and then turned the water back on. They haven’t leaked at all and have held really well, so I am now totally sold on this product. I keep trying to find reasons to do more plumbing.
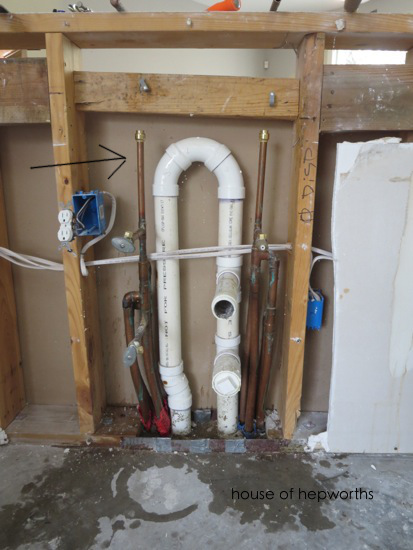
This bit of plumbing was the only issue standing in the way of the framers coming to frame out everything, so once I took care of this issue we had the green light to start all the fun stuff!
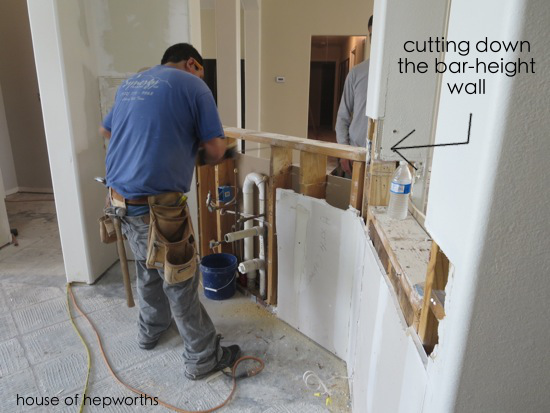
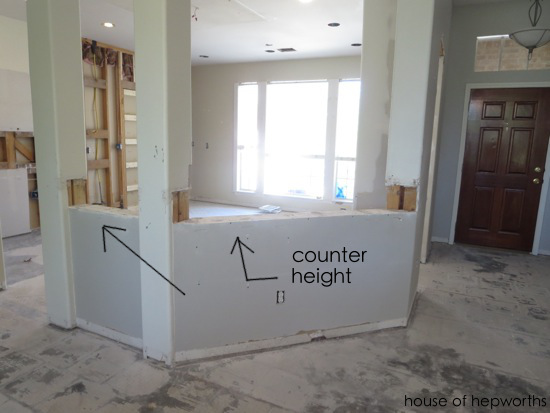
Here they are cutting down the bar-height wall to turn it into a counter-height wall.
And here’s the finished wall! Can I get a holla?! I am so super excited about lowering this wall. It really opened up the entire kitchen.
They also framed out for our new pocket doors. We cut away as little drywall as we could get away with. They did a great job and I was impressed with how quickly they did all the work.
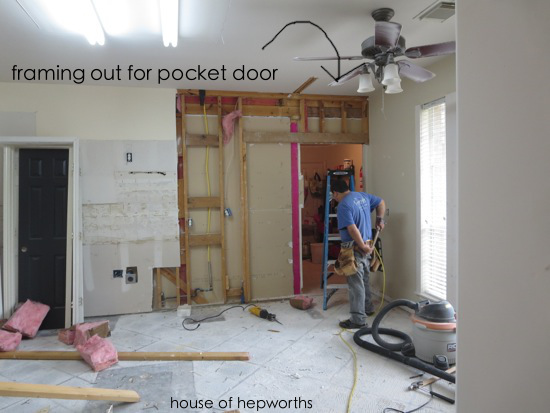
The two pocket doors we installed came pre-made. They just framed out the opening and then installed the pocket door frames.
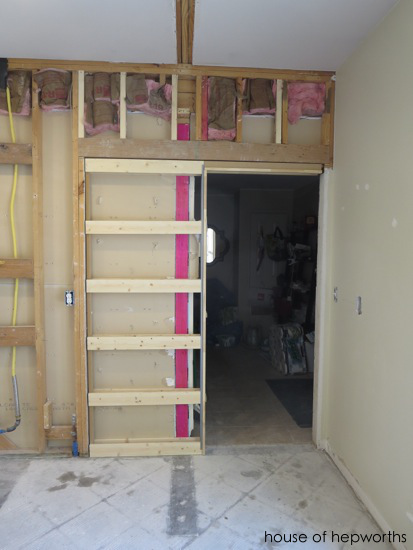
Here’s the new frame into the pantry. It made a big mess in my laundry room and it messed up the tile, but it was so worth the extra mess to have this door frame installed.
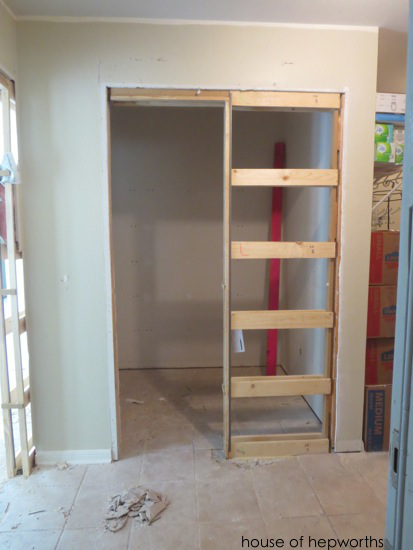
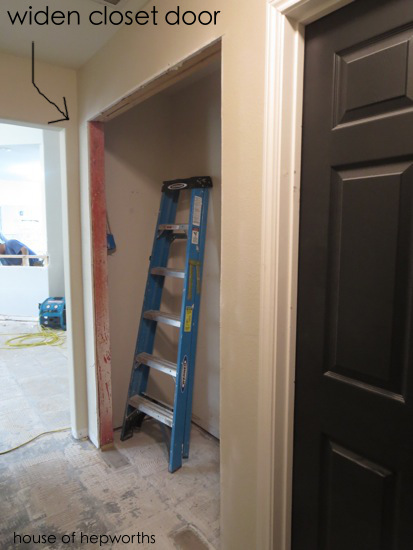
The last thing the framers did was widen the opening for the hall linen closet. It had a single door and was awkward and hard to get into so we widened the closet to accommodate french doors. We are going to install floor to ceiling shelving to hold all our linens, pillows, towels, etc. Our coats are going to be moved to the mud room.
During all this chaos the garbage company came back and retrieved their big huge dumpster. We had them pick it up because they were charging us by the day, it was totally full, and we naively assumed we were done with it (we now have a huge pile of wood and drywall in our driveway that we are trying to figure out how to dispose of).

Next up, the electrician. This was the biggest and most expensive of all the extra work we’ve had to pay for so far. They were here two days and their work included installing 9 can lights, wiring for under-cabinet lighting, adding 5 new plug outlets, and moving several plugs and switches.
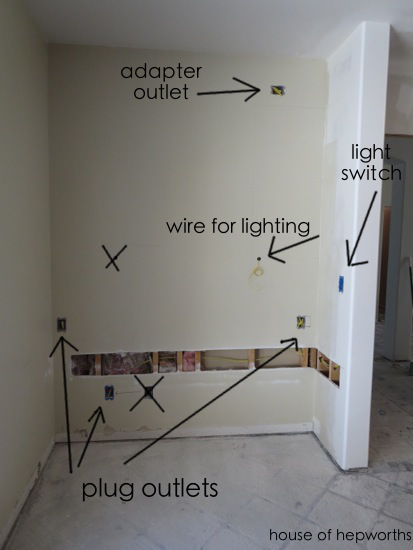
In preparation for them to arrive John had me go around and roughly mark where I wanted all the new outlets. Here is our desk area. For this area we are adding under-cabinet lighting that is on its own light switch. We also had to add 2 new plug outlets and move one over to the left to accommodate our new cabinets.
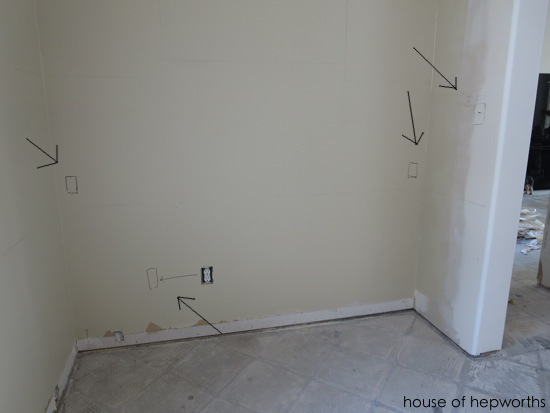
Here’s what it now looks like with all the wiring finished.
We also added 9 new can lights. The electrician was awesome and installed every single light (and connected them all) and never once went into the attic. I was impressed.
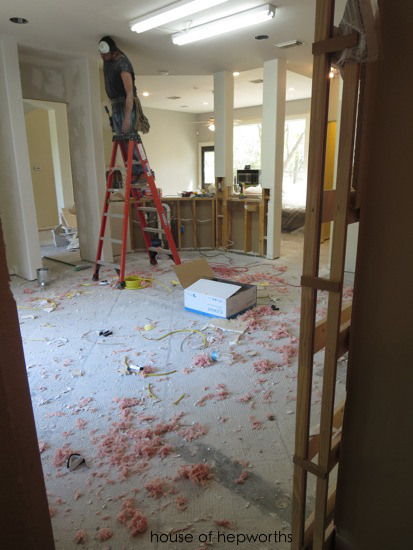
Here are the finished can lights. We haven’t added bulbs to them all yet (no reason other than I just haven’t gotten around to it).
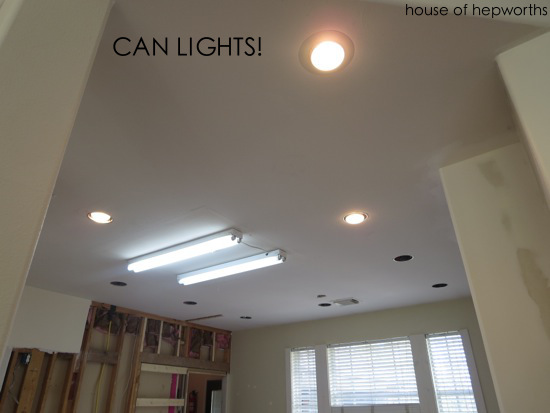
The area where the fluorescent lights are will eventually have two pendants hanging down. We are waiting until the island and countertop are installed to wire the pendants so we can make sure they are exactly centered over the island. The fluorescent lights used to be boxed in like this:
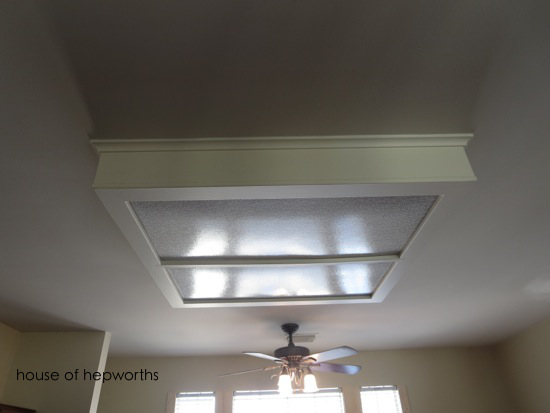
When we pulled the box down it fell apart. We were planning on donating it to Habitat for Humanity but it broke. 
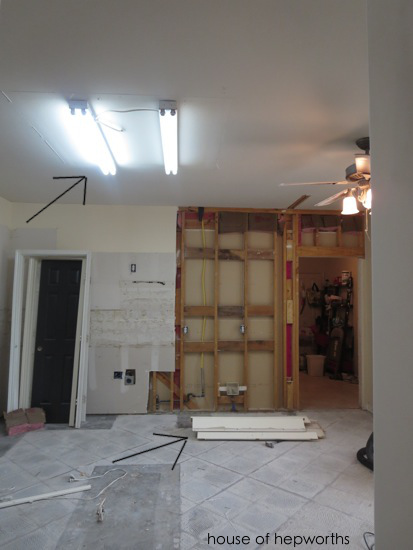
The biggest project of all was adding the under-cabinet lighting for the kitchen area (the desk area was also difficult but was a smaller project). In order to wire it all so it is on its own light switch they had to drill through every stud around the entire length of counter area. Good thing we have drywall people coming to install and finish all that.
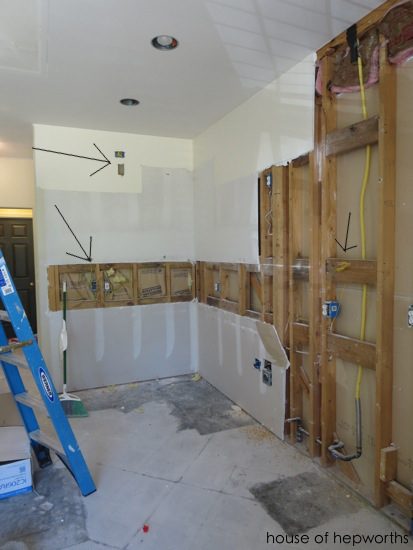
We are going to add LED lights under the cabinets so they had to run a different type of wiring. It is a lot smaller than the standard wiring they were using for everything else. I’m not an electrician so I can’t give you any info about this because honestly I don’t know!
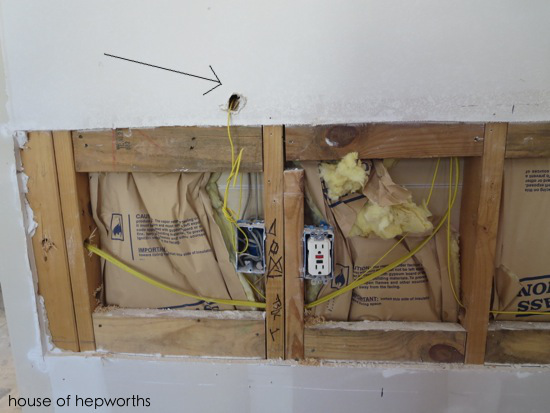
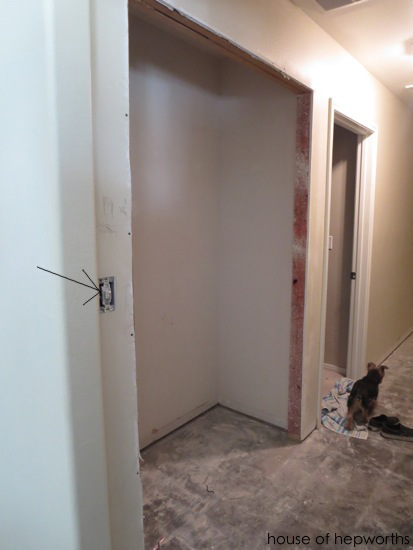
The electrician also had to move the light switch over for the hall closet…
…and added a plug outlet in our pantry for our two mini-fridges. When we added the fridges I just punched a hole in the wall and plugged them on the other side of the wall. Totally not to code so we had them fix that.
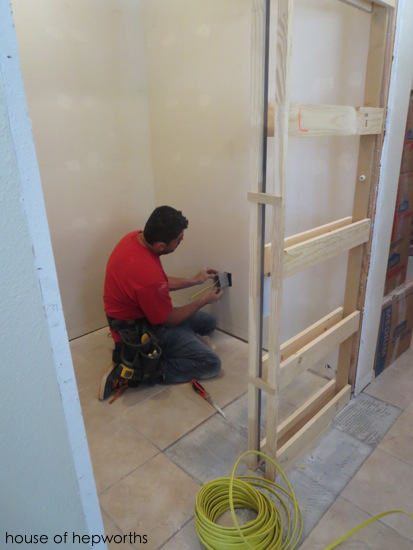
The last thing they did was add two additional plug outlets in the dining room. We are adding base and upper cabinets in here so we wanted plug outlets above the countertop. We opted to leave the current outlets as well so we can plug stuff in inside the base cabinets.
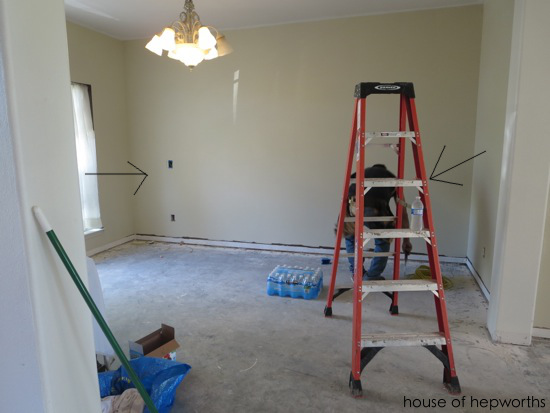
Whew! Tons of work going on around here. Today we have floor people coming to professionally clean the thin-set (glue that holds tile to the floor) off the floor. It is adhered too well and we couldn’t get it off so we had to call in the big dogs. After that, sheetrock (drywall)!! Once the drywall is hung, taped and floated, and textured, Ben and I will paint, paint, paint all the ceilings and walls and then… dun dun dun… the cabinets go in! I am hopeful that we will have cabinets installed sometime next week. The next several days will be crazy busy and I am hoping the drywall is finished by Friday so we can spend the weekend painting.

You’ve made a lot of progress. I, too, love the Shark Bites, they are a bit expensive but make plumbing so much easier.
This is so exciting! I love seeing the progress and learning from it. I want to remodel our main level, but I haven’t figured out exactly how I want the kitchen yet, so I’m not going to start until I’m confident that it is “it” and that I will love it! John sounds so great, giving you tips on what you can do on your own.
You have made so much progress! It’s going to look AMAZING when you guys are done!
We’re remodeling our kitchen right now too. I bought two boxes of contractor trash bags at Home Depot and have put all our drywall in them, then hauled them to the curb and the city trash collectors have taken them away! We also have gotten rid of some of our cabinets and wood pile that way. Sometimes people just take the cabinets off the curb in cars or trucks. A neighbor took all the old aluminum metal and siding pieces to scrap. So don’t despair about your extra demo trash. You can totally get rid of it for free!
WOW!
Boy do I remember the demolition phase of our home. We rented two dumpsters for a week each! We made good use of them let me tell you. Oh and I’m so glad my hubby to be is an electrician. He told me how much it would cost if he did the same work for someone else. My mouth hit the floor.
Good luck with everything.
What a mess! Can’t wait to see what color you end up painting everything. I once saw a really cool purple wall treatment with a gold sponged over the top. The end effect was simply stunning. If you don’t use it in your kitchen, you should try it in your dining room for sure!
This made me LOL so much