This kitchen renovation is kicking our rear. So much prepping in order to get ready for cabinets. Let’s see, where was I when I last left off? Oh, right… thinset, framing, and plumbing.
As soon as the thinset was removed from the floor, John the Builder (man I get a kick out of calling him that because it sounds like Bob the Builder) had the drywall installers over here. In fact, they were a day early! I always hear horror stories about renovations taking 10x longer than expected, and workers being delayed by days or weeks. Lots of the waiting game. We haven’t experienced any of that at all. John has been so on top of this renovation from day one and I couldn’t be more pleased.
As soon as the thinset removal people left, the drywallers arrived to hang drywall, tape and float the seams, and then texture everything. I have hung drywall before, but I don’t do it often and it takes me FOREVER. This two-guy team was in and out and completely finished with everything in a day and a half. They were awesome.
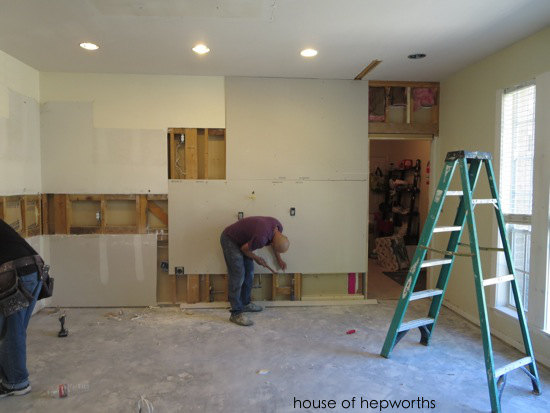
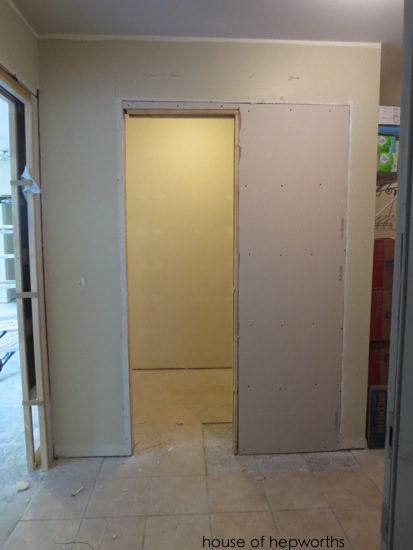
They started by hanging all the drywall. Here’s the pantry getting closed back up after the pocket door install.
They patched every hole and covered every crack.

Once all the drywall was in place they used mesh tape to seal all the seams. You can see it because it’s bright yellow.

From there they applied joint compound over all the mesh tape.
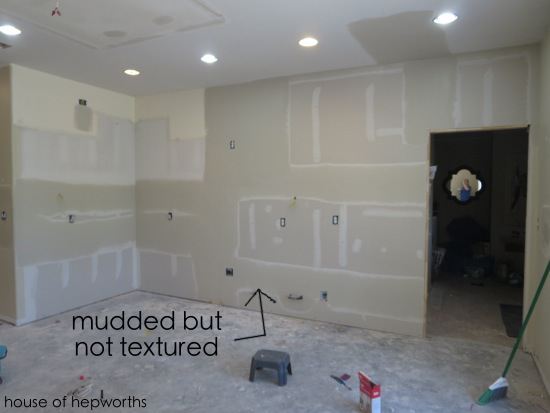
They used a quick-dry joint compound so that they could texture just a few hours later. During that time they took a nap in their truck in my driveway (I found that somewhat hilarious for some reason) and then left for lunch. When they came back they hung some plastic to protect the rest of the house from the texture overspray.
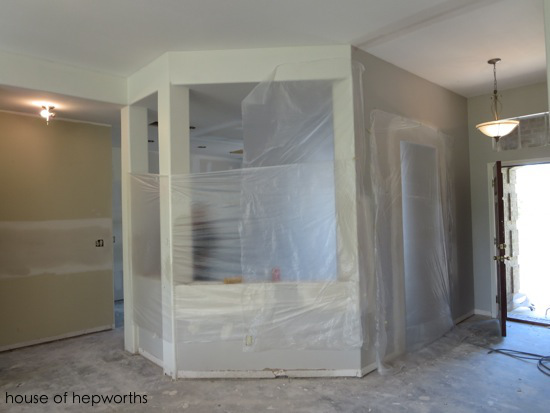
In rapid time they had textured everything and were done! In case you are curious about how to texture a wall, I don’t have any photos, but basically you use an air compressor with a texture attachment (looks like a little paint gun) and a bucket-type attachment called a hopper. The hopper holds the texture while the gun sprays it on the wall. I am not 100% but I think that the texture is just watered-down joint compound. I might be wrong on that though.

The texture looks very tan when it’s wet. You know when it’s dry because it turns white.

We did have some collateral damage with the texture. Several doors in our house now have texture overspray on them. Fortunately texture isn’t waterproof, so all you have to do is wipe it off with a wet rag (and maybe a little scrubbing).

After a couple days the walls were totally dry so I started painting in preparation for the cabinets to go in.

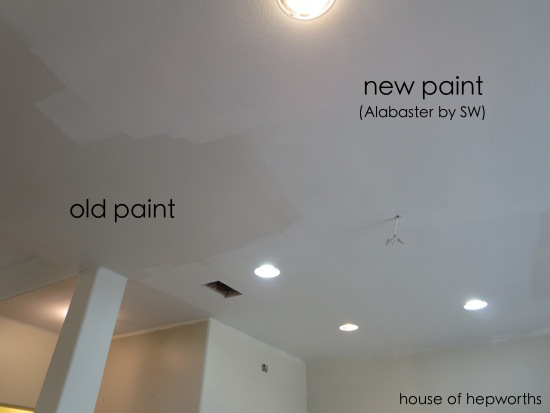
I started with the ceiling and painted it the same white I always use for ceilings and trim – Alabaster by Sherwin Williams. For ceilings I always use flat paint, but on walls I like satin finish. Here you can see the difference in color on the ceiling:
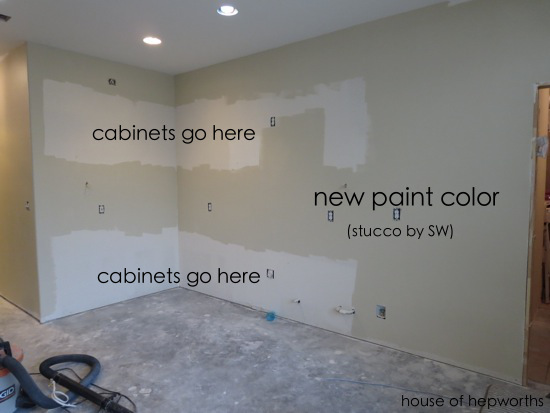
For the walls I painted my new favorite neutral – Stucco by Sherwin Williams. I started painting this house grey and greige colors, but I am now repainting the entire house this neutral warm-toned stucco. As much as I love the grey colors in photos, living in a grey house makes me feel like I am in a dreary overcast winter and that gives me the sads.
The paint guy at Sherwin Williams shared a tip with me that I thought would just rock my socks off, but I was very underwhelmed with the actual execution of it. He suggested I buy a metal paint screen that goes inside a 5 gal bucket and then just paint directly from the bucket instead of using a tray and having to continually refill the tray.
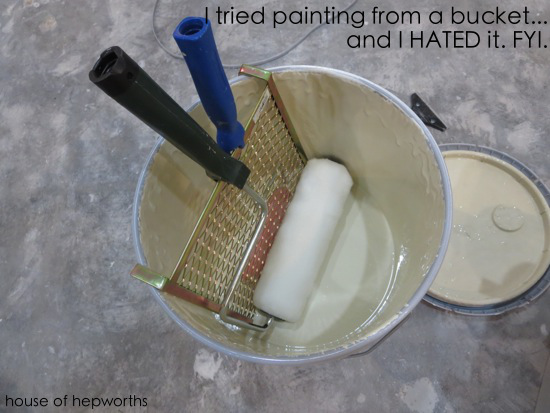
I tried it, and I HATED it. Maybe the tip will work better with a different paint screen thing, but this entire setup just made a huge drippy mess. I gave it a fair try though, so in my not-professional opinion, I will never paint out of a 5 gal bucket ever again.
I now will tell you about a plumbing fiasco I had, then finish off the post with a comical story that proves how much of a ding dong I am. Okay, plumbing first…
Remember when I discovered SharkBite plumbing fittings (amazon affiliate link) and I said I was looking for excuses to do plumbing because it was so fun? Be careful what you wish for!
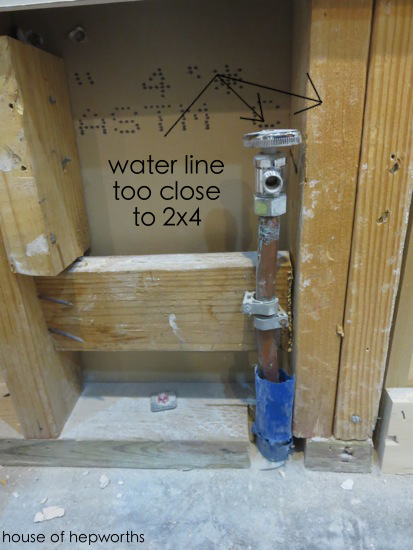
When we had the pocket door next to the fridge installed they wedged a 2×4 right up next to the water line for the the freezer ice maker. Obviously this situation here is just not going to work. You couldn’t even turn the handle to turn the water on.
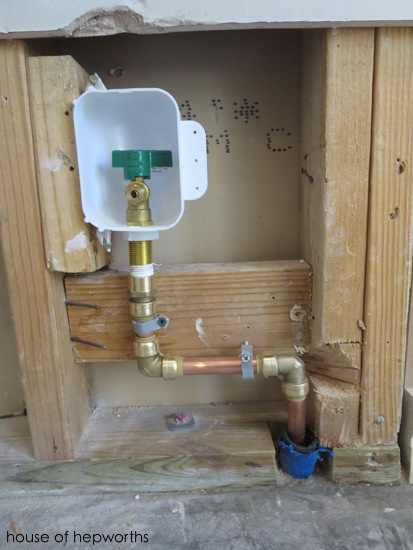
Here is the final finished plumbing product after many hours of drama. So pretty looking:
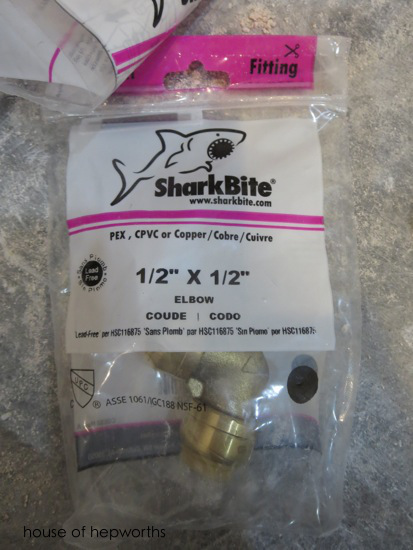
I used these SharkBite fittings…
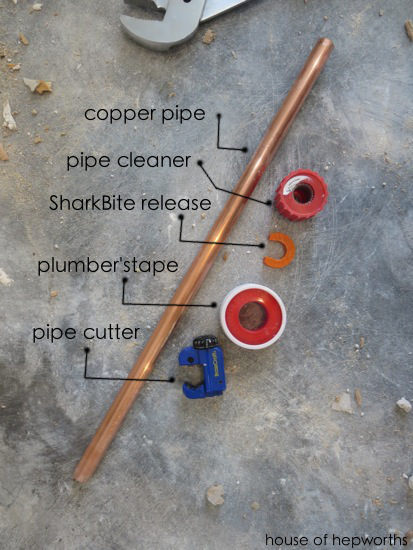
…and I also used these tools:
Here’s where things went bad… Before the drywallers could finish their job I had to remedy this little plumbing situation. No problem! I’ll just use SharkBite fittings. I’ll be in and out in half an hour. Um, no.
The problem started when I used my oscillating tool to cut the copper pipe. I read online that if you can’t fit the little pipe cutter tool into a space than you can just cut the pipe with an oscillating tool.
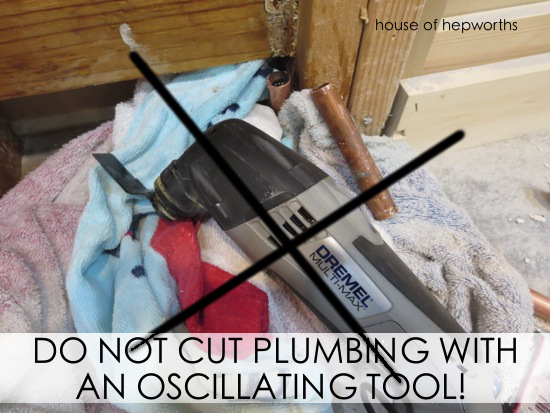
When I cut the pipe it didn’t make a perfectly level, clean cut. It was ever so slightly angled and had one very tiny ridge on the top of it. Maybe if you are actually welding pipe together this would have worked, but because I was using SharkBite parts, when I attached the SharkBite fitting it just leaked and leaked and leaked. (The water was shut off at the street but there was still a continuous dripping that never stopped.)
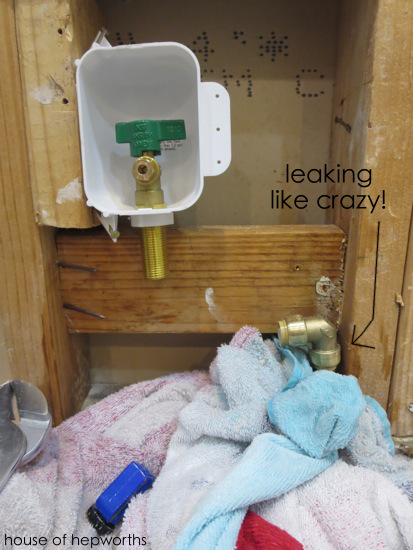
Thank goodness I had purchased the SharkBite part that allows you to remove the fitting once it’s installed. Otherwise we would have had a huge fiasco on our hands (it was after midnight at this point and no our local hardware store were open). We managed to get the fitting off the pipe and I tried everything I could think of to smooth out the end of the pipe. Nothing worked.
After a frustrating few hours (and a little bit of a panic attack… “What do I do? It’s midnight and my house is flooding!”), I finally just took a chunk out of the 2×4 so I could get the pipe cutting tool to fit around the pipe. Once I was able to cut the pipe with the real pipe-cutting tool it made a perfectly level, smooth cut. The fittings slipped into place and they never leaked again.
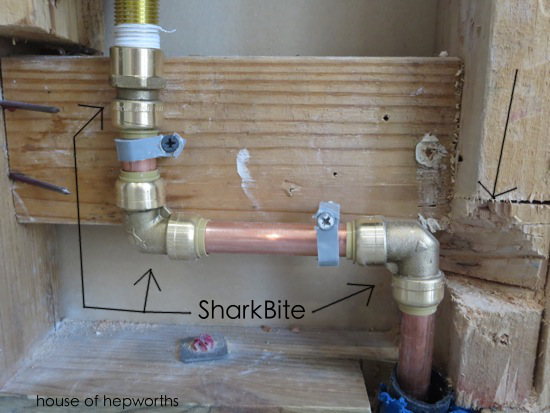
The moral of the story? If you are using the instant clicking SharkBite fittings, you must make a PERFECT cut on the pipe or it will leak.
And now my I’m-a-ding-dong story…
We decided to donate our entire old kitchen to Habitat for Humanity Restore. We liked the idea of donating everything to a charity for a good cause, the ease of donating to one place as opposed to trying to sell it ourselves, and also the fact that it’s a tax write-off. Win/win/win for everyone involved. They came by on the drywall day and picked everything up.

In a mad dash to donate as much as I could get rid of, I was pulling old doors, random mantles, tile, etc from the shed (all left by the previous owners). I wanted Habitat to take away as much stuff as I could give them. They also took all the old cabinets, Silestone countertops, sink, etc. They gave us a receipt for the donation and went on their merry way.
Not more than 30 minutes after they left Ben was like, “Did you save any tile for all the patch jobs we need to do?”
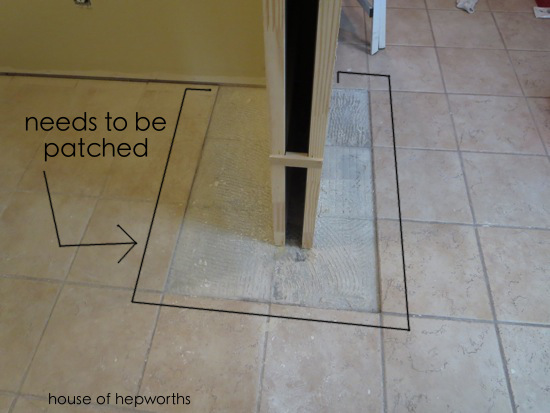
Doh! In my mad-dash to donate ALL THE THINGS, I gave them ALL the tile. The same tile I needed to patch this:
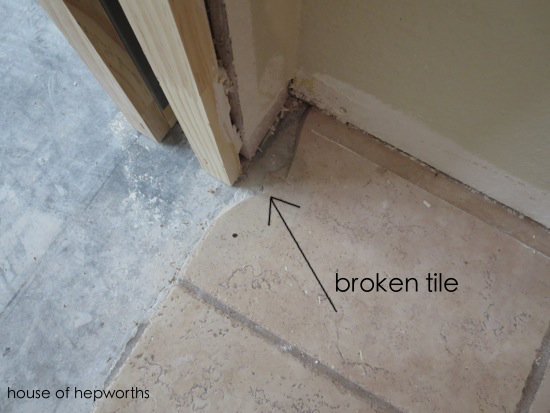
And this:
And possibly even this (we are considering adding marble thresholds into the bathrooms before the wood floors get laid, and we might need to chip away a little bit of tile):
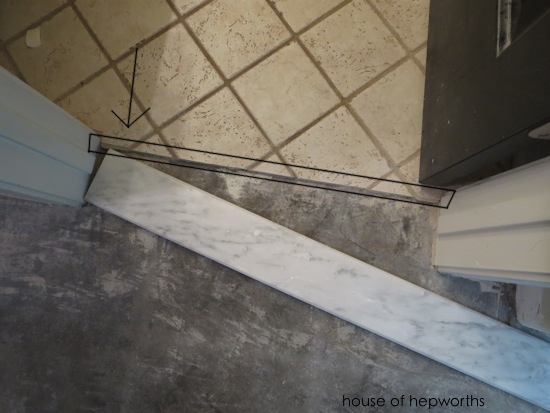
(We don’t love this tile and I do plan on replacing all of it in the future, but probably not for a few years. I can’t live with holes in my floor for that long!)
I called them Monday morning to find out if the tile had been moved to the show floor yet. It had. They had no inventory and no idea if *my* tile was still available so I raced up there in a mad dash hoping against all hope that it would still be there. This store is not anywhere near where I live and was super inconvenient but it had to be done.

I searched high and low for my tile…

And finally. Finally! There it was. Someone had already bought a bunch of it, but they had more than enough so I grabbed 10 of each of the two sizes and went to check out.
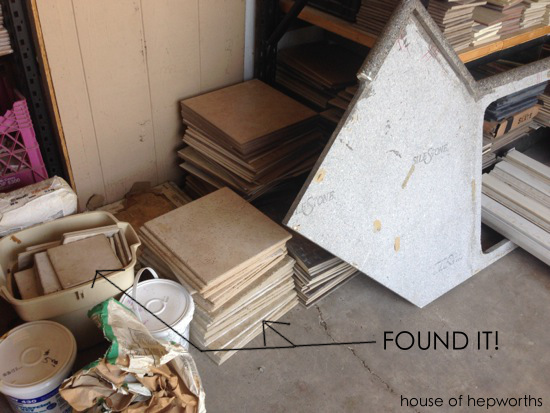
The total came to around $7 and I handed her my card. I wasn’t about to ask for it back for free. It was my mistake and I was happy to purchase it back from them. As soon as she started to run my card, the checker was like, “Are you the one who called who accidentally donated all your tile?” I was all, “um… ya… that’s me. Not very bright, I know.” And she was like, “Girl, take your tile! I’m not going to charge you for it. lol.”
Sometimes you do dumb stuff and you can never make it up, but fortunately for me I was able to get enough tile back to patch my floor. Lucky day for sure.
On a very exciting note, I am sitting here waiting as I type this for the cabinet guys to show up with MY NEW CABINETS. I can’t wait. It feels like Christmas morning.

So excited to see how quickly it is all falling into place for you! (although I am sure it feels as thought time is dragging on…and on…and on.)
Can not wait for your next update, Allison!
I’ve been checking back every day for updates! Love how everything is coming together. The space already looks more open by making that front counter all one height. That was a great decision, in my humble opinion, haha.
The anticipation! I check back several times a day, just in case an update has been made.
I am waiting with baited breath to see the cabinets! I bet you are so excited!
It’s here! Go check it out!
You know what, I’m very much inecinld to agree.