Guys, I am SO SORRY for the radio silence the past week and a half! I’ve had terrible server and hosting issues and the blog kept going down repeatedly (it’s actually been an ongoing issue for more than a month, but the past almost-two-weeks has been the worst). Anyway, sorry about that. Hopefully the blog will be more stable from now on.
The day finally arrived. The apex of the entire kitchen renovation. WE GOT OUR CABINETS! Can you tell I’m just a little bit excited? Thirty days from demo day 1 the new cabinets were installed. The cabinets arrived over the course of two days and came wrapped in plastic wrap and smelling like a brand-new house.
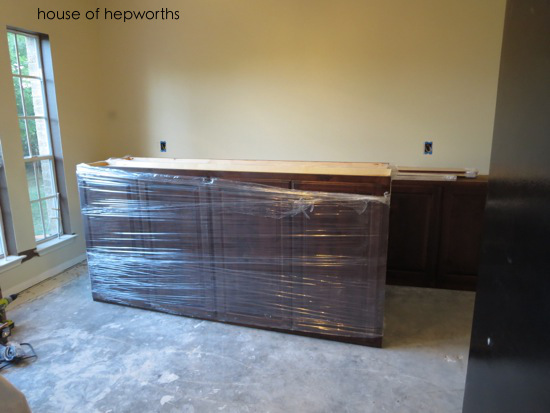
They were everywhere! And they just kept coming and coming and coming. They filled the dining room and the kitchen…
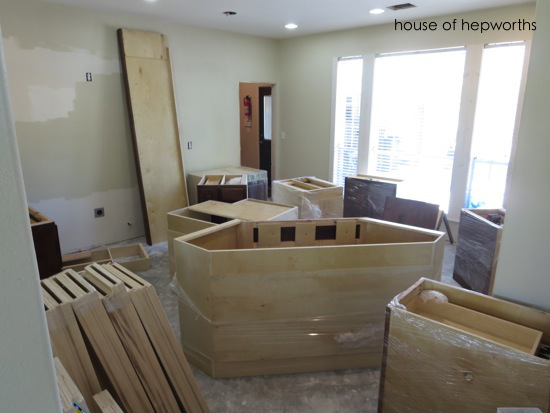
And there were even cabinets overflowing into the living room.
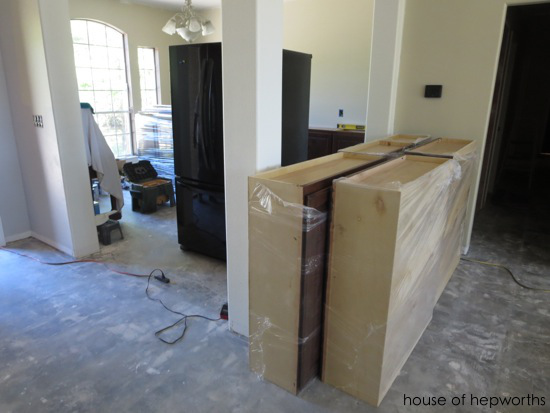
Armando, the cabinet maker, and his brother are the dynamic duo. They had the cabinets hung and installed and mostly trimmed out in one day. The next day the brother came back to finish the rest of the trim and crown.
Here’s the brother hanging our wall-o-cabinets in the dining room. We ended up taking a different direction than my initial plans for the dining room and I’m so glad we did. I adore these cabinets in here and Ben was right – the room looks much better with cabinets that match the ones in the kitchen because you can see both rooms at the same time. I still LOVE the library cabinets idea though and we might incorporate that idea into a built-in entertainment center in the family room at some point in the future (once our wallet recovers from this renovation!).
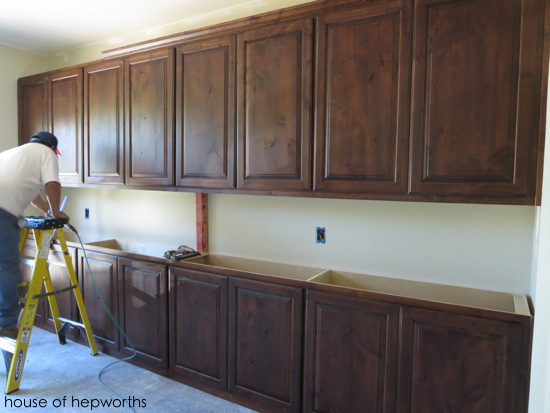
Here’s Armando hanging the cabinets in the kitchen. I literally stood around taking pictures and squealing like a little school girl. To say I love these cabinets would be an understatement.
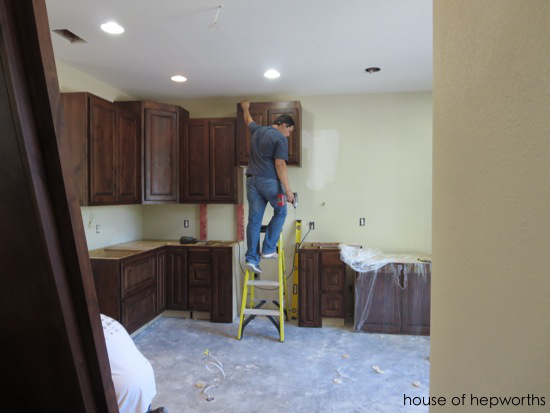
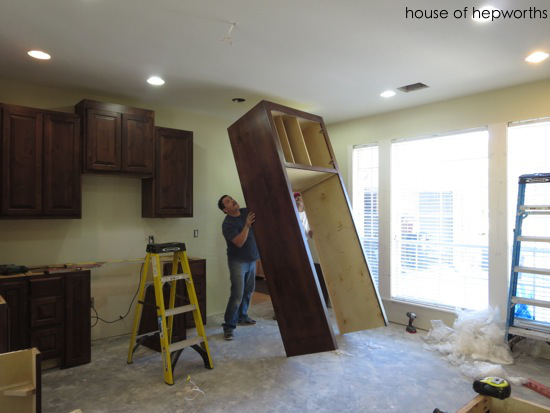
We added a big box around the fridge for a more finished look. They assembled the entire thing on the ground then hoisted it up and screwed it in place.
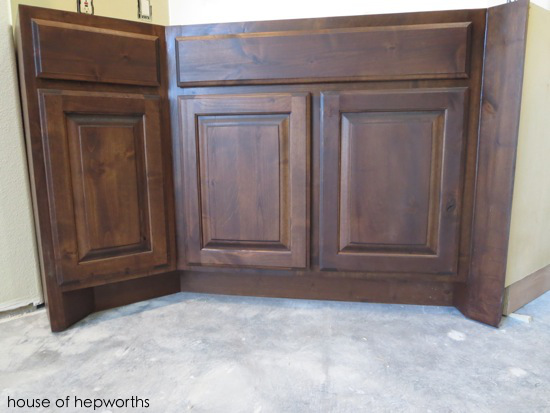
Here’s the sink cabinet with an opening for the dishwasher on the right. Armando surprised me with some angled toe-kicks at the bottom in the corners.
Here’s the majority of the kitchen area before the island went in. The island took a few extra days to build so he brought it over later. We kept the layout pretty much the same but bumped out and raised higher the fridge cabinet, microwave cabinet, and corner cabinet.
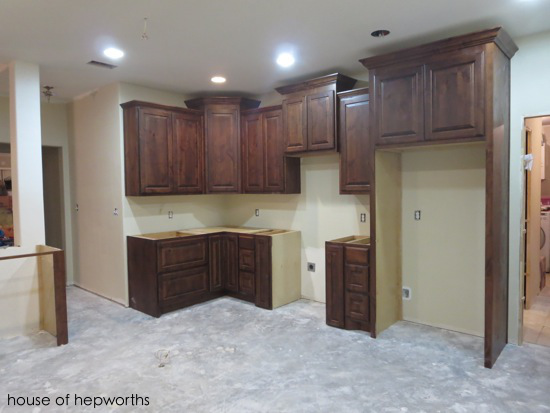
And here’s the other half of the kitchen. On the right is where the sink will go and on the left is our new built-in desk!
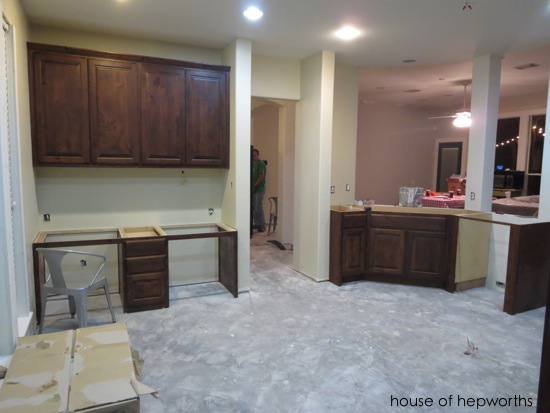
And now for the little extras that I insisted on that I am so excited about. I had Armando order Rev-A-Shelf spice racks from Amazon to install on either side of the range. I opted for the wider 6″ ones so that they would hold the large spice containers you get at Costco, etc.
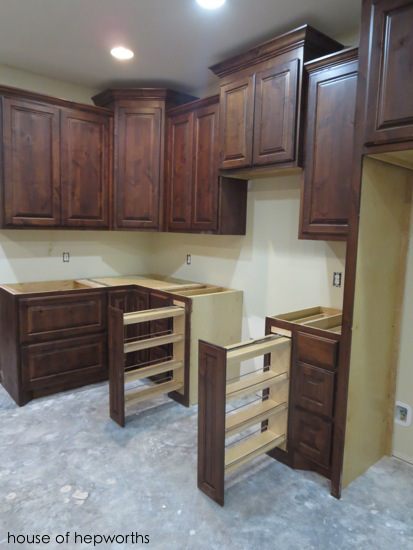
Next to the sink we installed a small garbage can…
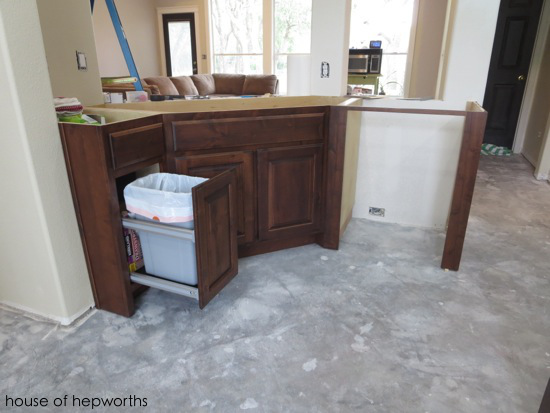
…and we installed a pull-out that holds two large garbage cans for the island (one for recycling, one for trash).
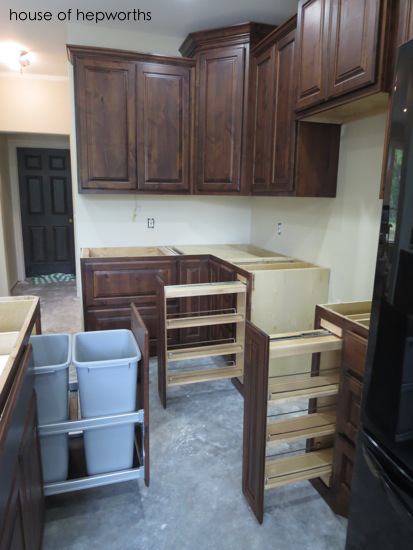
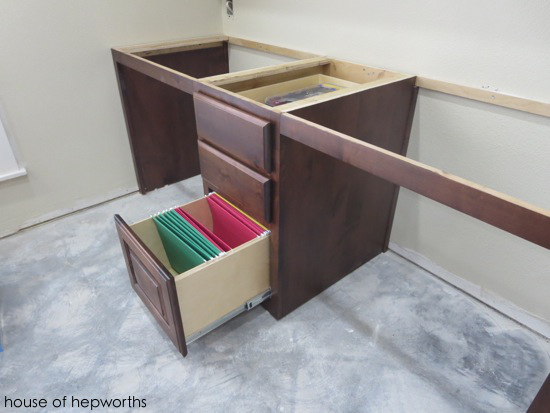
I had Armando make the lowest drawer in the desk area hold files:
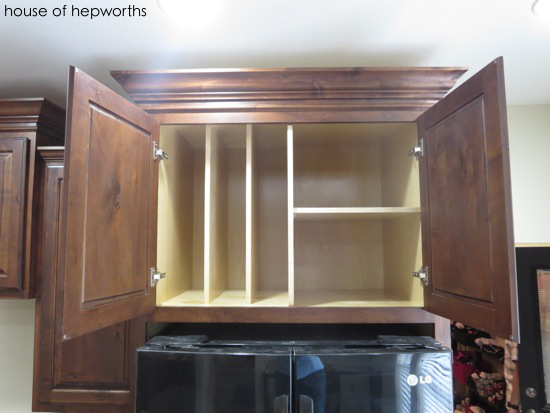
I wanted was a place to store cookie sheets so Armando surprised me with a custom sorter in the cabinet above the fridge. It’s great for storing those big platters and cookie sheets.
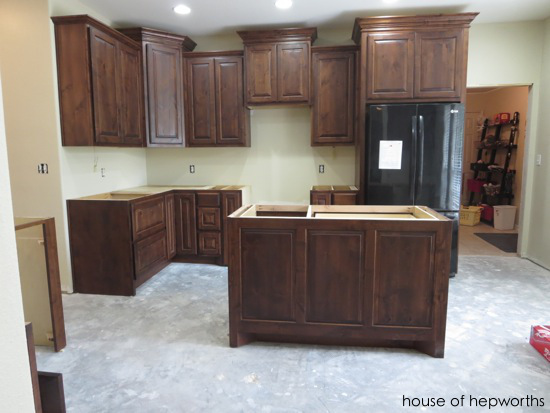
Here’s a shot of the kitchen with the fridge and island in place (but obviously no countertops yet). I love how the upper cabinets are staggered. It adds a lot of visual interest.
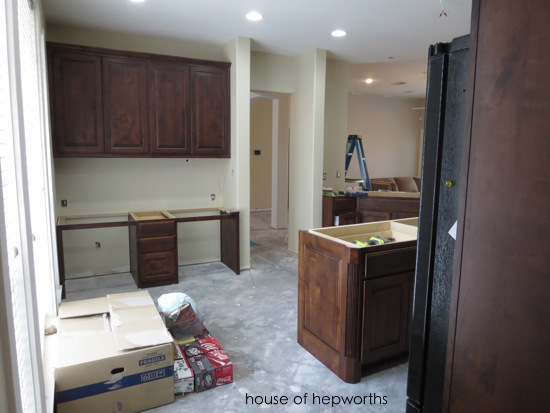
And here’s a shot looking in from the mud/laundry room. We took out a wall that was next to the fridge so that I could have a box around the fridge instead which looks great when you walk into the room. The box on the floor is our new sink that just arrived in the mail. I’ll give you the deets about that in another post.
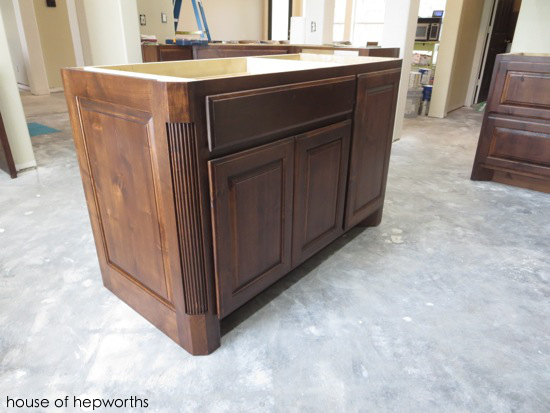
A close-up of the island. I told Armando I wanted some detailing on the edges of the island and I just love what he came up with. I also like how he mimicked the cabinet doors on the sides and back of the island.
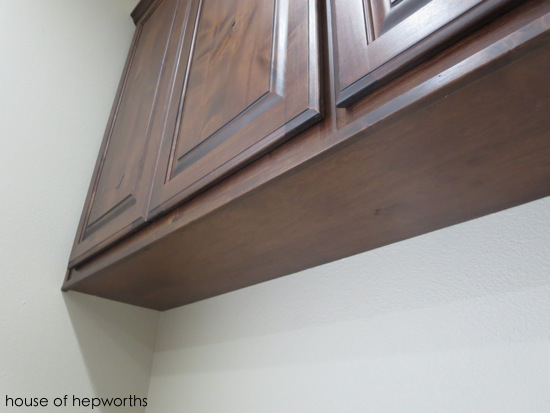
Another feature that they added was to put a skim board under the cabinets so that when you are sitting down you see a pretty bottom instead of the basic cabinet bottom. I never would have thought of this but it sure looks classy now.
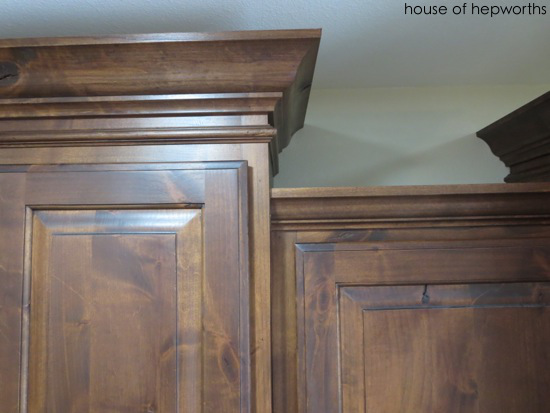
And now for some up-close detail shots! The shorter cabinets each have a smaller crown moulding while the taller cabinets have a taller crown moulding and an extra detail moulding.
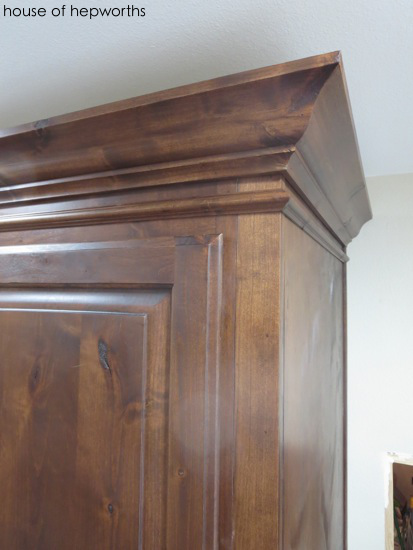
Here’s a detail shot of the taller cabinet. It’s the little details like this that really just finish off the cabinetry and make it sing.
The island has panels on the sides and back that mimic the doors for added interest.
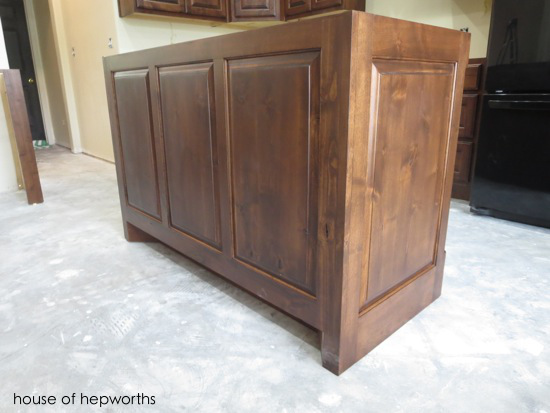
Let’s head into the dining room now across the hall…
We are still living in complete chaos so pardon all the stuff all over the table. This is as good a photo I have at the moment of the cabinets so just try to see past the massive piles of crap on the table.
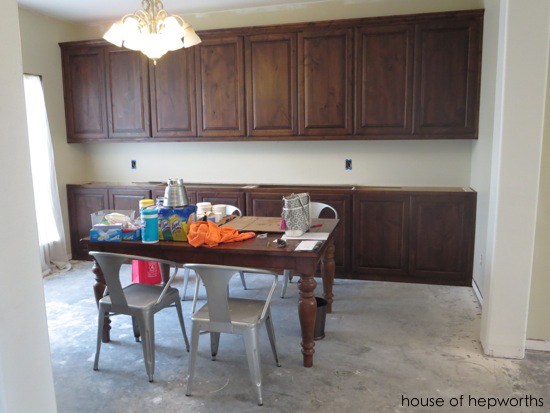
They did such a fabulous job with these cabinets. The uppers are the standard 12″ deep, but instead of a standard base cabinet of 24″ deep I had them make the base ones 15″ deep. This way they will hold the bigger items that are too big for the 12″ cabinets, but the cabinets won’t be to cumbersome in the room.
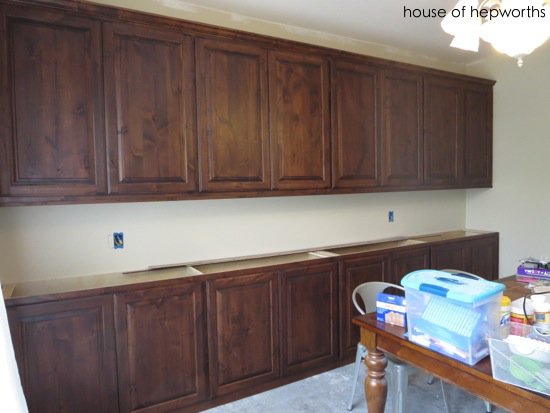
They are chock full of storage and came with tons of shelves. I am probably going to have to remove a few shelves here and there to fit the bigger items.
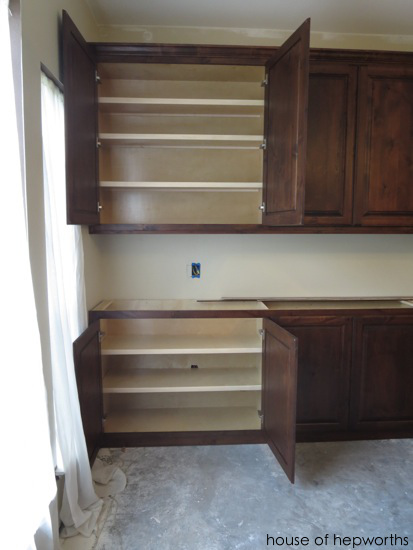
And just like in the kitchen, the underside of the upper cabinets is covered with a skim board and extra trim pieces for a polished look. I can not get over how pretty these cabinets are.
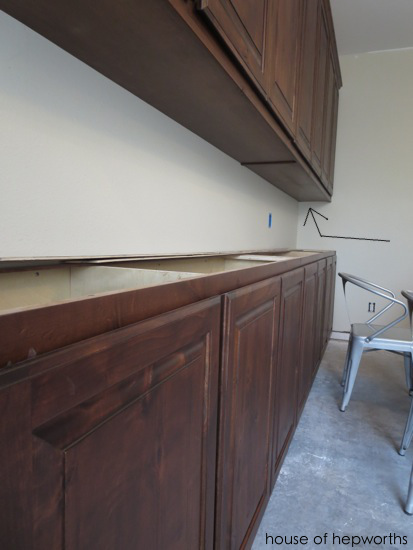
Let’s walk back down memory lane, shall we? The following three photos are 1) from when we looked at the house before we bought it, 2) after we moved in and were gearing up for a renovation, and 3) where we are now!
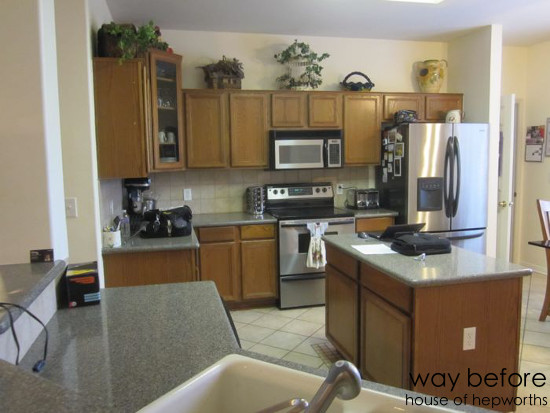
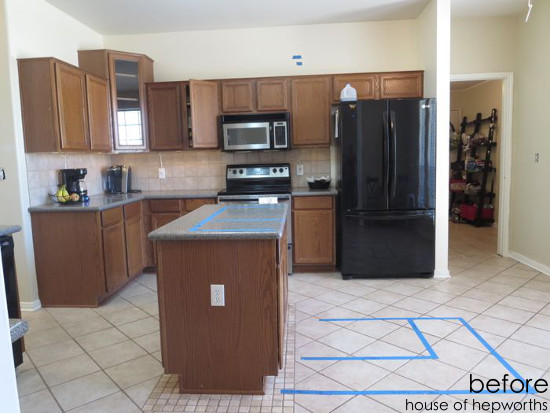

Can you believe you are looking at the same house? And we aren’t even done yet! We still need counters, appliances, and flooring. I am honestly blown away at the difference so far. The renovation has turned our lives completely upside down, and living in a house during a renovation of this magnitude has been, I won’t lie, it’s been absolutely terrible. But seeing these cabinets has made every single painful day so completely worth it.
As I said earlier, the cabinet install is the apex of the renovation. It’s all down hill from here, but the finish line is still several weeks off. We are done with the demolition part and are now putting everything back together, but there is A LOT to put back together!
I don’t want to dwell on all that right now though. I just want to admire my new cabinets! Oh, and before I forget, the cabinets are made from knotty alder wood. I don’t know the stain color, but I will find out and update this post once I know it. I am SO GLAD we went with a small custom home builder to head this renovation. John has been a treat to work with, he’s totally on the ball, he delivers early, and every single person who works for him is top-notch (cabinet guys, drywall installers, framers, electrician, countertop guy, flooring people, etc).

I can see that those are beautifully crafted cabinets. I love the wood and the details, good for you for going with a local cabinetmaker.
That’s a whole lot of cabinets! They look beautiful. Glad you are happy with them.
I am so glad to have found this post today! We are currently looking to purchase a home that has walnut cabinets and black appliances…can I ask what type of countertop you are going to be using? This home needs new countertops – something to brighten up all the dark wood and appliances as it doesn’t seem to be as bright and open as your kitchen. Any suggestions??
I’ll do a post about the counters soon (as soon as they go in) but we ended up selecting a basic light-colored granite called American Ornamental. We were going to do quartz but it was an additional $5k!! We looked into solid-surface but they aren’t as durable, so granite it is! We will probably do the marble-looking quartz when we redo our bathroom in the future. We chose the American Ornamental granite because it was the lightest color we could find at the stone yard. I’m a little nervous because I really wanted something VERY light and not busy at all, but I’m optimistic that it will look good.
Oh, and we currently have a black fridge, but our new appliances are stainless steel. When we have an additional $3k for a new fridge we are going to get a stainless steel counter depth one. For now though the fridge just won’t match the other appliances.
Wow love the color and style of those cabinets…and especially love the storage in the dining room!
Question….is there a reason they didn’t put the tall cabinets right to the ceiling, or will they be adding more trim to cover that little area?
Lori, we opted to have the cabinets not touch the ceiling purely for personal preference. Cabinets going to the ceiling is very popular right now but I prefer the other look so we went with that instead. We have 42″ upper cabinets and the taller ones bump up an additional 6″.
Also, I wanted cabinet-color crown on the cabinets, but white crown in the room and there was no way to make it work together and look good IMO so I had them make the cabinets lower so I can do a separate white crown around the entire room.
I love it! They are so beautiful. You do a fabulous job of taking pictures, posting them and are very detailed, I love that! I love your style, thanks so much for sharing! You have to be so excited right now!
They are beautiful! I want to move back to Texas just so I can hire Armando to make me some cabinets! I love the color and all the extra details about them. Can’t wait to see it all done with the counters and everything.
Its like waiting for the baby to come. You know its going to be great, and you just can’t stop staring.
Love from the Middle East.
Haha so true!
Love your new cabinets! I can’t wait to see the the finished kitchen!
Gorgeous!
Congratulations on the cabinets. Looks like a dream kitchen to me with all the storage!! Can’t wait to see the next steps of the reno.
Looks fantastic! Love the attention to detail ! Looking forward to seeing the finished kitchen : )
Beautiful!!! Will you be adding hardware to the cabinet and drawers? If so, what color?
OMG Girl! You almost had me squealing too! I truly do LOVE the woodtone of your cabinets. Perfect color! So warm, inviting…=sighs= yes…it’s official. I’m jealous! So much room, beautiful colors..and not even done yet. You done good, girl!
Send them to my house (in Florida) when they finish your cabinets. I love reading about your experiences as it helps everyone learn and make their own decisions for what they like. I too have a pull out garbage can and was going to suggest that to you early but you beat me to it. With two dogs and a 3 year old (at the time) who is now 14 we needed to hide the garbage. Now I would like to add another bin for the recycling so I will look into the company you ordered from on Amazon. Good luck with it all so very proud to see a family doing all this work after saving so hard to pay for it. Great job from one Mom to another.
WOW. Those cabinets look simply fab!
Those babies are beautiful! I love that you have stained cabinets, it is so nice to see in a sea of blogger white kitchens. I am so glad you are keeping it real, showing that you save to pay cash for your improvement. Can’t wait to see the rest!
Gorgeous cabinets and great workmanship! Allison, have fun in your new kitchen!
OMG !! Your kitchen is a dream !! It looks awesome with all those fantastic cabinets of every size and shape. Its just marvelous
Those cabinets are stunning and my dream cabinets (knotty alder wood)!! It will be so worth the headache of living in the house during the reno when it’s completed! Enjoy
The cabinets are beautiful and I’m a firm believer in buying local when we can and supporting local businesses. Can’t wait to see the final finished product.
Not sure if you have answered this question or not…I love the finished look underneath your cabinets. I always hate the unfinished appearance beneath ours. If/How are you handling under-cabinet lighting wi the finished look on the bottom. Did you prewire?
I would like to know the color of the stain. I didn’t see it mentioned. We are building a new house and our cabinets look almost exactly the same. Love the color.
Sherilan