You guys, we have counters!! I can finally start to use the kitchen again. At the end of the day we opted for granite over any of our other options (there are a million countertop options available and I will break down our granite decision for you in the next post). Let’s just get right down to business and talk about the stone!
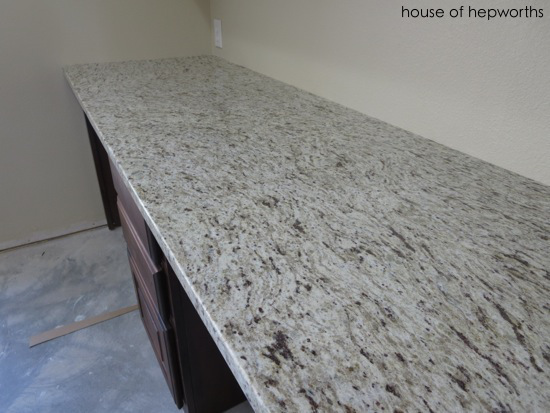
The granite we selected is called American Ornamental. Pretty much my only requirement when selecting a slab of granite is that it had to be as light as possible. This was literally the lightest color slab of granite in the entire stone yard. I wanted something super light because our cabinets are dark and the floors we are getting will be dark too. I hope that by choosing a light color countertop it will keep the place from looking like a cave.
Installation started with the countertop company making a template of all the cabinets. These were taken back to their workshop where the stone was prepped (edge cut and top buffed out) and some of the stone was cut.
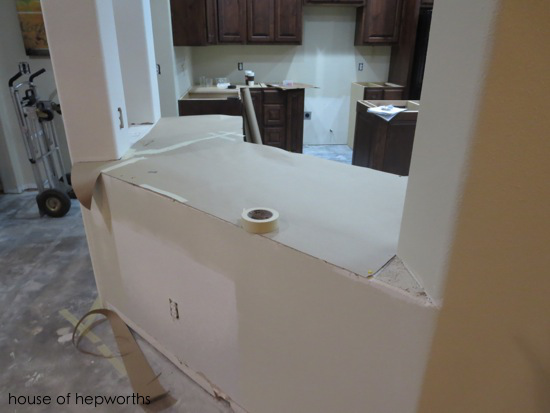
We chose our stone prior to this at the stone yard (which I will blog about in the next post), so when the guys came to template they also swung by the stone yard and picked up our THREE slabs of granite (most kitchens use only one or two) we needed to complete the order (well, 2.5 slabs but we had to buy full slabs. The leftover now sits in our shed with the hopes of becoming a bathroom vanity some day).
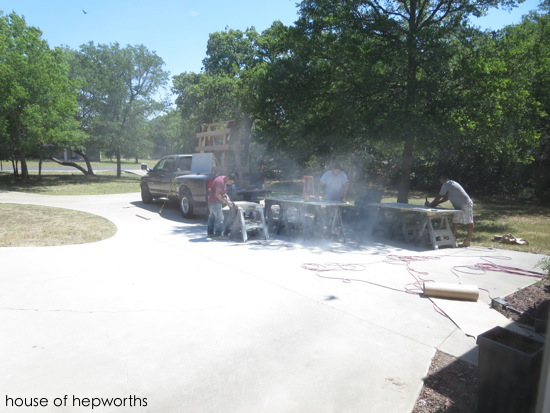
After more than a week of the waiting game (waiting for the slabs to be cut and prepped, and for his crew to be available for install), it was COUNTERTOP DAY. Yay! The crew arrived with all the slabs and set up a bunch of saw horses in the driveway. The granite came finished on top and along the edge, but the crew did the majority of their cutting in my driveway.
They started with the easy pieces and saved the most complicated sections for last. First up, the dining room:
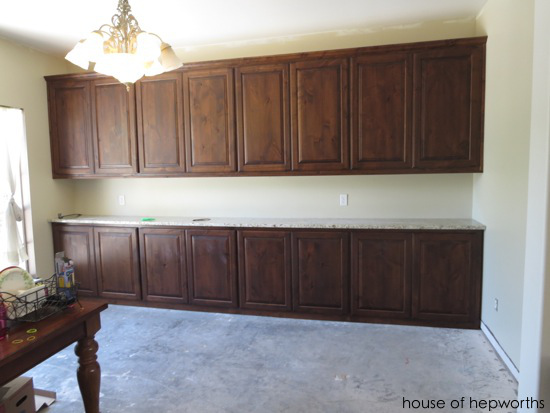
The dining room counter and cabinets are 173″ long, so the counters required a seam, but these guys were so good you can hardly even find it.
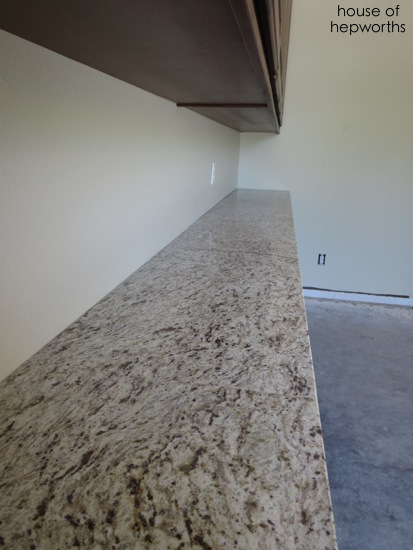
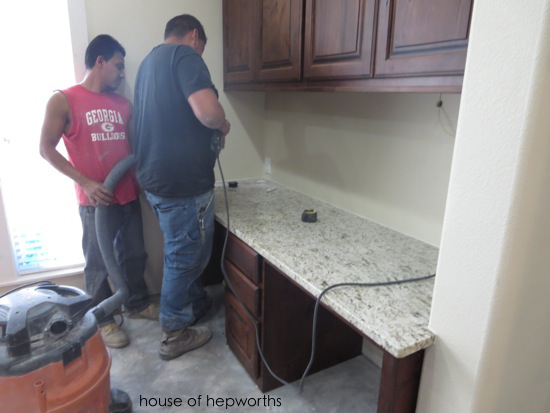
After the dining room they turned their attention to the kitchen for the rest of the day. Up next, the easy rectangle for the desk top. At this point I’m already thrilled with the color selection. The counters definitely look bright and light in here.
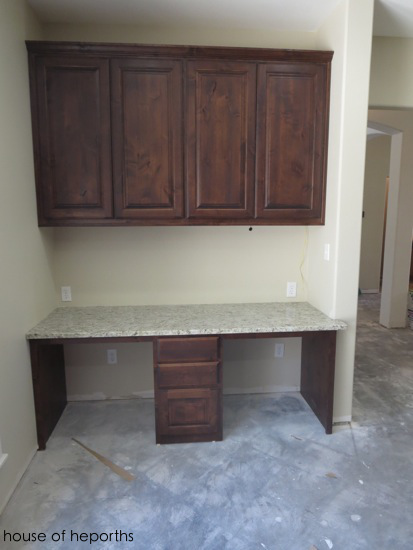
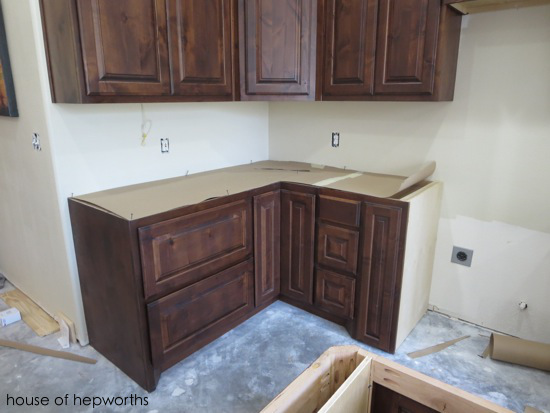
The crew did a great job creating as few seams as possible. In fact, there are only two seams in all the counters total; one in the dining room and one on the sink counter. They were able to cut this corner out with no seams.
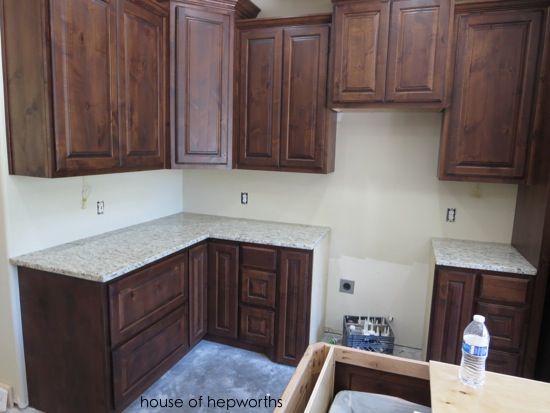
I really like the look of a plain square edge which is exactly what we had them do on our new counters. I like how clean the lines look with a very basic counter edge option.
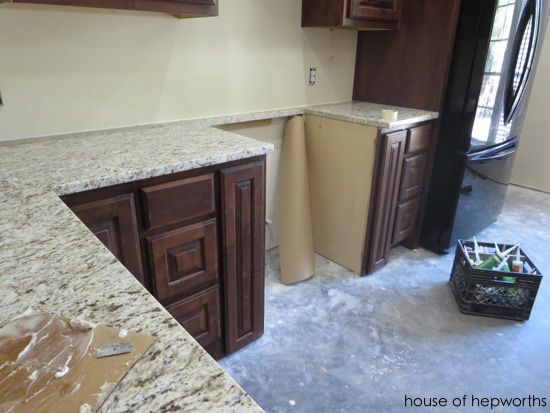
The last counter they installed was the sink area. We have a very odd shaped sink area, and with the decision to lower the bar to counter-height, it made the cuts for the counter even more complicated. Fortunately they were able to get the counter installed with only one seam total.
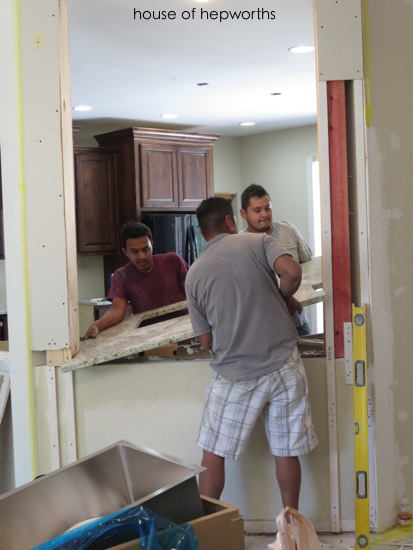
You may have noticed some unfinished column work in the above picture. We decided last-minute to frame out some new columns and the granite guys told us to hold off on finishing them with texture until they were done installing the counter. I am going to devote an entire post to the column work, so hang tight.
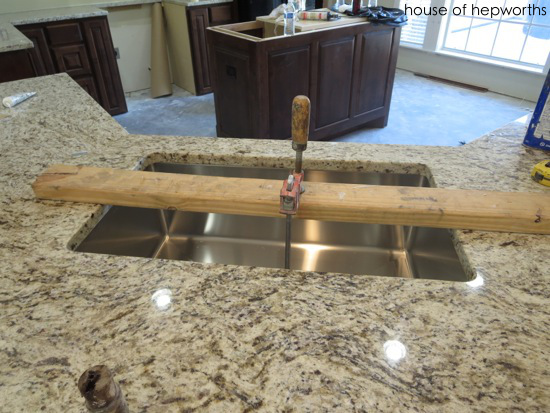
After all the counters were installed they glued the sink in. We chose a Hahn Chef Series large single bowl sink from Costco.com. Here’s a link to the extra-large one. I’m not seeing the large one listed anymore. (Not an affiliate link.)
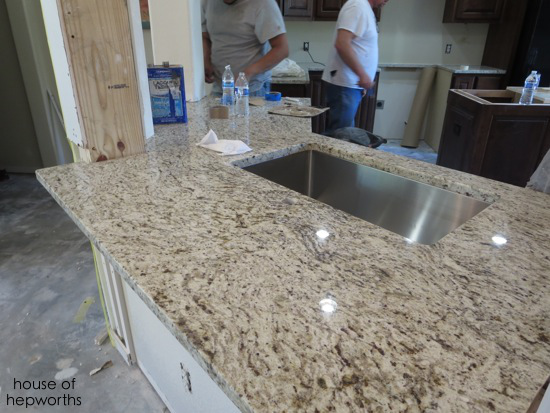
After the sink was attached they drilled one hole in the counter for the future faucet (we still don’t have running water in the kitchen yet. I’ll keep you updated.)
The crew came back a few days later to drill a hole in either side of the desk for cords.
When we did the wiring we had the electrician add plug outlets above the desk and below the desk. Now we can run our computer cords below the desk to keep them from piling up on the counter, but we still have additional outlets for charging our phones, etc. Ben installed these super awesome plug outlets that have additional USB outlets for plugging in cables to charge your phone or whatever. You can order them here on Amazon (affiliate link).
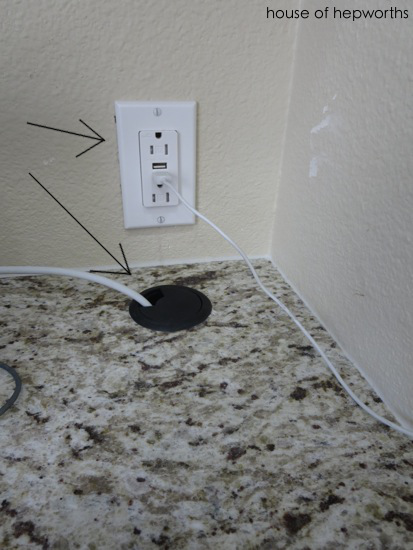
I purchased the desk grommets on Amazon. You wouldn’t believe how long it took me to figure out that the desk hole plug things for cables are called Desk Grommets. Now you know, in case you had no clue like I did.
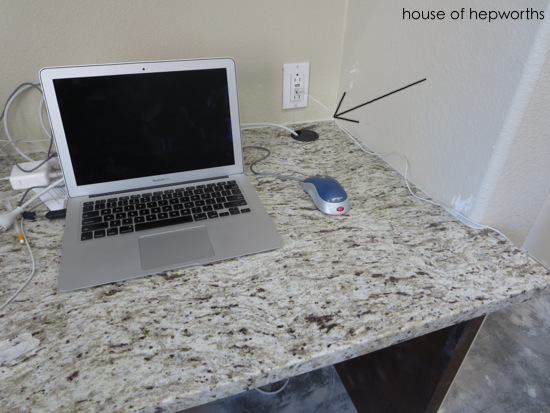
Here’s part of our desk setup in action. We are still getting sorted out around here and the other half of the desk is piled high, so I opted to not show you that part yet.
We were shocked at how much dust is created when you have counters installed. Thank goodness they did all the cutting outside! Time for a car wash! I had a little logo fun first though.

I’m going to write one more counter post (about selecting counters and how/why we chose granite), so if you have ANY questions about the process or anything, ask away in the comments and I’ll address everything in the next post.
Thanks for following along! Renovating has been a fun, albeit it dusty process. We are nearing the finish line. This is the longest renovation marathon I’ve ever run and I’m just praying I don’t poop out and quit at mile 25.


Your granite is beautiful!! I love that your corner is all one piece. I wish mine was. Our installation guys were idiots! After 12 years, it’s now splitting, I can fit my fingernail between the pieces. So frustrating! And I do wish I would have went with a more squared edge. It looks so much more classy than the rounded, which I did. Live and learn, I guess. Oh, and thanks for the heads up about the “grommets.” I didn’t know, but now I do and can officially “finish” my desk holes.
OMG, Allison, that granite is so gorgeous, I want to marry it! It looks like it is a *perfect* color match to your cabinets, too, how on earth did you get so lucky?! If I owned a home (fingers crossed that one day I will be so lucky!) I would probably go with white cabinets with gray accents and sea shades for the tile work (I’m in Southern California, and have a major thing for the ocean and beach tones), but I must say I am LOVING the rich, deep color of your cabinets and the color variation in that granite. Even unfinished, you have one of the nicest kitchens I’ve seen in all of blogland. It’s going to be incredible when it’s finished!
Woo-Hoo! I know you are super excited! Those counters look awesome. Allison, your kitchen is coming along very nicely. I think I have a sweet tooth right now because that granite reminds me of cookies and creme milkshakes. It is late and I must have the munchies. lol
Love your blog logo on the car!
Exactly what I thought!!! Oreo cookie Blizzard from Dairy Queen.
wow that is some pretty granite!! i really like the color!
That granite is amazing.
I love, love your counter tops. I need those so bad but on a fixed income I guess I will have to settle for my 40 year old formica tops. If I was younger and still worked, counter tops would be the first update. Thanks for sharing and I look forward to your up coming post of your kitchen.