The new floors are finally in! I cannot even contain my excitement about this. When we bought this house the common areas had two different types of flooring – tile and wood. Not only was the tile in really bad condition, the combination of the two types of floors really broke up the spaces and made them feel small and choppy.
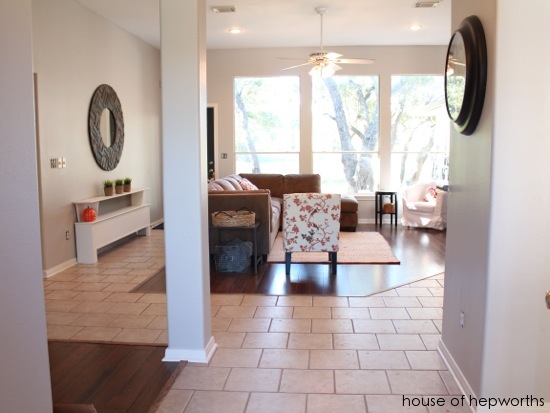
BEFORE
Our goal was to get rid of all the tile and have wood throughout the main areas of the house.
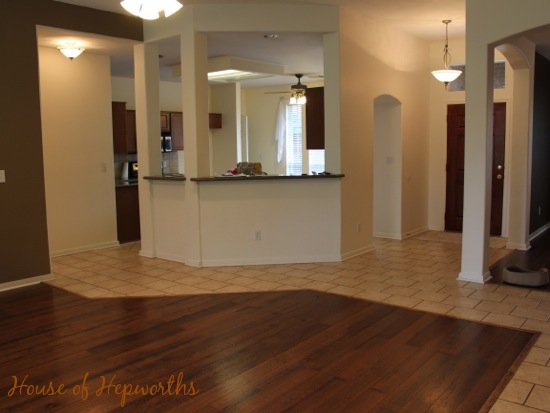
BEFORE
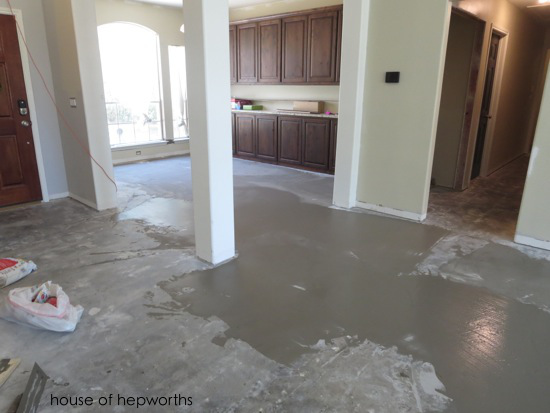
It’s been a long road to get here. First we had to gut everything, then the cabinets and counters had to go in. One of the last steps in the renovation process was installing the floors, so we basically lived on a cement slab for more than two months. I’m pretty sure I now have plantar fasciitis from walking around on the cement for so long.
But. It was worth it because we now have brand new engineered hardwood floors and I am in lurve love LOVE.
I’ll just give you a quick rundown about the laying process and then cut to the chase with a boatload of “after” pictures. The builder we hired to oversee this entire remodel used his flooring company, Mill Direct Carpet and Tile to do all the work. We picked it out and they ordered, delivered, and installed it. It is such a big space and we are limited on time, so this was the best option for us this go-round.
They started by pouring self-leveling cement everywhere to make sure the slab was perfectly level. This took half a day and then they let it dry overnight.
The next day they came back and started gluing the floor down. The last wood floor in here (it was in the dining and living room only) was also an engineered hardwood but the previous owners had it floated on top of a pad. We opted to glue ours down instead because the last floor just sounded hollow when you walked on it. We wanted this one to feel more substantial.
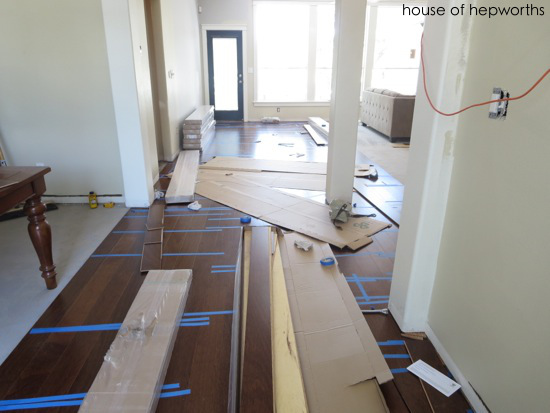
The crew spent two and a half days installing the floor. They did a fabulous job. I have looked high and low to find any imperfections or flaws in their work but I can’t find any.
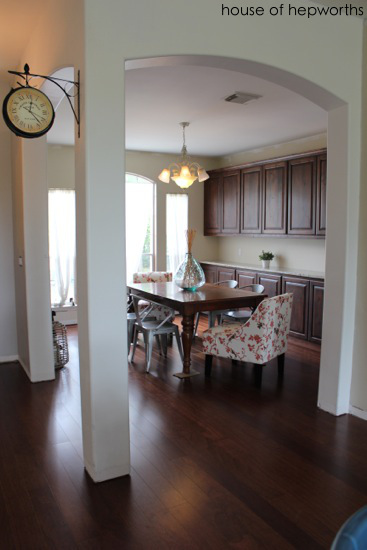
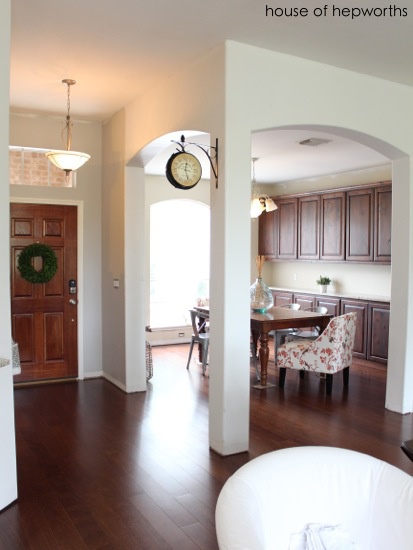
Here’s the almost finished dining room. Ignore the cardboard under the table legs. The installers did that as an extra precaution to not scratch the floor while they worked around our furniture.
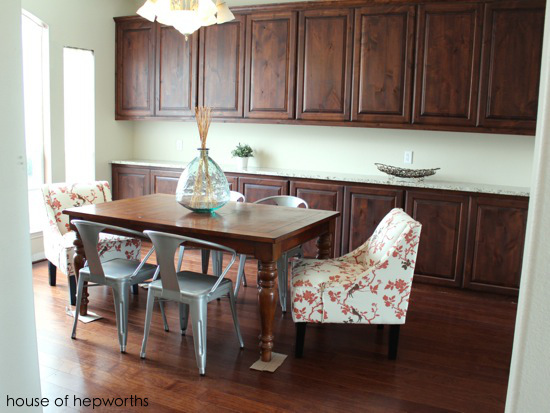
We weren’t planning on using this room as a dining room when we bought the house a year ago but plans changed. After living here for a year we realized it made the most sense to use it the way it was intended (we replaced the breakfast table in the kitchen with an eat-at island, so this is now our only table). If I had known I wouldn’t have sold our previous dining table and chairs to the new owner of our last house. Sigh. Hindsight is 20/20. So now we are in the market for a new dining table that is longer than this one. Eventually.

The new cabinets and floor color really make our front door look way too red, so refinishing it is now at the top of my priority list (after finishing up all the renovation details at least).
Here’s a good before and after of the door that leads from the living room to the backyard:
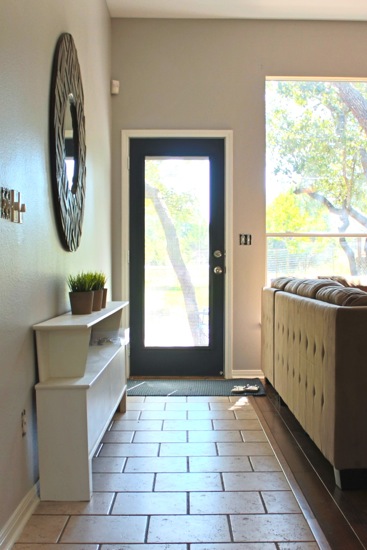
before
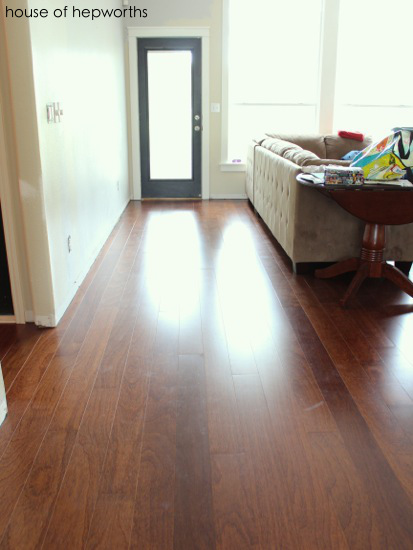
now!
We obviously aren’t finished because there are no baseboards yet.
Here’s a before and after of the hallway that leads to the rest of the house:
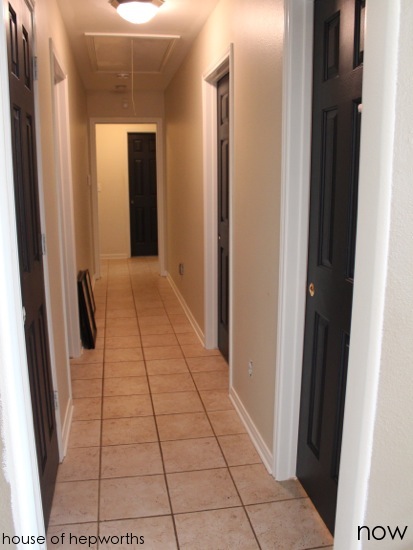
before
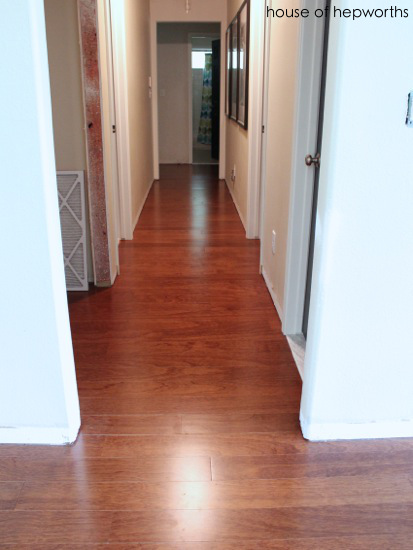
now!
The flooring looks red in the hall because of the terrible lighting. I really want to put a skylight or something in this dungeon of a hall.
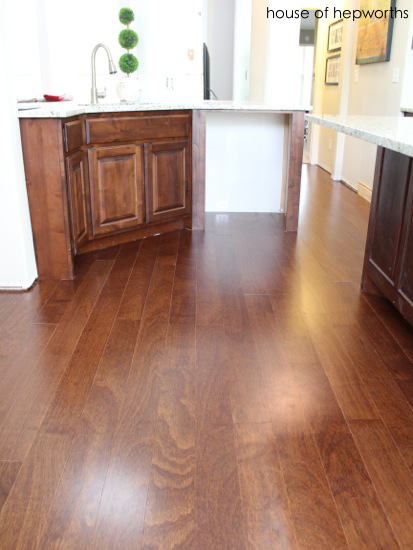
Another shot of the floor. I love how cohesive it is now. The rooms aren’t broken up by a tile walkway.
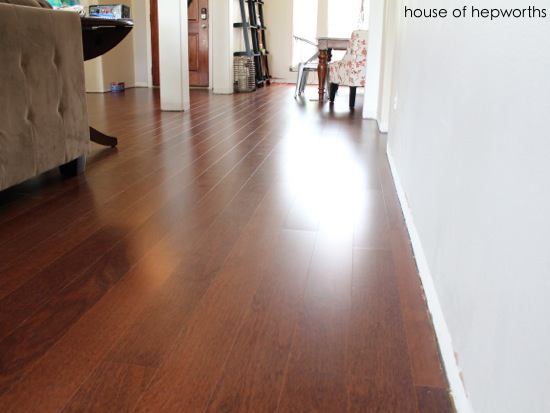
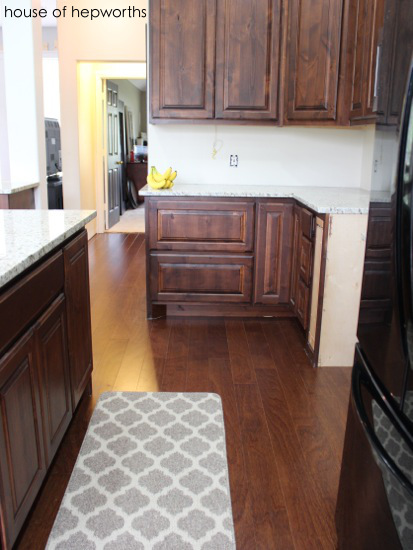
We also opted to take the wood into the kitchen. People seem very opinionated about wood in a kitchen. I love the look of it and am glad we kept the flooring uniform throughout the house.
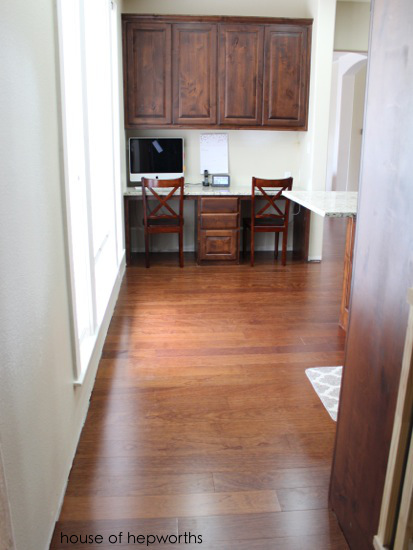
I picked up this long runner at Costco, in case you are curious.
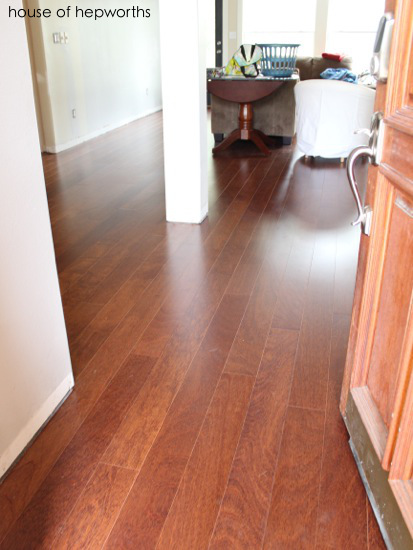
The view from the front door. Sure beats a choppy tile and wood combo!
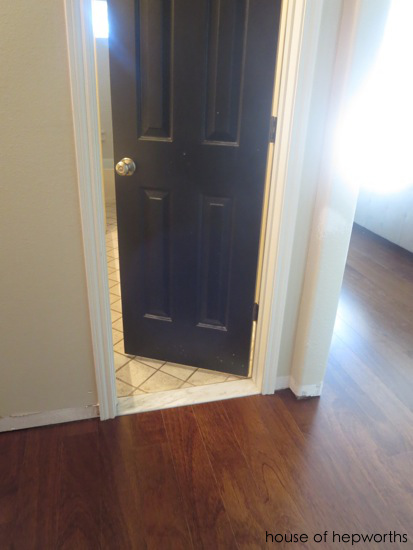
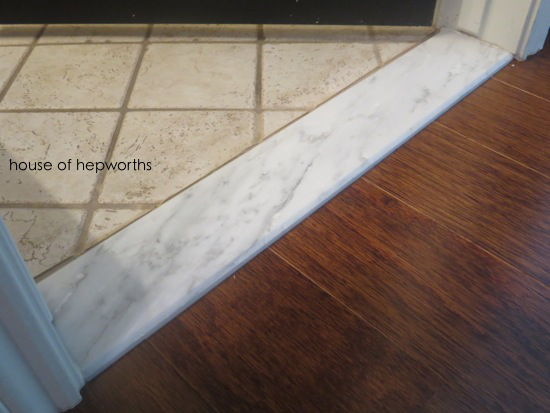
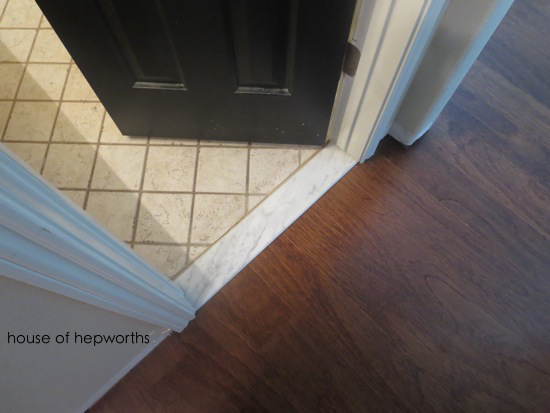
Before the flooring went in I used my dad’s tile saw and cut two marble thresholds for either bathroom, then I glued them down. I purchased the thresholds at our local hardware store for about $15 each. When we lived in New Jersey for a year in 2008 our apartment had marble thresholds leading into each bathroom. I was smitten with them and jumped at the opportunity to install them in this house.
We are now in the final stretch of renovation. What’s left:
*baseboards, door casing, doors, shelves, basic finishing stuff
*appliances (went in a couple days ago. I just need to write a post about it)
*Cabinet finishing: shoe moulding, floating shelves, and a few touch-ups
*pendant lighting above island (on temporary hold due to budget)
*under cabinet lighting (already wired, but on temporary hold due to budget)
*tile backsplash (on temporary hold due to budget)
*finish painting all the walls
*paint all trim once it’s installed
*deep clean everything (about 60% complete)
I *think* that’s it for the to-do list. Of course, we also have lots of additional stuff like purchasing new barstools for the island, upgrading our dining table, etc, but that will all come together over time.
Make sure to check back tomorrow because I am taking a detour from the renovation to share a really fun outdoor project for kids!

Your floors look fantastic!
I found your website through Six Sister’s Stuff and I love it because I’m doing some kitchen remodeling myself and your posts have been so helpful! These floors look gorgeous! Thank you for the comparison on counter tops materials as well, because I have really been struggling with that one myself!
I’d love to hear what you ended up choosing!
That’s so funny about the marble thresholds – we’re redoing our master bath right now and both the bathroom entrance and the shower doorway had marble thresholds. We couldn’t wait to get rid of them!
And your floors look beautiful!
That is so funny. It’s such a personal preference!
What an amazing change!! Your floors are just beautiful!! Don’t you want to just stare at them all day?
I do. lol
Looks great! I read your blog often and I am impressed that you were able to look beyond those floors when you purchased that home–they were pretty bad!! They look lovely now. We had hardwood in our last house and to avoid scratches, I recommend you get an inexpensive rug for your dining room. No matter how careful you all are–the floors will get dinged up when the felt thingies come off the chair legs! Good luck with the rest of the reno–it’s coming along beautifully!!
I had to overlook a LOT to buy this house, but the price was so great and the bones of the house were so good that we just had to jump on it. And, yes, I agree, we need lots of rugs now.
I absolutely love it. So jealous. We want new floors so bad. Question: did this flooring mill have good pricing? We are trying to find a good price. Glad to know about glue vs. the pad.
They did have good prices, but the way they price it seemed more expensive at first. After shopping around though they really were a great choice for us. They just give a total price per sq ft including installation and supplies, so when you go in and see that price you think you are getting ripped off, but really it comes out a better deal in the end.
congratulations! what a big job! and well done.
we did a kitchen remodel on our house about 5 years ago, an original 1938 kitchen in desperate need of updating. for 3 months we lived in the bedroom, with coffee pot and microwave in the bathroom, and refrigerator in the garage. YIKES
congratulations again! it looks beautiful.
Someone else who understands how painful this was! lol I never wish a kitchen renovation while living in the house on anyone. I will never do that again! I’ll buy an RV and park it in my driveway before I live through another renovation like this one.
We are about to remove all of the tile in our house as well and put down wood floors. How terrible was the mess from that and how long did it take them to remove the tile?
It was very dusty! It took us 2 days to sledgehammer the tile up (well, 2 “days” of around 3-5 hours per day). Then we had to grind all the thinset up. I won’t lie, your house will be full of dust, but in retrospect — so worth it.
This is amaze-balls. It looks so open and fresh and big! Especially the hallway…looks so different.
The dark wood and the fabric of the dining room chairs looks like a great combo. Can’t wait to see all of the accessories and finishing touches. Would you paint the front door black? The possibilities are endless.
Congratulations!
I think I want to strip the door and stain it the cabinet color. We’ll see if I ever get around to it!
Allison! It’s gorgeous. Wow. What a change – love it!!
The cabinets look so perfect with the floor color. So pretty. You have a great talent and eye for
decorating! Love it! Thanks for sharing.
Thanks, Lois. I appreciate it. You should come by some time and see it in person! xo
I need your opinion! A friend has a NEW dishwasher for us for free but it is stainless steel. My kitchen is all
bisque or off white. Can it be painted to match the kitchen? What would you do?
I’m sure you can paint it with the right paint, but it pains me that anyone would paint a stainless appliance bisque or white!
Oh, this is SO GORGEOUS!!!!!! I LOVE how it pulls everything together. This is such a beautiful house now!
I appreciate that!
the floors are GLORIOUS!!! That tile/wood combo never looked quite right, in my opinion. But of course, now it looks perfect. I always look forward to your posts. Keep up the great work.
Thanks!
Ohmigod!! Ohmigod!! Ohmigod!! The look fantastic — Especially with the new cabinets!! Nice choices, Allison!!
Thank you so much. I won’t lie, I’m smitten.
Everything looks absolutely amazing and gorgeous! We had hardwood floors installed throughout the entire first floor of our house last year and I don’t regret having hardwood in the kitchen. Hope y’all have a great summer.
Those new floors look absolutely AMAZING! I love them!
They look beautiful! We just moved to a new place and removed all the carpeting. We are in the middle of cleaning the hardwood floors.
So lucky that you had real hardwood under your carpet. We only had slab.
It looks amazing The kitchen, the floors, everything. Oh, and funny story, I saw the Sherwin Williams paint colour, Stucco in another blog. I was searching for a good “greige”, as we’re selling our house. I found Stucco, and later went back to google it before I purchased it. Your blog showed up. I’ve been a reader for 1+ years, but that post a few weeks ago, my brain did not register the colour. How are you liking that colour? I want something that is beige, with a more gray than yellow/orange undertone.
I love Stucco. My kids’ rooms are painted that color. It’s a nice greige but with more beige than grey.
My husband and I are buying a house (pause for cheers)… it needs some serious lovin… I’m talking beige/taupe/tan-ish toilets and wood paneling…lovin’ but it’s in the ideal school district for our son, and it’s on a prime piece of property across the street from a park! i just need you to tell me i’m not crazy for buying a house that needs “tweaking” while raising a toddler and working full time!
that being said… do your hardwoods run under your cabinets? or cabinet install then flooring laid
You can do it. I won’t lie though, it’s a lot of hard work, so make sure you are prepared for it! Our hardwoods run up to the cabinets, not under them.
What did you use to “glue down” the marble thresholds? Did you use backer board/membrane or apply them directly to the wood? Did you use thinset or a marble adhesive?
I was reading through the post and all the comments looking for the same answers. I think they’re beautiful and want to use them between wood flooring and wood look tile in my bath. Just not sure how to go about it.