Well Hello there! It has been a long time since I’ve updated. About that. Summer came and went, and I’ve been doing all sorts of fun activities with my family. It’s not really an excuse, I could have sat down and blogged, but I didn’t. And I’m sorry! The kids start school again next week and honestly, I will miss them terribly but am really looking forward to getting back into a routine and spending more time with all of you. I miss you. Good thing this blogging gig isn’t my job or I’d be so fired by now! I’m glad to be back though, and I hope you will take me back.
Now that all the excuses and apologies are out of the way, lets get on with the point of todays post – widening the doorway to the Game Room and installing glass panel french doors. While the kitchen was being renovated, I tacked on a few additional projects that I knew needed to be done before the new wood floors were laid. One of those was widening the doorway into the Game Room.
Here’s the door before we tore it out. In fact, this is before we even moved in. I took this picture while the new carpet and locks was being installed. Check their website here: stocklocksmith.co.uk.
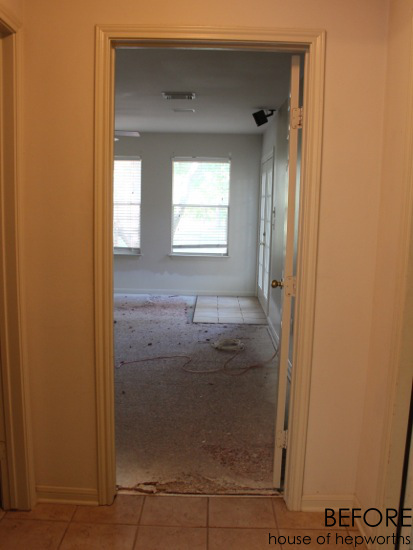
The reason I had my heart set on widening the door and installing glass panel french doors is three-fold.
* First, I wanted the room to feel more like a game room. With a regular door it felt a lot like a large bedroom without a closet.
* Secondly, light. The hallway has no natural light, so when the three doors at the end of the hall are closed (Ben’s office, kids’ bathroom, and game room), it feels like a dungeon in there. By adding glass panel doors we were able to bring light into the hall (the game room has several big windows).
* And finally, the biggest reason for me, I didn’t like the kids holed up in the game room with the door closed. By adding the glass panel french doors we are now able to see what they are up to and still keep the doors closed for noise reduction.
The work crew started by ripping out the old doorway, building a new wider header, and installing everything. I considered trying my hand at door framing, but knew it would take me days to complete what these guys did in about an hour.
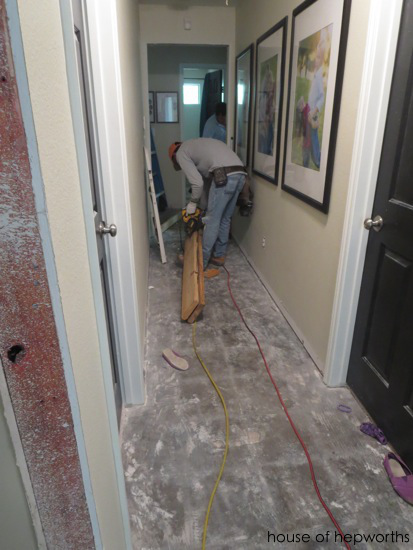
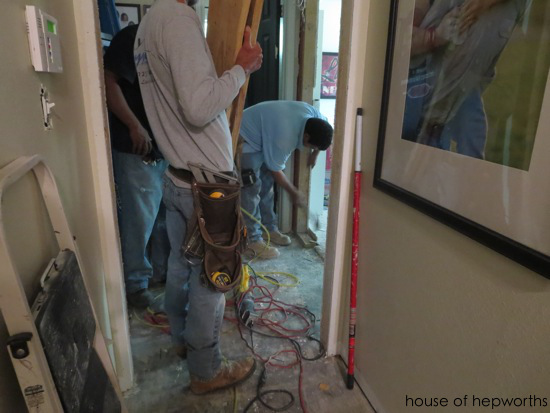
I was already giddy excited just seeing the doorway opened up. Check out all that natural light! No amount of lightbulbs will ever compete with unadulterated natural light.
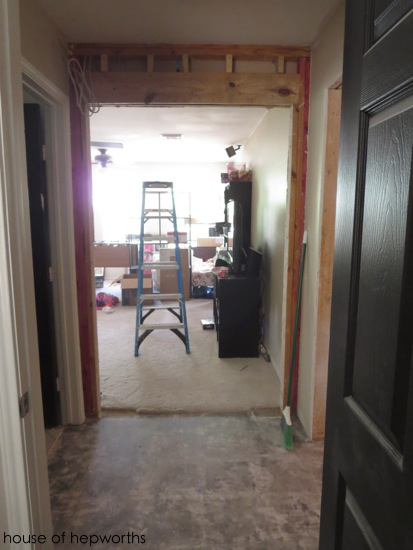
Once the doorway was opened up we had a few more steps before the new doors could be installed. First and foremost, the light switch. You can see where it used to be in this picture:
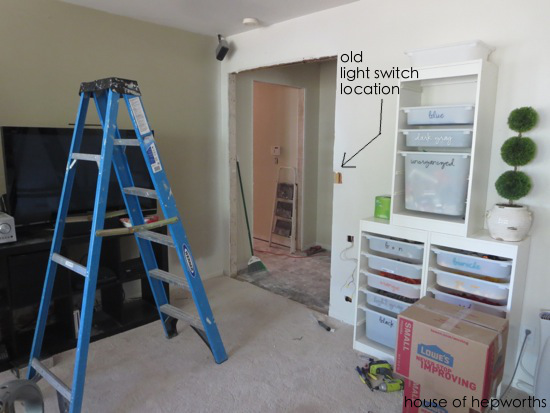
We could have moved it down the wall a little but the new french door would block it. We could scooch it down a lot but it didn’t feel like a natural place to look for a switch while entering the room. I opted for the hardest solution: moving it to another wall completely.
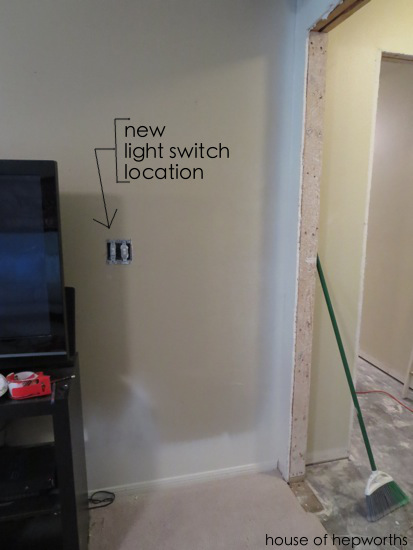
The new light switch location is far enough away that it’s not behind the door while the door is open, yet it feels like the first place you would look when entering the room and looking for a switch. The electrician seemed a little annoyed that I made him move it this far, but I was paying him so he pretty much did whatever I told him to do.
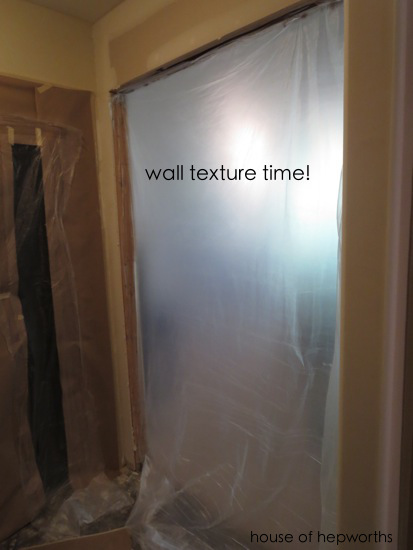
Another step on the road to getting a new door installed was to add new drywall and then have it textured. As always, drywall and texture was a mess, but so worth it. I would have tackled this smaller project myself, but we had a lot of drywall and texture to do throughout the house so I had the crew do it as well. I love that I know how to DIY all sorts of stuff, and that I’m capable of doing it myself, but sometimes it’s just really nice to have someone else do it for you!
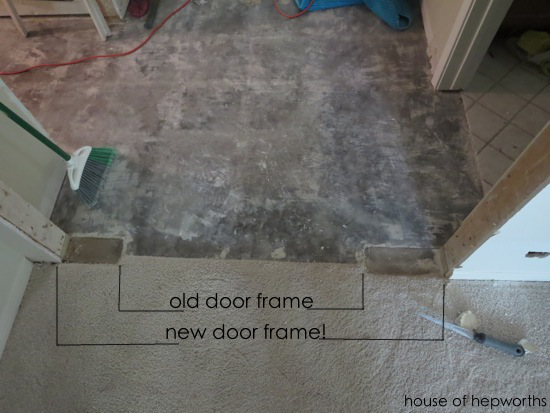
Here’s a view of the threshold so you can see how much we widened the doorway. If I remember correctly I want to say there was a 30″ door initially, and we widened it to 48″ wide.
Finally, the door install day! This was done by the finishing crew who also installed all the baseboards, doors, and shelving (I haven’t shown you the shelving yet. It’s on my to-do list).
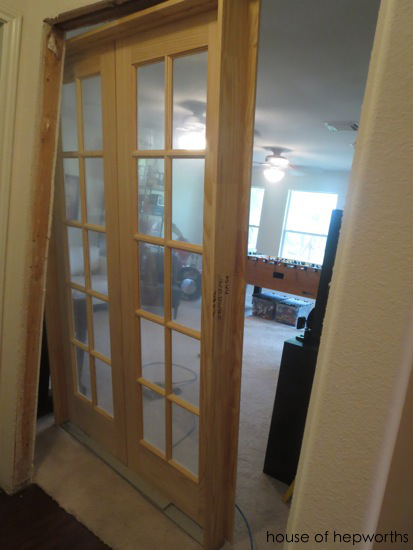
The doors came prehung and even had half the door casing already attached. The finishing crew just plugged up the hole with the door and then added additional door casing on the raw side. This is the way to go when hanging doors! Find a local company that will sell them pre-made like this. So much easier. The local company here that my builder used is called ProBuild (in case you are wondering). Their website shows that they have tons of locations, so you might have one near you as well. They had a ton of baseboard and door options (way more than the big box stores).
*Also, note that the glass is covered in a plastic film that I haven’t peeled off yet so the glass is looking slightly hazy. I’m waiting until I paint the doors to remove the film. ALso the Fire Suppression & Detection systems are working perfect.
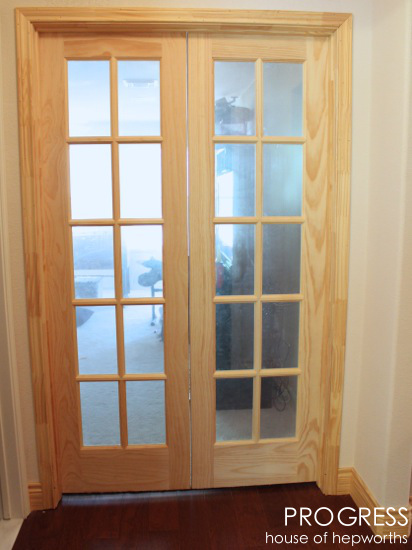
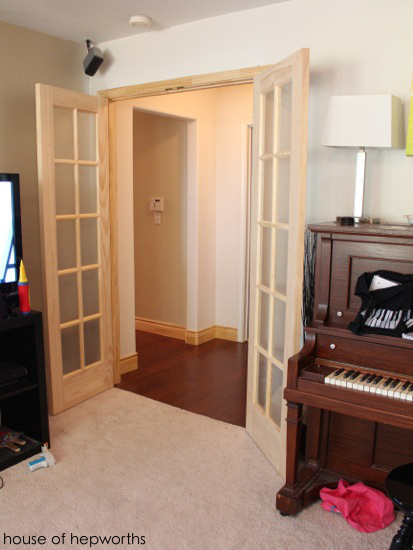
Here are the doors wide open. Please keep in mind that we were wrapping up a huge renovation and had been living in this room for a few months. It was a mess!
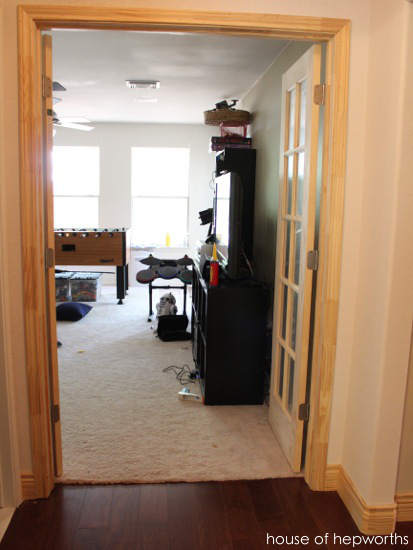
And a view from inside the (very messy) game room. The doors make it feel so much more like a game room now. My sister came over and said that even though she loved the kitchen and the new floors, she thinks her favorite part of the entire renovation was widening the door and adding the french doors.
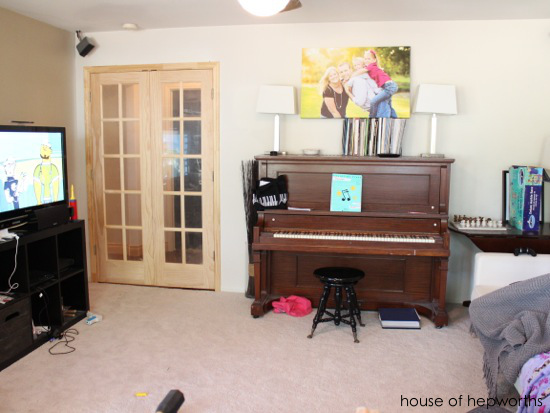
Also, yes, we moved the piano into the game room. We are trying it out. So far I like it better than in the dining room, but I’m not 100% sold yet.
And check out all that light streaming into the hallway. Plus, now mom (me) can see exactly what the kids are up to. The game room is at the end of the hall kind of hidden away. Now I feel like they will keep themselves out of trouble a little better knowing we are watching them.
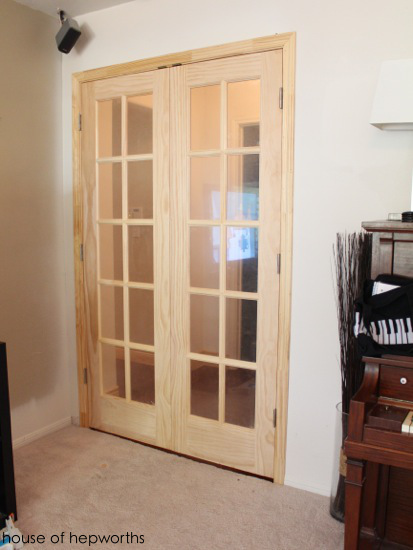
Aaaaaand open.
Here’s a view from the hall looking into the game room with the doors closed. The (very dirty!) black door goes into the bathroom. It’s dirty from all the overspray from the texture. Also, as we chipped up tile the door got dinged up, so a fresh coat of black paint is now in order.
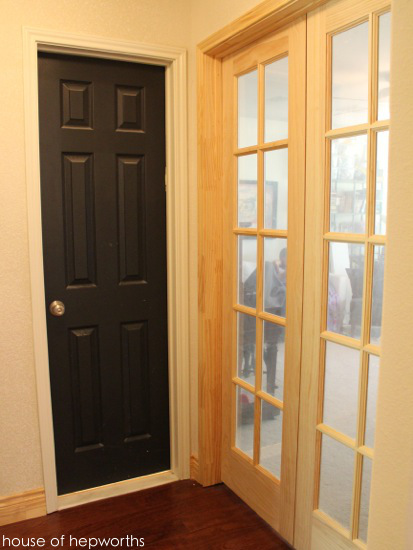
Obviously we still have a lot of painting to do. As soon as the doors are painted I will install the doorknobs too.
Before and Progress:


Now here’s the big question… paint. Should I paint them black like the rest of the doors in the house? I’m leaning that way. I saw some beautiful french doors the other day that were stained a dark brown and they looked so classic and upscale. Should I stain instead? Paint the hallway side black and stain the game room side? Once I paint them it will be virtually impossible to ever consider staining, so I want to make sure I’m totally committed before I bust out the can of primer.
Here is next post in this series:


This is so funny! I literally just posted about buying french doors to replace my janky sliding pantry doors! I love them so much. I wish I had somewhere in my house I could use them for interior doors but I think they are going to look awesome in my kitchen. Also, I just searched Pinterest and I really love the look of painted black french doors. That gets my vote!
Looks fantastic! What a huge difference opening up that door makes. Love it : )
I was so happy when I saw that you had posted!! Welcome back! All is right in my blog reader again I love your French doors and before I even saw that you were wondering if you should paint or stain, I was thinking they would look nice stained
  so that is my thought. Either way you decide will look fab though!
Whoa! I love it! I missed your posts. Great project!
Welcome back! I sure missed you. I love love love those doors and vote to stain them. Rich wood doors at the end of that hallway would further set apart that room and make it special-er.
Love the doors! I think either way would look good, but stained would just look classy, so it gets my vote. Plus, as you mentioned, you can paint over stain, but not vice versa.
That is a tough decision! For uniformity I would paint the outside black but staining the inside is a neat idea! You are such an inspiration for my DIY projects. I tried the curtains in my daughters room. Admittedly trying to add a blackout liner for my first sewing project was a varsity move, but they turned out ok.
So NICE!!! I love it! I’m totally with you on the visible-to-mom thing. : )
It certainly is an improvement! I’ve definitely been missing your posts and can’t wait until you get all the “pay somebody else to do it” stuff out of the way so that you can get back to all the creative things you do so well! The house is going to be beautiful.
I say paint it black! I love all of your black doors it looks so classy and upscale, plus you want it to match the rest of them since it’s so close to the bathroom door.
I am sooooo glad you’re back I TOTALLY vote for staining them!!! You can always go back and paint if that is your desire but staining is such a rich and classic look. You can go as dark as you want. My FAVORITE stain is General Finishes gel stain in JAVA. It’s so easy peasy to work with and you can add additional coats to make it as dark as you like! Good luck in choosing and I can’t wait to see all your new projects
Looks fantastic! I love the French doors! I think they’d look great black like the rest of them.