(I was one of the bloggers selected by True Value to work on the DIY Squad. I have been compensated for my time commitment to the program as well as writing about my experience. I have also been compensated for the materials needed for my DIY project. However, my opinions are entirely my own and I have not been paid to publish positive comments.)
I just completed a project in our backyard that I’ve wanted to do since we moved in over a year ago. To get from the deck to the water hose requires walking through dirt and mud. We’ve wanted some type of pathway or stepping stones to keep our shoes from getting all muddy every time we go turn the hose on or off.
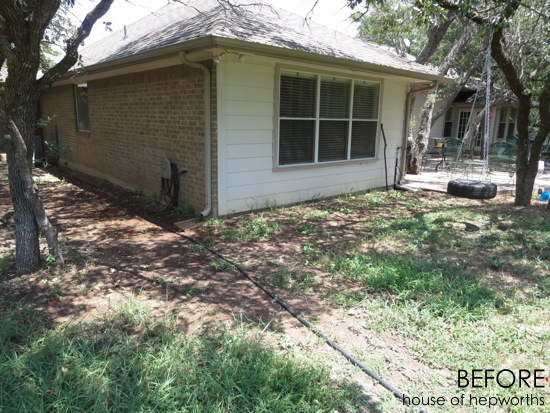
Because of all the tree overhang and shade, grass doesn’t grow very well in this area. It’s just dirt and mud. (Check out the awesome tire swing tutorial.)
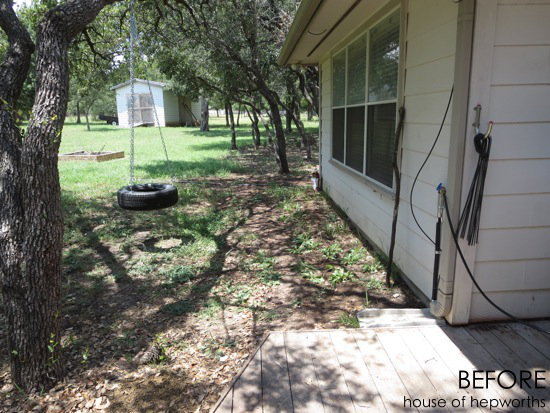
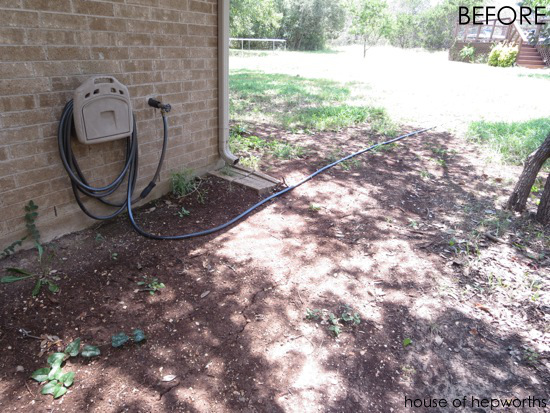
Around the corner where the hose is is even worse. The faucet drips a bit when it’s turned on, and with all the dirt below it, the area is always muddy.
I spent about 4 hours one morning to create an awesome step-stone walkway. Check it out!
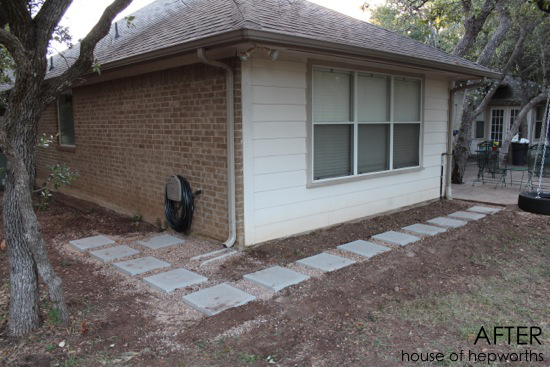
Not only is it functional, but it looks good too. Obviously it needs even more work in the future in the form of hedging lining the house, mulch, and even some ground cover, but for now, let’s just focus on how awesome the pavers look.
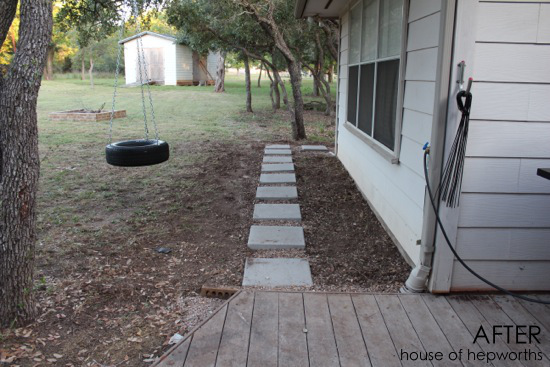
For the soupy wet water hose area I added lots of extra pea gravel to prevent the constant mud we had before.
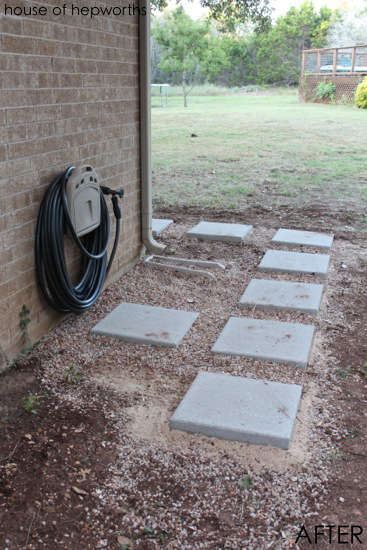
I did all the work for this by myself, and I’m just so dang excited with how it turned out.
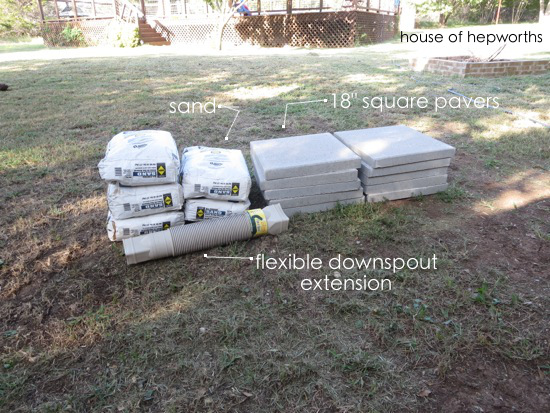
To create the stepping stone sidewalk I first headed to True Value Hardware for my supplies: 18″ square pavers, 60# bags of all purpose sand, and Flexible Downspout Extension. I also used a few supplies I already had on-hand: gravel, shovels, and a wheelbarrow.
The very first thing that needed to be done was taking care of the gutter extension. Before, water would pool at the house causing a muddy mess and potentially harming the foundation of the home.
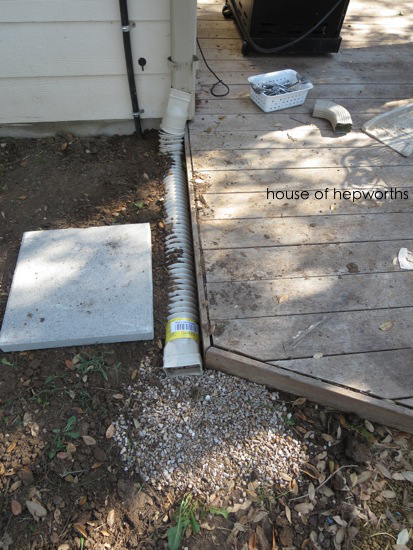
I removed some of the dirt so the extension could be partially buried, added a bit of gravel for drainage, then laid the extension being careful to keep it at enough of an angle that water shouldn’t pool inside the extension or back up in the gutter.Read more on www.abovegroundfun.com
After the gutter extension was in place I loosely laid out the pavers where I wanted them.
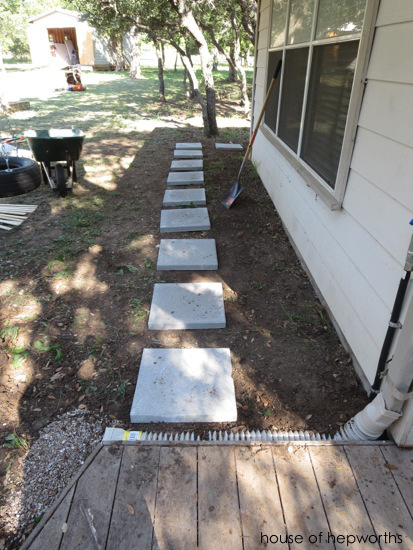
Now would be an excellent time to run some string to mark exactly where you want your pathway to go. It will give you a perfect line to follow. To do this, grab a few stakes and stake them into the ground. Tie the string to the stakes. Super easy and will make your job a whole lot easier. I did not do this. I waited until my path was looking very off-center and then realized I should have used the string and stakes, at which point I added them.
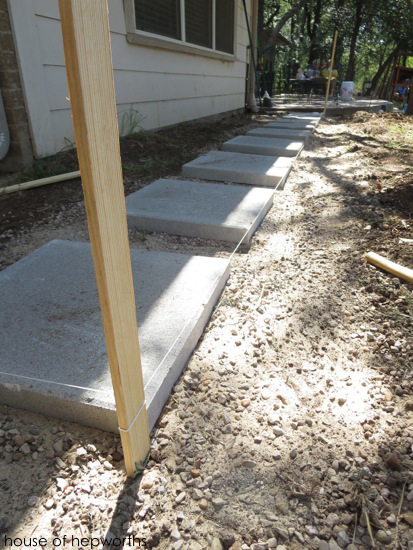
Once I knew where I wanted the pavers, I moved them all out of the way. Using a shovel I began removing some dirt to create a very flat, level base surface.
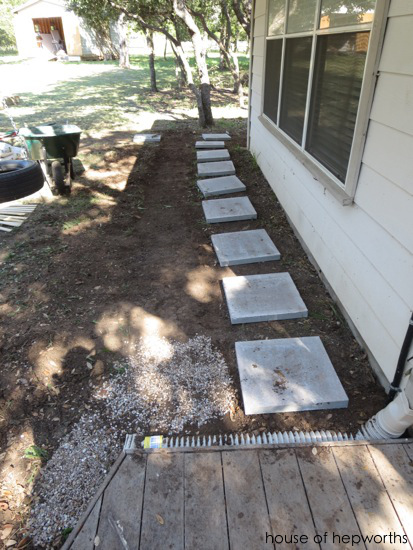
The previous owners of the house left a fairly large pile of gravel in the backyard so instead of buying more gravel for the project I just shoveled wheelbarrows full and repurposed it. Once I had the ground level I put down a layer of gravel.
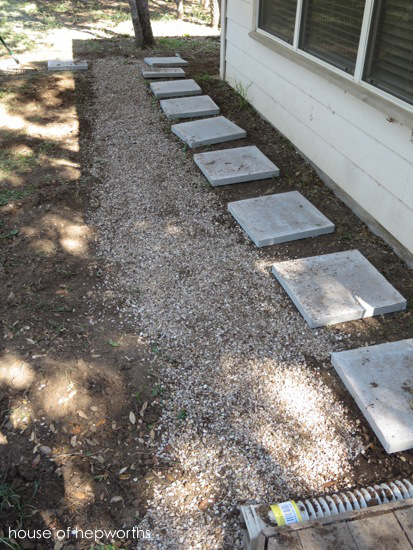
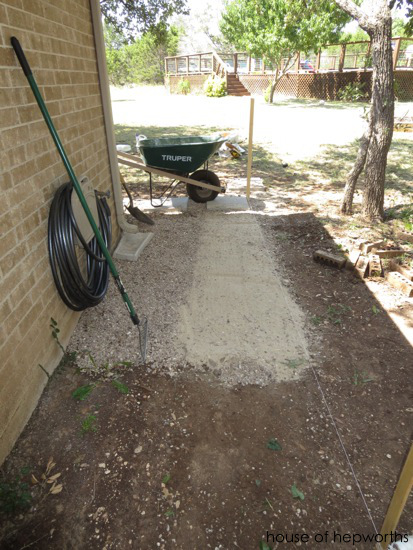
After the base layer of gravel is set it’s time for sand. I’ve found the easiest way to deal with sand is by adding it to the wheelbarrow first and then shoveling it where you want to put it. To open sand bags just stab them with your shovel and tear the bag away. Works great!
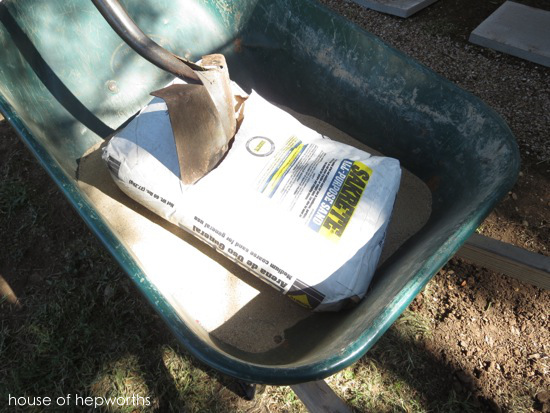
The sand was added on top of the gravel and then smoothed out.
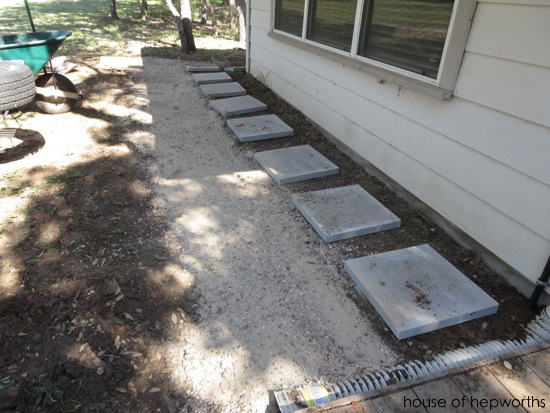
At this point the pavers were not lining up the way I’d hoped so I busted out the stakes and string:

See how much easier it is to get a perfect line by using a piece of string as a guide?
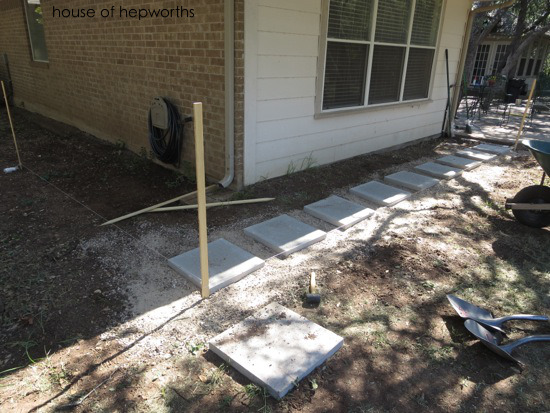
Once your sand is on top of your gravel, it’s time to put the pavers into place. Using the string as a guide, lay the pavers on top of your sand. It was fairly simple.
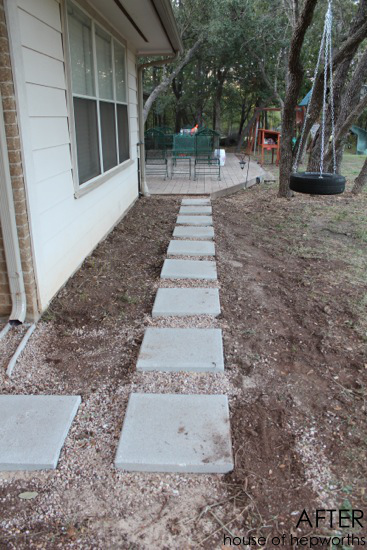
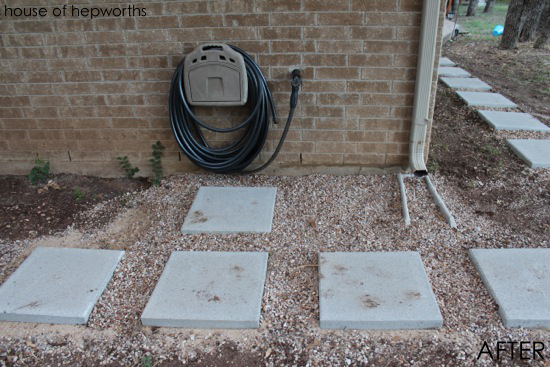
In addition to doing the straight pathway I also wanted the path to wrap around the house and stop at the water hose. For the area under the faucet, water hose, and downspout I added a bunch of extra gravel to help with drainage. Usually the faucet drips a little when you are using the hose and we end up with mud everywhere, but now the water drips into rocks instead.
And here’s the finished result of the pavers by the watering hose. I reused the gutter splash blocks I blogged about here. They work really well!
All in all, it took me about 4 hours to lay the entire pathway (not including driving to True Value to pick up all the supplies). It wasn’t a difficult project, but required a fair amount of hard labor (I was sore for a few days afterward!).
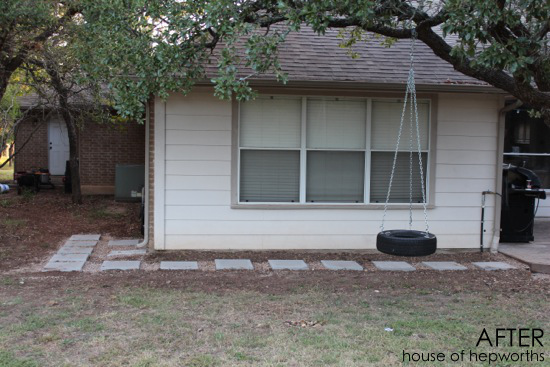
I really love how clean the lines are and how evenly spaced everything is. I am drawn to very straight, clean lines and this turned out exactly how I wanted it.
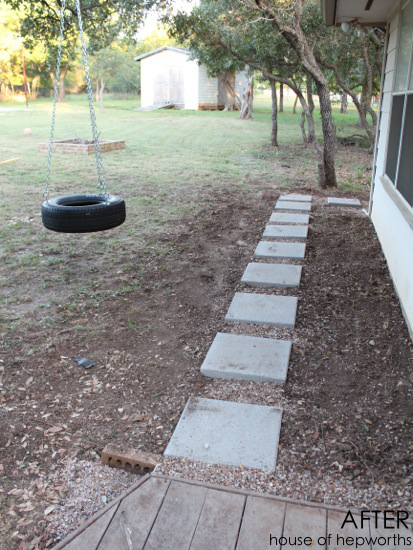
One of the last steps I did was to circle back to the drain extension and add a bunch more gravel. I also added a brick to help with erosion.
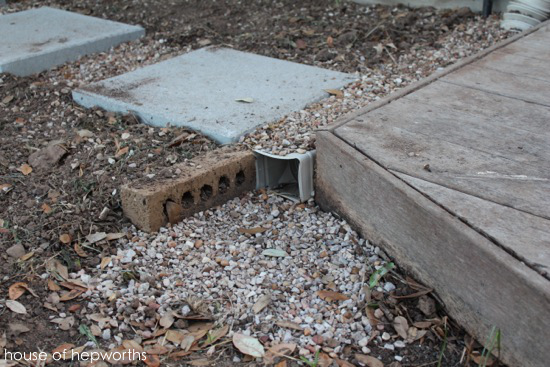
Here’s a bird’s eye view of the new drain extension.
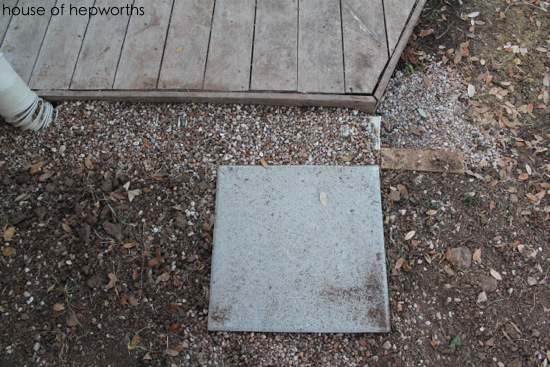
I placed the pavers away from the house as far as they are because we plan to add some box hedge along the house eventually. It will help with erosion around the house and will also look good.

That, my friends, was my adventure in path laying. I love how it turned out! It was hard work, but the end result is awesome. The backyard now looks slightly more polished (it still needs so much work) and our shoes don’t get a thick layer of mud on the bottom every time we turn the hose on or off.
A few Before and Afters (because everyone loves a good before & after!)


Click here to see all my previous True Value projects.

Great job! So awesome you did all that yourself! It looks great, I love how crisp and clean the lines are. Thanks for sharing the process!
Azaleas would look awesome under those windows. They would do well in the shade, like the leaves that fall from the tree, you can trim them if needed and they stay green in winter.
Looks great!
Looks awesome! And it will look even better when you get some plants in there!
Greetings! I’ve been following your web site for some time now and finally got the courage to go ahead and give you a shout
out from Huffman Texas! Just wanted to mention keep
up the good job!