We are mostly moved in now and finally have tackled our first DIY project in the new house!
The basement desperately needed new carpet, but before we can have carpet installed I wanted to remove the wet bar in the basement. Here are some “before” photos:
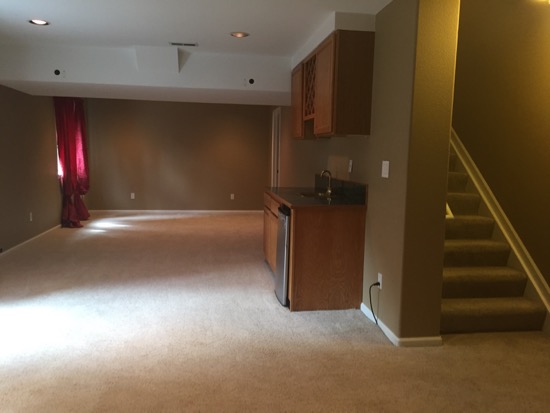
The wet bar wasn’t completely offensive or anything, I just didn’t like the placement of it. As you can see in the pictures, the basement main living area is long and narrow, yet the bar had been installed along the long wall making the room even more narrow and broken up into smaller less usable spaces.
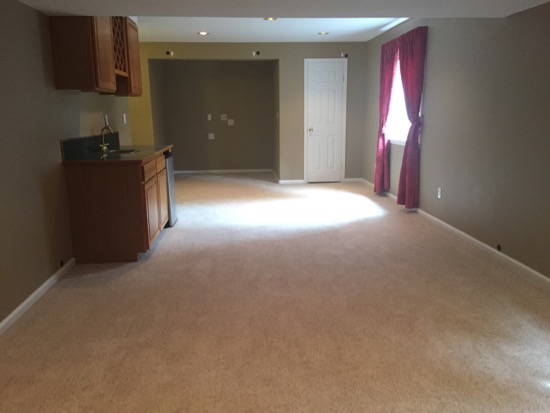
I knew right away the bar would have to go. And honestly, I’m not too sad about it either. With brand new carpet getting installed, I don’t really want the kids and their friends to have full unrestricted and unsupervised access to snacks and sodas. The basement will be off limits to food and drinks!
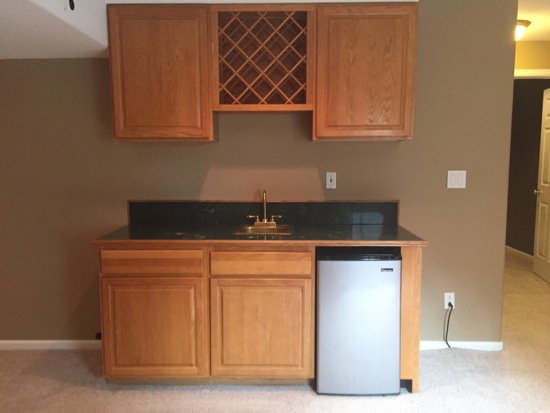
We are going to keep the mini fridge but aren’t sure exactly where it will end up. Maybe we’ll stick it in Ben’s office stocked with water and soda. Who knows. I was surprised when I pulled the fridge out to discover it was plugged in on the outside of the bar. From what I can tell this is pretty par for the course with this house.

The removal went fairly smoothly except the cabinets got totally trashed when I pulled the countertop off. Oh well, they weren’t great anyway. I was hoping to donate them to Habitat for Humanity but the dump will get them instead.

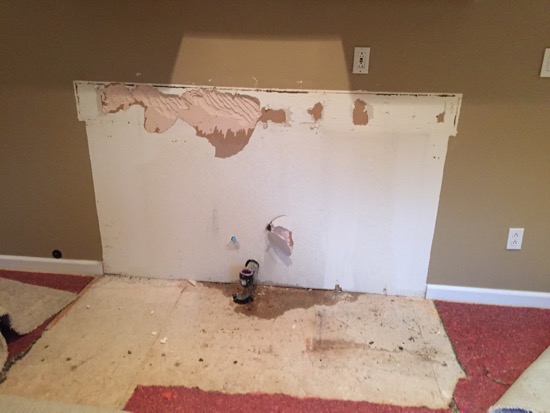
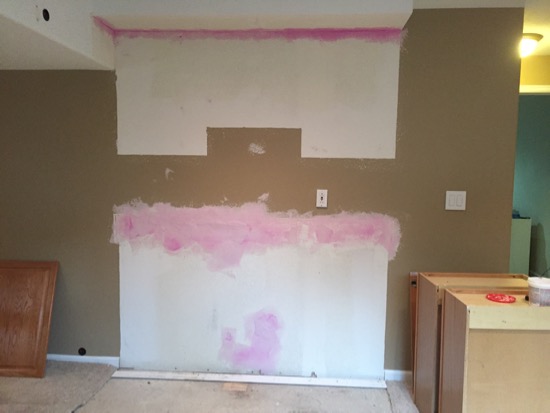
The drywall got trashed as well when the tile backsplash came off. Nothing a little patch job can’t fix though.
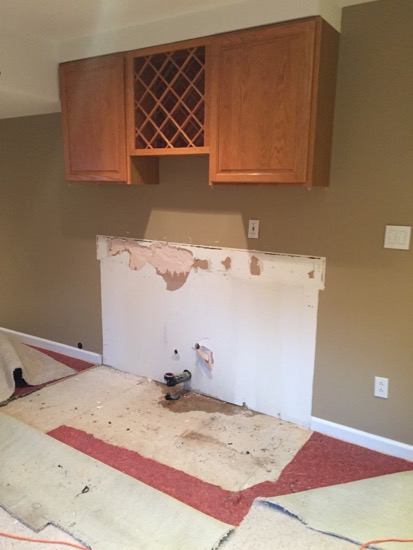
The biggest issues I discovered once the bar was removed was the drain pipe sticking out of the wall and also a small round hole in the subfloor. Crap. Kinda hard to see from the picture but there is a hole in the floor.
But oh my word, the basement is already looking 10x bigger! I am so glad we decided to remove the wet bar.
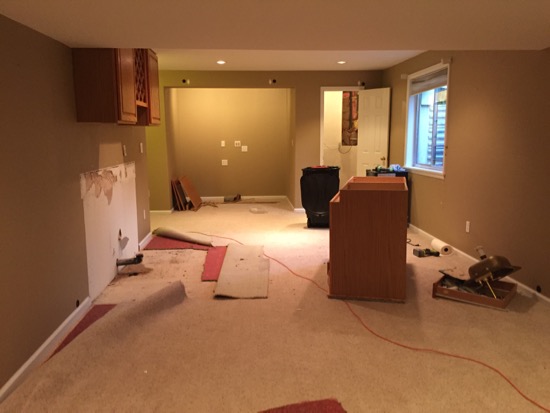
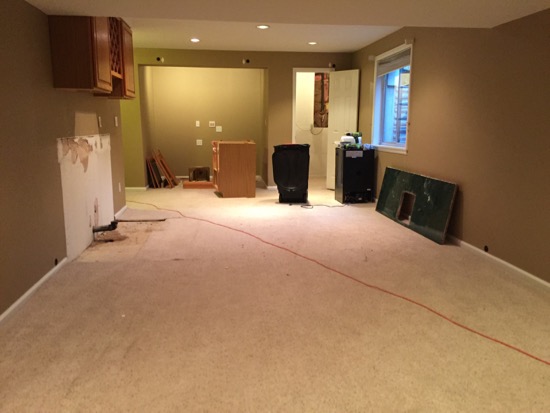
I had some prep work to do on the wall and floor before we can bring in the new carpet, so I headed to our local hardware store, stocked up on supplies, and tackled the three projects: fixing the hole in the floor, patching the drywall, and removing the drain pipe.
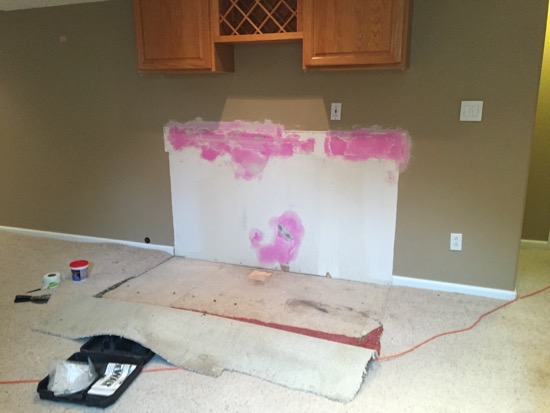
The hole was my biggest concern. Did you know you can buy plywood and subfloor in 2′ squares precut at our local hardware store? I had no idea! I only needed a very small piece so I just purchased one of their pre-cut pieces and then cut it down to size with my jig saw. Basically, to fix the hole I squared it off and then patched it with new plywood the same thickness.
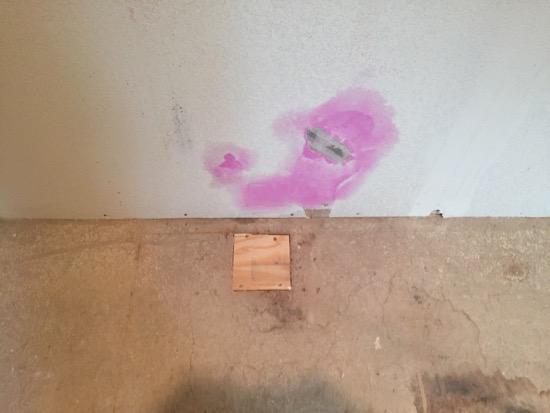
I also removed the drain pipe which was very easy considering the basement on the other side of the wall is unfinished. I just cut it off on the back side of the wall and put a cap on it. Also, I patched up all the damaged drywall and finished it off with some spackle and a can of spray texture.
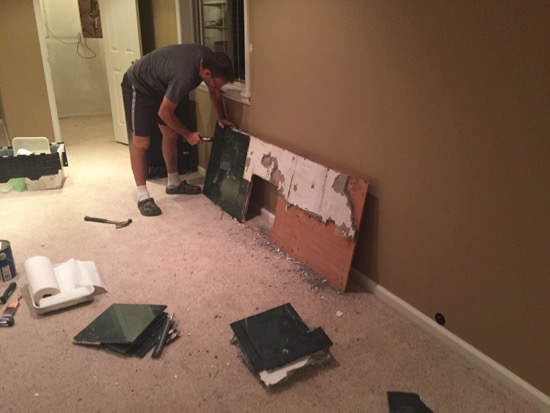
Getting the cabinets out of the basement was easy enough, but we had to disassemble the countertop before we could carry it out. It was so heavy! Layers of plywood, cement board, and then topped with very heavy stone tiles.
We opted to paint the majority of the room before the carpet installers come. We know there will be touch-ups once the carpet is in, but we’d rather paint all the walls and ceiling on top of the old carpet than the new. We are using my go-to color, Stucco by Sherwin Williams in a satin finish (paint and primer in one).
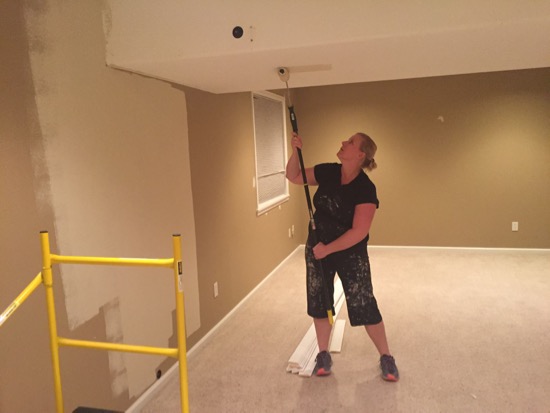
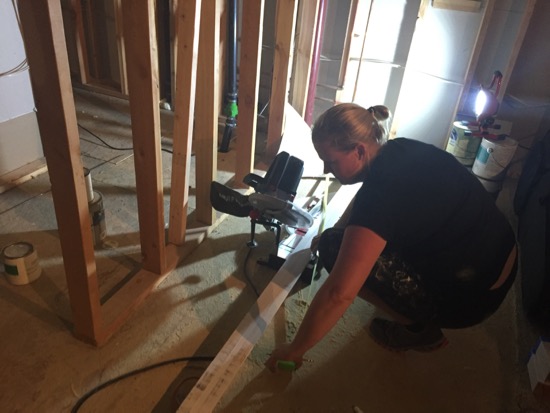
We were up so late last night painting and prepping for carpet (they come today!). At 2:30am I was patching the baseboard behind where the wet bar was. I set up the saw in the unfinished storage area in the basement and went to town getting the baseboards installed (we also had to add some baseboards inside a closet where there were none).
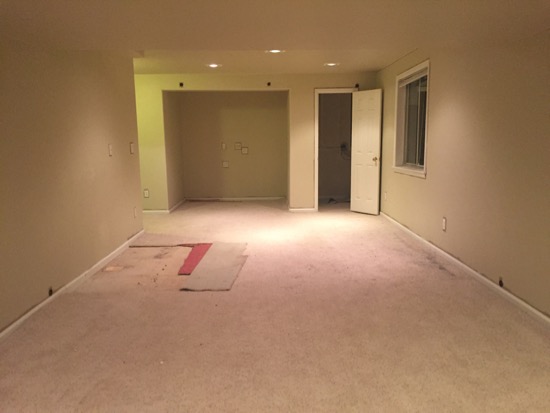
And finally, here we are. The room is rolled and painted, and all the baseboards are in. We were so tired from painting all night that we gave in on cutting in and edging. I will carefully do that with a brush once the carpet is installed.
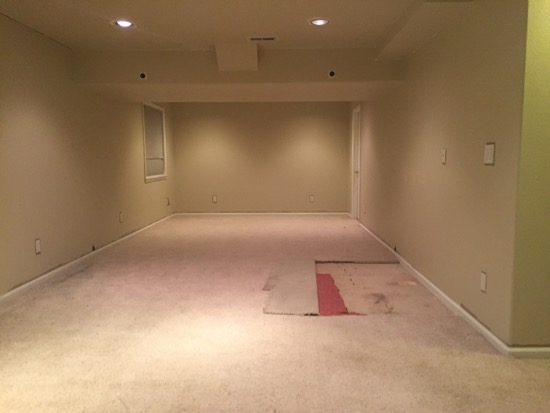
I already love it so much more. Just painting the ceiling and walls the same color has made the space look so much bigger and more uniform. It’s feeling so much fresher, newer, and bigger.
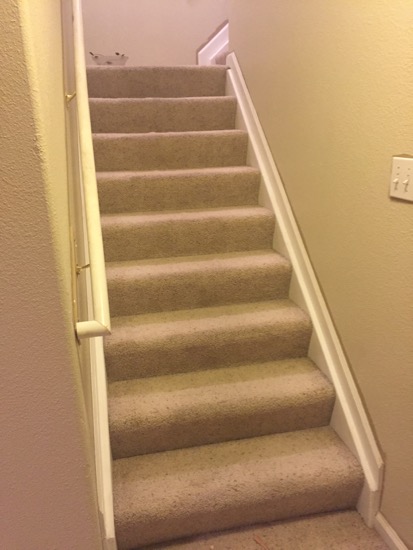
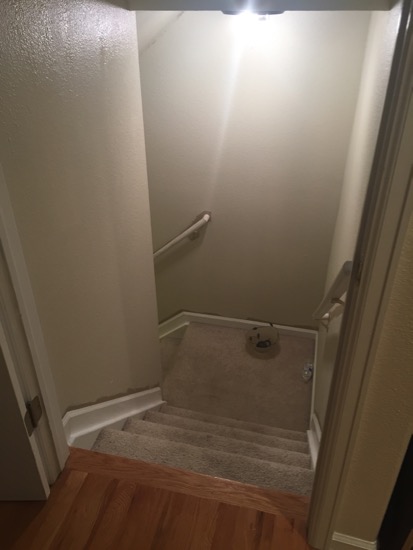
We also painted the entire stairwell into the basement. The stairs are getting new carpet as well.
The room is coming together nicely! I can’t wait to show you the new carpet and then get this room decorated! It will be a multi-purpose room that will have a TV, sectional couch, foosball table, and Travis’s drum set. I’ll probably throw some bookshelves down there as well. I’m really excited to make this new house our home.
Before:

Progress:

Before:

Progress:


Allison, I see that you made sure the baseboards were done before new carpeting. I am looking at replacing baseboards and getting new carpet. I thought it would be better to remove the old, install the carpet and then replace the baseboards. Am I on the wrong track???
Hi Allison, Wow! What a difference already! It looks great and I must say what a hard worker you are. I have never commented before but I sure did miss your blog when you were away for some time. It is really nice to see your posts again.
Wow !! What job ! i look forward to see the “ground”…
I hope you understand …;-)
Wonderul transformation! Is that spackle that goes on pink and dries white? If so, what is the brand? I always have trouble with the second coats and the pink would help.
Nice work! Definitely looking bigger and better. So, I’ve always wondered about painting walls and ceiling the same color. Is this something you’ve done before? Something you would only do in the basement? Only with a very light neutral? I can definitely see the advantages in not having to do all the careful edge work between ceiling and wall. Other advantages?
Becky, I like to paint my ceiling the same color as my wall (only if I’m using a light shade though) because I just like the way it looks. I feel like it makes the room look bigger. If I’m painting the walls a dark color I will leave the ceiling light. It’s just a personal preference.
Hi Allison — if you get a moment, can you post about patching and spray texturing the drywall? We have a couple of holes to patch in our new house and didn’t know that spray texture was a thing Thanks!
Awesome work! I’m glad to see that you didn’t try to do everything at once. Too many people say “let’s rip out all the carpet, the bar, the railing, and all the light fixtures at once!” Then, if the remodeling lust dims at all or if life gets complicated, they’re stuck with a shredded basement. Good luck with the rest of your renovations!
Hey there! OK Lets get to it. ( Ihave a friend that will give me a Quality, granite, top, ref, mirrored, back shelved, sink, (Kick Ass square WET BAR. ( Ive been a Real Estate Appraiser for over 15 years and ( never had a opportunity to get this Quality of piece of furniture, etc. for “FREE, YES FREE” ( PROBABLY WORTH $4000 grand if installed in a house. This Wet Bar is PLUSH, and it will lookj great in my country office. ) NOW! 1-WHAT ( TOOLS) do I need,-2-If all possible, after I get the Ref. out. Im in a loss from this point on ! Any step by step INFO. would be, GRATEFULLY APPRECIATED! is the name THEY gave me and THANK you for your TIME. E Out !!! (PS Ladies, Im single, successful, never been married and have No kids, ( PS I look Robert Downey JR, but with thicker hair and IM 6’2 200lbs, not 5’9 like him. Hazel eyes and surfers body,IM. 42, but I never get over34 age comments all the time. I had to move back to Kosse, 550 pop I. LIVE on a Ranch, but (NO CHOICE, 5 mon. ago and being gone 5 years living in Arlington. IM going crazy, bored, need to shoot some pool,go shopping, drink some wine, beer, and JUST KICK IT, YA KNOW ,(I KNOW SHAMELESS PLUG, SO SUE ME !) Oh Ya, If you remember Im getting this Wet Bar for my office, ( So you tell me, WHAT KIND OF GUY IS HE,ME?) HOLLER -0 if your cool, E OUT!
If you’ve never done a project that big before and literally have no idea where to start, I’d consider hiring a professional to install the granite for you.