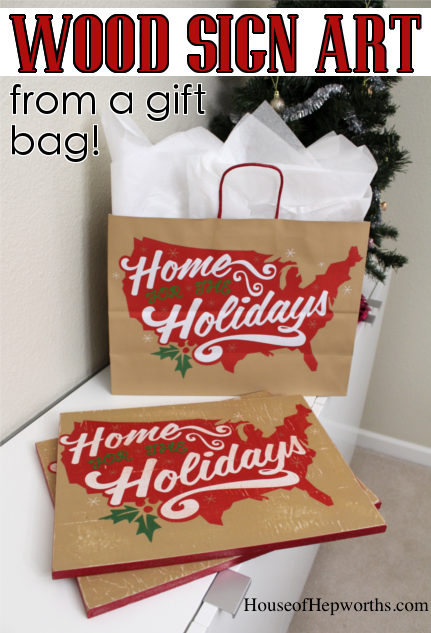
MERRY CHRISTMAS! Have you ever seen a gift bag and thought, “Gee, that would be such pretty artwork?”
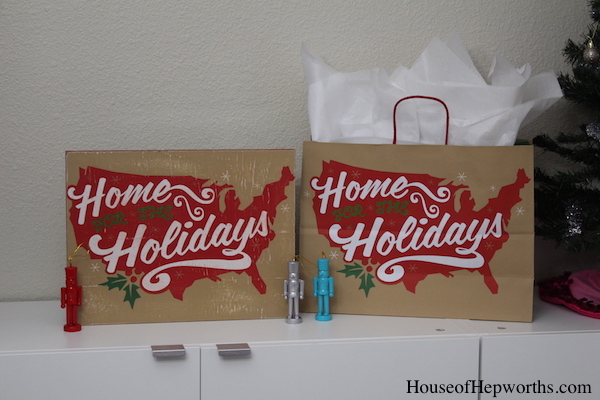
It’s always a bummer that such great art can’t just be displayed in your house instead of on a gift bag. Well, you are in luck because I turned a gift bag into a wood sign piece of art!
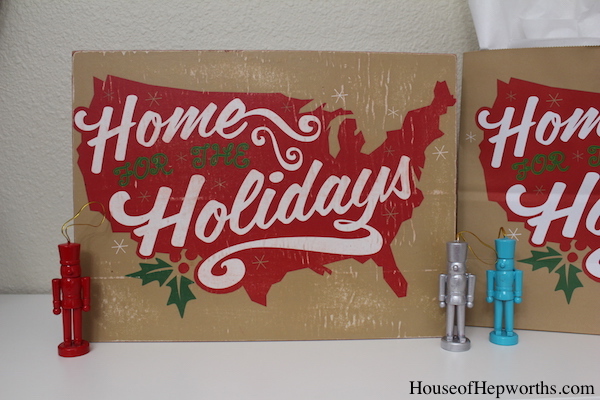
It is solid and amazing and ready to be displayed. Turning a gift bag into art is really easy. Use this tutorial to create your very own gift bag art too!
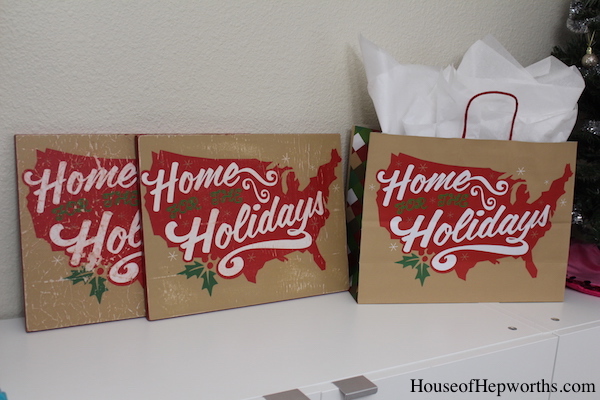
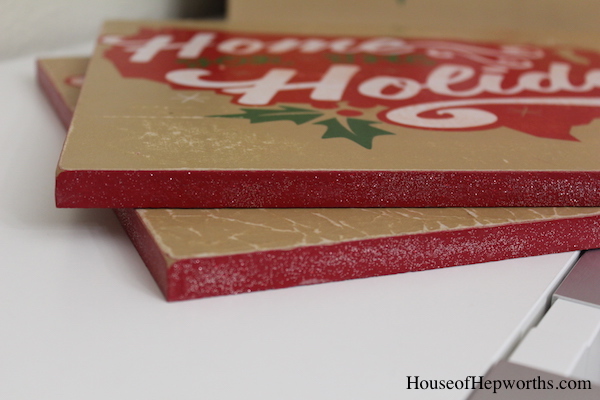
As you can see, I made TWO signs from this gift bag, so if you stick around, I’ll be posting one to give away to one of you! The giveaway will be in a new post, so sit tight and get ready!
To make your own sign art from a gift bag, you first need a gift bag! I found this cute one at Target. The art works best if you select a gift bag that is paper without a laminated material on top. Also, it looks better if you find a bag that doesn’t have holes in it for the handle at the top.
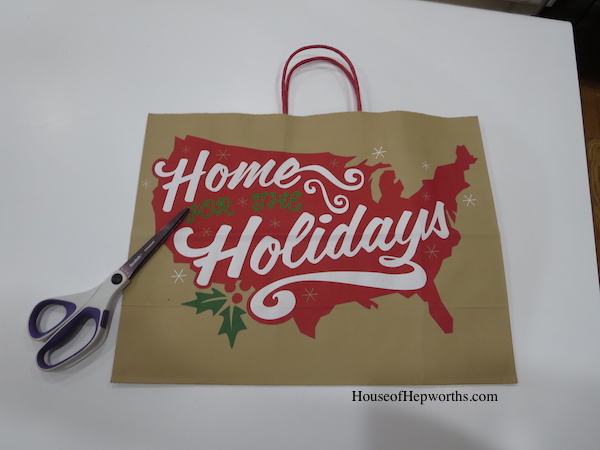
Carefully cut your bag open.
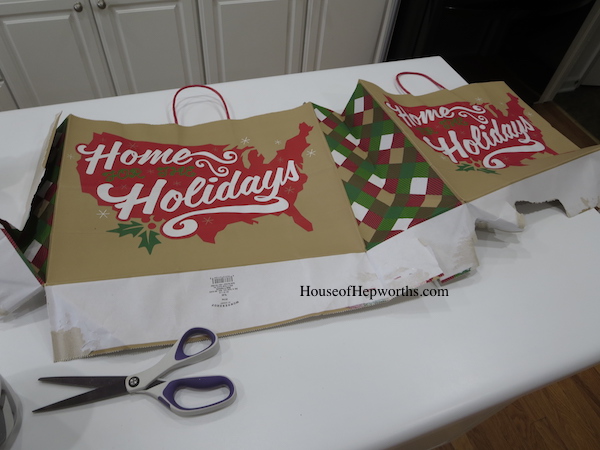
Now cut the front and back off your bag and carefully peel the handles off the backs of each piece. Make sure to not tear your bag!
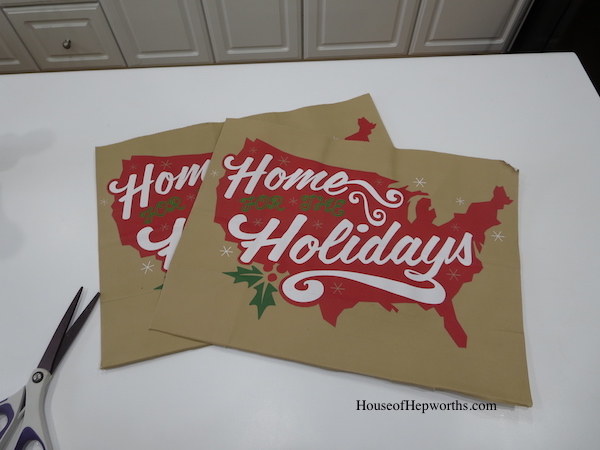
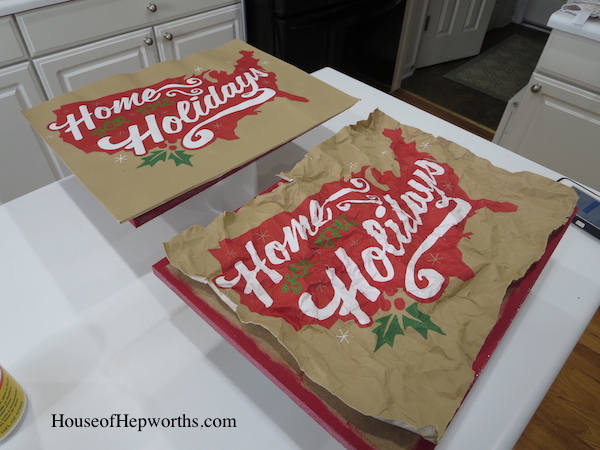
For this art, I wanted to try out two different ways – one as-is, and one crumpled first. I wanted to see if the crumpled one would give it a more vintage look.
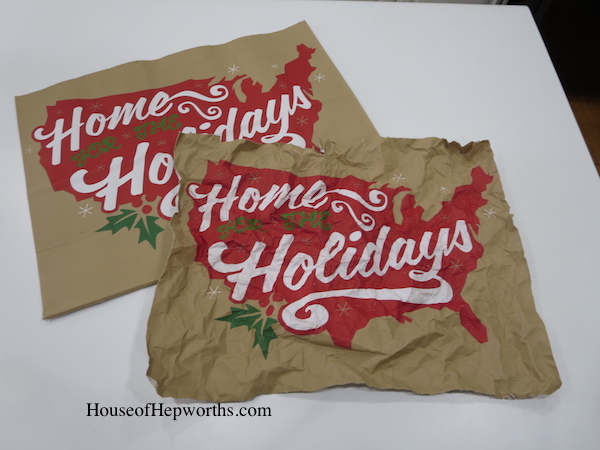
Measure your pieces. You will need to cut out some MDF to mount these images to.
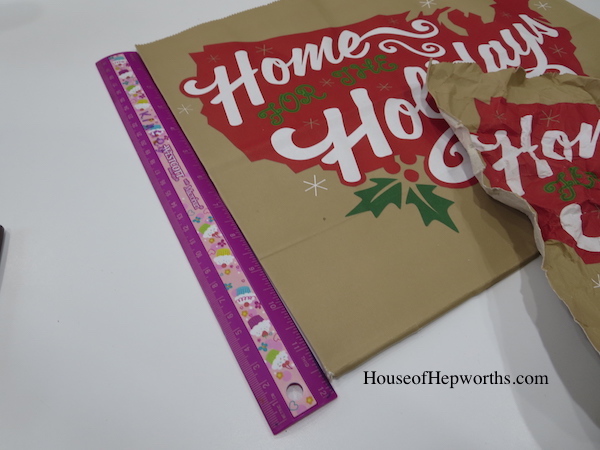
For my artwork I selected 1/2″ MDF. I cut the MDF about an inch smaller than my art.
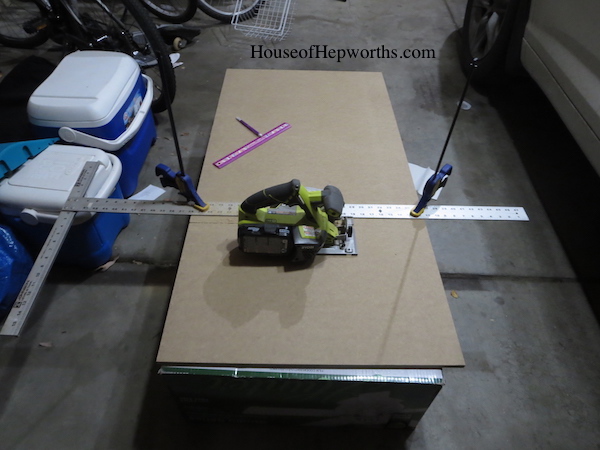
If you don’t have a table saw (I don’t), here’s a little trick to cut a perfectly straight edge: Take a big ruler (or any other straight object), clamp it to your board, and run your saw along the edge of it.
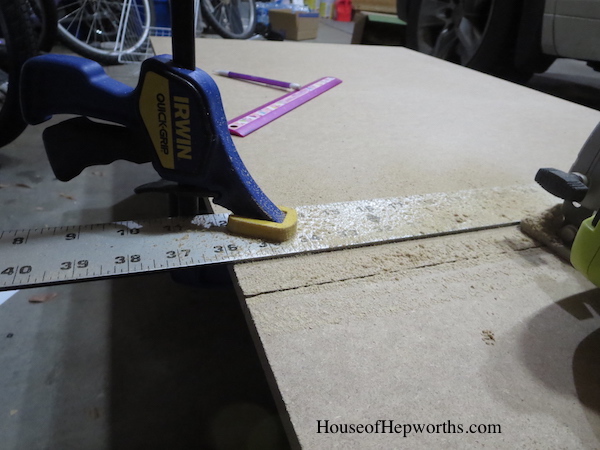
Here are my cut pieces of MDF.
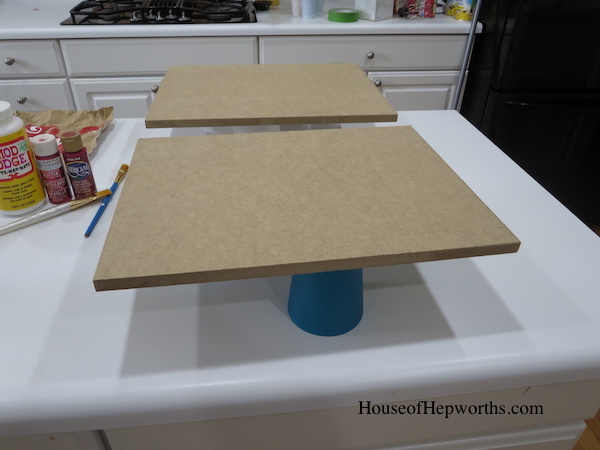
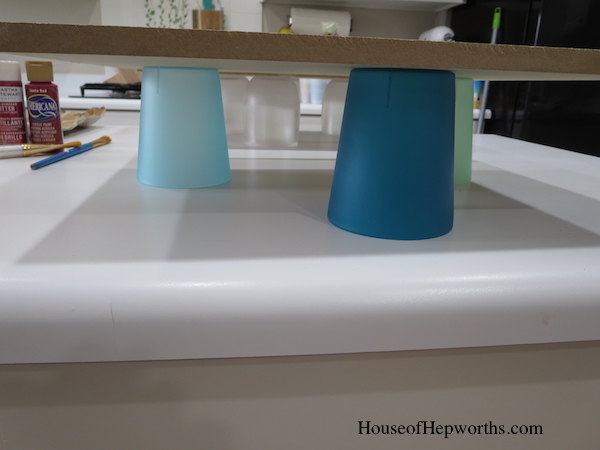
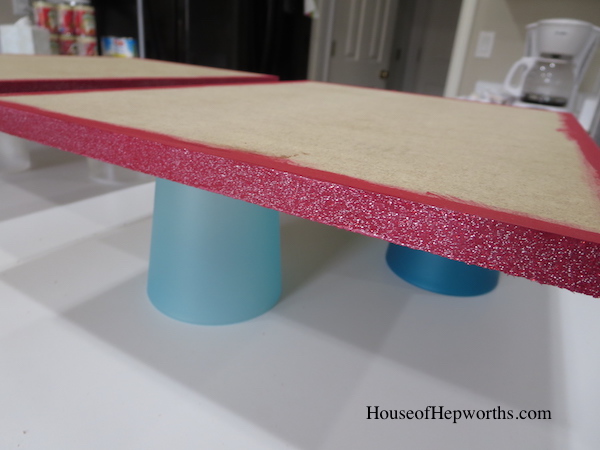
I balanced them on top of cups so I could work on the edges without them touching the counter.
We are ready to get these signs made! We are going to need Mod Podge (mine is matte finish) and some paint – I used red and some red glitter. First, paint the raw edges.
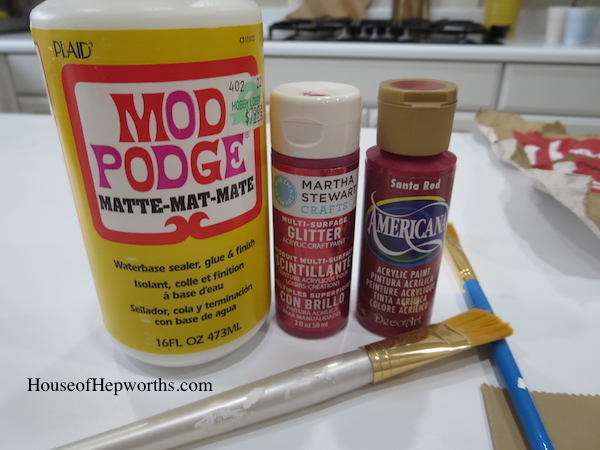
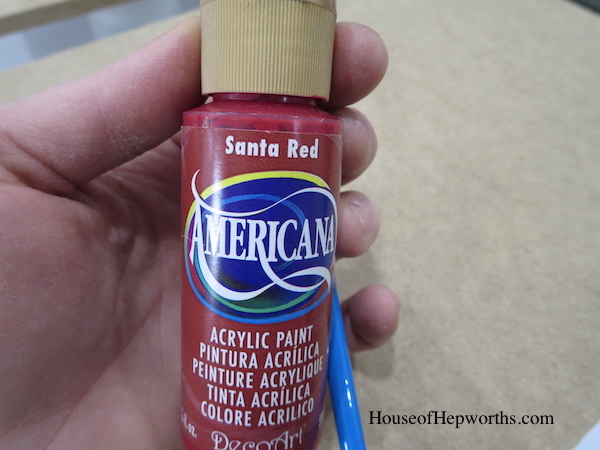
Paint the edges first so that you don’t get paint all over your artwork. It makes it a lot easier this way.
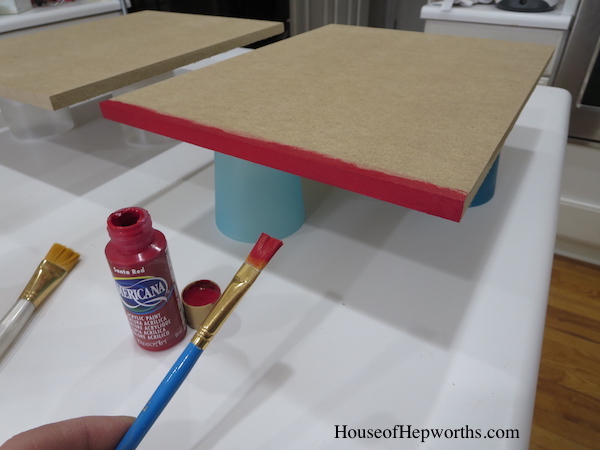
After the red paint was finished I went back with some glitter to fancy it up a bit. I’m under the assumption that EVERYTHING at Christmas time looks better with glitter.
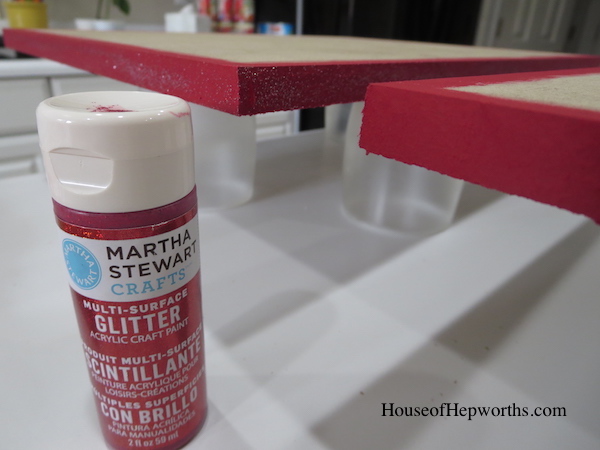
Check out that sparkle!
Now lets glue our artwork on!
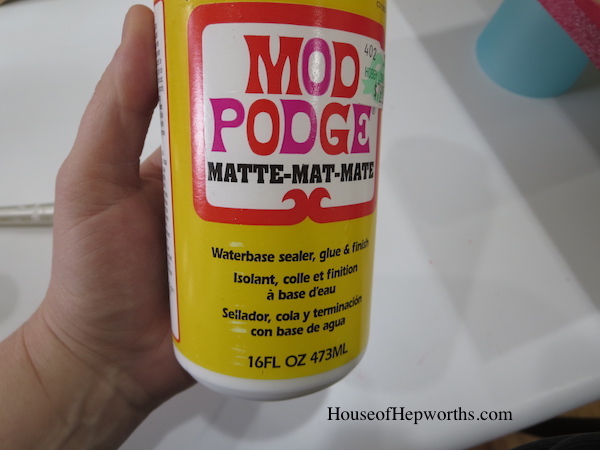
Pour some Mod Podge onto your MDF, then spread it around using a paint brush.
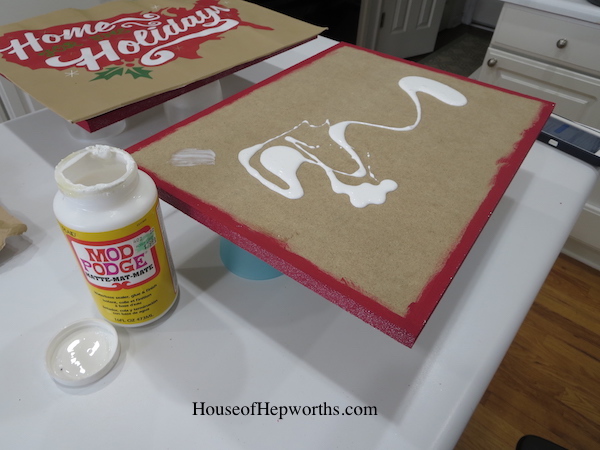
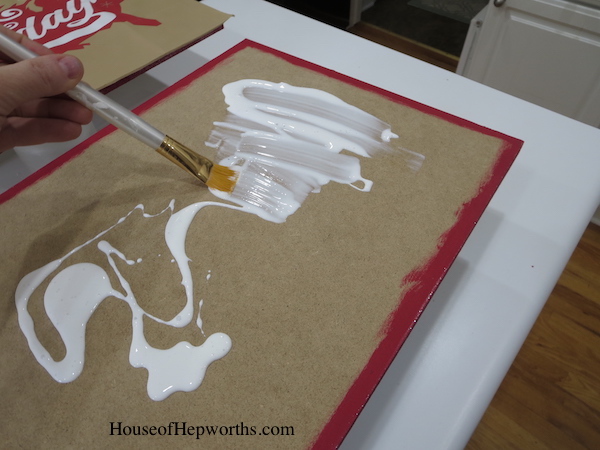
I went a little overkill with the Mod Podge. You really don’t need quite this much.
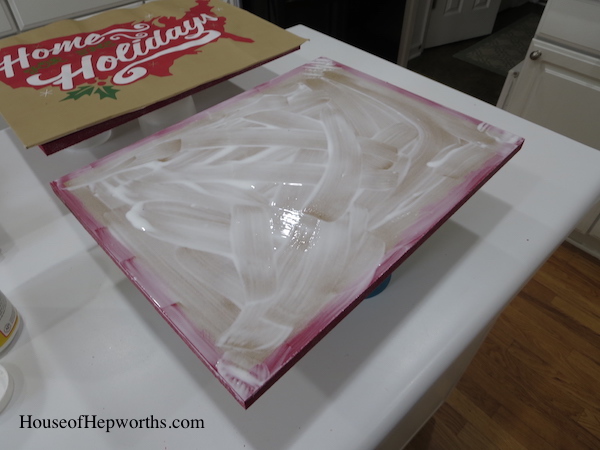
Set your art on top, and start smoothing it out with your hands. Work all air bubbles out. Your art should overhang just a bit. Don’t worry about this. We will cut it off later.
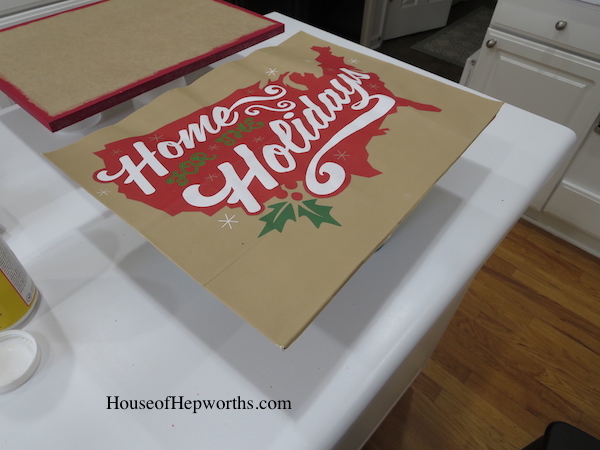
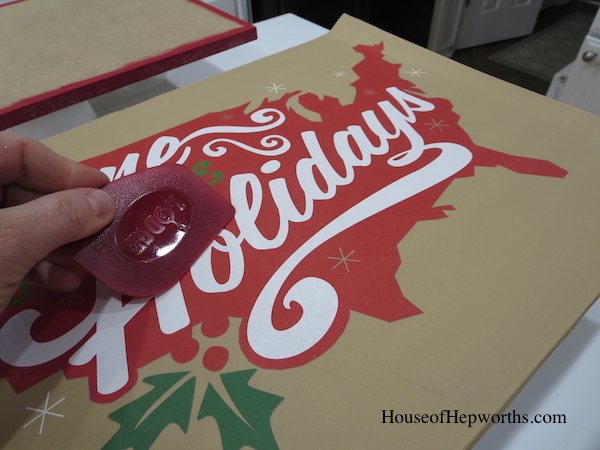
Once it’s smooth enough, get a scraper, or credit card, and smooth the art out again. You want this art to attach and never come up. Pay close attention to the edges and corners.
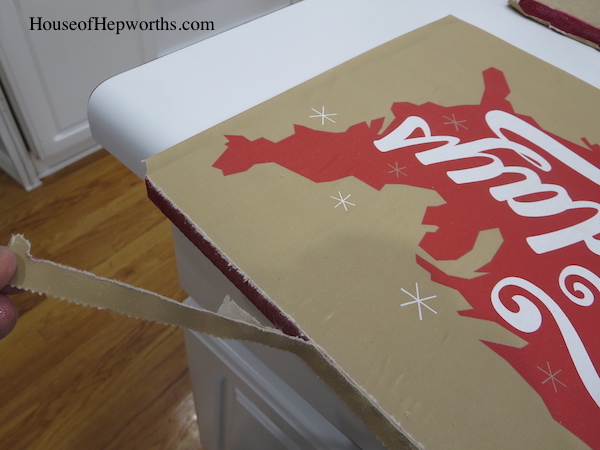
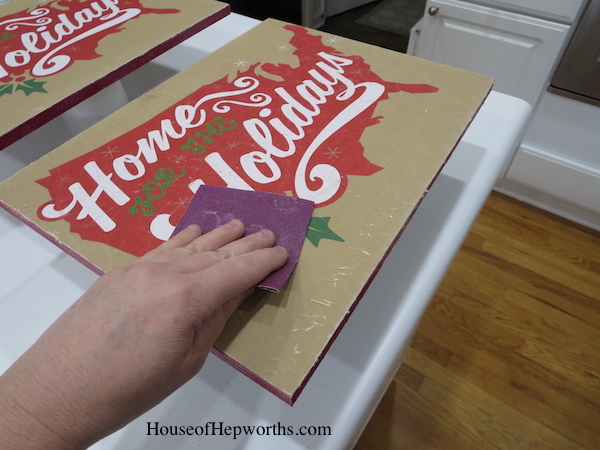
Allow the sign to dry completely. Once dry, take some fine grit sandpaper (I used 120) and gently sand the edges. This will help cut the overhang off, while leaving it with a perfectly smooth edge.
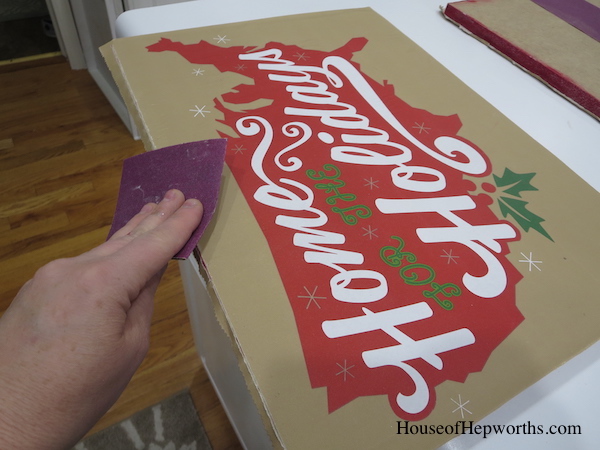
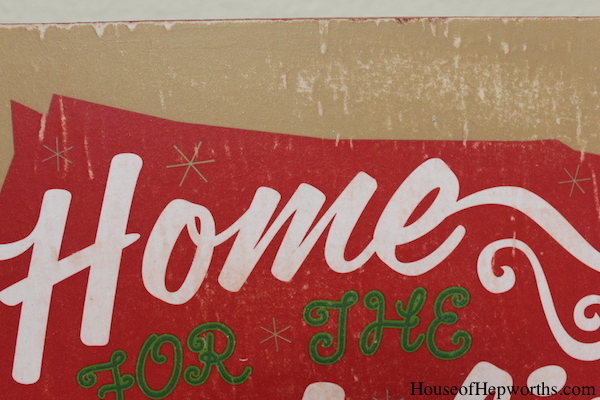
I really wanted my signs to look vintage, so I also took the sandpaper and gently scuffed up the surface of the artwork. It just gives it a worn look.
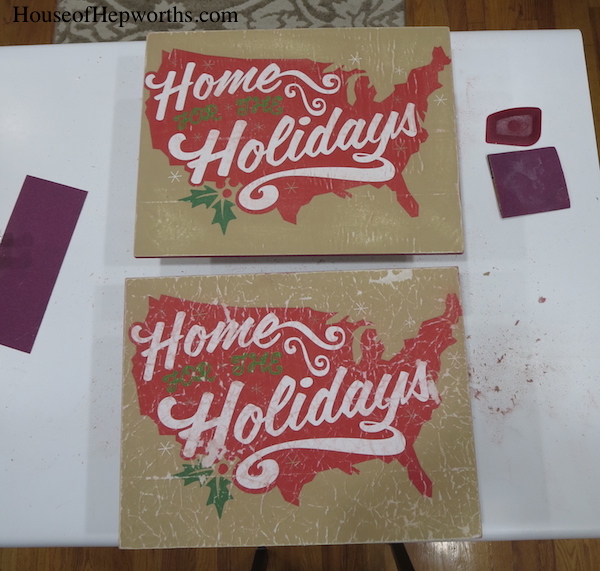
Here they are, all scuffed up and worn. The bottom one is the one we crumpled up before attaching it to the MDF.
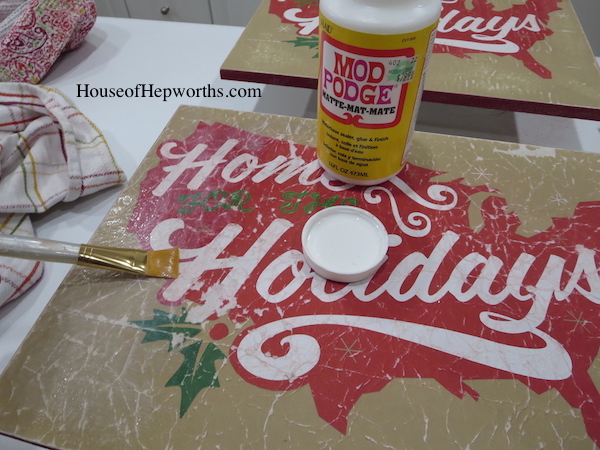
We are almost done! Take more Mod Podge and paint a thin layer over the top of your sign. Make sure to Mod Podge all the edges as well to lock in the glitter.
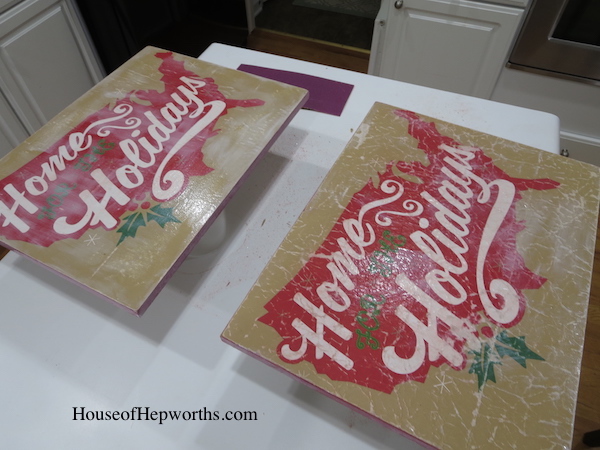
They will look foggy while they dry. Don’t freak out! Mod Podge dries clear.
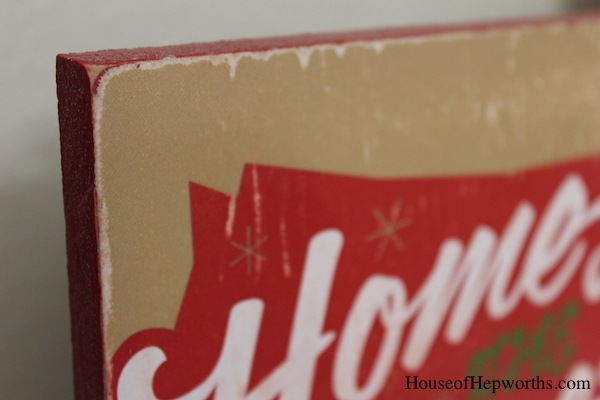
Here’s an up-close of the finished edge. Notice how it looks worn and vintage.
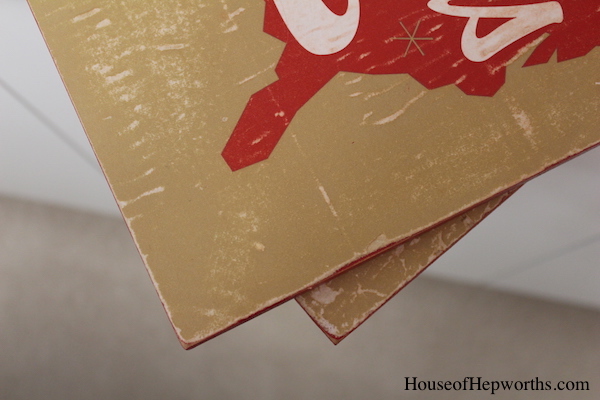
And here’s an up-close of some of the sanding and scuffing I did.
Below are the non-crumpled art and the crumpled art. I like them both but I prefer the non-crumpled. Next time I won’t crumple up the art beforehand.
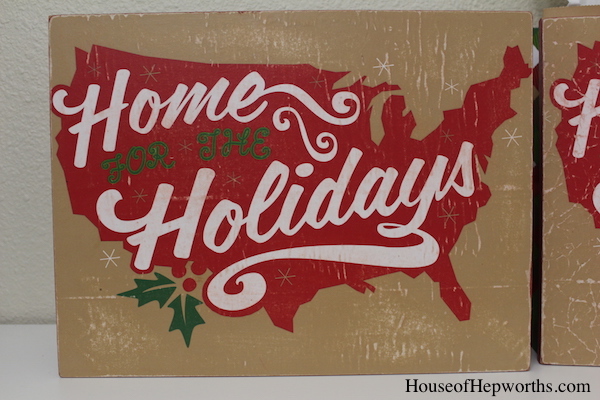
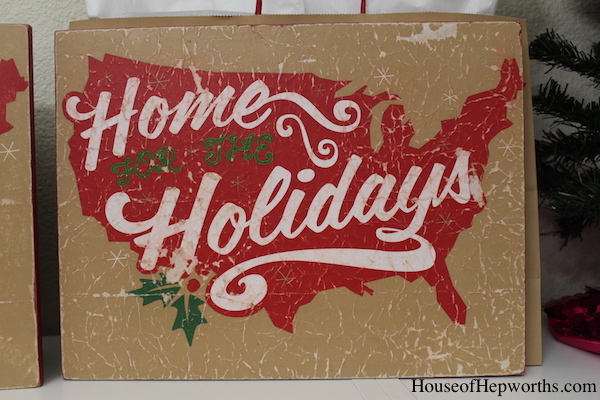
I love my new Christmas Artwork so much! Also, remember, check back soon for a giveaway for one of these signs!


Have a great day!


I love this! So Creative! This cute decor would cost so much at the stores, but it’s affordable for everyone’s budget! Great Gift! Thanks so much for sharing with all of us! Such a Huge fan
I received this bag with a gift and now I can make it into two great decor pieces! Thanks!