I’ve just been chugging along in this house the past {almost} two years, fixing little things here and there that are broken or need updating. Our son’s window has been broken since we moved in. I assumed we would need to replace the whole window, but I stumbled across a repair kit at our local hardware store last week and had a lightbulb moment.
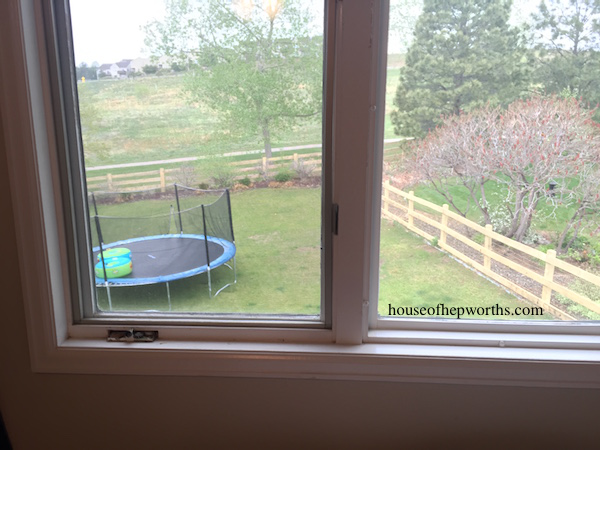
It may seem obvious to you that you can fix these window cranks when they break, but until we moved to Colorado from Texas two years ago, I literally never once in my life had seen a window crank on a window. All the windows I’ve ever had just slide open, and the screen is on the outside of the glass. These ones are wooden windows, the screens are on the inside of the glass, and you turn a crank to get them to swing open. I hate them. They are annoying, it’s gross having the screens on the inside of the house, and any blinds you hang hit the crank and won’t shut fully. Annoying. BUT… Windows are apparently freaking expensive, so until I come up with 40 G’s to replace them all, I’ll just fix them and work with what I’ve got! ::Soapbox moment officially over now:: Whew!
Back on track… I found a repair part for the crank part of the window! Who knew?!
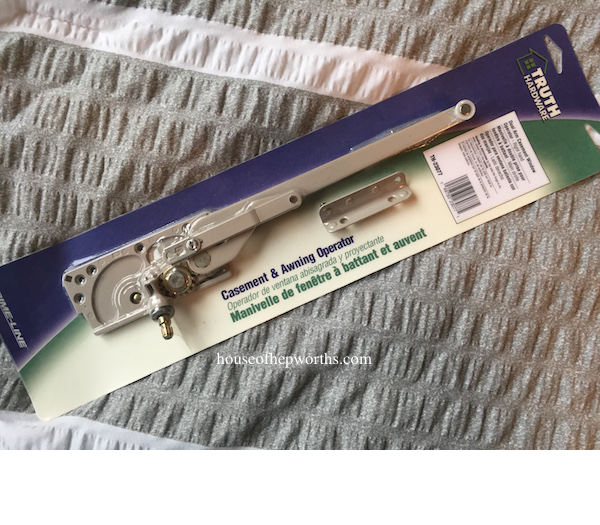
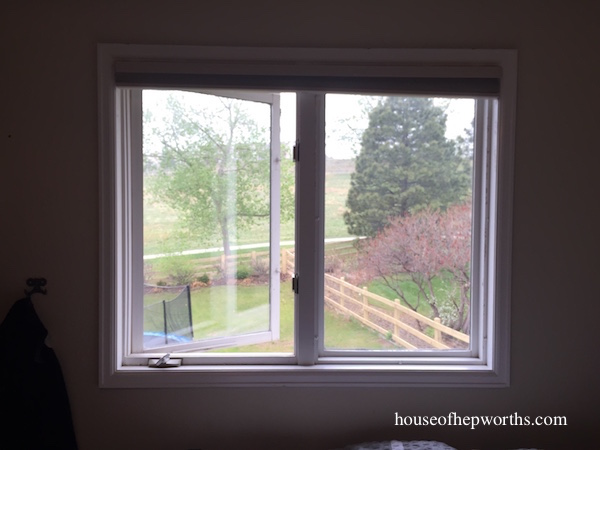
I snatched it up so fast and raced home to see if I could replace it. Here’s our son’s current window situation. No crank. No gears. No window opening and closing.
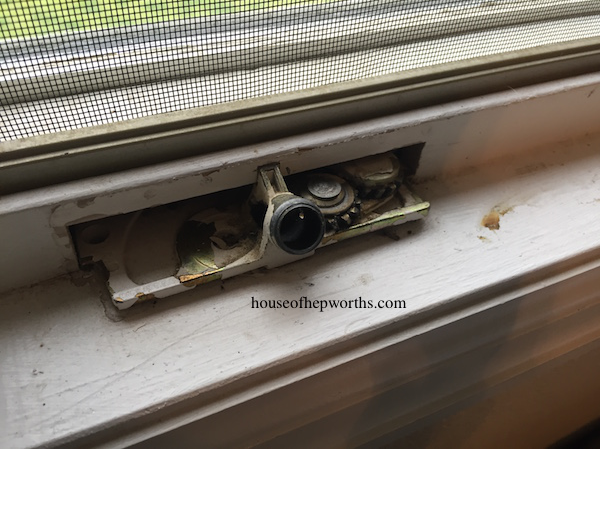
I literally followed the directions on the back of the package. It seemed a little intimidating, but I forged forward and you know what? It wasn’t hard at all! In fact, it was so easy to repair this window that I’m kicking myself that I put it off almost two full years.
Basically, you remove the bottom wooden piece of the window:
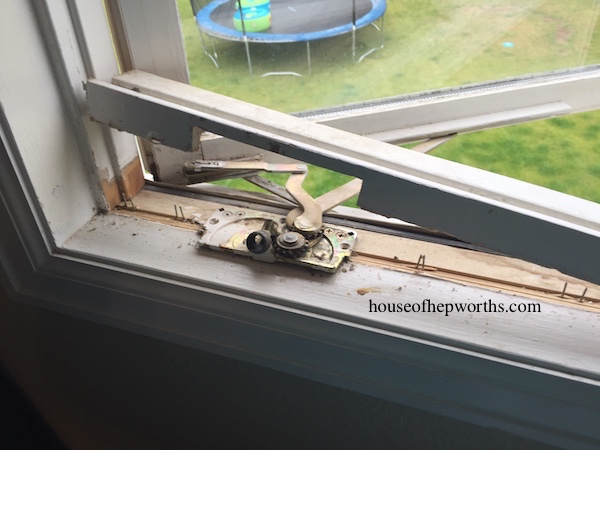
After the wooden piece is removed, unscrew the screws holding the old broken crank piece.
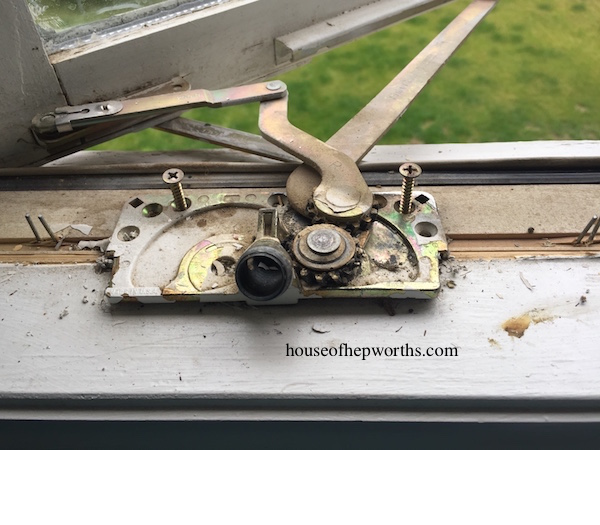
Throw that trash away.
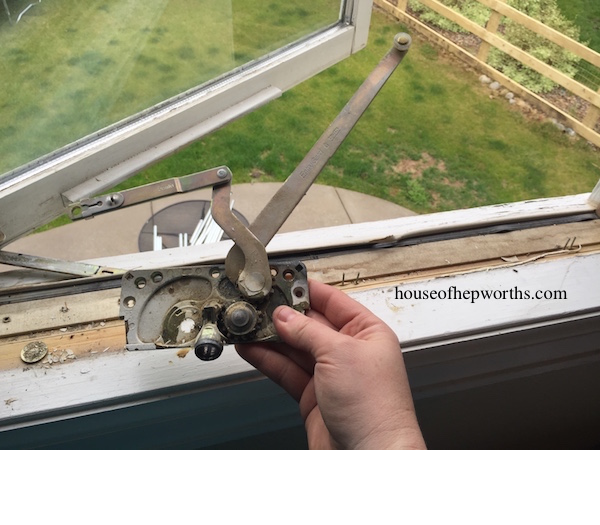
Using the same exact screw holes, screw in the new crank piece. Looking so much nicer already!
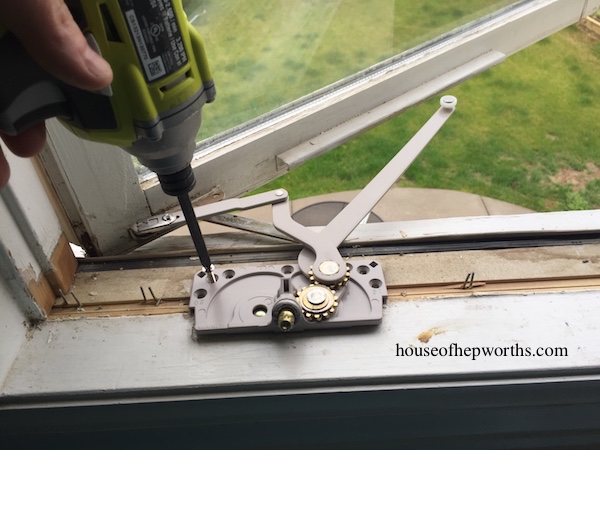
Attach the new crank and make sure the entire mechanism is functioning properly. It is. Wahoo!
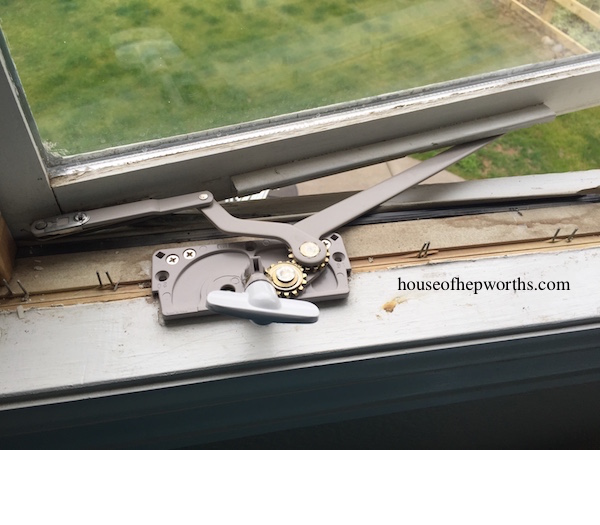
Reattach the wooden piece you pried off earlier. I just banged it right back into place.
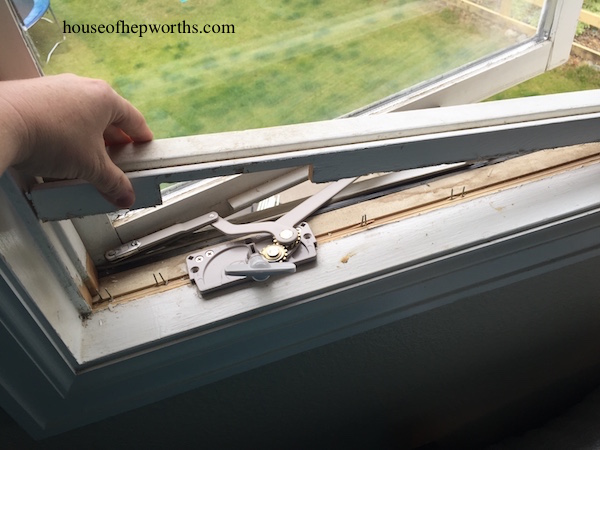
Once your wood is back in place, remove the crank, attach the plastic cover (you should already have this from the old one, but you can also buy new ones), then reattach the crank. Done and done.
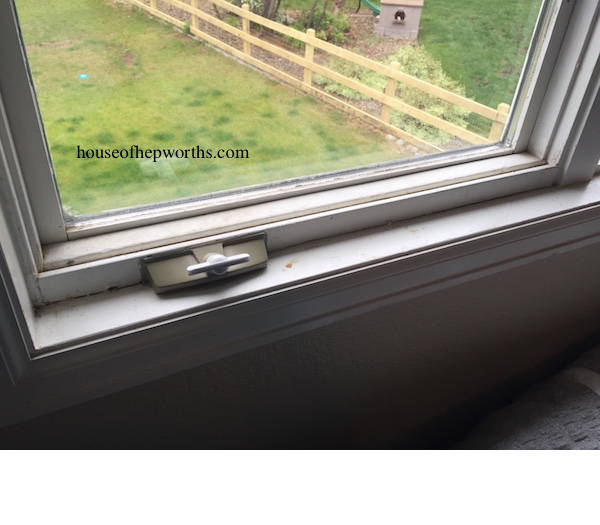
Smile and realize you are awesome and can fix almost anything!
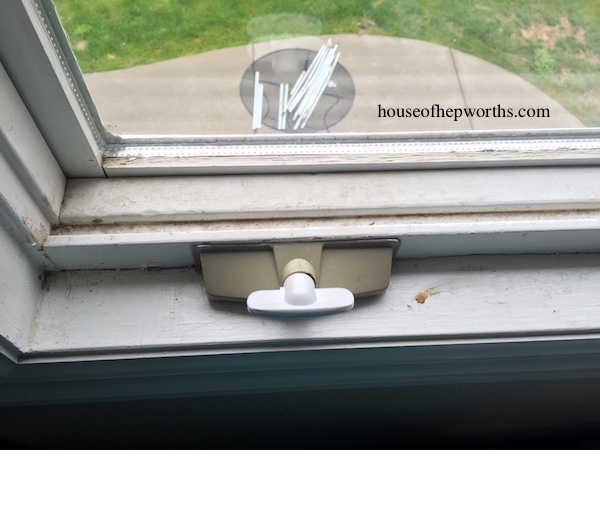
Have fun opening and closing the window multiple times, simply because you can now.
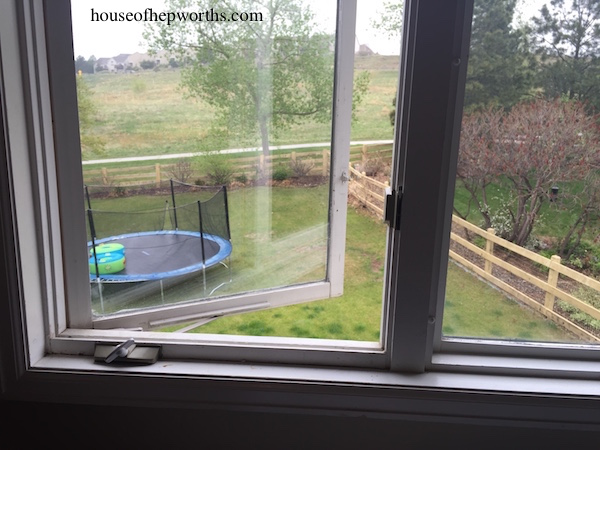
It’s the simple things in life, like fixed windows and cool Colorado breezes.
Amazon links to products:
Thanks for reading! Have a wonderful weekend!

*This post contains amazon affiliate links

you ARE awesome!! I wish you were here to help me replace my whole house/attic fan!!!!
I’d love to learn how to do that!
How did you remove the wood piece? Mine must have years of paint on it!
You are awesome. You can fix anything. Way to go.
<3 Thank you
Well, aren’t you the smart one! I had no idea they had repair kits like that, or that it could be that simple! Luckily, I just need to replace a few crank handles (kids who run off with them!!…. grrr!). I never thought about how yucky screens on the inside are before, but the only windows I have in that style are at almost floor level and, I not only don’t really have to see them, but I kind of appreciate that the screen MIGHT keep the baby playing with the big heavy (detachable?!?) crank handle from throwing said handle through the window. So far, so good. : ) Oh, and it’s interesting how different building practices can be in different parts of the country!
It is crazy to me how different building styles are across the USA. I literally had no idea you could fix this crank thing until I happened upon the part at home depot. I learn something new every day!
That’s a really cool fix, way easier than I would have thought. Nice job!
Thanks! Yes, it was so much easier than I anticipated. I was expecting having to replace the entire window.
I have casement windows over my kitchen sink and I HATE them.The windows face the street and I can’t figure out how to put up curtains or a shade to have any kind of privacy. Curtains need to be about 6″ away from the wall which puts them over the faucet and a shade can’t be pulled all the way down. Any ideas?
I am currently dealing with this issue as well. So annoying! I’ll brainstorm and get back to you.
What did the kit cost roughly ??? Do they fit several brands of windows ??? Obviously I need one. THANKS.
The kit was less than $25.
I love what you said about removing a wooden piece in order to unscrew a broken window crank. When it comes to repairing a roller, it’s best to hire a professional. My friend needs repair services, so I’ll help them find the best business to work with.
Once the windows have been cleaned and are still wet, they should be dried thoroughly to ensure no streaks or water marks are left on the window. There are many pieces of equipment that are available to aid with this, with the most effective being a squeegee.
For the curtains: There are different types of window rods that the curtains hang from. They go from flat, against the frame, inch or so from the frame, to three or four inches from the frame. BTW, I have casement windows too. There suck! When I get the $$$, I’m going to replace them with regular double hung windows!