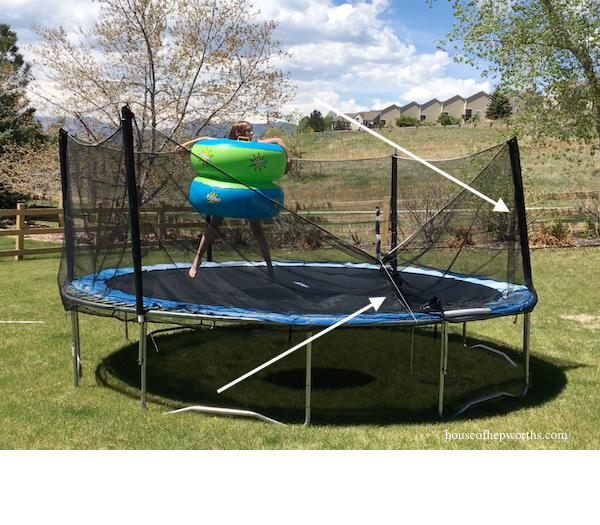
We have a trampoline for the kids in our backyard. After two solid years of use, the original net poles that came with the enclosure were broken and bent. It became a hazard when poles would snap in half while kids were playing, and when one pole fell completely out of the net leaving a gaping hole for kids to fall through we knew it was time to come up with a plan of action to fix them.
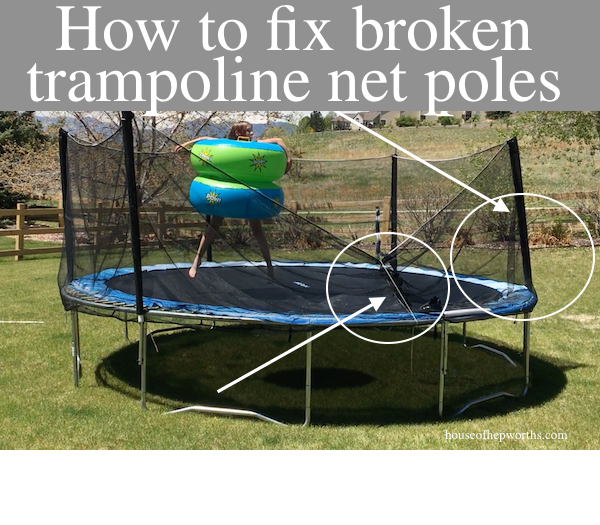
One time we had a tree fall on one of our trampolines (like 10 years ago) and broke the net and poles. This time the poles broke and bent for a few reasons, including heavy snowfall, hurricane strength winds (who knew Colorado had such strong wind storms?), and large teenage boys wrestling and jumping into the net. I’m sure the Sumo Bumper Boppers didn’t help either.
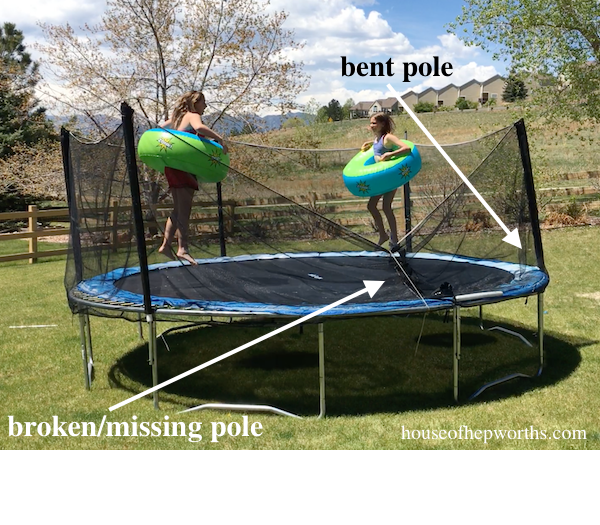
So here we are with these bent poles. We maybe could have purchased a new net surround and poles, but it would have been pretty expensive, plus, the poles were thin and broke easily, so I didn’t really want to invest in the same product. After some brainstroming, we came up with a great solution – Electrical conduit.
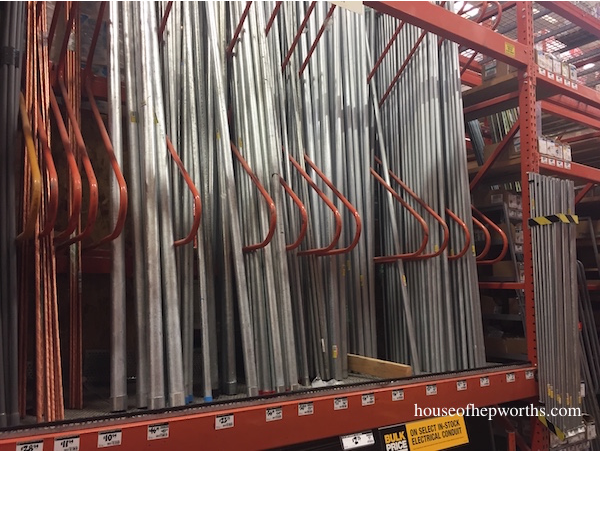
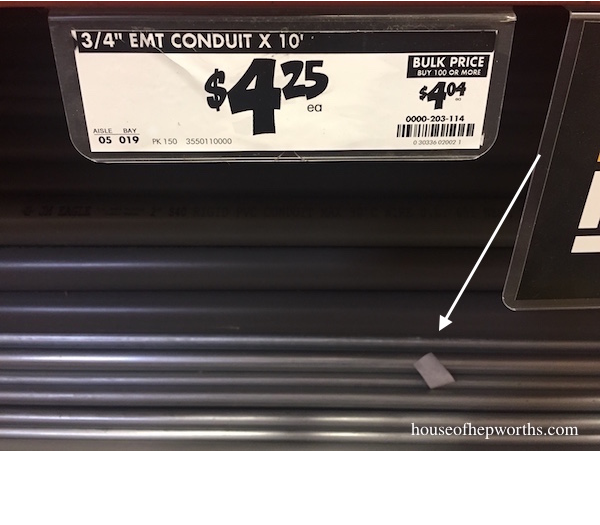
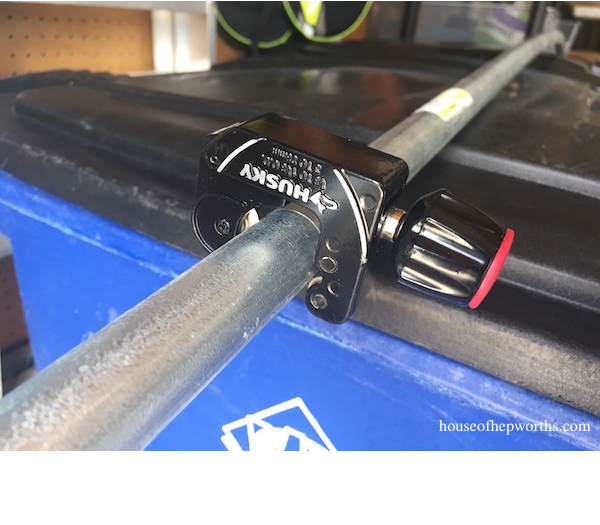
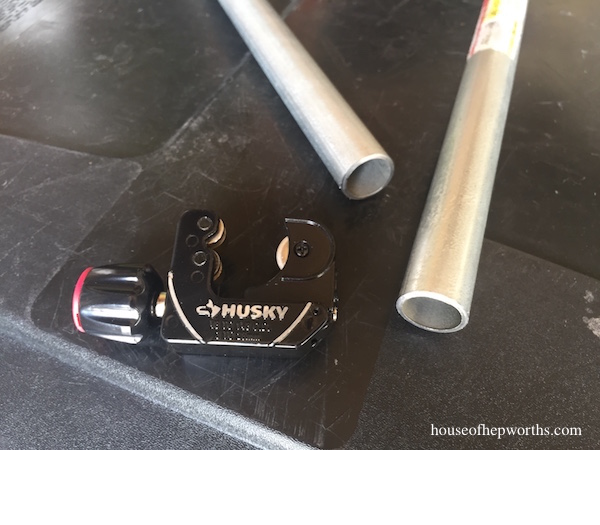
This stuff is cheap, comes in a variety of sizes, and any DIYer can cut it easily with an inexpensive and easy to use tool. For this trampoline project I purchased six 3/4″ x 10′ pieces of conduit.
You will also need to purchase a tube cutter. Here’s a similar one on amazon.
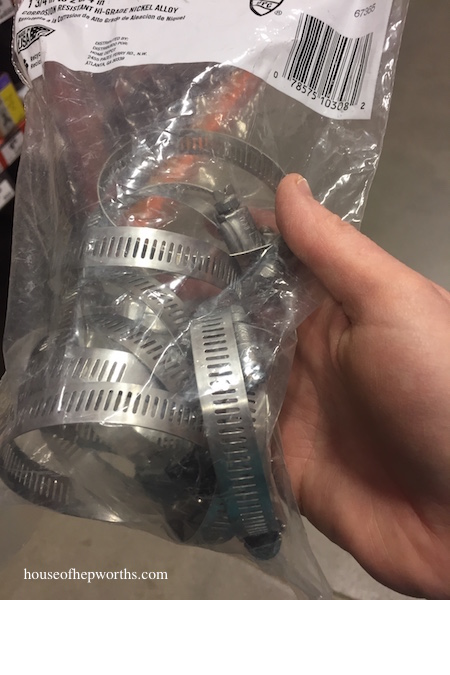
Once we had a plan for the poles, it was time to brainstorm a way to attach the poles. The original poles had holes in them and were screwed on, but we wanted an easier way to quickly take the poles down in case of a pending snow or wind storm. I found these stainless steel hose clamps and knew they were the perfect solution.
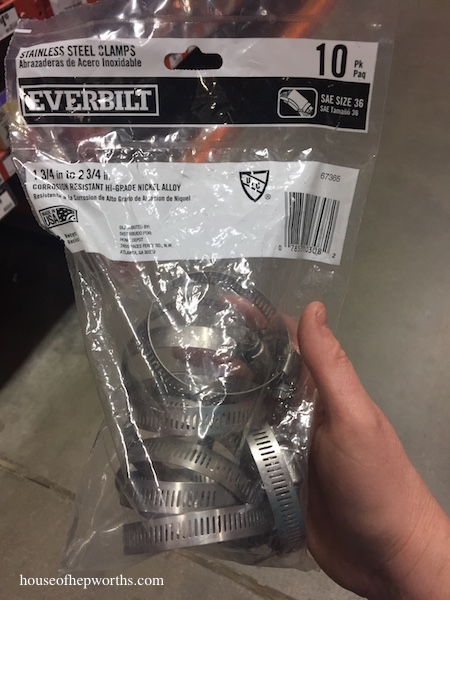
They are the same kind of clamps you use to attach your dryer hose to your dryer, but a much smaller version.
The first step is to remove all of the old broken poles. We just went around each pole and unscrewed them. It was a quick job.
Next, we measured the length of new poles we wanted. We actually made them longer than the original poles. They are the same height at the top of the net, but they sit lower to the ground at the base. Once we knew our length, I worked quickly to cut each piece of conduit. Seriously, cutting this stuff is so easy. It does take a little strength, but it cuts quickly.
Attaching the poles was slightly tricky, only because the clamps don’t come apart. They unscrew really large, but they don’t actually disconnect. We had to lift the trampoline off each leg just enough to slide two clamps on. Once the clamps were around the leg of the trampoline, we slid them in place and tightened them down around the new net poles.
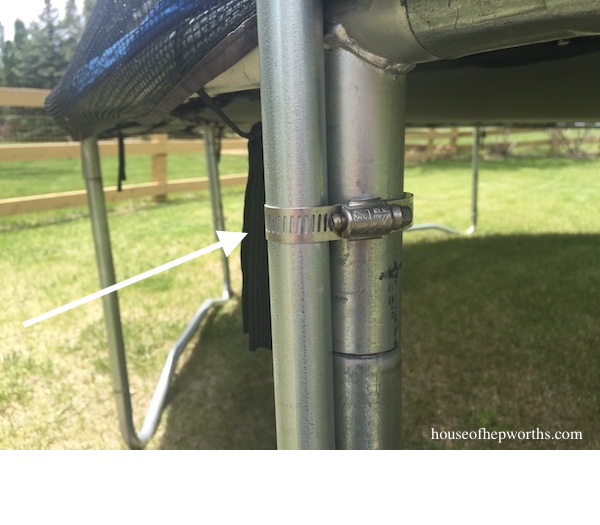
We added two clamps per pole – one towards the top of the leg and one towards the bottom.
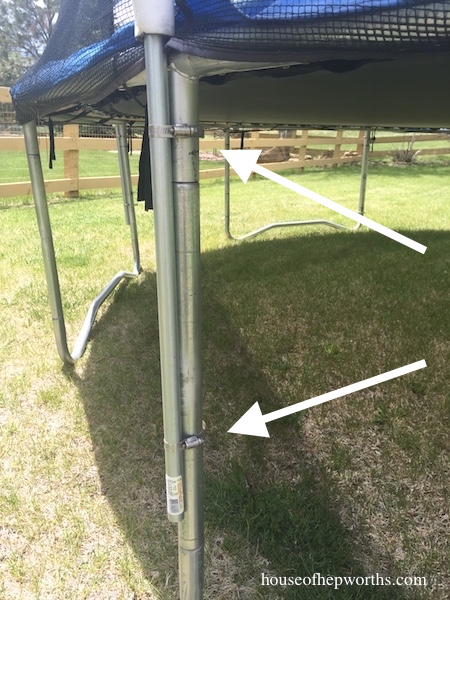
We worked our way around the trampoline, one pole at a time until we finished. We used a total of 6 pieces of conduit and 12 clamps.
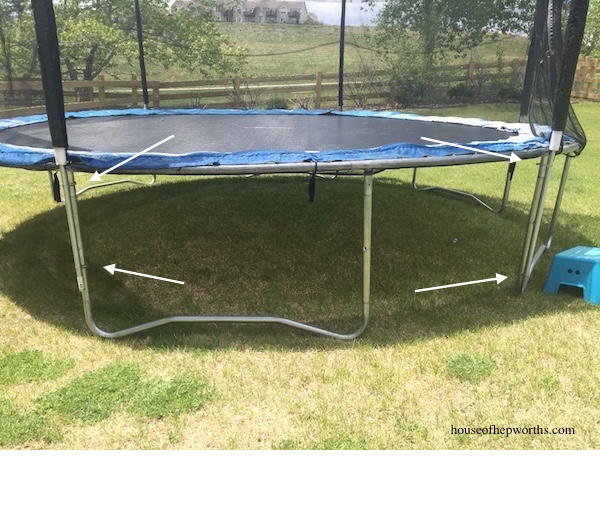
The clamps are a great solution because we can quickly go outside and slightly unscrew each one to loosen the net poles free. During a wind storm we can pull the poles out of the net so the trampoline doesn’t get as damaged.
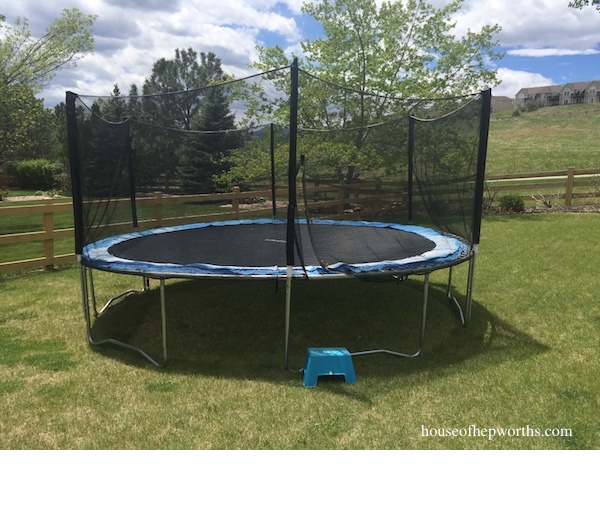
Our trampoline looked so terrible and trashy I just knew we were going to have to purchase a new one. I was pleasantly surprised after replacing the net poles how new the trampoline looked again. Now it should last us a few more years at least.
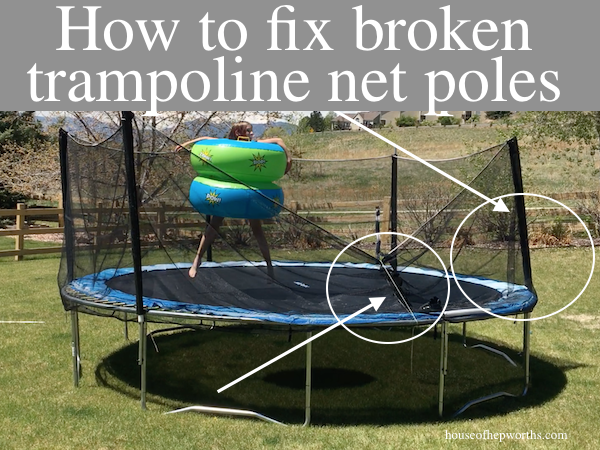
Here’s the trampoline and net enclosure that we own.
I love using electrical conduit for DIY projects. Check out these two posts showing how to use conduit to create inexpensive curtain rods (we all know how expensive curtain rods can be!).


Thanks for reading! Have a wonderful week!

*This post may contain affiliate links

Now you’ve me wishing it was my poles that were broken, and not my net itself! Such a great idea! I have to thank you BIG TIME for introducing me to conduit. I’ve used it for all my curtain rods, and a bunch of my friends and family’s, we’ve built easy-up-and-down bird feeder poles, and volleyball net poles out of it (bury a length of slightly larger conduit in the ground, then drop your poles in. SO ideal!), and all kinds of odds and ends. LOVE the stuff!!! THANK YOU!!!!!!!
This is so awesome! And your volleyball net idea is so great! I may have to steal it one day.
Fantastic idea! Trampoline recovered after a tree strike. Wify sew that net with a big needle and a thick rope. I needed 3 conduits only. Thanks a lot!
Great idea! How did you connect the net to the top of the poles?
We just slid the net down the poles.
Mine has bent tops. Will the net fit or be stressed?
I think it should be fine.
I am so glad I found this on Pinterest!!!! Hopefully you’ve prevented us countless trips to the ER from using a netless trampoline!
  My boys and my bank account thank you. xo
High winds snapped two of our poles and I was contemplating buying some replacement poles on the internet that were listed at almost the cost of a new trampoline. Googled how to fix trampoline net poles and this popped up!
Going to get the stuff for it this weekend and try it out!
If the clamps do not open, how to you get them around the trampoline base legs, since that is one piece bent to make two legs, I don’t see a place to slide it on.. I’m obviously missing something here, but sounds like a great idea!
Omg this was great! I usually get people asking me what they should do, should they buy a new enclosure for example. I’m going to send them to this post in the future. That was a great post.
Just did this with our trampoline that was gifted to us. Sadly the net didnt fit all the way around so for now we only have it half way netted until i can purchase a bigger net. Still will keep my 4 yr old safer. Also the clamps do come open. Just keep unscrewing them. Then u put em back together and screw em tight. Thank you for sharing.
Just tried it with my trampoline. Thank you so much! It worked so well and saved a bunch of money!
Just replaced our pole for 26$!!! Amazing trick! Thanks so much!
Thank you for the how to! I have a question I am hoping you could answer. Is there a reason you did not extend the replacement tube all the way to the ground? You cut the pole and it is several inches above the ground, so I was wondering if having it at or closer to ground level would make it less prone to failing? I am not handy and these seems logical to me, but there may be pros and cons to my idea. Any thoughts would be appreciated. Thanks again!
Thank you so much! I was ready to throw ours away because it was so terrible. This was such an easy and efficient way to fix it! Truly appreciate it!
It’s too bad each 3/4” pole is $40, not $4. This would have been a cheap alternative haha
They are $4 if you get conduit, not metal.
What about using u- bolts rather than the clamps.and can you still put the cushions on the poles. I was going to use the pipe insulation stuff.and will the next slide over them?