I’ve been trying to spruce up my office lately to make it feel more cozy. I don’t have a ton of extra cash for all new furniture, so I’ve made do with what I have. While I don’t have a ton of extra cash, I do have a little to put towards some very inexpensive window treatments.
Did you know you can make your own curtain rods for only a few bucks? If you add in the brackets too you are still less than $8 for the entire getup!
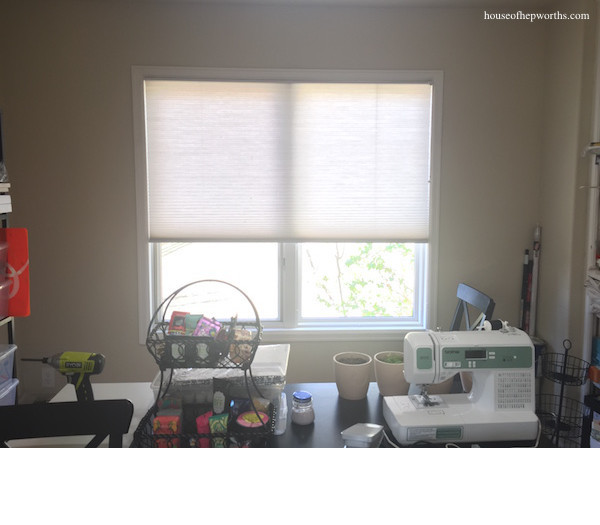
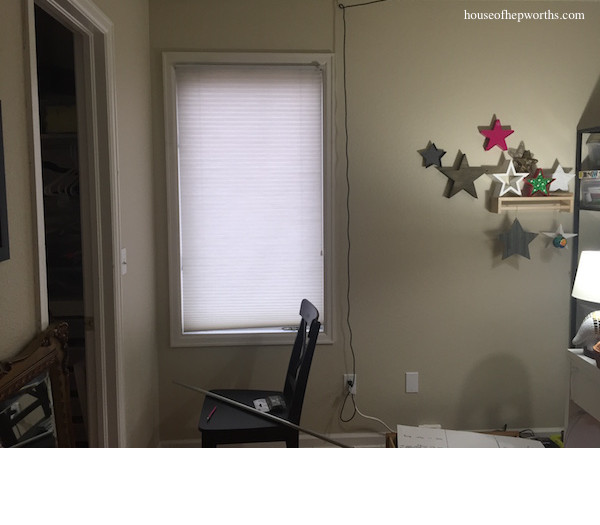
My office is basically a bedroom on our main floor (the other bedrooms are all upstairs). This room has one large window and one small window.
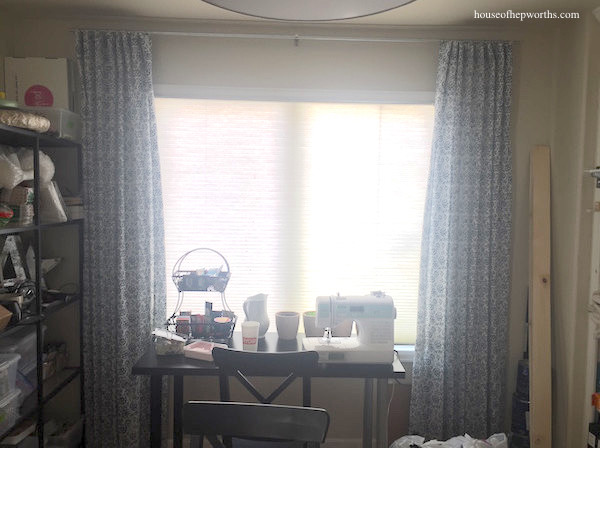
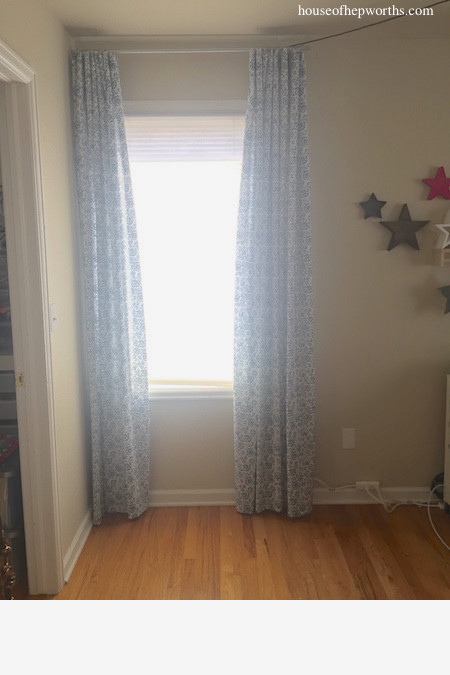
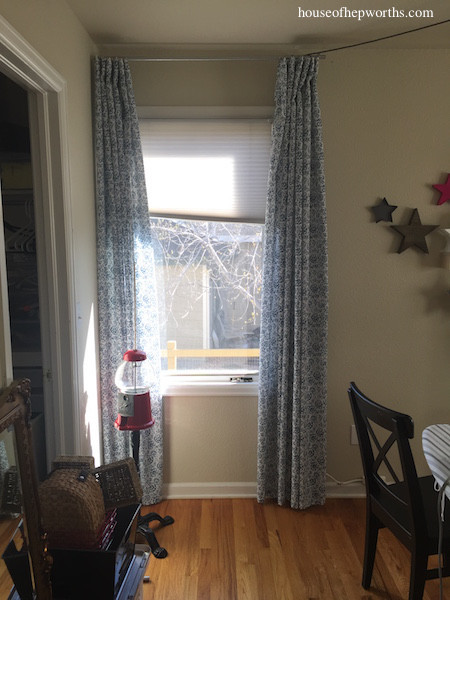
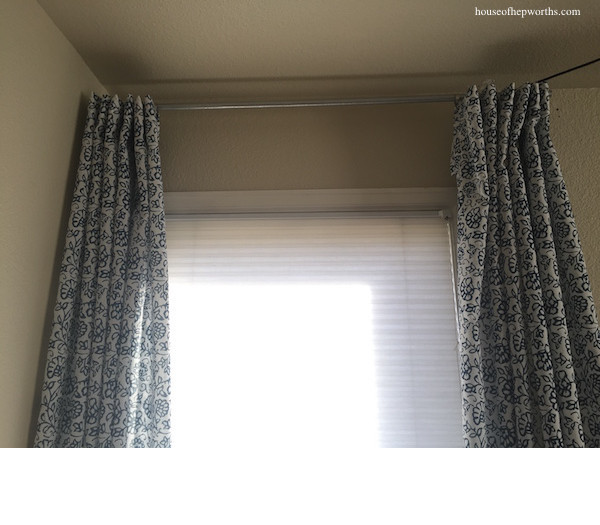
Yes, these pictures are terrible “after” pictures. You’d think after 7+ years of blogging I’d have learned by now not to post horrible after pictures. I’m sorry! They are from my phone. I’ll be better next time, promise. <3 So, now you've seen the final result, check out how I created these window treatments for a grand total of $23 per window (including the curtains). First off, I started with boring windows (with terrible blinds - check back for a future post about new blinds!).
The secret to creating inexpensive curtain rods is ELECTRICAL CONDUIT. Yup. You read that right. I’ve been using this stuff for years for curtain rods and I even fixed a trampoline with the stuff!). Electrical conduit makes for a perfect curtain rod. It comes in a variety of thicknesses, is lightweight yet sturdy, and is easy to cut. It’s like the perfect trifecta of curtain rod material.
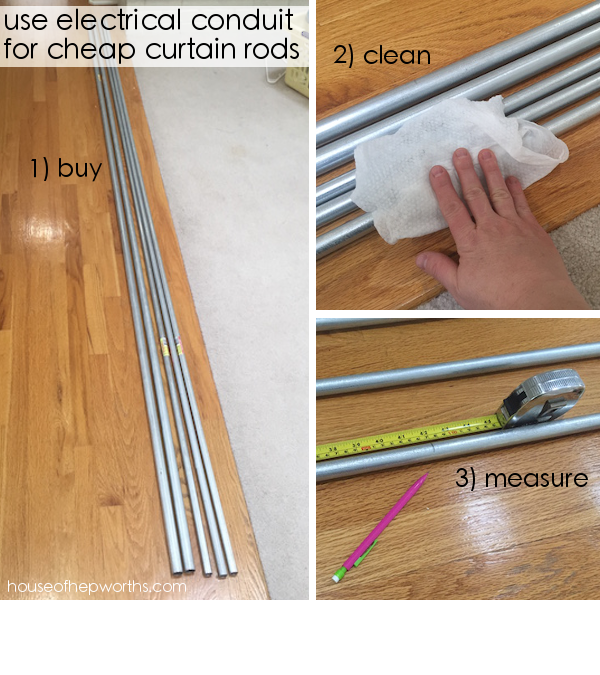
Measure your windows and figure out how long you want your rods. Purchase the amount of conduit you need. You’ll want to clean the conduit after you bring it home. I used a lysol wipe. After that, measure your curtain rod length.
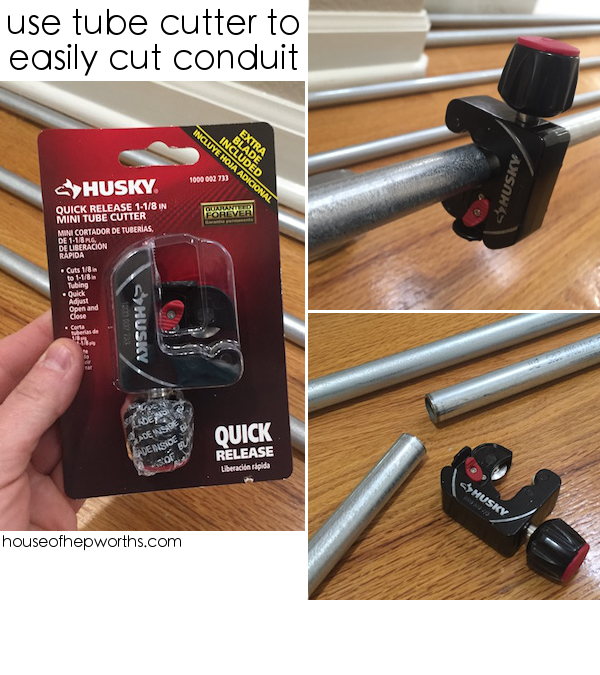
Once you’ve taken your measurement and marked your conduit, use an inexpensive tube cutter (I think this was about $12?) and cut your tube. The tube cutter is easy to use. You clamp it on, and then rotate it around the tube. After a full rotation, turn the knob to tighten the cutter a bit, then rotate again. After each full rotation, turn the knob a bit until the tube finally cuts in half.
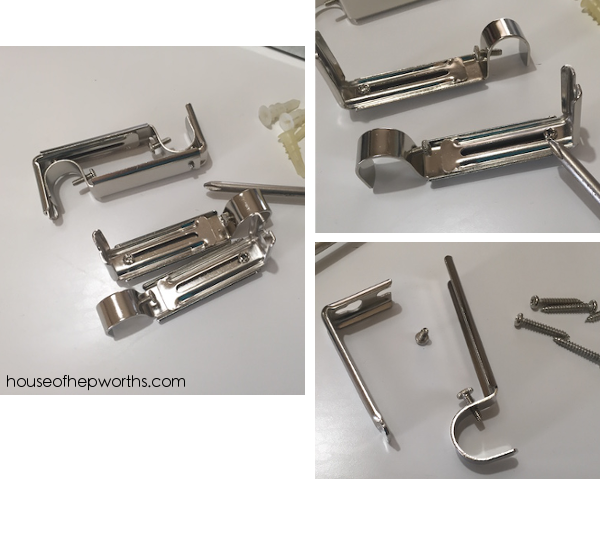
Now it’s time to hang your brackets. You have to install these before you can hang the rod (duh!). I usually buy my brackets at our local hardware store, but heres a good option if you’d like to order them online. I find it much easier to hang the brackets if you disassemble them first and only hang the one part that screws into the wall:
Next up, hang your brackets on your wall where you’d like them. I like mine high and wide!
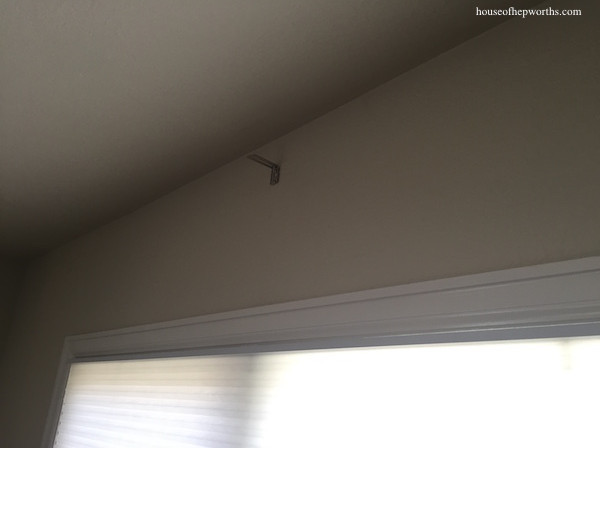
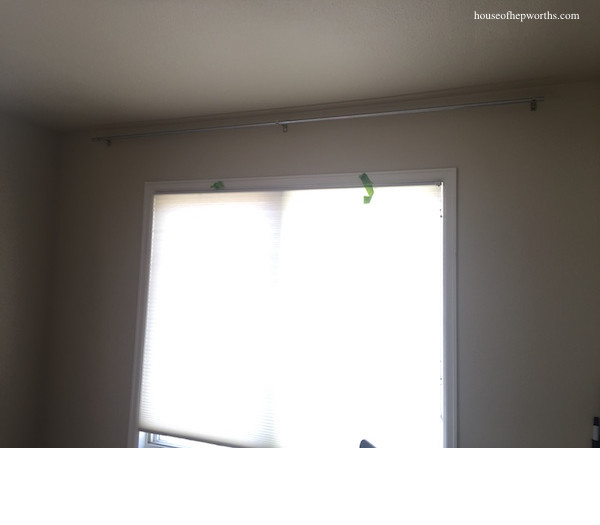
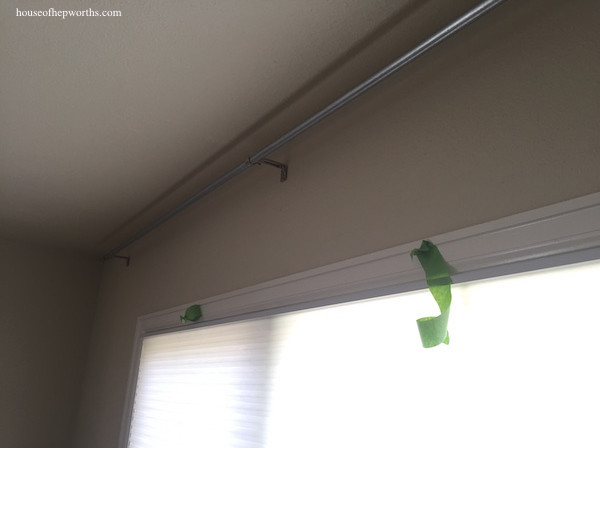
One trick I’ve found for hanging long rods and making sure they are level is to hang one bracket, place your rod (conduit) on top of the bracket, and using a level on top of the rod, hold the rod level and mark the location of your other bracket.
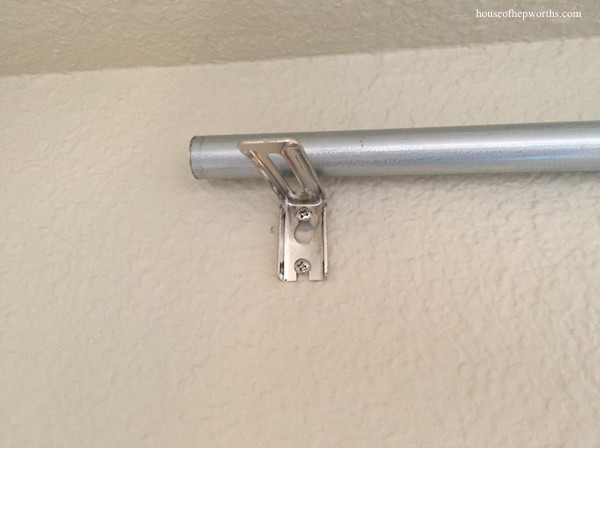
Now that the rods and brackets are hung, I busted out my new curtains. I found these cute inexpensive curtains at IKEA:
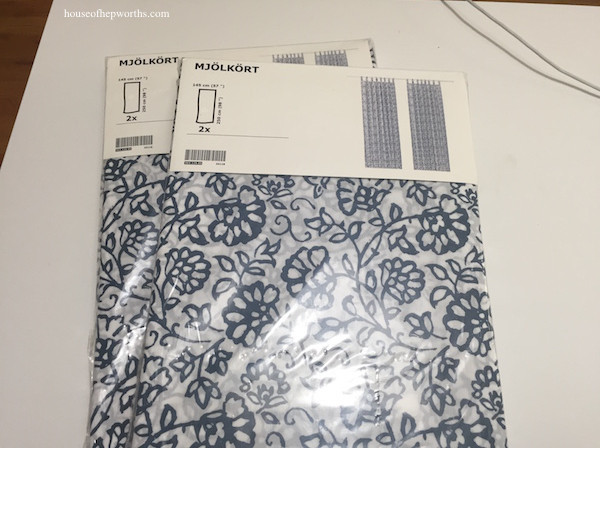
Once the brackets were hung I placed the conduit rods on the brackets but didn’t tighten them into place. I added my new curtains to see how much they would need to be hemmed.
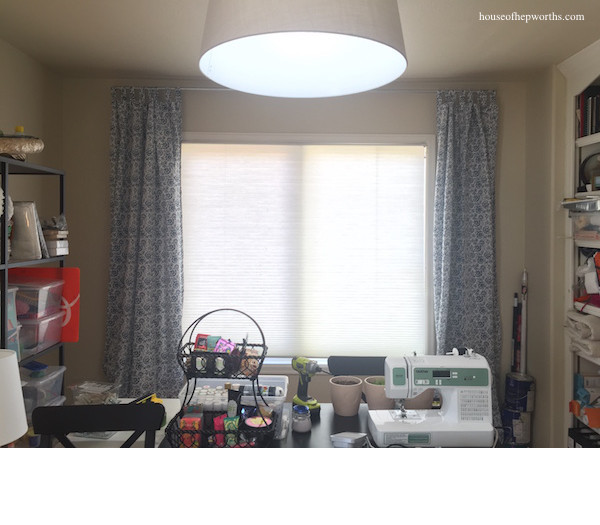
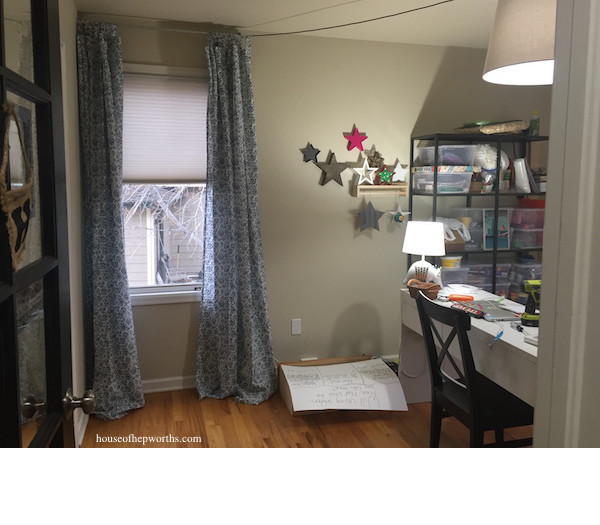
Pretty darn cute so far! I want them to look a little more sophisticated though so I’d rather have a pinch-pleat instead of the tabs. The tab curtains have a more casual look which is great but not what I want. In order to do the pinch-pleat I use my “fake pinch pleat trick” I shared with you way back in 2011. I forgot to grab some inexpensive curtain rings at IKEA, and considering IKEA is 45 min from my house I needed to find an alternative solution. Rings at the hardware store are quite expensive, so I found this Cafe Rod Clip Set at Wal-Mart and thought I’d give it a go. At less than $3 I didn’t have much to lose.
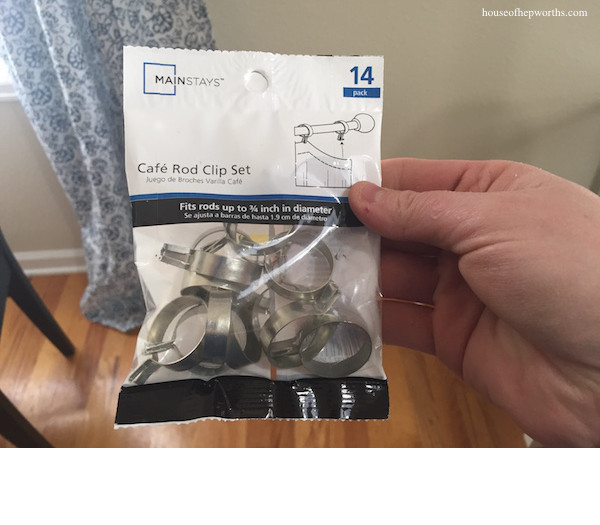
Before attaching my clips I ironed the fabric first – if you want nice looking curtains you can’t skip this step!
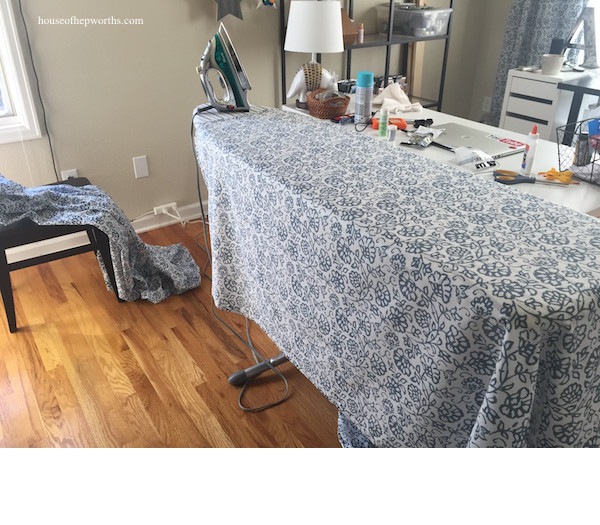
Instead of hemming the curtains on a machine, I opted to just fold the top part over and clip them. This allowed for a few things: it hides the tabs, I don’t have to sew, and I can adjust my curtains to virtually any length. The Cafe Rod Clip Set clips on the fabric directly at the top.
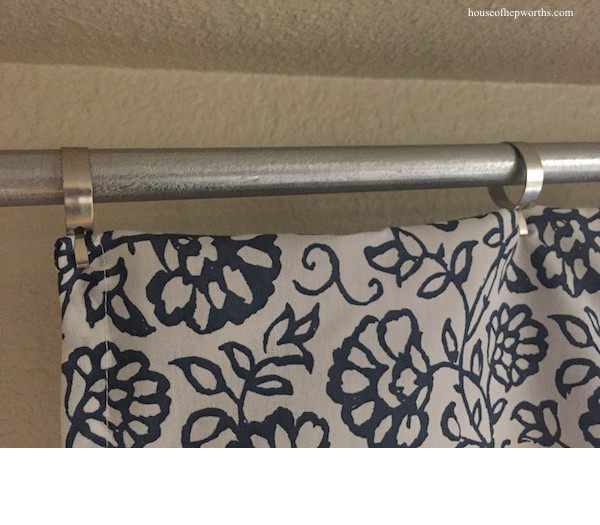
You can see here how I simply folded the fabric over at the exact length I wanted.
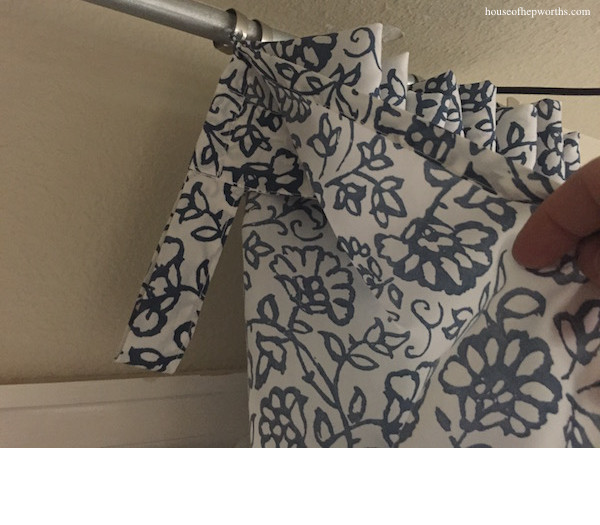
And these clips give that pinched-pleat look I was going for. Plus, with the fabric folded over at the top, it adds a bit more thickness which allows for a nice pleat that doesn’t flop over.
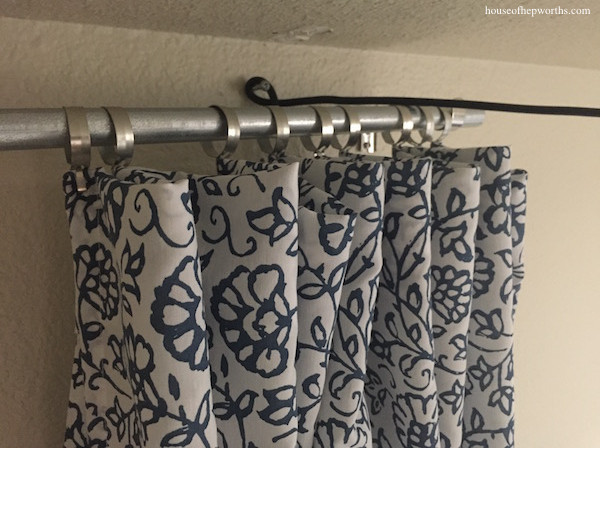
I will note about the Cafe Rod Clip Set – the set works well but is “cheap” looking. Because my curtains are hung really high you can’t see the clips, so it doesn’t matter that much to me. HOWEVER. We have a cat. And the clips are not that strong. Our silly cat has made it his life’s mission to play in the new curtains until he pulls them down. The clips hold the fabric well but if a cat tugs on the fabric, the fabric will pull loose from the clips.
Here are the curtains hung at the correct length.
And you can see in a close-up the pleats and how neat they look.
Now, I’ve got one more tip for you. If you want your curtains to hang with a gentle pleat all the way to the floor, you have to “train” them to do so. Otherwise they will tend to spread out really wide towards the bottom and won’t look as pretty. Training your curtains is really easy. Take your curtains and fold (but not crease) your pleats all the way to the bottom. Get some string and tie it loosely around the fabric, about 2/3 of the way down. Don’t tie it really tight – just tight enough to keep the pleats in place. Leave all your curtains tied like this for a few days. When you untie the string, your curtains should keep their form pretty well.
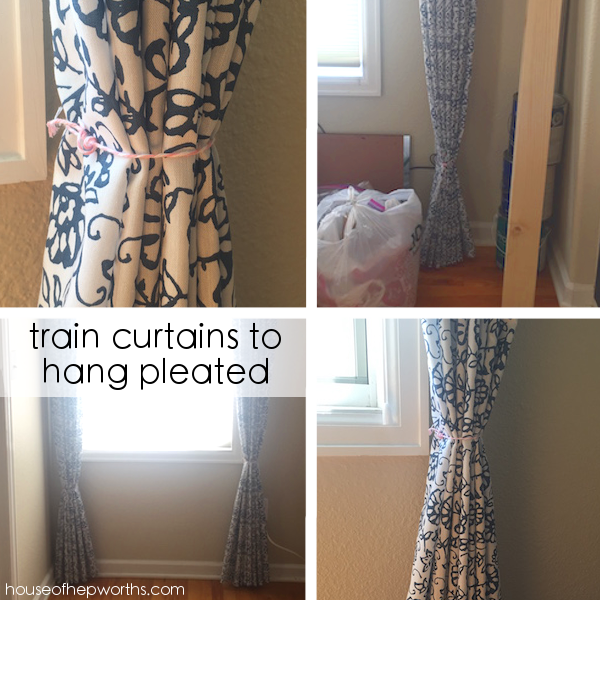
Here are my finished curtains and rods, after a few days of training. They look really nice in-spite of my inability to take a picture of a window without it looking like you are walking towards the bright light.


If you’d like to make your conduit even fancier, you can always spray paint your rods (tutorial here) and add some finials. I haven’t added any yet because I’m still looking for the perfect set.
If you enjoyed this post, please consider sharing it with your friends on facebook or pinterest! I’d love the exposure. Thank you so much. <3 Thanks for reading! Have a wonderful week!

*this post may contain affiliate links


have you thought of using wood or any other type of cabinet hardware to finish off the ends of the rod? Is that like a wood final ?……I’m thinking of or cabinet knobs, 6000 glue should hold them in place
Yes, usually I just use finials but I can’t find one I like. I’ve thought of knobs as well for cabinets. That 6000 glue would be perfect! Great idea!
Training your curtains to pleat sounds so obvious, but I’ve seriously never thought about doing that before. Mind = blown!
I read this tip somewhere a really long time ago and I was like, “omg that is brilliant!” It works really well too.
Bless you for the conduit discovery! Been using it since you first posted. LOVE IT.
Oh yay! I love hearing this!!
Have you ever used finials that require screwing into the rod? Since the conduit doesn’t have anything to screw into, I was wondering if you had discovered a solution. It seems the only finials I like have the screws. Just discovered your 2011 post and I absolutely LOVE your idea.
Wine corks…..soak them in water to soften before you cut them to fit. Glue if you want, let set up. Screw in fineal.