New to this series? Click here to start at the beginning!
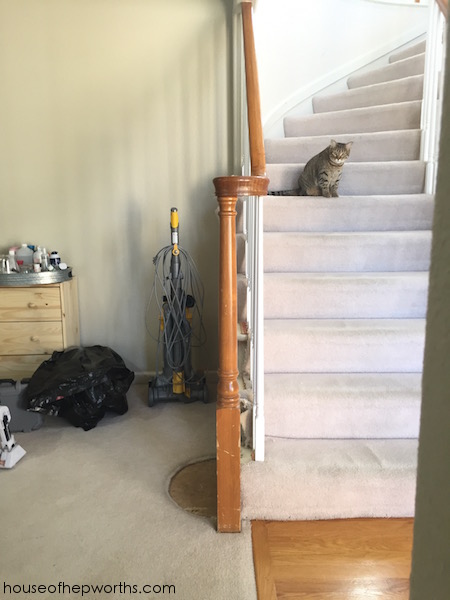
The biggest demo/remodel we have to tackle before we can refinish the hardwood floors in our house is the stairway makeover. We have a formal living room off the foyer that we want to enclose with french doors. Here’s our formal living room and staircase situation:

Right now the staircase is open on both sides and is partially in the formal living room. (This is about to get confusing so hopefully the pictures will help make it easier to understand.)
We basically want to build a wall across where the stairs are and add french doors where you walk into the room. You would think it would be easy enough – remove the shorter hand rail on the left side of the staircase and frame out a wall.

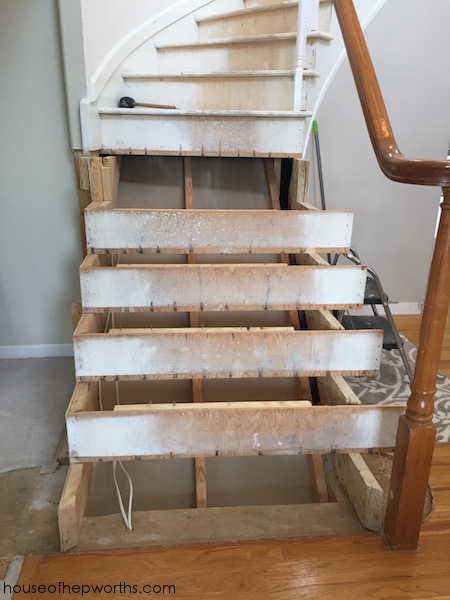
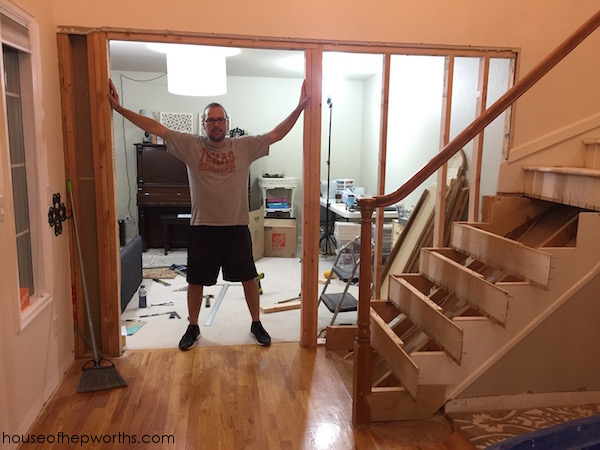
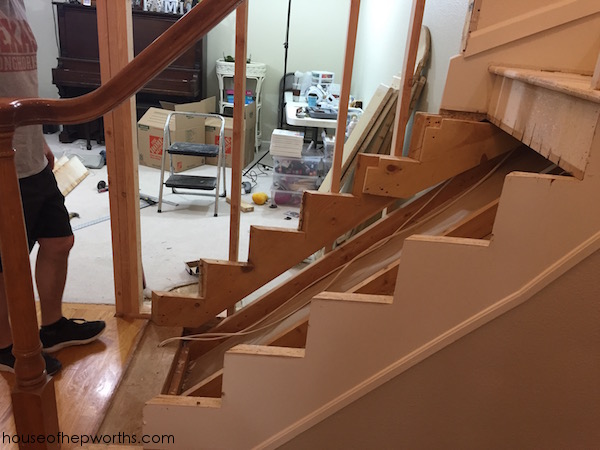
Well, it isn’t that easy (because why would it ever be easy?! ha!). I’m going to jump ahead for a second and show you a half-torn-out staircase… Do you see below how the sides of the stairs overhang where the wall needs to be framed out? They jet into the room a good 6″ past where our wall needs to go:
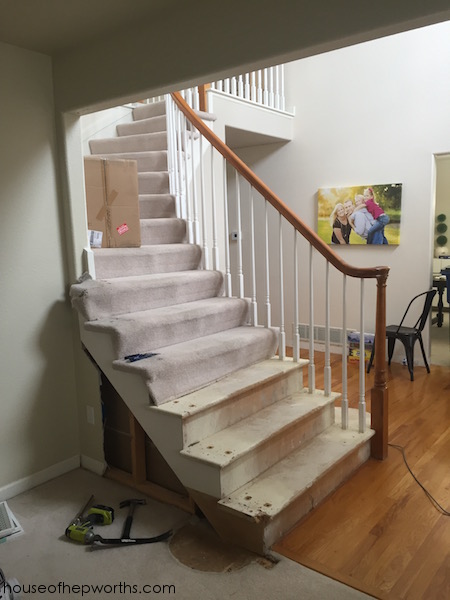
This is a huge issue because we can’t frame out that wall unless we push back the stairs about 6 inches. After going back and forth for months on whether or not we should do this, we decided that even though it’s a lot more work, ultimately we would regret not doing it. So we went for it.
So let me now share the process with you. The very first thing I did was remove the bump-out on the bottom step. I am not a fan of these on either side of my staircase and feel it makes the staircase seem dated, so out they went!
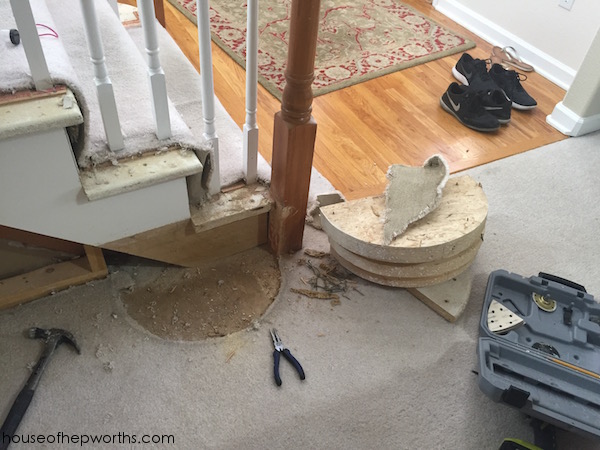
I pretty much used a pry bar and my Dremel Multi-Max (best tool ever – I use it constantly!) to remove the bump-out.
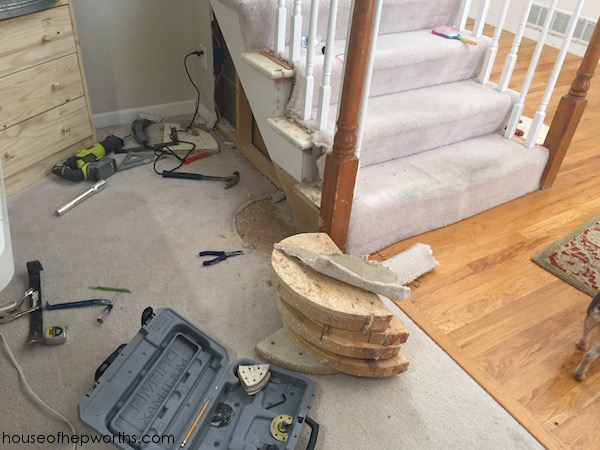
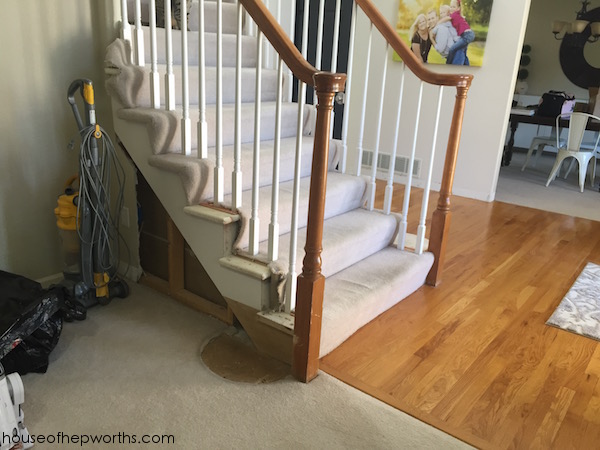
Next up, time to remove the hand rail, balusters, and carpet from the staircase. The rail and balusters were easy to remove – I just wiggled the railing until it came loose, and then the balusters all fell out. Clearly it wasn’t installed very securely 25 years ago, but it made the removal much easier for me.

To move the staircase over 6″, we basically need to take the staircase apart, rebuild the left side, then reattach all the treads and risers. I carefully removed each tread, then numbered them so they went back on in the correct order. Initially we left the risers on but ended up removing those as well.
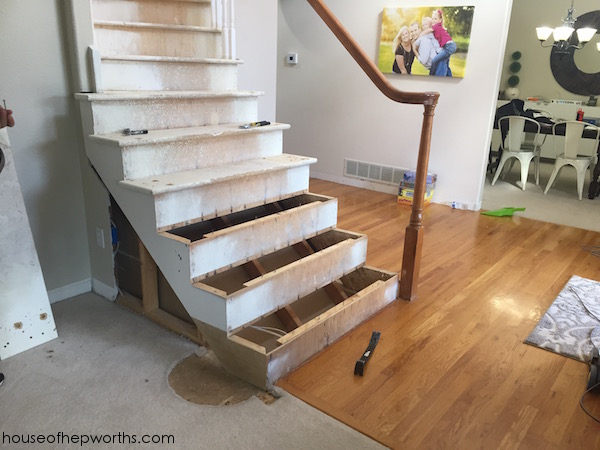
I unscrewed the left stringer and scooted it over enough to give us clearance to frame out the wall. From there it just needed to be secured again.
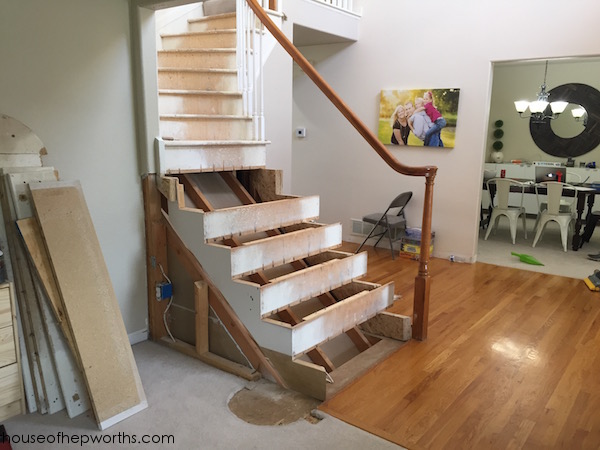
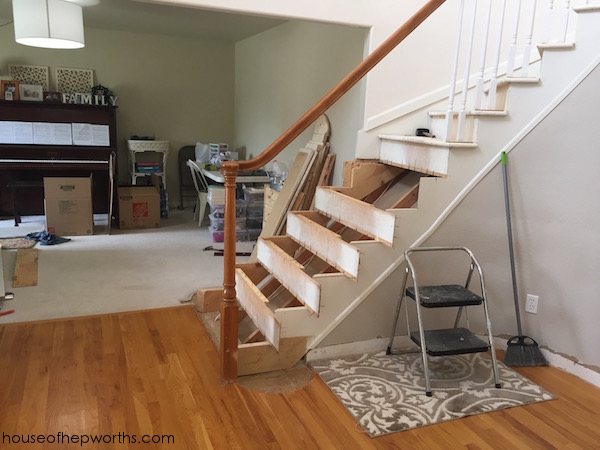
You can see in this picture below that we now have clearance for a wall to be framed out:
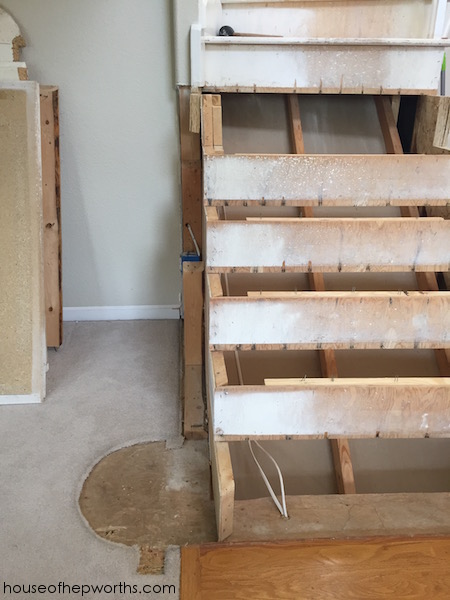
Here’s the before and after side-by-side:

The staircase is now finished enough that we can frame out the wall for the french doors. We will circle back to the staircase as soon as the wall is framed out. We did all of this in one day, as having our staircase open like this made our 2nd story inaccessible.
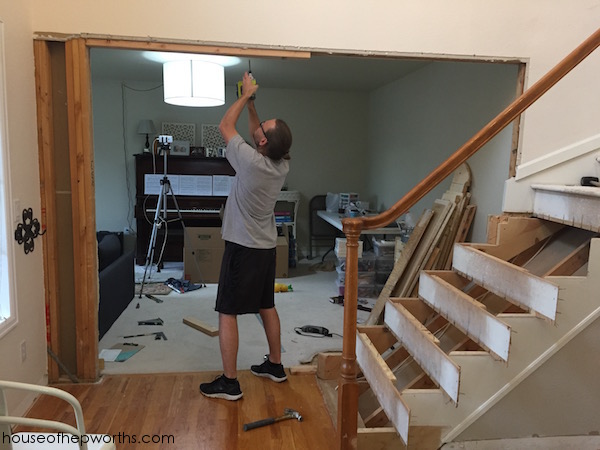
Here’s Ben framing out the french-door door frame. I’m not going to give a step-by-step on how to frame out a wall and doorframe, but here’s a few photos of the process.
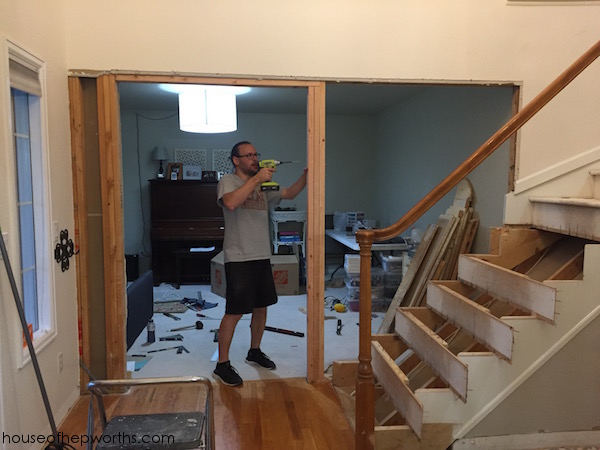
Victory! Now we can finish the stairs!
So we’ve got this gaping hole that was once a staircase. We took our numbered treads and risers and one-by-one cut them down to fit our new staircase. We used screws and a nail gun to attack them back to the stringers.
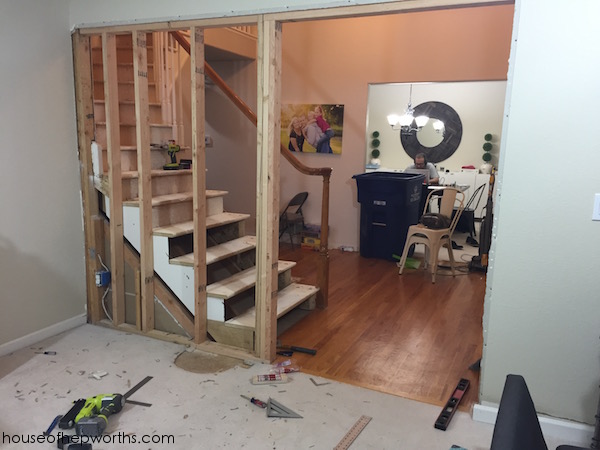
We managed to do this entire job in one day, which is amazing considering neither of us had ever actually framed out a wall or built a staircase. Even though the wall is only framed out, you can really start to see the way the foyer will look once it’s all complete. So exciting to see our vision start to come together.
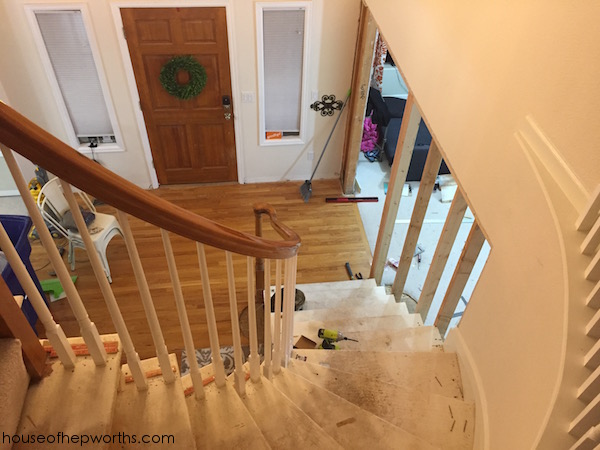
Because this post is already long enough, this is a great stopping point. Next up, I’ll share drywalling the staircase wall and adding the curved skirt board. Once the skirt board is added the stairs will be ready for the new oak treads!
Here are a few items I own that I used for this project:
Click here for the next post in this series
This post contains amazon affiliate links
Thanks for reading! Have a wonderful week!


I’m so excited to see all the changes! <3 Great job so far, those are some impressive DIY skills! Keep the posts coming!
Thanks Melanie. It’s scary yet fun and so worth it
What an incredible undertaking! I’m sure you’re all so much happier to have made these changes to suit your family. Quite the transformation! Looking forward to the follow-up installments. You guys always inspire me.
Enjoy
Thank you! We are going to love the new updates once they are done. So much work but so worth it.
Wow, you guys are amazing! THAT was one FULL day! I’m having so much fun watching you do all this work. SO much better than doing it myself, haha! Thanks for letting us in on your house updates! Can’t wait to see the end results! : )
you very fun and happy when complete job
Haha thank you!
This sounds exactly like what I need to do to my home, but none of the pictures on this website are loading! Thanks for the helpful post and wish the pictures were coming through!