Hi everyone! I’m very excited about today’s post. I’m finally diving head-first into our IKEA KITCHEN! In this multi-part series I will go over all sorts of stuff like planning your new kitchen, the ordering process, assembling, installing, creating custom areas, building a custom bar, adding after-market inserts, finishing the trim, appliances, etc.
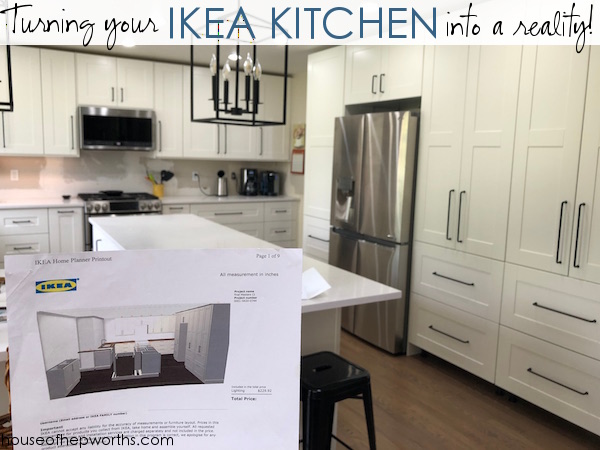
Today I’m going to focus on the planning and ordering aspect of building your own custom IKEA kitchen.
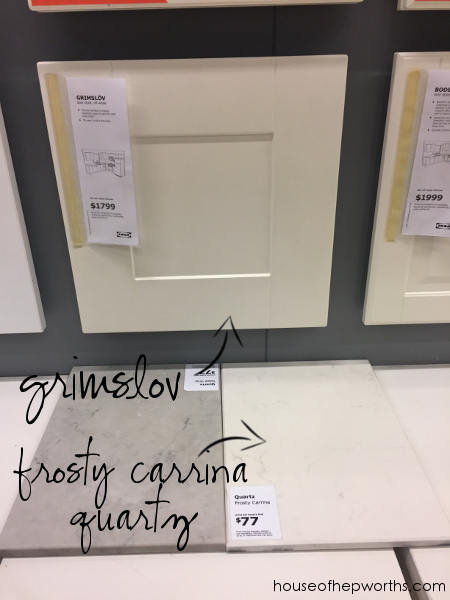
We chose to do a custom IKEA kitchen using their white Sektion cabinets and white Grimslov door fronts. Here’s a Grimslov kitchen from IKEA’s website:
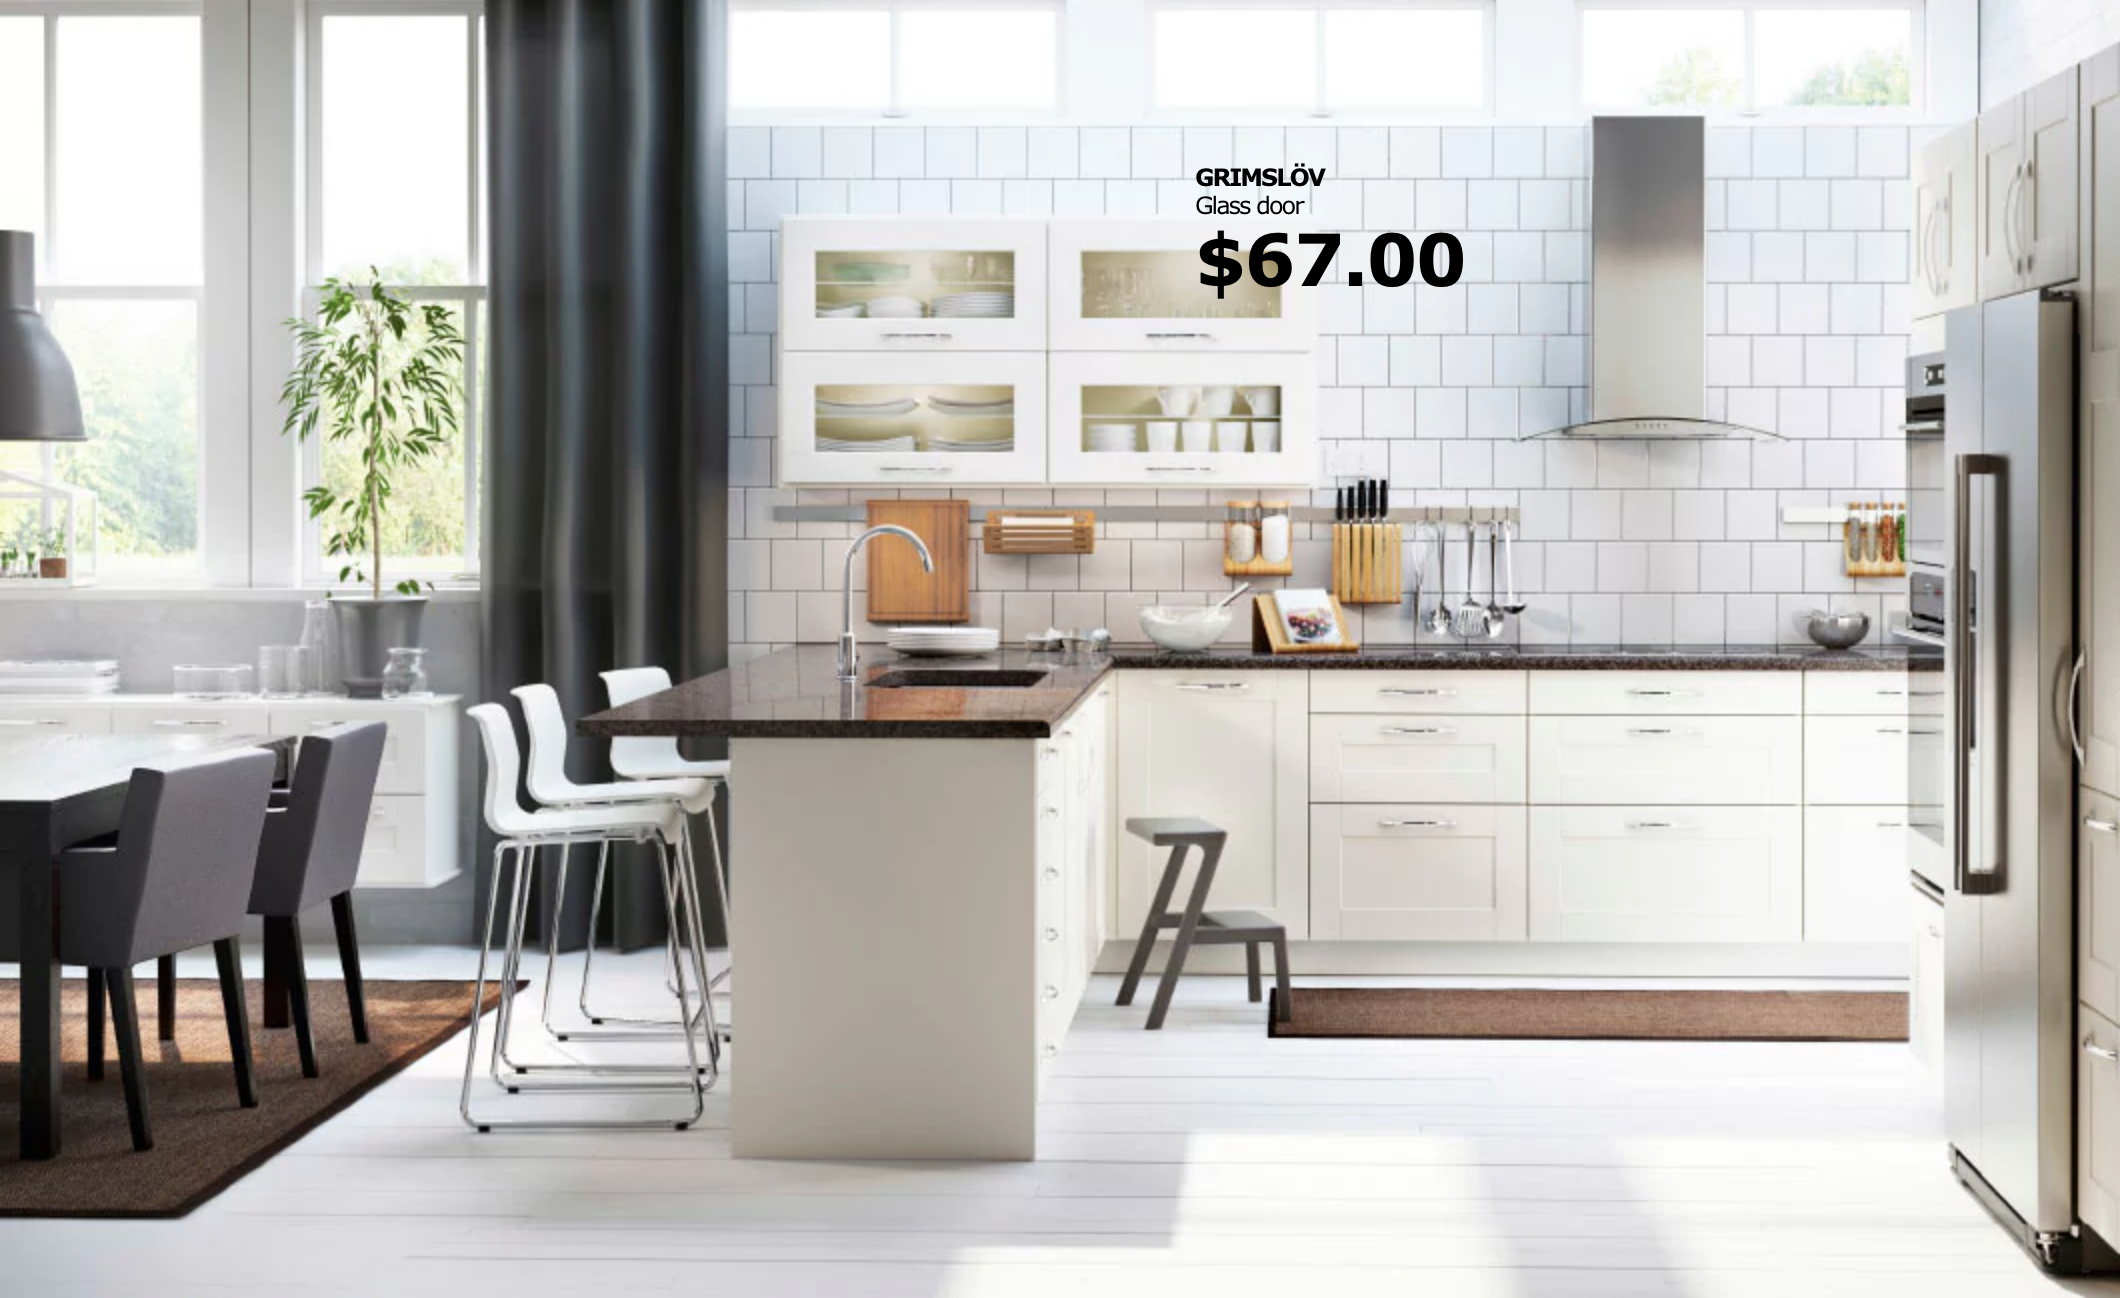
Building your own IKEA kitchen can be moderately easy or can be as custom and difficult as you make it. We chose the more difficult route. 
Figure out what you want:
I started by creating a wish list of things I wanted for my kitchen. Here are a few things I wanted to incorporate into my own custom kitchen:
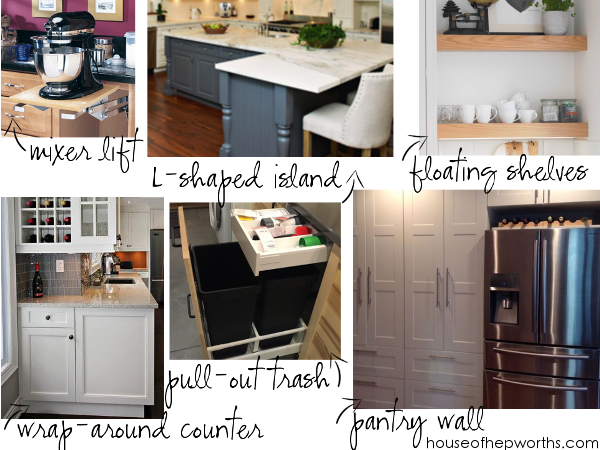
1 / 2 / 3 / 4 / 5 / 6
Create a custom layout:
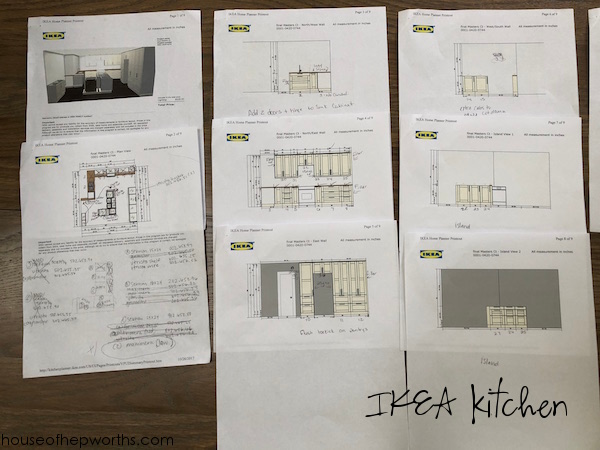
Once you have a few ideas, it’s time to head over to IKEA’s Home Planner kitchen planning tool.
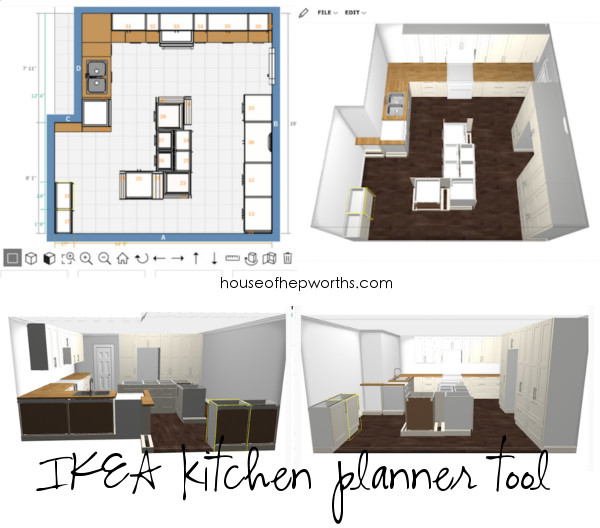
Using this tool will make you question if you really want a new kitchen after all. Make sure you save frequently. Take your time. Don’t throw your computer across the room. Once you get the hang of the tool it gets easier. Play around with it and get comfortable.
I used this tool SO MUCH that I am confident I can use it better than any IKEA employee. Honestly. They should hire me. Side note, when I went to order my kitchen, she said my plan was so good that she didn’t even need to tweak anything. Pat on the back for me.
NOTE: when using the tool, the tool will not accommodate any custom modifications. You will have to do that on a separate piece of paper and plan very carefully.
Hash out the floor plan:
In addition to learning their tool, I also made page after page of mockups on paper. I found it was easier with a pencil and paper to figure out exactly what I wanted and then enter everything into the IKEA home planner after. Because I was doing a very customized kitchen, I had to allow for extra thickness in some areas. For example, I made the island about 5″ wider on either end to house electrical boxes. That way they weren’t inside my cabinets. Make sure you think of all these little details. I suggest you plan your kitchen for several weeks and let the ideas marinate in your mind.
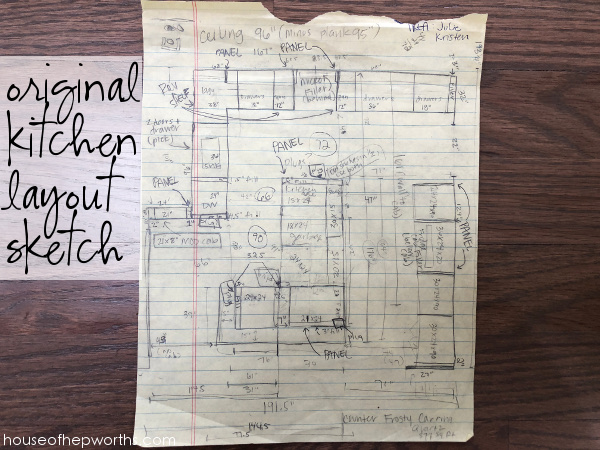
I spent months planning this kitchen. I have pages and pages of floor plans that I drew. The most important things are that you correctly measure your kitchen, insert correct sized cabinets, and remember 2-3″ on wall edges for spacing and filler pieces.
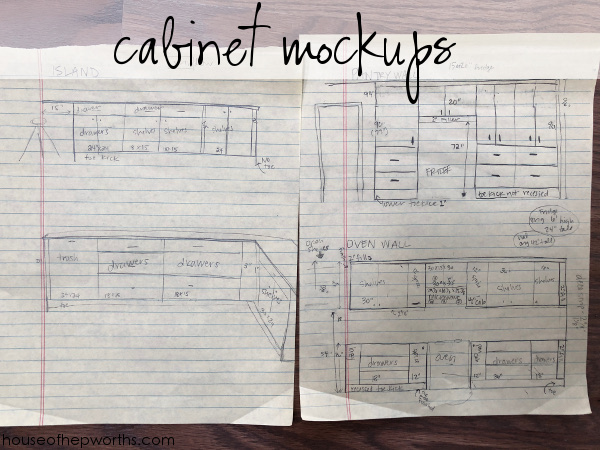
Plan custom areas carefully:
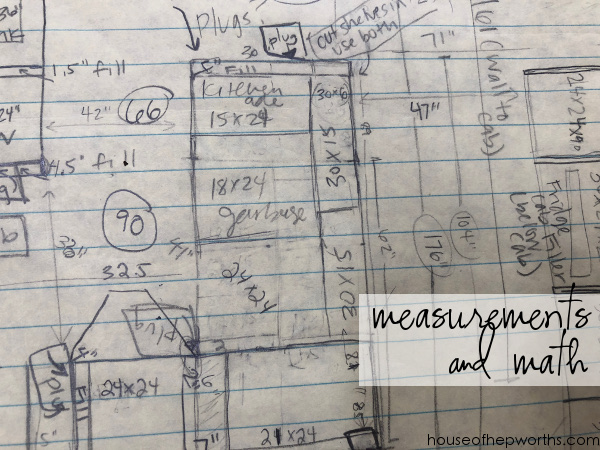
There are two areas in our kitchen planning that are going to be very custom; the island, and a cabinet that wraps around a small wall. The island is a series of cabinets all joined together to create a custom island. Two of these cabinets will be modified from their standard 15″ depth to 6″ deep. We have a custom area to fill and want to utilize this space to the fullest by creating custom canned goods storage instead of empty space. There will also be some empty voids inside the island space. Here’s the original mockups:
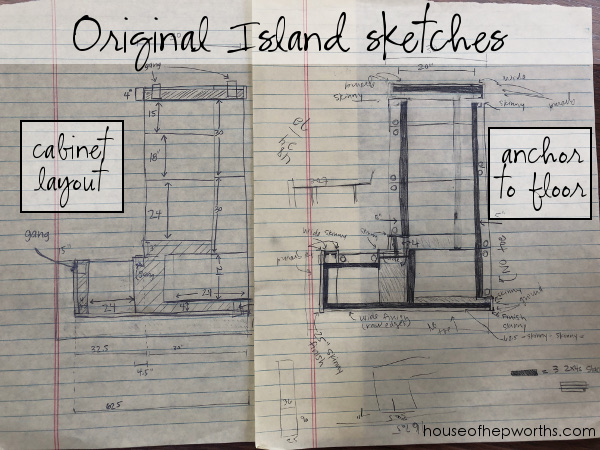
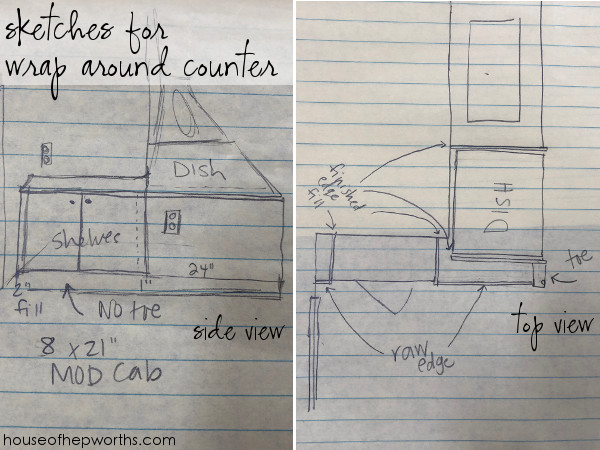
Notice how I planned for gang boxes (electrical boxes) and all filler pieces. This type of planning is more detailed than the IKEA home planning tool will allow. The other custom area we planned is a small area by the dishwasher. We want to extend the cabinets to wrap around a small wall and create a custom cabinet that is about 8″ deep. Part of the reason for this is because the dishwasher is too wide for the wall. To allow for a lazy susan on the other side of the sink, the dishwasher had to be bumped over. The best way to allow for the lazy susan AND a dishwasher was by wrapping a smaller cabinet around the wall. This small custom change will allow for a custom cabinet to house all our electronics stuff such as our home security system, Amazon Alexa, smart home stuff, and our cell phones and chargers. It will be a fun little hub.
Check your math multiple times:
Before you are ready to pull the trigger and head into IKEA to do your ordering, check your math one.more.time. Measure your rooms again. Make sure the measurements you put into your IKEA home planner are accurate. Also, when planning consider how things will look. I made sure I centered the L part of the island exactly between our sliding glass door and our pantry. When you look at our kitchen from the family room it is perfectly centered and just looks more pleasing to the eye. Our stove is also perfectly centered on the back wall.
Head to IKEA to check out all the finishes in person:
Once I had my kitchen planned out, I headed to IKEA to see everything in person. You will want to see the cabinets, feel them, look at all the countertop options, go through every drawer and cabinet. This step may be repeated multiple times. I went to IKEA for ideas before we started planning the kitchen, during the planning process, and again before we placed the order.
Order your cabinets in person at IKEA:
Once you have your entire kitchen carefully planned out, it’s time to head to IKEA to purchase everything. Schedule your appointment in advance. Trust me, you need to do this. I had my entire kitchen planned out to a T and figured I could stroll in there and place my order – 20 minutes tops. Ha! I made an appointment just in case, and even with my careful planning I ended up taking two full hours to place my order.
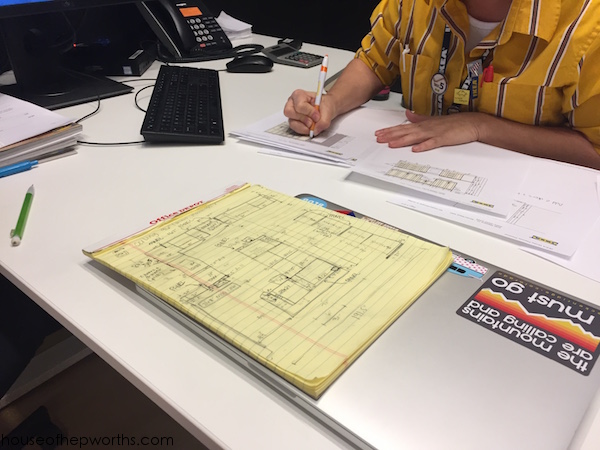
The employee will go over everything with you. Every single drawer, every hinge, every piece of trim. No stone is left unturned. In addition to this painful process of accounting for every screw, they also have archaic software that would make the most well trained employee want to pull their hair out. It doesn’t help that the left hand (at home planning software) doesn’t talk to the right hand (in-store purchasing software) very well. (IKEA needs to rebuild all their software, but that’s a side tangent.)
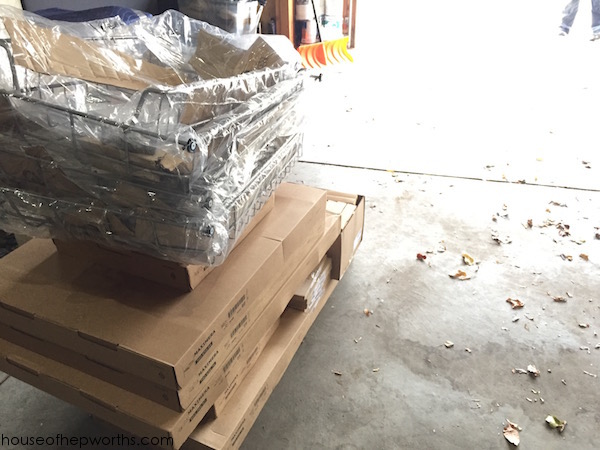
Once you place your order you will schedule to have everything delivered (or you can pick it up). For the love of all things holy, have it delivered. Your purchase will be way more pieces and boxes than you can ever even imagine. So. Many. Boxes. Everything comes in a separate box. For example, a basic cabinet that has 3 shelves and two doors will come in 5 boxes, plus 4 bags/packages of hardware. A cabinet with 3 drawers will come in 7 boxes! Let IKEA sort it all out for you and deliver it to your garage.
This is 1% of the boxes. My garage was SO FULL of IKEA boxes that I couldn’t walk through it.
When your 10,000 items are delivered, you and the delivery crew will have to go through EACH ITEM, line by line, to make sure they delivered everything to you. This will take a very long time. As they bring a box to you, they will tell you the item number.
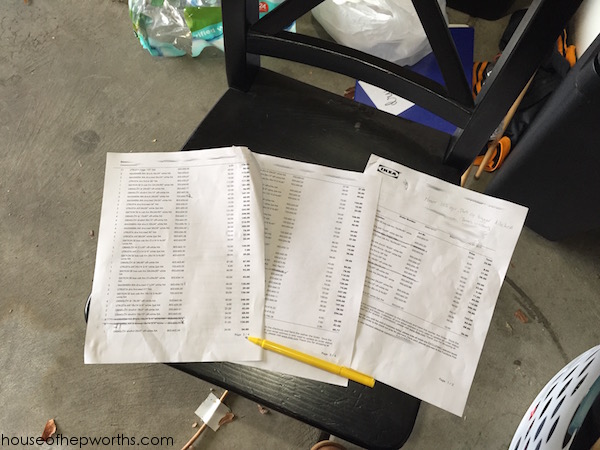
You have to find it and cross it off your list. My lists were each two-sided. IKEA DOES NOT sort this list for you by item number (that would be too smart). Instead, they sort by cabinet section. This step was torture.
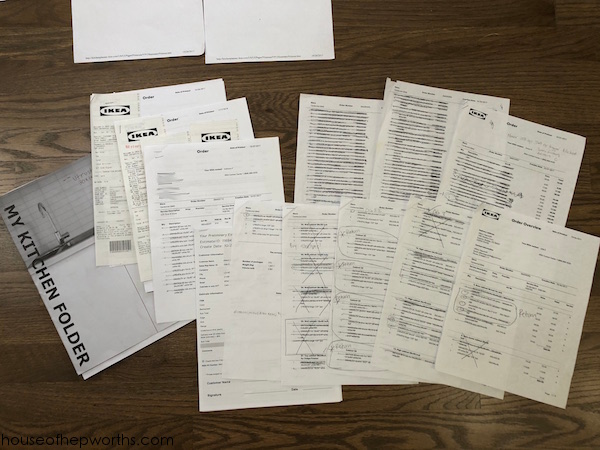
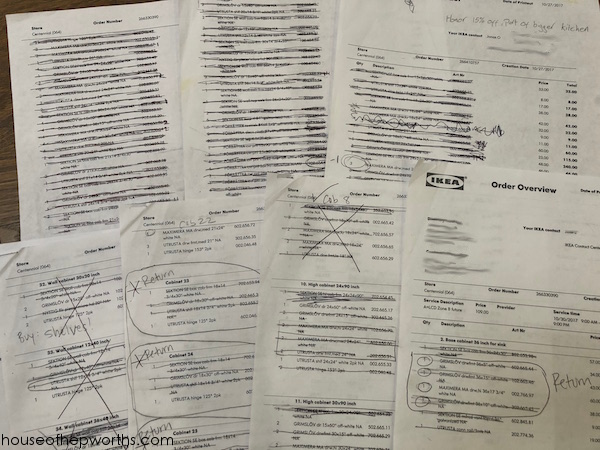
Go over your layout one last time before assembling:
After I placed the kitchen order I changed my mind about one of the island details. Our order was $12,000 worth of cabinets and countertop. I went back in to make this small change and they said they would have to cancel the order and start over completely. UM, spoiler alert: No freaking way. I’m not doing that again! So I compromised by creating a new order myself and ordering a few specific cabinets. This was added to my original order. When the boxes were delivered I took out the original ones that I had changed and returned them to the store. This was much easier than changing the order. I had to keep track of my island changes myself so I drew them out on my original plans.
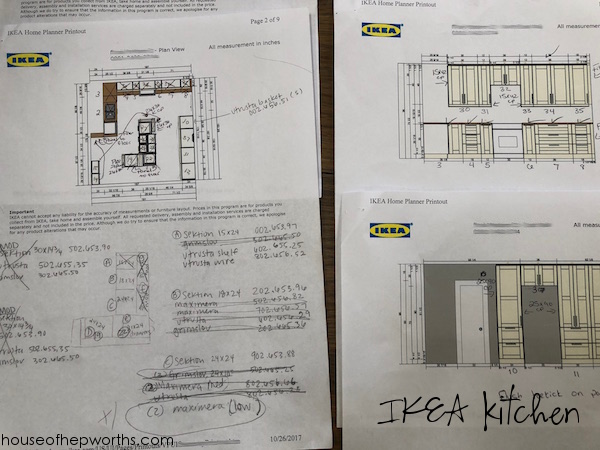
Make sure as you plan your kitchen that you write everything down. Staying organized is one of the most important tip I can share with you.
Additional tips:
– Wait until they have a kitchen sale. You will get 15% off your entire order. When you are ordering a $12,000 kitchen this adds up quickly.
– As you assemble your kitchen you will realize you forgot something. Take your original paperwork and receipts with you to the store and they should honor your 15% kitchen sale discount on all your new purchases.
– All kitchen related items need to be ordered and purchased through the kitchen center.
– After their huge kitchen sale, everyone else who also took advantage will return all their leftover pieces such as trim and panels. You can get these for a STEEP DISCOUNT in their clearance section. Most trim, metal railings, hinges, hardware, etc was marked down to $.99 each. Their huge side panels (usually about $100) were marked down to around $30.
– You have an entire year to return all your unused material. Because I purchased a bunch of trim on clearance, I’m using that as I wrap up the kitchen and will return all the trim I paid full-price for (unused, in it’s original packaging).
– Be creative out filler pieces. I purchased a bunch of thick toe trim and used it to frame out my island for a more custom finish. Being creative about using their trim pieces will make your kitchen look more custom.

Next post will be about the assembly and installation of all the cabinets, as well as adding some plug outlets inside our pantries. If you have any questions about today’s post leave a comment and I’ll answer it in the next post.
Here are all the posts in our IKEA series:
Building your own custom IKEA kitchen || the planning & ordering process
Assembling and installing IKEA Sektion kitchen cabinets
Adding plug outlets inside IKEA pantries || IKEA sektion renovation
Pull-outs & Lazy Susans || Custom Organization in our IKEA Kitchen
Everything you want to know about building a custom IKEA kitchen island
Create Custom Canned Goods Storage from IKEA Cabinets
Creating a wrap-around cabinet & moving the dishwasher
Run Cables in-wall with a PVC Cable Drop
Installing IKEA quarts countertops – Frosty Carrina
How to install hardware like a Pro – IKEA kitchen renovation
Installing new pendant lighting in our custom IKEA kitchen
Start at the VERY beginning of our WHOLE-HOUSE renovation:
New to this series? Click here to start at the beginning!

This post contains amazon affiliate links
Thanks for reading! Have a wonderful week!

I love all the detail in your post. It’s got all the hidden details you won’t find in any IKEA catalog. Lol
Awe, thank you! Yes, you probably won’t read some of those tips in their catalog! I’m sure they want to keep them on the DL.
Thank you SO much for the detailed post! I am in the throes of
creating/designing an Ikea kitchen & it’s so intimidating! Frustrating!
And clearly worth it from the looks of your space. WELL DONE!!!
I needed to see & hear your experience more than you will ever know.
You’re design plan & execution is absolutely fantastic! Thanks for the much
needed motivation!
Yes! Awesome. Good luck with your kitchen. It’s so much work but so worth it.
…Aaaaaand now I feel perfectly content with my current kitchen, haha! Wow! Planning is always a job-and-a-half! So cool that you out-planned the expert! : ) I bet you are LOVING your new kitchen!
It was so much more work than I thought!
You are braver than I am. I gave up on their software and had a.pro designer do it. $300. It is insane how many boxes it ends up coming in. I split the design in half and did ours in two sections. I couldn’t fit the whole kitchen in our house at once. Well done you!
That is crazy John. Yes, their software is not the greatest! An IKEA kitchen definitely saves you money but it is a lot of work!
Beautiful kitchen indeed! Were the counter tops also included in the pricing or just the cabinets themselves?
$12,000 was our total price for cabinets and countertops!
I just starting the planning stages of my kitchen too. I am wanting the same cabinets as you have, but when i go to their site it says “off white” are your white or off white (they look white in your photos)?
Ours our a tad off-white. They look the exact same shade as Alabaster by Sherwin Williams.
Great work. How long diid take? From planning to finish?
This article is gold! I’m planning my ikea and Semihandmade kitchen now, so thank you so much for this. I learned a lot that I haven’t read anywhere else, like the realities of the ordering and delivery processes. I’m also now wondering where all the boxes will go when they arrive . Looking forward to reading the rest of this series!
You are my kindred spirit out there in DIY land! I had my own frustrations with the Ikea software and so I eventually went with a kitchen designer too. I love everything you’ve done and choices you made. When I turned to my husband and said well, what if we flip these cabinets and make it look more custom, he looked at me like I sprouted three heads. It’s been an ongoing project to keep him convinced I am not totally insane.
Thanks for all the great tips and insight.
Do you have a post about your pantry wall? It looks like it’s built out from the wall a bit. Is that correct? We’re about to do that and I’d love details. Thanks!
Hi great information planning to use ikea for our summerhouse kitchen. I will pass this information to my husband so it will help him plan ours. He always draws plan on paper cuts out different size units and I can place on graph paper gi as me a good idea of how it all fits & looks
Do you know how often ikea does their sales? What time of year did you get yours? I’m anxiously waiting for their kitchen sale but I’m afraid covid has stopped the sale from happening
I love the cabibet handles you chose. Are they from Ikea, if so, which ones are they? Thanks!