Wednesday I shared the process of planning an IKEA kitchen and placing your order at IKEA. It is chock full of information and tips so make sure you go check it out. I’m back today to share all about assembling the Sektion cabinet boxes and getting them hung on the wall. Ikea has definitely streamlined this process with their railing system, but if you want a more custom-look to your new kitchen you will have to pay very close attention to small details.
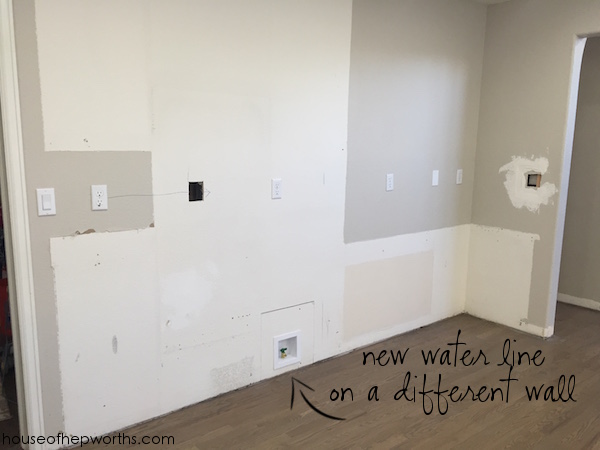
Before I dive into the cabinets, first we had to finish prepping our kitchen to receive them. After gutting the kitchen and having the floors refinished, we really didn’t have a ton of prep work in the kitchen space. All we had to do was cap off a 240 V line from our oven (we switched to a slide-in range) and move our water line for the refrigerator (we are moving our fridge from one wall to another).
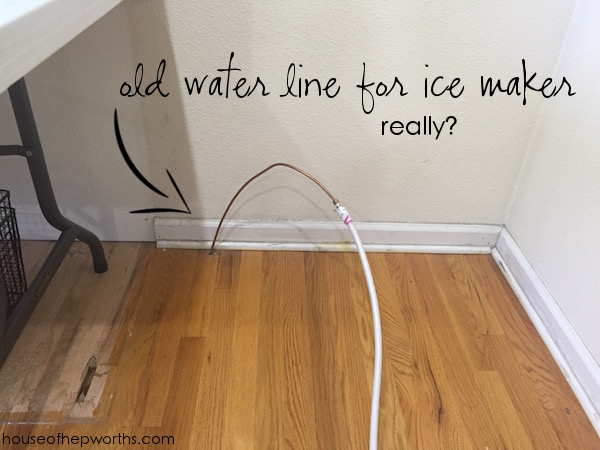
Here’s our old water line. Yup, this is it. I’m assuming it was after-market? Maybe the previous owner installed it? Whatever the case, it was haphazardly run through the crawl space and punched through the floor. There wasn’t even a water shut-off valve anywhere. To detach our fridge we had to shut off the water to the entire house. I wish I were kidding.
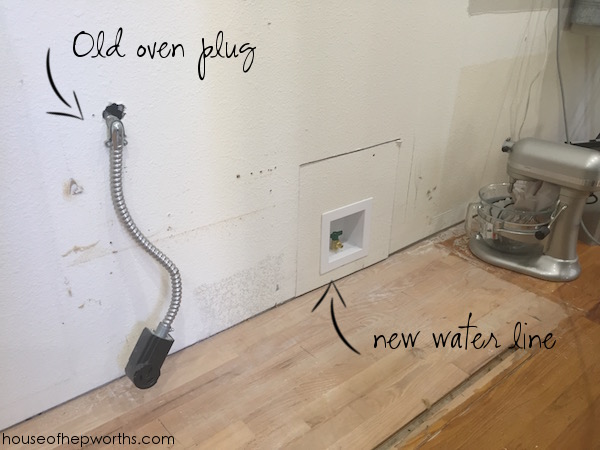
We moved the water line to the pantry wall. You can see it here. Also notice the plug for the old double oven. We had a plumber move the water line and install a shut-off valve and we had an electrician cap off the old oven line. No way I’m messing with 220 V power. One slip and that stuff can stop your heart. No thanks!
After the kitchen was prepped we started in on assembling the cabinets. We have 24 cabinets in our kitchen, so this was a big task! We put Travis to work and he ended up assembling almost every single box. Lifesaver!
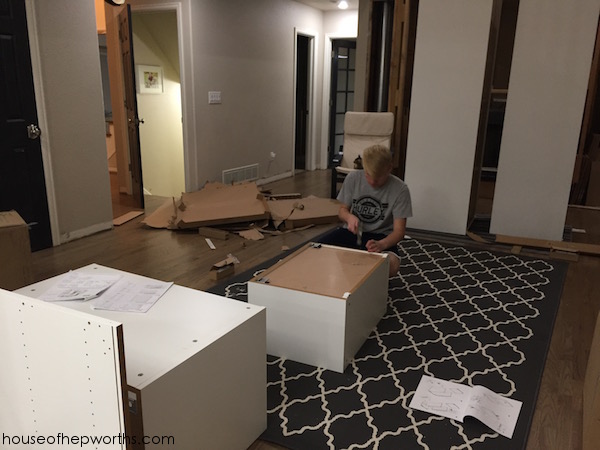
As they were assembled we started piling them up in the kitchen.
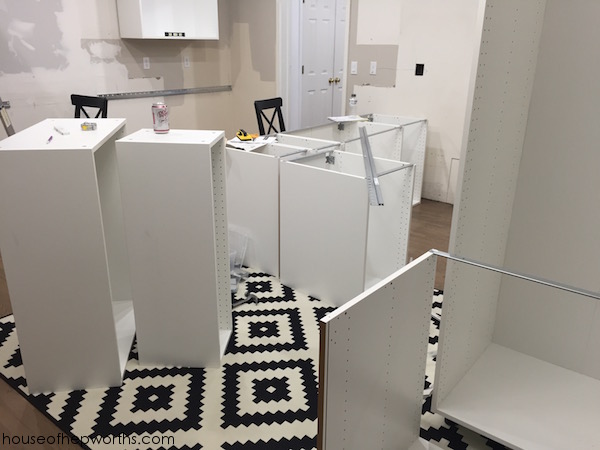
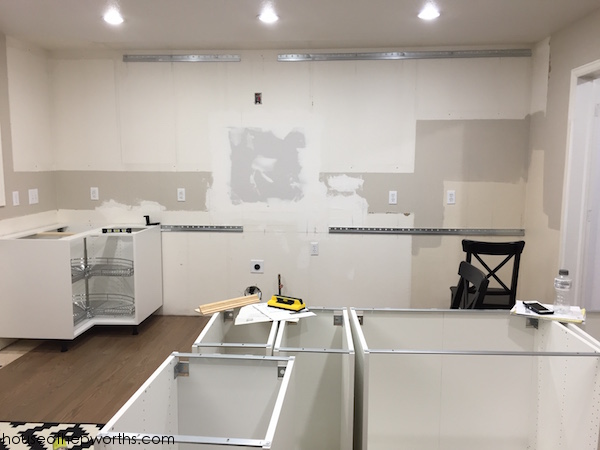
Pretty soon we had so many assembled that I started just sticking them in the right place even though we hadn’t hung the rail that supports them on the wall yet.
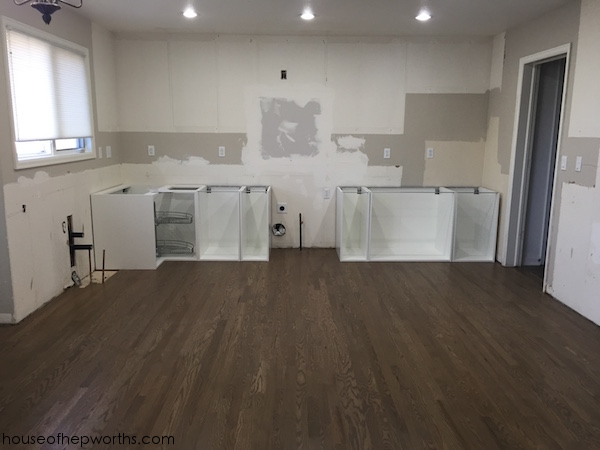
In this photo you can see how we lived and ate while we assembled our kitchen. Yes, we lived in the house during this madness. You will see soon how chaotic everything got!
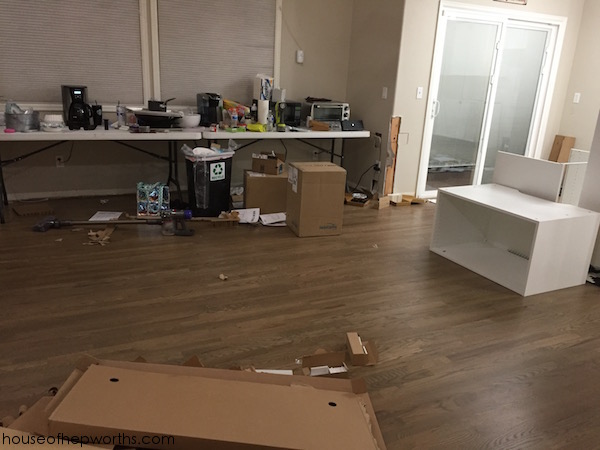
Finally we had enough cabinets that we couldn’t put off installing the rail system any longer. It felt really good to get that first cabinet set into place. Yes for lazy Susans! Ours is an after-market one. You can buy it here. I felt it was better quality than the one IKEA offered.
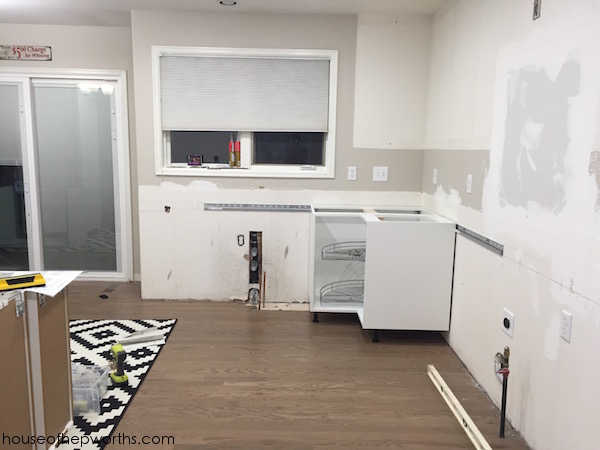
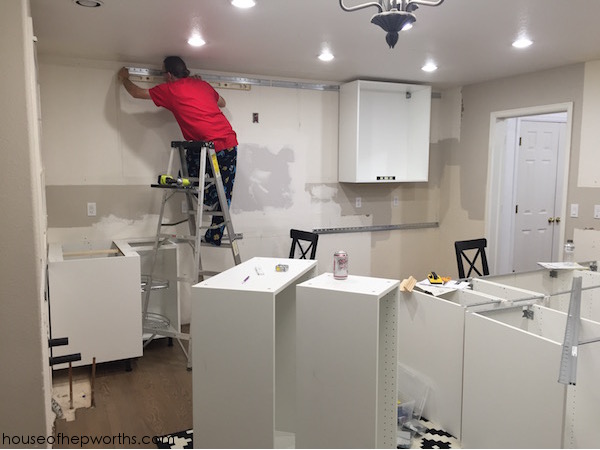
Here the rail is installed and we are ready to go. Hanging them on the rail was literally the easiest step in the entire kitchen process. I’m very impressed with this system.
Ben was such a huge help hanging all these cabinets. We were like a well-oiled machine; Travis assembled, passed them to us, and we hung them.
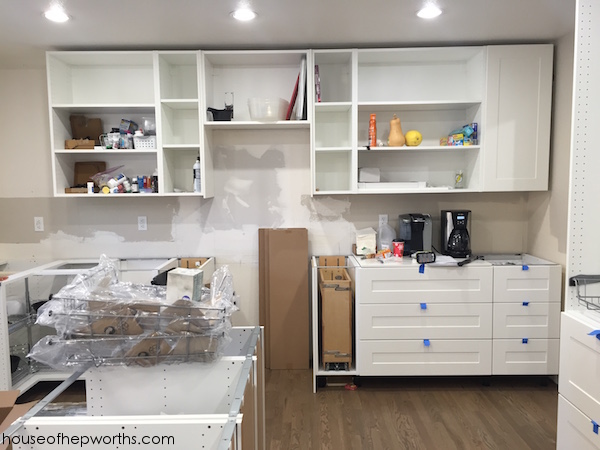
Our main wall-o-cabinets are hung. What a day! We basically hung them all in place but didn’t tighten them down because first we had to add all the finishing edge pieces.
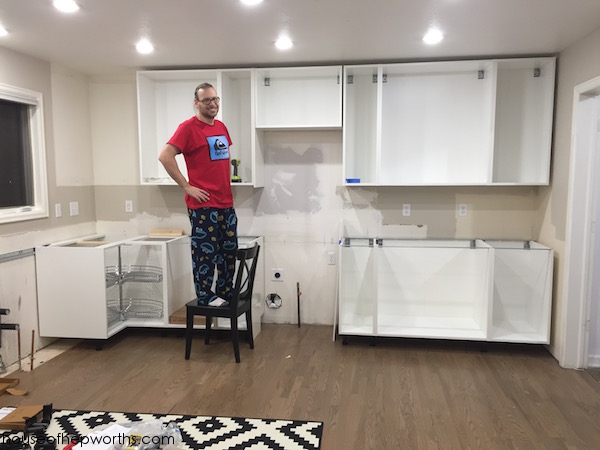
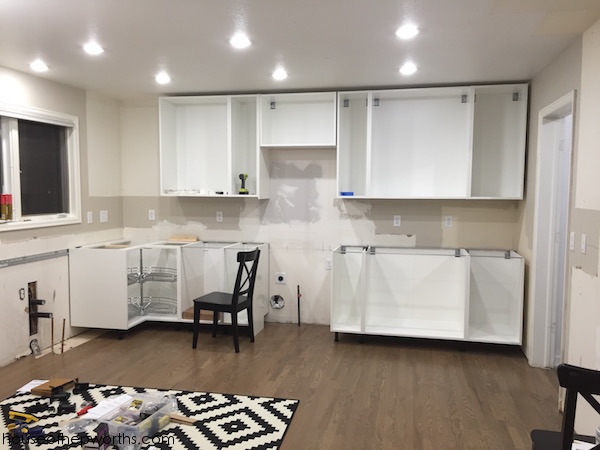
Here’s one edge piece in place. This took very specific measurements down to the 1/16th!
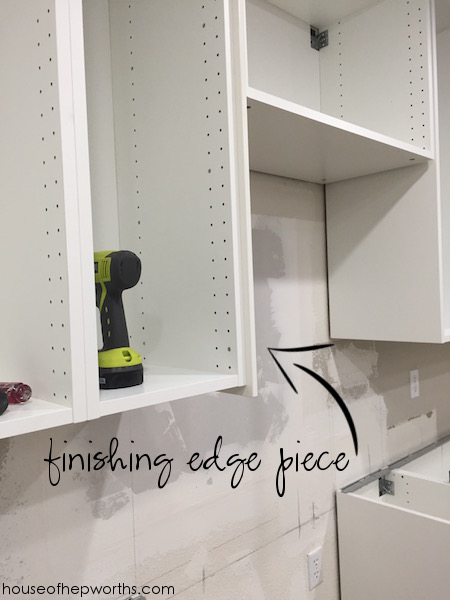
Here are both edge pieces. This makes the sides of the cabinets look finished.
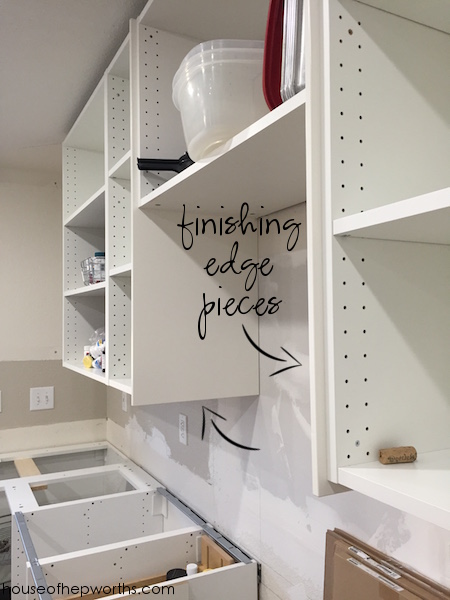
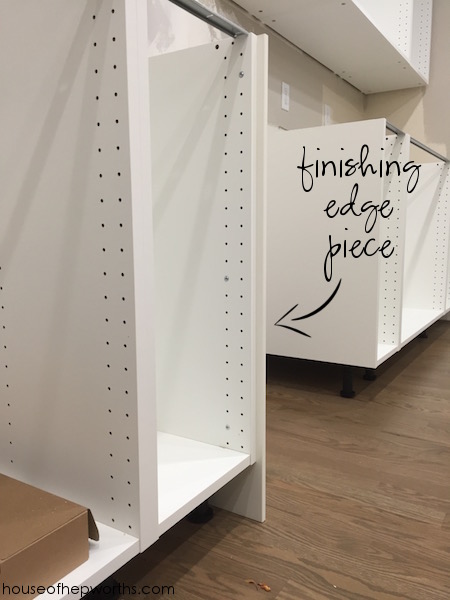
Here’s the first of two edge pieces next to where our stove is going. This piece isn’t necessary, but again, if you want your kitchen to look custom and finished, these pieces are a must.
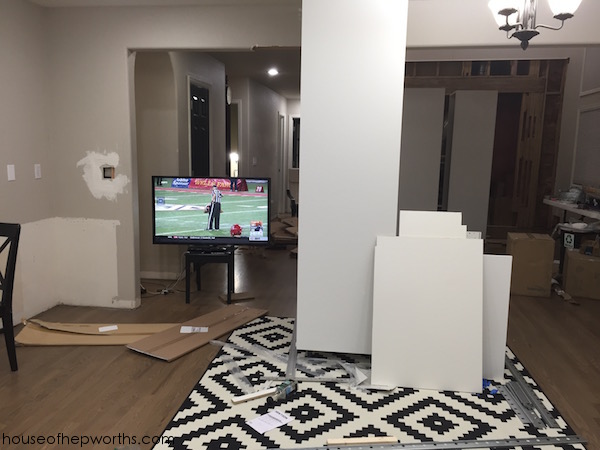
While we were working all night long Ben entertained himself with a football game. He got very creative with how he set the TV up!
Once the main wall was assembled we started getting some of the shelves and drawers installed. We were eager to see what it would look like but we also desperately needed to just put some stuff away. We have lived in and used this kitchen throughout the entire process.
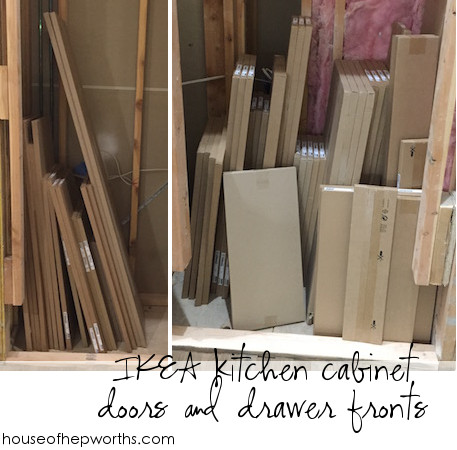
Check out our two piles of doors and drawer fronts. There are so.many.doors. I couldn’t believe the pile of doors we ended up with! I guess it’s not that surprising when each cabinet has 2-4 fronts per cabinet.
During the day while Ben was at work, I was a busy little Bee. I hung cabinet doors and assembled drawers for days. DAYS I tell ya! If you are going to do your own IKEA kitchen, make sure you have ample free time and no life for weeks on end. Your IKEA kitchen will be your new best friend (and seriously, your only friend).
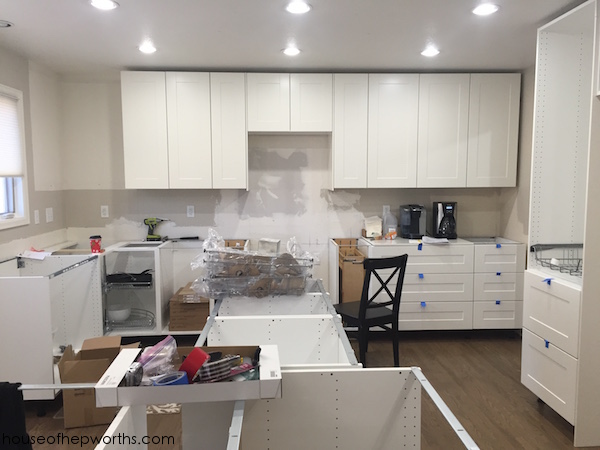
In my next post I’m going to talk about the pantry wall. I am posting in a separate post because there’s so much info for just that one wall, and this post is already too long! Also, I know you see the island sitting there taunting you. I am saving that for its own post as well because we modified the heck out of those cabinets and made a super custom island.
Here are all the posts in our IKEA series:
Building your own custom IKEA kitchen || the planning & ordering process
Assembling and installing IKEA Sektion kitchen cabinets
Adding plug outlets inside IKEA pantries || IKEA sektion renovation
Pull-outs & Lazy Susans || Custom Organization in our IKEA Kitchen
Everything you want to know about building a custom IKEA kitchen island
Create Custom Canned Goods Storage from IKEA Cabinets
Creating a wrap-around cabinet & moving the dishwasher
Run Cables in-wall with a PVC Cable Drop
Installing IKEA quarts countertops – Frosty Carrina
How to install hardware like a Pro – IKEA kitchen renovation
Installing new pendant lighting in our custom IKEA kitchen
Start at the VERY beginning of our WHOLE-HOUSE renovation:
New to this series? Click here to start at the beginning!

This post contains amazon affiliate links
Thanks for reading! Have a wonderful week!

Wow! This is really awesome, you have done a marvelous job here. This takes a lot of effort. Thanks for sharing such amazing post.
Thanks!
Wow. You guys are amazing. I built my own kitchen from scratch back 12 years ago, and this stuff Is Work. It looks like going this route saves you most of the cutting and how-to-attach decisions but leaves you with aaaaaallll of the rest of the job! : ) This is looking great! And so cool that the family all gets in on it! Mine did too, and what a lifesaver, cuz you aren’t kidding, it is your whole life. For weeks/months… feels like YEARS.
Looks great! I just posted our kitchen remodel but it’s not nearly as detailed as yours is! I forgot (blocked out) most of the details. lol stop by for a look if you get a chance! http://fourthhouseandcounting.blogspot.com/2018/06/kitchen-remodel-cabinets.html
Curious. Why did you guys decide to assemble it on your own instead of using their installation service? Was the installation service too expensive? Mind if I ask how much they quoted you?
Do you think it’s feasible to install lowers without attaching to/drilling through the floor or using the raill? I’m hoping to use IKEA base cabinets as free-standing cabinets along one wall in a space I rent for business, and I am curious about why everything says it must be attached into the floor, especially if I purchase better legs for front and back.
They don’t get attached to the floor. They have legs. And hang on a rail. People that install in peninsulas or islands often stack 2×4’s for support. Lots of YouTubes on that.
How was it getting the tall pantries in place. Looks like you were able to stand them up in the high-ceiling area – then…. walk them vertically to place? I have some fear I won’t be able to get them upright given the angles, etc. I have a sunken room but IDK if it would work. Wondering about jacking them up vertically on some type of jacks and then putting the feet on.
I see you have water lines coming out of the floor where the sink goes how did that work with the sink cabinet? Do you have a drawer or doors under the sink?
I’m planning on renovating my own kitchen soon & am seriously considering the Ikea option over an alternative flat pack system, but what I want to ask you about is your floor…are they real hardwood or engineered laminate?…That’s another thing I have to nut out…continue the flow with laminate over my hardwood, as I’ve done the rest of the house, or whether I use the same tile I used in my bathroom.
Great tip on the outlet inside of your pantry cabs. I am going to use this. The information you provided was very helpful. Quick question for you. I really like the new floor stain; can you share the brand name and color name, please?
Thank you so much!