Happy Hump Day! Today I’m switching gears from the Custom IKEA kitchen island over to the sink area. We had two big custom areas in our kitchen: the island and the sink area. Let’s start with the “before” photos so you can get an idea of our overall plan.
Here’s the kitchen the day we moved in 3 years ago. The dishwasher is to the right of the sink. We want to move the dishwasher to the left of the sink so we can put in a lazy Susan to the right of the sink.
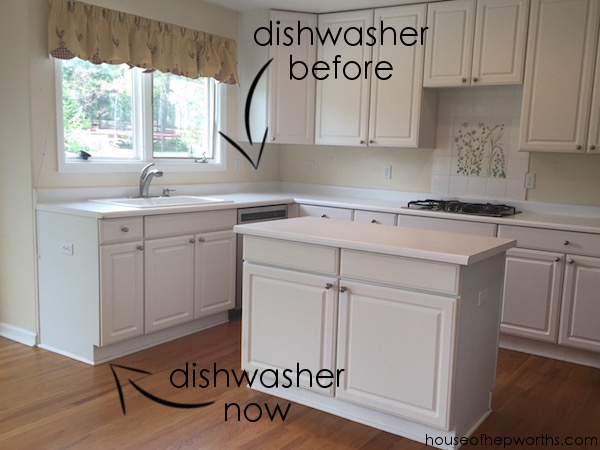
Here’s a better “before” picture (below) of how we were living in our kitchen before the renovation. As you can see, we had a small wall behind the sink area that wrapped around. We want to incorporate that wall into our kitchen design and have the counter wrap around it with a very narrow cabinet (around 8″ deep).
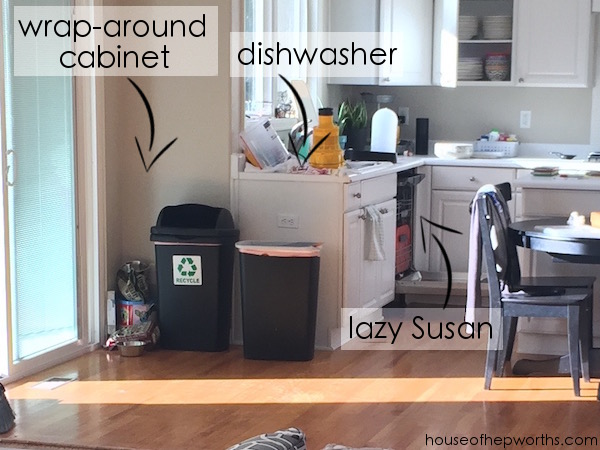
Once the old kitchen was ripped out, we started assembling the new kitchen. The first cabinet to go in was the lazy Susan cabinet.
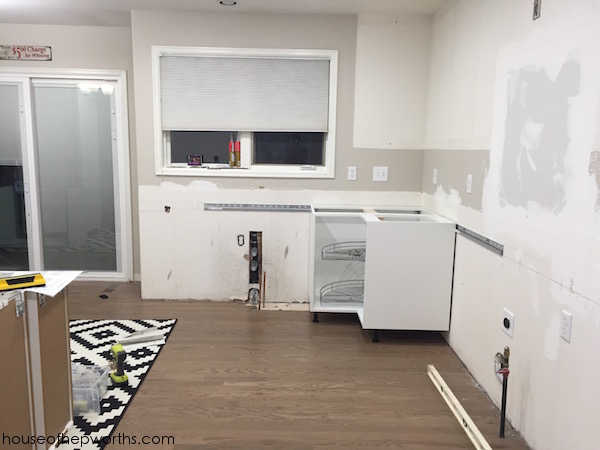
To install the sink cabinet we had to cut holes in the base for the water lines. After a lot of careful measuring and math, I drilled the holes and held my breath.
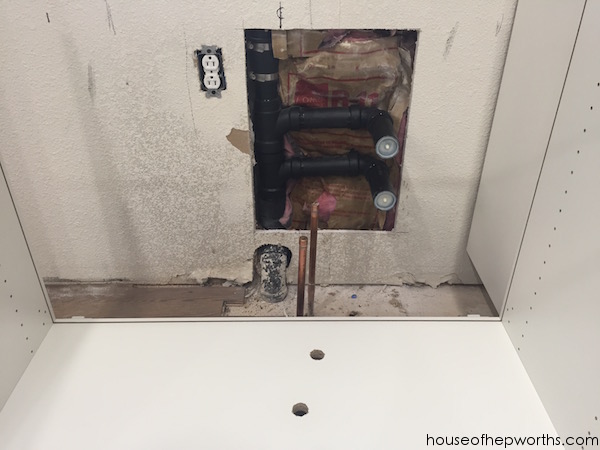
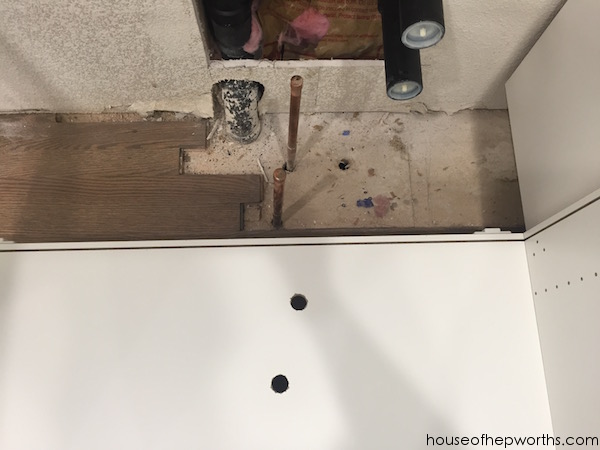
Moment of truth. Whew! It fits! I also slid the backer board onto the cabinet after the cabinet was set on top of the water lines.
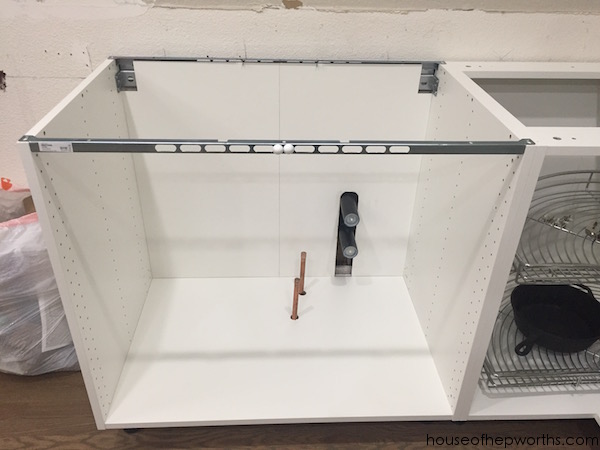
I’m not sure I could have had a better fit if I tried!
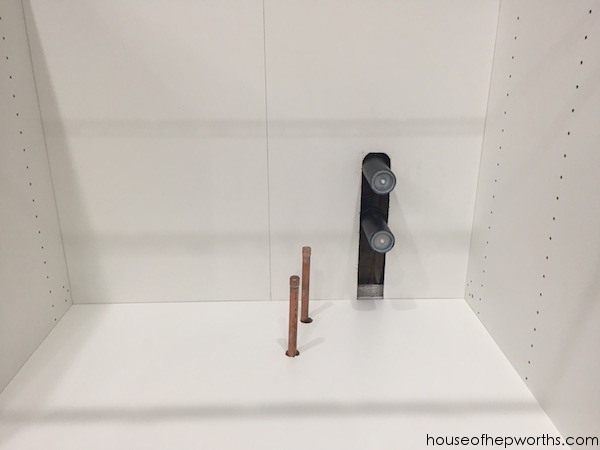
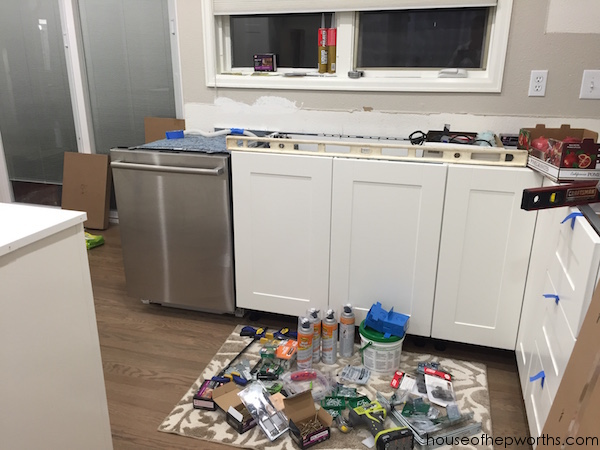
Working from right to left, we installed the lazy Susan and the sink cabinet. Next up, the dishwasher. Here’s where I might lose you. If you look closely at the picture below, you can see that the dishwasher is just a tad too wide to fit along the wall.
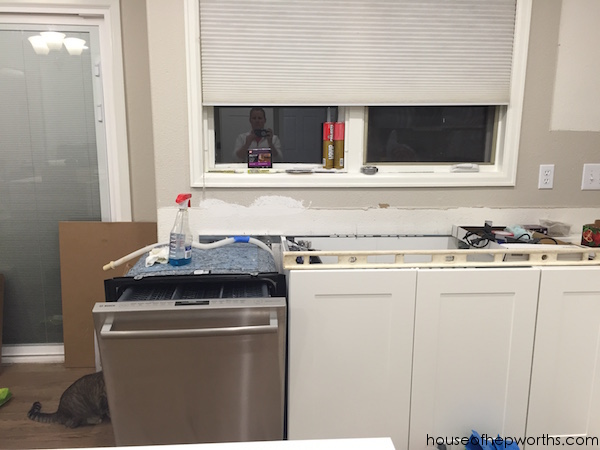
To remedy this I came up with a wild idea to have the counter wrap around the side wall with a narrow custom cabinet.
You can see in my original mood board on the bottom left an idea I found on pinterest for the wrap around cabinet and counter.
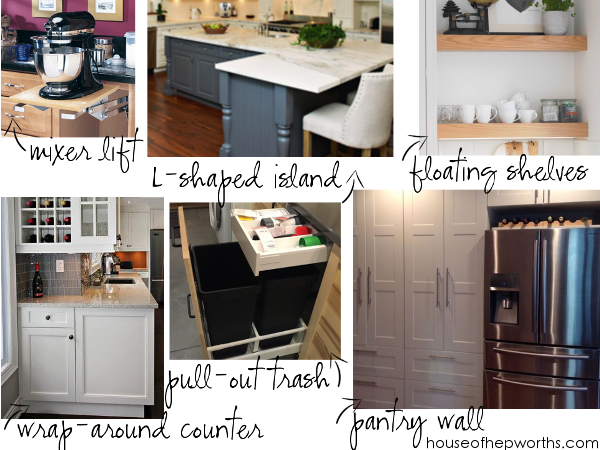
via
Are you starting to see my vision? If not, wait for it!
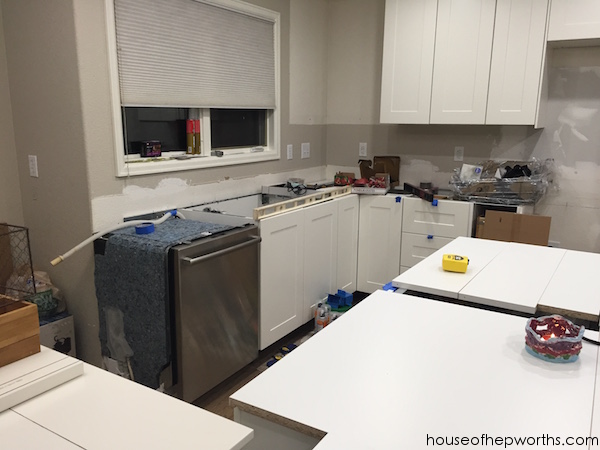
So I’m left with this dishwasher poking out a little too far and a desire for a wrap around counter.
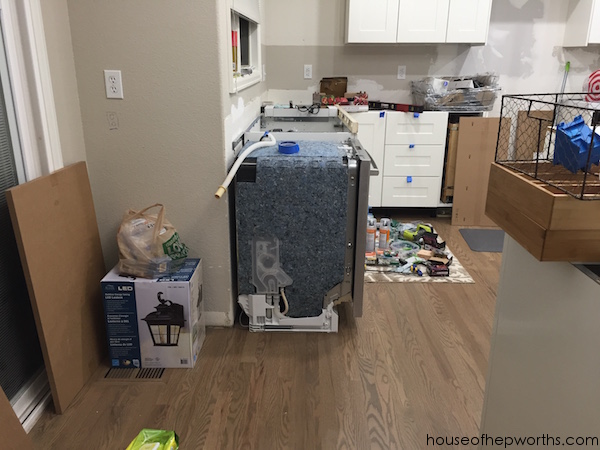
Using the same technique I did on our kitchen island to give it a really custom look, we used some chunky toe-kicks and panels to widen that corner area.
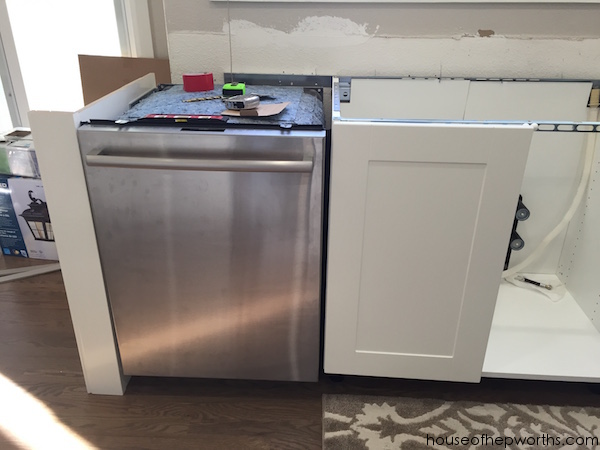
I knew how I wanted it to look, but it took some finagling to get it perfect. That corner wrap around area wasn’t exactly square.
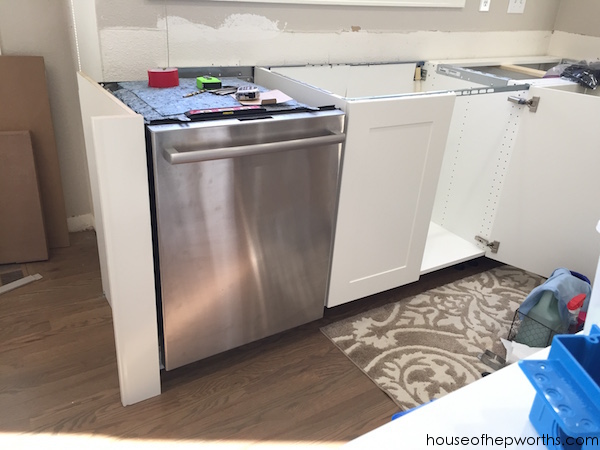
Here’s part of the unfinished corner area and the start of a built-in cabinet. I cut the cabinet down the same way I did for my canned goods storage. Read that post for a tutorial.
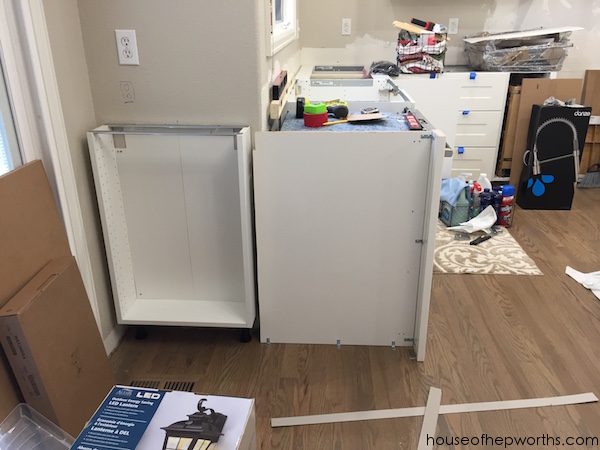
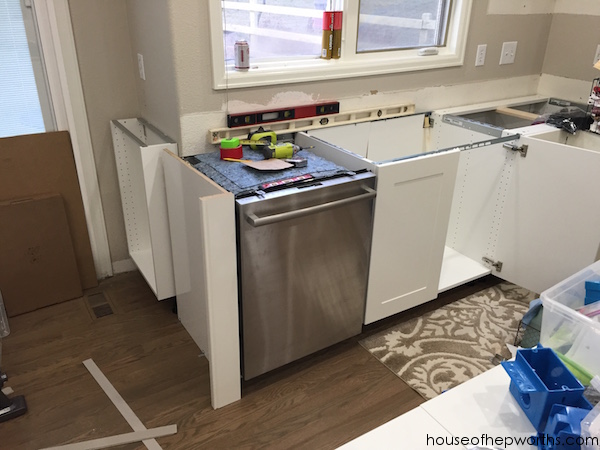
In this shot below you can really see the corner wrap around area take form.
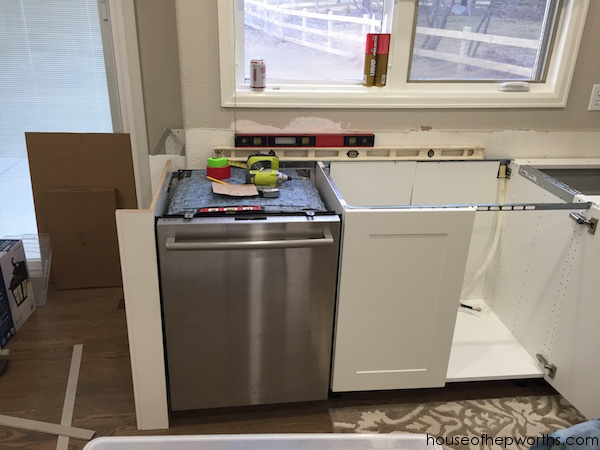
I secured everything using a lot of L-brackets. They hold everything in place from the back side so I didn’t have to put any nails or screws on the front of my finished panels.
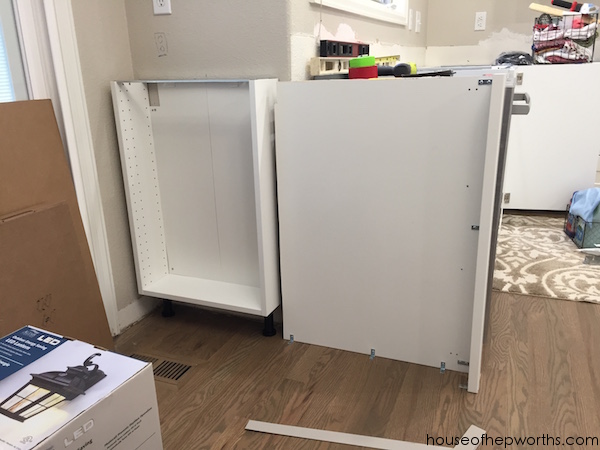
Now I start to add the final front finished panels. You can see here I also added a board across the top of the dishwasher. This board serves two purposes: It holds the new corner panel I’m building in place tightly to the sink cabinet and it gives the dishwasher something to screw into when we install the dishwasher.
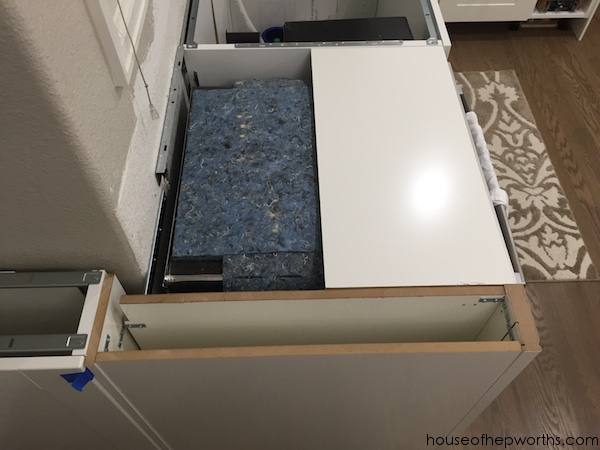
Here’s a top view of my custom-fitted little cabinet. This cabinet will be our hub area for all our electronics, phones, Alexa, etc.
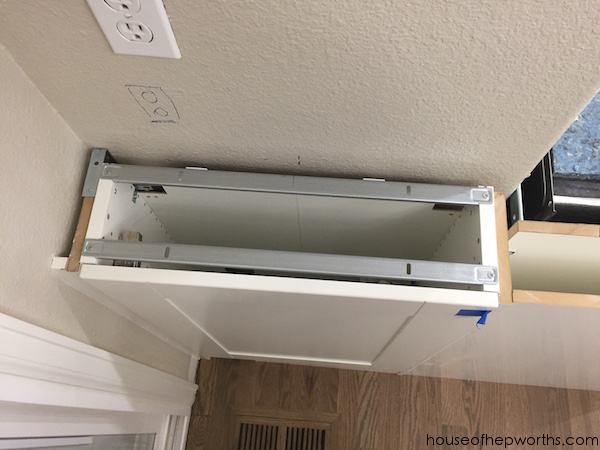
Here she is, ready for a counter on top! So exciting!!
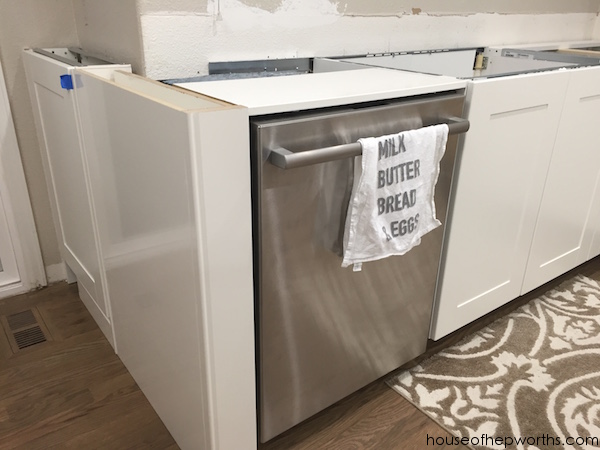
And one more view of the sink and dishwasher.
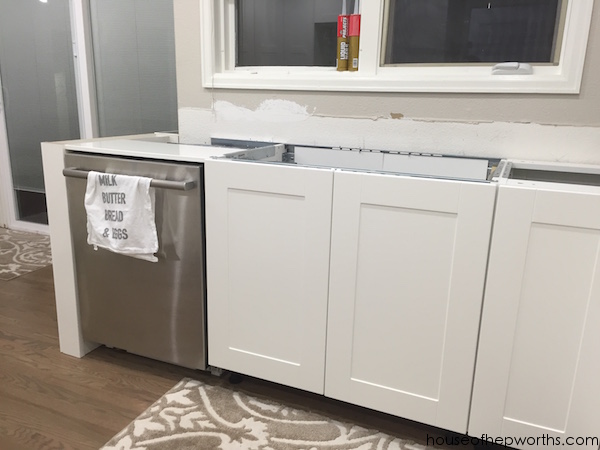
Here’s our wrap around cabinet view. The wood under the cabinet is a temporary piece just sitting under there to give us an idea of what the finished seamless toe kick will look like.
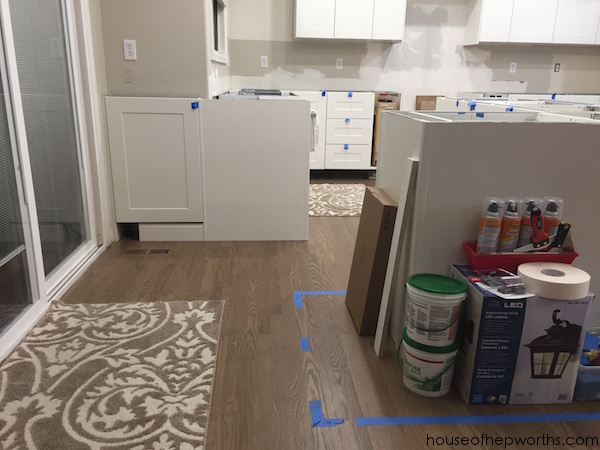
And here’s the cabinet when open. It’s a very narrow cabinet, deep enough to hold basic electronics and phone-type stuff. Eventually I’ll cut some shelves to fit and will have at least two shelves in there as well.
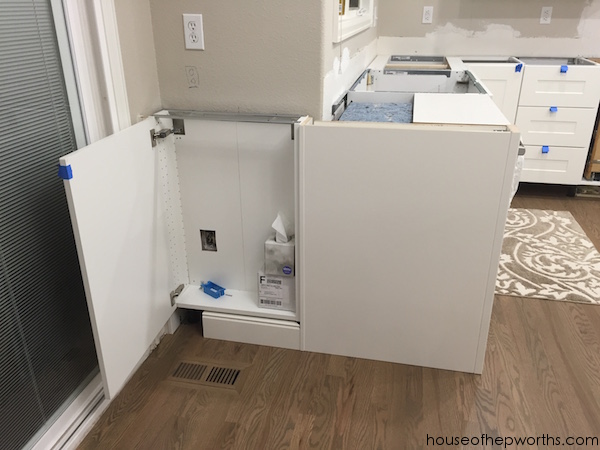
Our little cabinet here will also have a cable drop tube in the wall! You will be able to have electronics (like an Amazon Echo) sit on the counter and the cable for it feed into the wall, come out inside the cabinet, and plug in inside the cabinet. This way we won’t have tons of cables all over the very narrow counter. In my next post I am going to detail the entire cable-drop and show you a full tutorial. It is very exciting!!
Here are all the posts in our IKEA kitchen series:
Building your own custom IKEA kitchen || the planning & ordering process
Assembling and installing IKEA Sektion kitchen cabinets
Adding plug outlets inside IKEA pantries || IKEA sektion renovation
Pull-outs & Lazy Susans || Custom Organization in our IKEA Kitchen
Everything you want to know about building a custom IKEA kitchen island
Create Custom Canned Goods Storage from IKEA Cabinets
Creating a wrap-around cabinet & moving the dishwasher
Run Cables in-wall with a PVC Cable Drop
Installing IKEA quarts countertops – Frosty Carrina
How to install hardware like a Pro – IKEA kitchen renovation
Installing new pendant lighting in our custom IKEA kitchen
Start at the VERY beginning of our WHOLE-HOUSE renovation:
New to this series? Click here to start at the beginning!

Thanks for reading! Have a wonderful week!

Well done!!! I love the detail you put into everything. The end result is so dweller-friendly!
Thank you so much Becky. That’s kind of you! <3
What is the piece on top of the dishwasher?
Which cabinet is this one around the corner?