Today is countertop day! Can I get a holla?! Yes, we are still talking about our IKEA kitchen. DIYing an IKEA kitchen is no joke. So. Much. Work! The countertops were not DIY (thank goodness) – IKEA sent a crew over to measure and install the countertops. We are super happy with them and am glad we purchased them through IKEA.
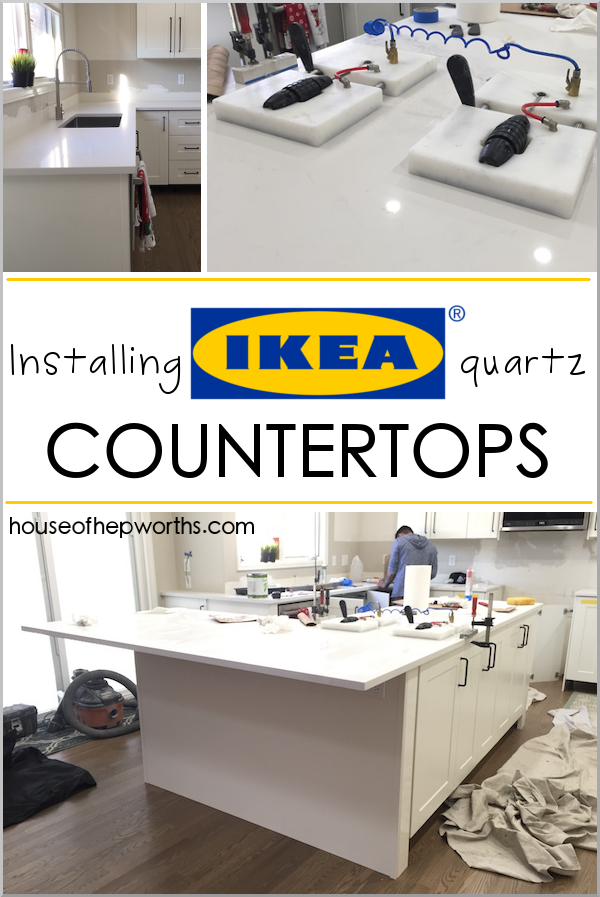
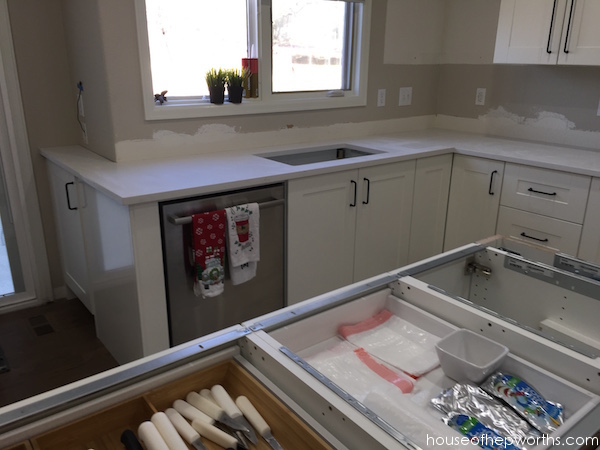
Here’s our kitchen, ready for countertops!
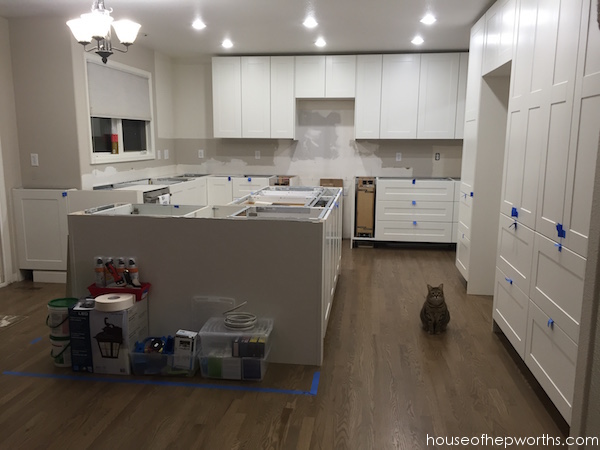
When we ordered our kitchen through IKEA we told them we wanted to purchase the countertops also. We chose our material and they did a rough square footage to come up with the cost. They also gave us their 3rd party company that installs the counters and told us to call them when we were ready to schedule the templating.
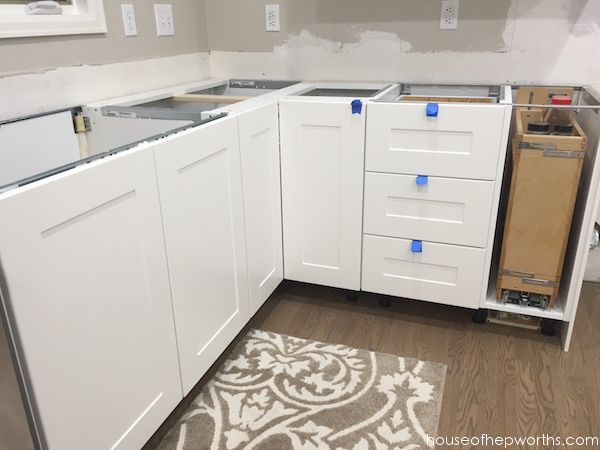
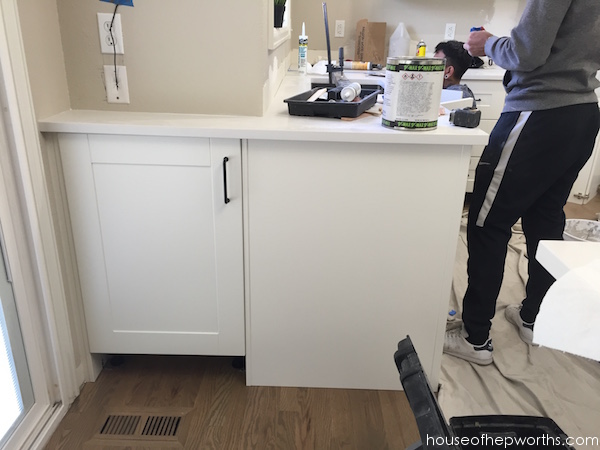
IKEA also told us that if we had the countertop company come out and the kitchen wasn’t 100% ready, they would not template. They needed the kitchen finished – including all filler pieces. They didn’t need every aspect of the kitchen finished, but wherever the countertop was going to touch cabinets or filler, those areas needed to be 100% finished.
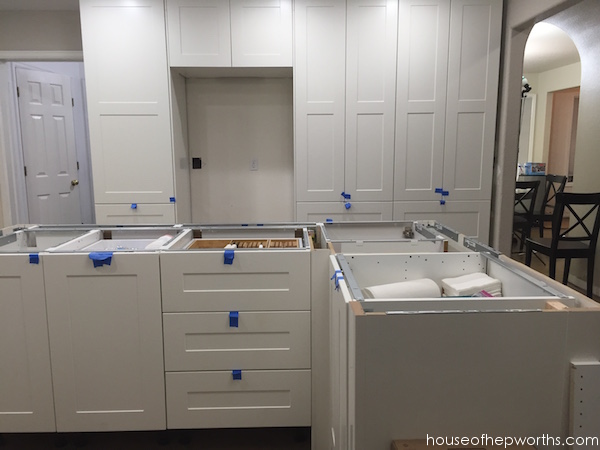
As you can see in these photos, areas like the pantry and upper cabinets are not finished with all the filler, but since the counter wasn’t going to touch those areas we didn’t need them complete.
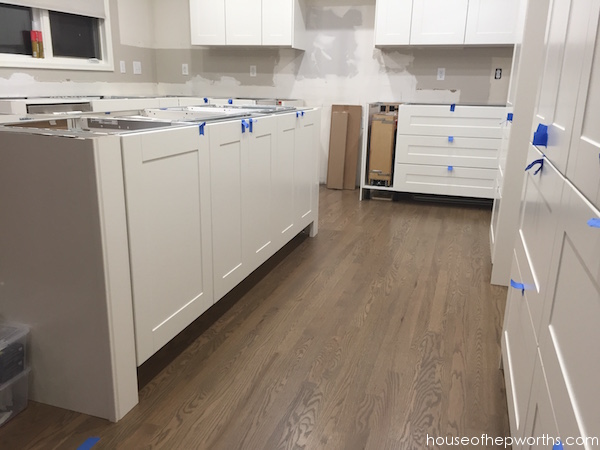
However, all the side and filler pieces on the lower cabinets were completely ready before the countertop company came out.
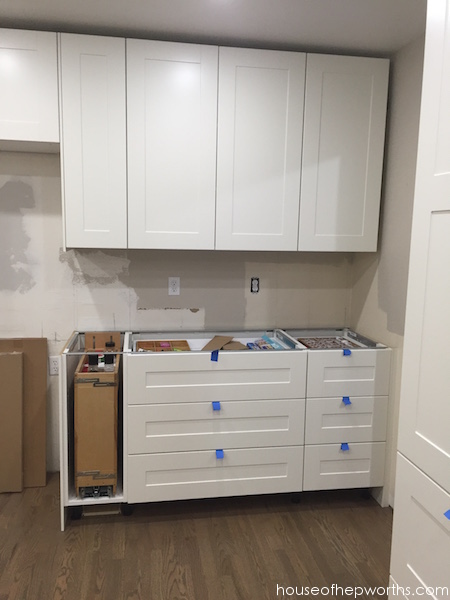
I called the countertop company and scheduled them about a week out. That gave me a week to get the kitchen completely ready for the templating. I was up late the night before finishing little details at the last minute.
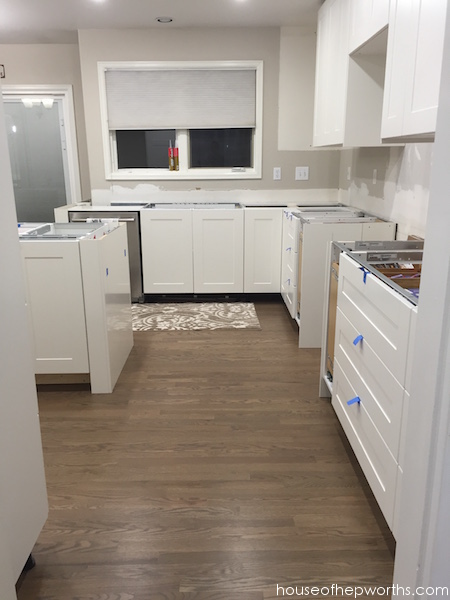
The templating process was fascinating! I wasn’t sure how they would do it, and watching the guy work was enlightening. Maybe I’m the only one who geeks out over this stuff, but I thoroughly enjoyed learning the process of coutnertops.
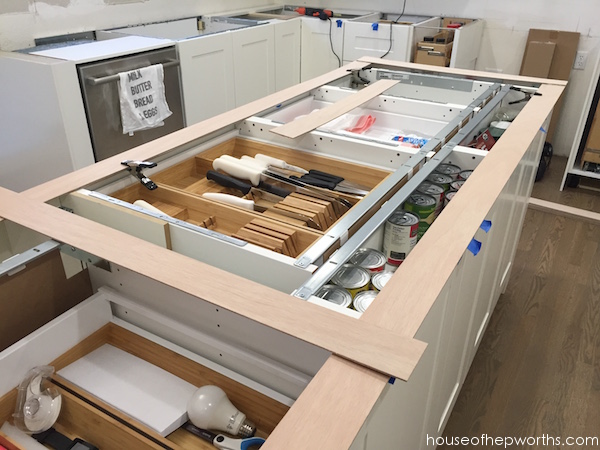
They used strips of balsa wood. Balsa wood is very soft and cuts easily. He laid out the strips and hot glued them together. Then he took a utility knife and easily cut the excess off.
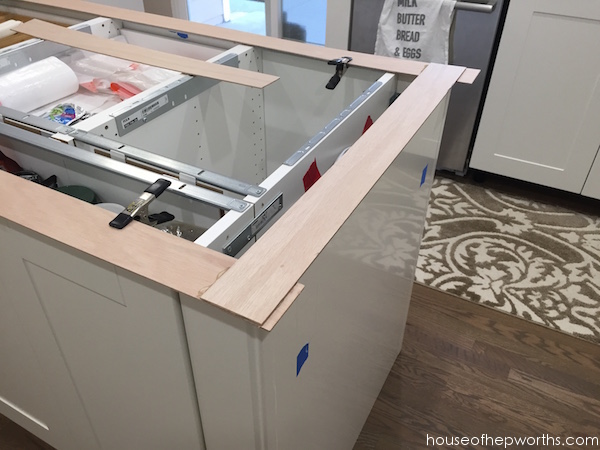
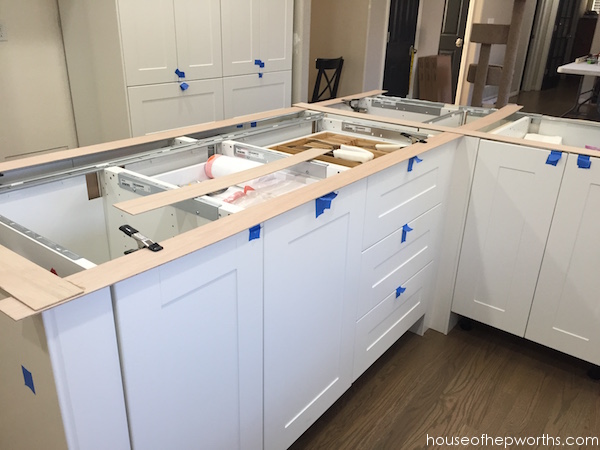
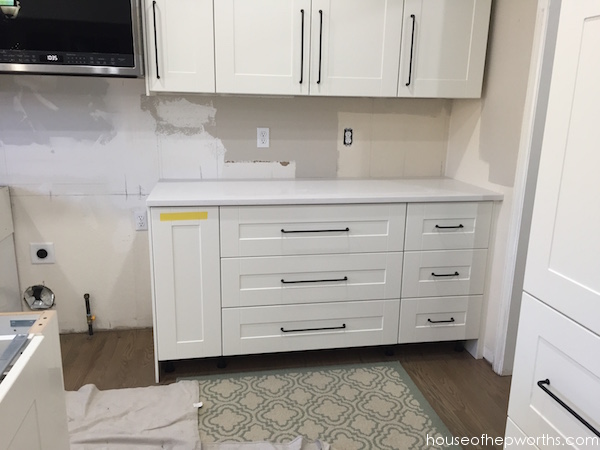
We had three separate countertop areas. The one below is to the right of the stove and is our coffee area.
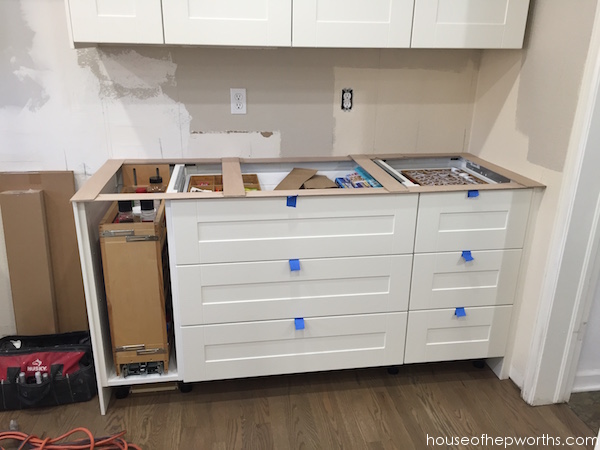
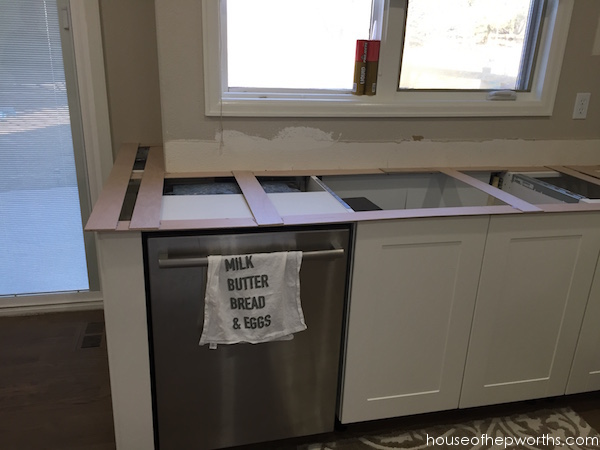
Here is the countertop to the left of the stove and is our lazy susan, sink, and mini wrap-around counter area.
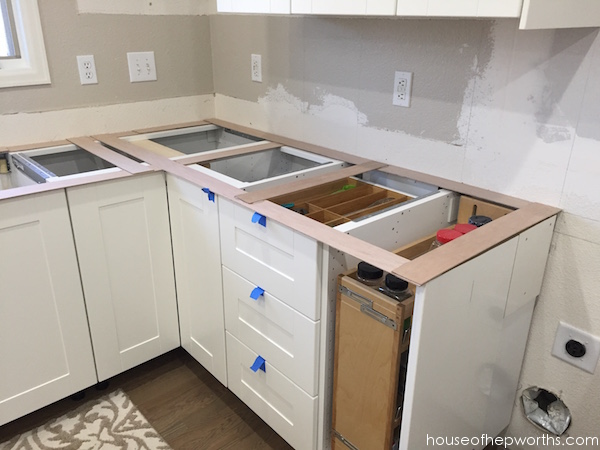
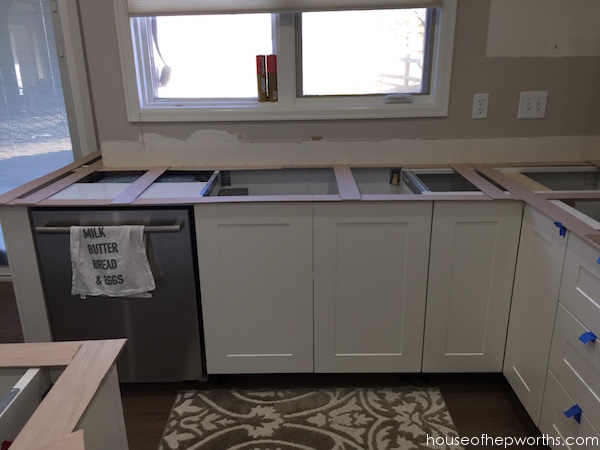
You can see how he made the small section for the wrap-around counter. This kitchen is starting to take shape and I am more than excited about it!
For the island, he templated the entire island surface and also the overhang for the counter.
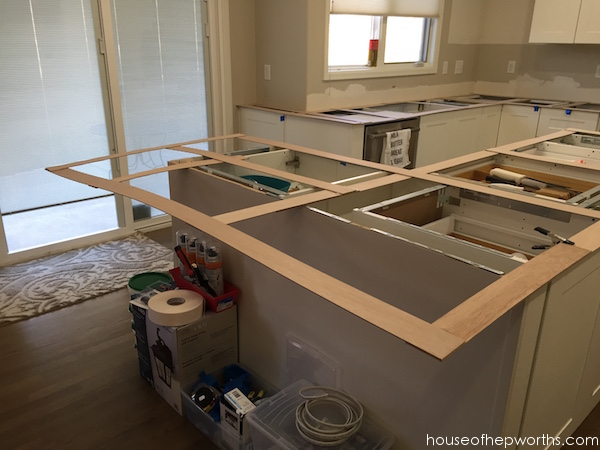
They took all these templates back to their shop to cut the counters. I guess I assumed they would just measure a lot and then transpose it to the countertops, but they used these real templates as stencils to cut the counters perfectly.
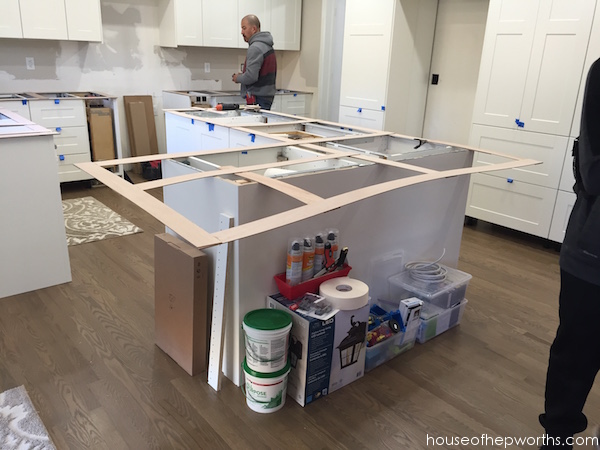
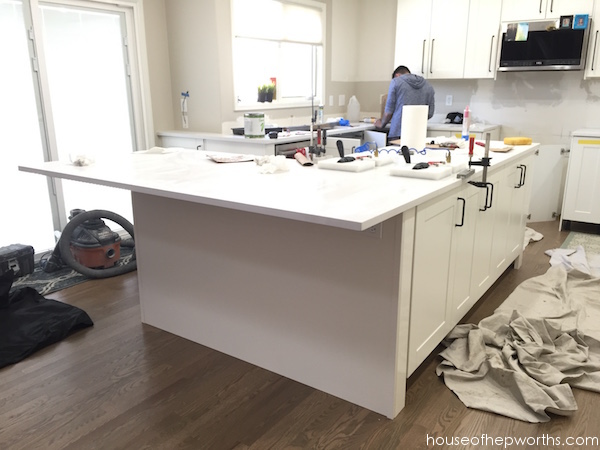
About a week later they showed back up with the cut counters. The first one to go on was our island overhang. Oh the excitement of seeing this finally and being able to visualize sitting here!
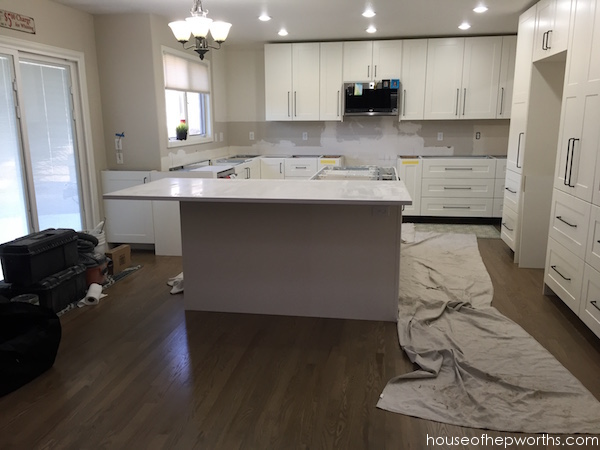
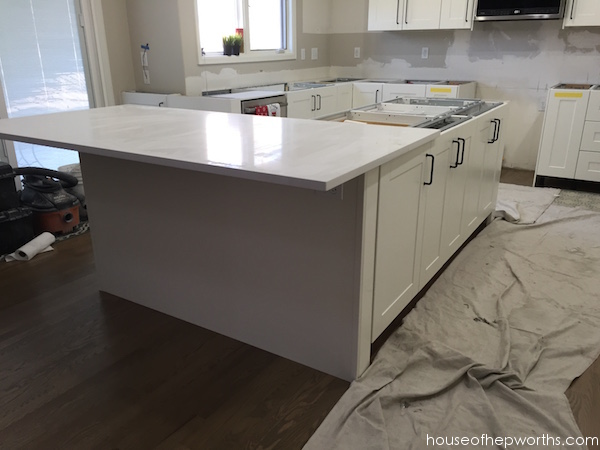
The island required two pieces of countertop material.
Our little coffee area only needed one piece. I’m always happier with fewer seams.
Here’s our sink and wrap-around counter being slid into place. I am thrilled that they were able to do the mini countertop on the same slab and reduce the number of seams in the kitchen.
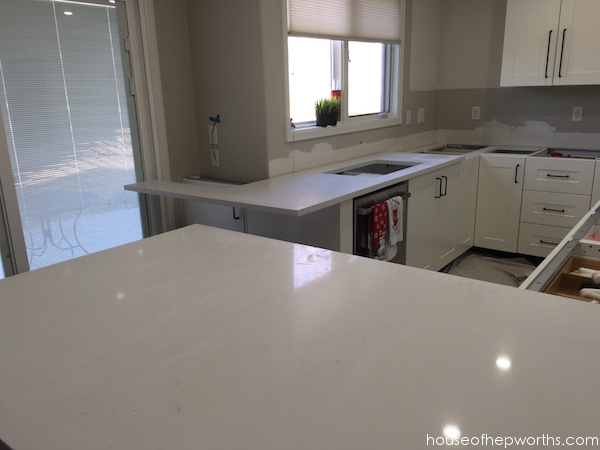
The sink and lazy-susan ended up using two slabs so a seam was needed to the right of the sink.
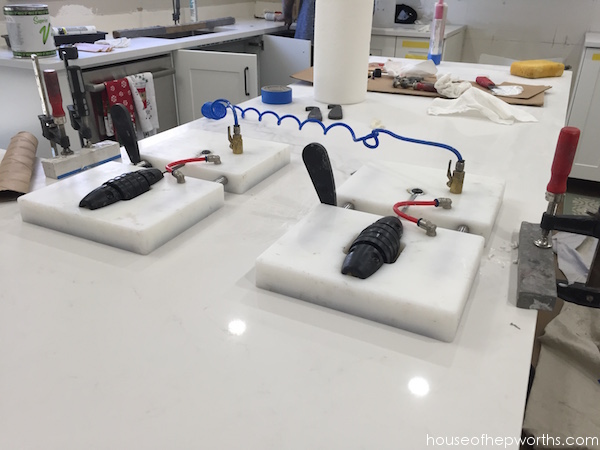
They used this machine attached to each piece of countertop to seal the seams together.
I’m not exactly sure how it works. I don’t know if it’s just holding the seams together tightly while glue dries, or if it heats it or what, but the seams are tight after this.
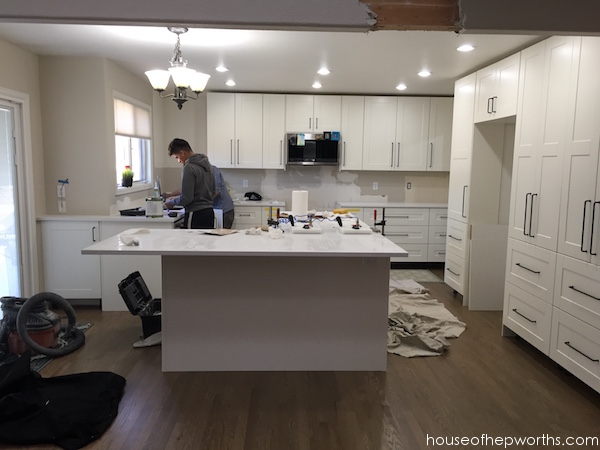
Wow, a first look at this kitchen coming to life!
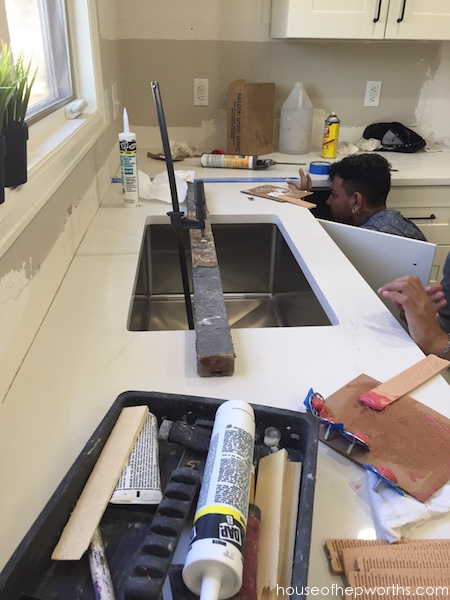
They also installed the under-mount sink. I forgot to mention, when they did the template, they took the sink back to the shop with them to make sure they had a perfect fit before coming back to install everything.
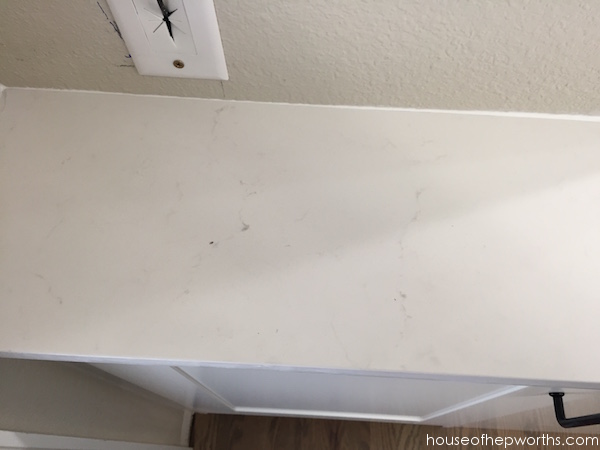
Here’s an up close of the counter. The material we chose is called Frosty Carrina from IKEA.
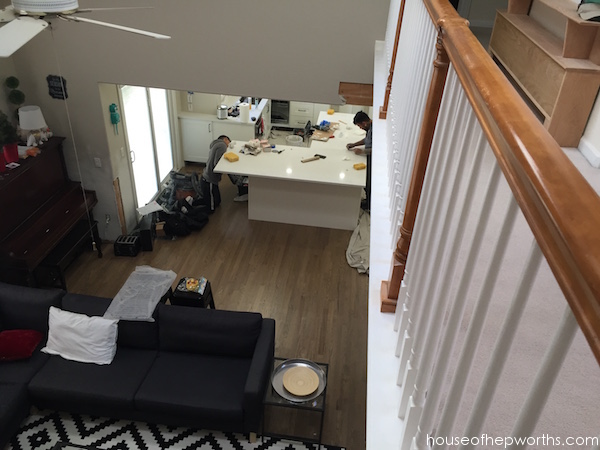
Here’s a cool view from our cat-walk. I wanted to show that you can see the kitchen from the 2nd floor.
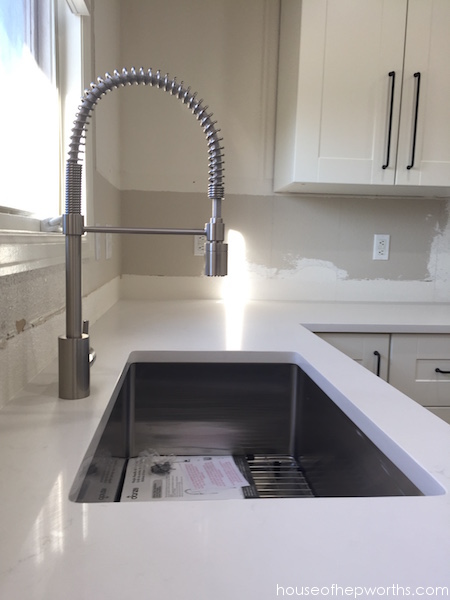
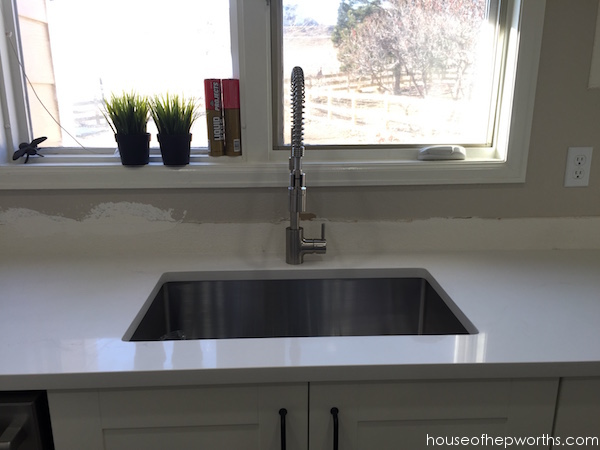
Once the sink was in place they drilled a hole for the faucet. I opted to have only one hole drilled. He suggested to do another one for soap, but I didn’t want extra holes in my new counter.
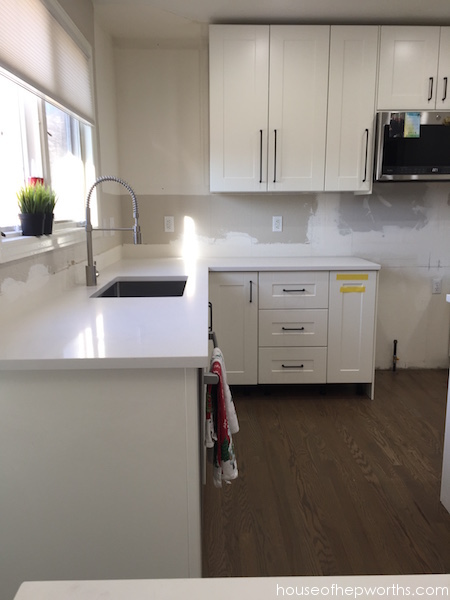
I’m loving the faucet and sink. I purchased both from Costco.com.
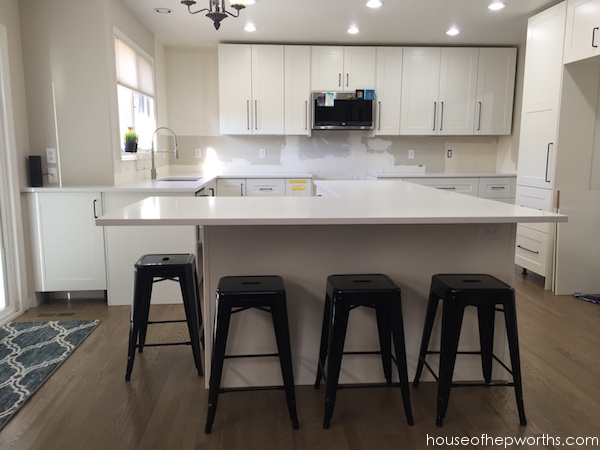
I couldn’t wait to unpack our new barstools and put them under the counter. Lots of time will be spent sitting at these barstools!
In my next IKEA kitchen post I will be talking about installing all the hardware.
Here are all the posts in our IKEA kitchen series:
Building your own custom IKEA kitchen || the planning & ordering process
Assembling and installing IKEA Sektion kitchen cabinets
Adding plug outlets inside IKEA pantries || IKEA sektion renovation
Pull-outs & Lazy Susans || Custom Organization in our IKEA Kitchen
Everything you want to know about building a custom IKEA kitchen island
Create Custom Canned Goods Storage from IKEA Cabinets
Creating a wrap-around cabinet & moving the dishwasher
Run Cables in-wall with a PVC Cable Drop
Installing IKEA quarts countertops – Frosty Carrina
How to install hardware like a Pro – IKEA kitchen renovation
Installing new pendant lighting in our custom IKEA kitchen
Start at the VERY beginning of our WHOLE-HOUSE renovation:
New to this series? Click here to start at the beginning!

Instagram || Facebook || Pinterest || Youtube
This post contains amazon affiliate links
Thanks for reading! Have a wonderful week!
You might also like:

Looks so nice! I wouldn’t have the patience to do a project like this I’m afraid.
What are you doing with that empty area on the wall to the left of the stove? Shelves?
we just switched to a one hole sink also. I already love it. I was glad to have the chance to see yours first before I switched out mine. Also, these counters are my all time favorite! LOVE THEM!
Mer, yay! I LOVE my big sink. I hate having a divided sink. I’m glad you like my countertops. We love them!!
Absolutely GORGEOUS! Cabinets, countertops, hardware, all of it.
Lovely, I never know that Ikea have this service, is the price good?
The price seemed comparable to quartz at other places. We have A LOT of countertop so ours felt expensive but there was a lot of sq ft to cover. We paid $6000 for ours.
Hi there, looks awesome! Does the $6000 include installation?
Hi there! LOVE your kitchen! We are in the midst of an Ikea kitchen install (wish we had found your blog sooner btw). I was wondering what you installed over the dishwasher? Our builtin dishwasher abuts a blind corner next to our peninsula. Ikea did not recommend or give us anything to install on top. Only the panel for the dishwasher and the side panel. How did you guys accomplish this? Thanks!
Hi! I totally forgot I did something random with this. I took a piece of leftover side panel and cut it the right width for the dishwasher. I just screwed it in with some L brackets on either side. I did this to hold the side panel in place and also to give the dishwasher something to screw into. I’m shocked IKEA doesn’t suggest to do this.
Did you need to do any extra support for the countertop on the island where the barstools are? Also, are those metal pieces on the top (not across) some of the sides of the cabinets meant to be to support the countertop?
We didn’t because quartz is very strong, but when we did granite we did.
Hi, did you have plywood installed under for countertop? Or did they install the quartz right over the counter?
Thanks!
Hoping to learn whether you installed the countertops directly on top of the ikea base cabinets, or whether you had to install plywood (or anything else) on top of the cabinet bases to support the quartz countertop. I’m struggling to figure out if we can install quartz right on top of the open-top ikea base cabinets …
I’m also interested to know this. Is the countertop flush with cabinet and the cabinet drawers clear okay?
Just had my grimslov cabinets installed and love them. The frosty carrina counter was installed yesterday and it looks grey not creamy like my sample or what I saw at Ikea. Yours looks more white.
Hi there! Beautiful kitchen! I’m trying to compare prices with Ikea countertops and our contractor’s place and wondering if your 6000 for counters included installation? Thanks!
Yes, the $6k is for the counters, the prep, and the install.
Beautiful kitchen! Did you use the Grimslov Off-White Doors/Drawer fronts? I’ll be ordering mine in a couple of days and was going for an all white kitchen. Does the off-white bother you?
Could you pls mention how many inches overhang you have on your kitchen island? It looks like 18″ or so. Thanks.
15″ overhang
Did you use hidden brackets or corbals to support the island overhang? If so, how did you install this with the metal that the countertop sits on?
May I ask if the countertop installer mention anything about using any type of supporting brackets under the overhang?
What did you use to counter lever the overhang?
Nice looking kitchen and helpful overview of the install. Are you happy with the sink from Costco? Is it the Hahn 30″ x 18″, 10″ deep model? Saw it on Costco and really like the looks of it in your kitchen.
Thanks again!
Can you tell me the countertop overhang in inches – not on the island but on the main runs – from the face of the cabinet door. Does the overhang extend past the cabinet handles or do those stick out a little? Lovely kitchen – thank you!
Renee
I am wondering if you have under cabinet integrated lighting in your kitchen?
Hi there! Can you please tell me how you figured out where and how many (i.e. one on each side) fixa countertop support pieces you installed? I cannot find any clear information about this. The description of the product on the website states that it’s needed if appliances are being installed. The instructions show it being installed on all cabinets but only one side of the cabinet when there are to adjacent. I am installed four base cabinets with a marble countertop for an office and it’s hard to find clear information.
Thanks so much!
Love your kitchen! I was wondering if you bought the under mounted sink and faucet widest and they templates it off of that? Also, did they install the undercount and faucet for you? Thanks!!
Beautiful, informative posts and a fantastic finished product. Well done!
I’m curious about your island overhang as we are getting ready to do something similar. Do you have metal or wood supports for the overhand? If so, how did you attach/secure them to the IKEA cabinets?
It looks beautiful! We are finishing up our KIEA cabinets and just scheduled the template appointment through their 3rd party. We are waiting for our sink cabinet doors to come back in stock, but don’t want to delay the countertops. I see you don’t have one door attached on the base cabinets. Did they mention anything about the missing door for templating? I’m stressed they’re going to come and look at my missing doors and say they won’t do the template. IKEA keeps telling me all doors have to be installed but the countertop company says it “should be okay.” I don’t like they are not on the same page.
I have ikea countertops and going through the process also! Just curious on few things:
1. how do they put the quartz on the countertops considering it has these metail rails and on some areas of the cabinets, and not on others? wouldnt that cause it to be uneven?
2. do they put anything on the cabinets like silicon? if they do, do they put it on the metal railings or just the bare cabinet tops?
If you have a video it would be most appreciated!!