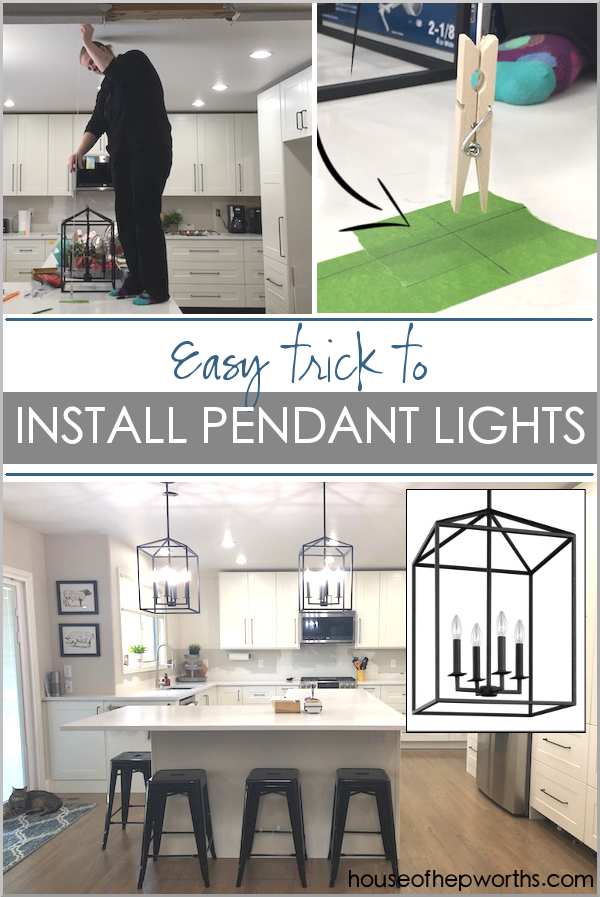
Our kitchen renovation is moving right along. Now that we have the bulk of the kitchen renovation finished, it’s time to turn my attention over to some new lighting. I’ll share with you our amazing new pendants as well as some tips for making installation even easier.
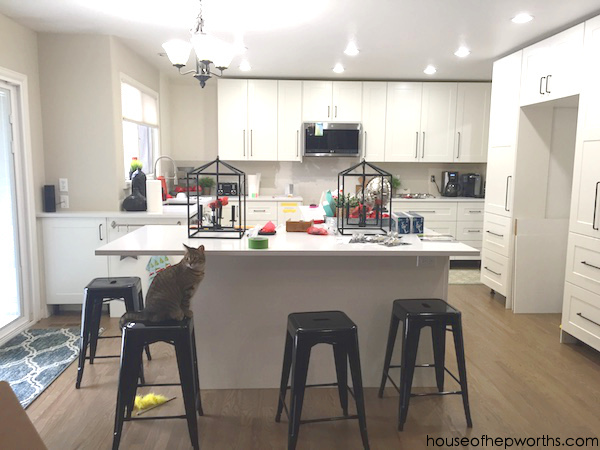
As you can see, our lighting situation is a little sad.
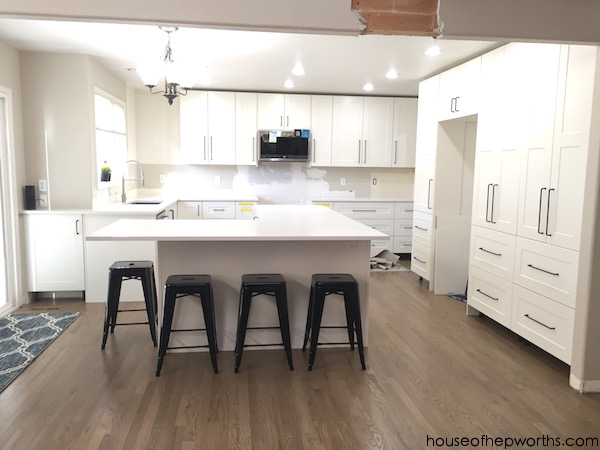
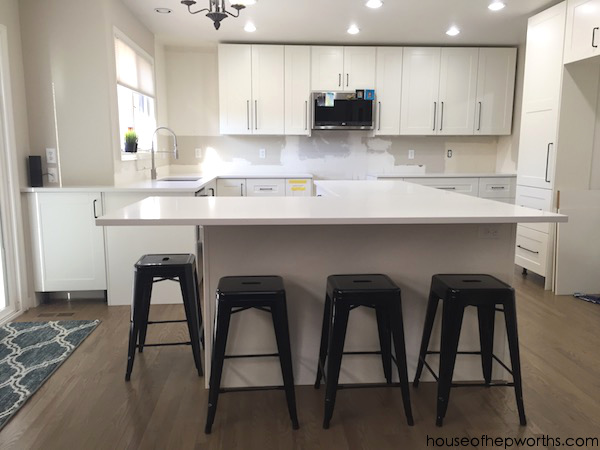
We had one chandelier that hung over where the breakfast table used to be. Instead of having a table, we replaced it with a huge L-shaped island.
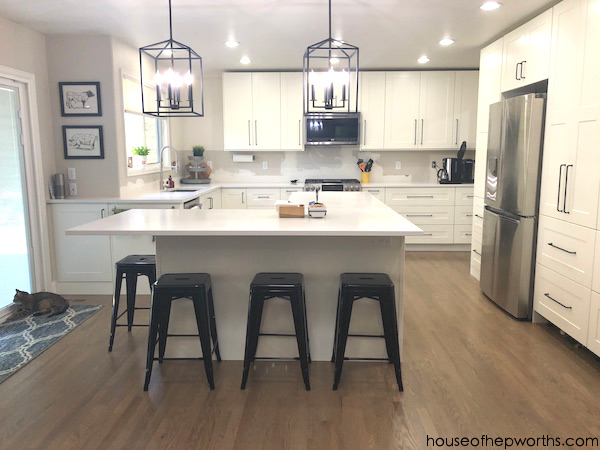
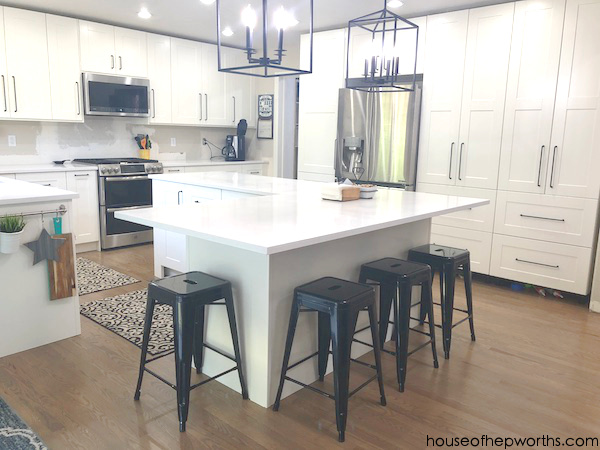
Instead of having one chandelier hang off-center, we hung some new amazing pendant lights instead.
I’m going to share the process of hanging the pendant lights. The most important steps were making sure they were perfectly centered over the island and getting the wiring correct.
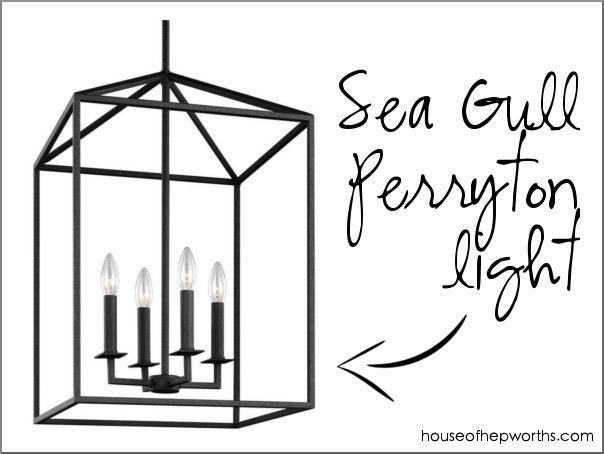
The pendant lights are by Sea Gull and are called Perryton. You can find them here if you’d like to also purchase them.
One trick to taking an IKEA kitchen and making it feel custom is to mix in other brands and maybe a more pricy item here and there. We did this with our appliances, after-market pull-outs, and our lighting.
I started by unboxing our new lighting and setting it on the counter. I spent a decent amount of time mathing and figuring out exactly where I wanted them to hang.
Here’s a great trick for making sure your lights are installed on the ceiling exactly where you want them. I put painter’s tape (I love this Frog Tape) on my countertops and marked exactly where the center of my lights should be.
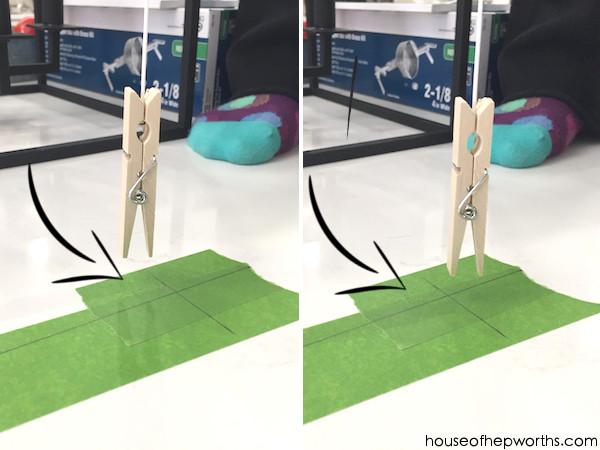
Using a long string and something heavy-ish like a clothes-pin or a washer attached to the bottom, hold it from the ceiling until it lines up with your center mark. Now you know exactly where to install your lights on your ceiling!
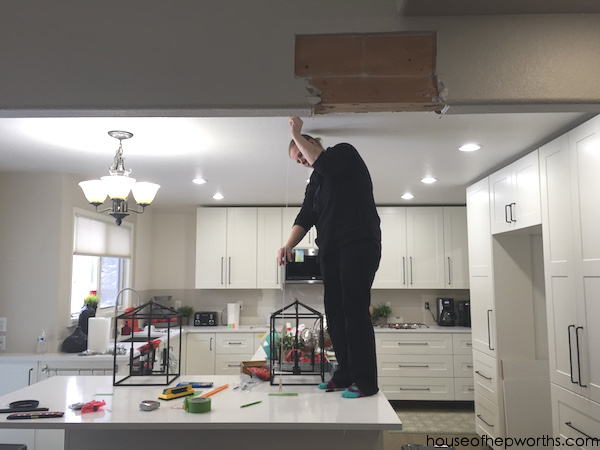
Smart, right?!
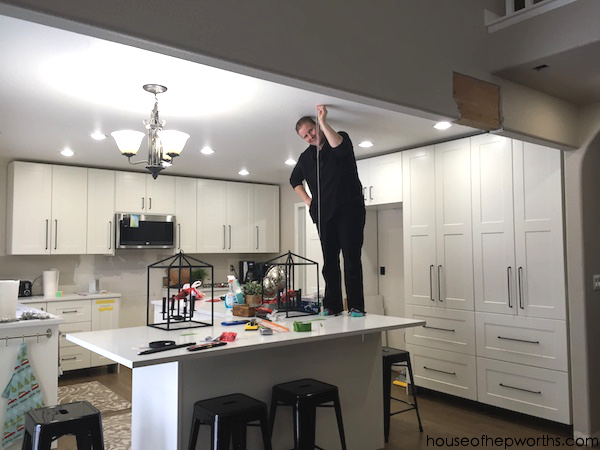
Now that my ceiling is marked, I can run make sure the electrical in the ceiling is in the correct spot. I’m not going to do a tutorial for moving electrical wiring in the ceiling because I’m not an electrician. But basically I tapped into our existing electrical from the old chandy, and ran it to the two new light boxes that I also installed.
Now that my new wiring is ready in the ceiling it’s time to hang the new fixtures! Following the directions that came with the fixtures, I hung each one.
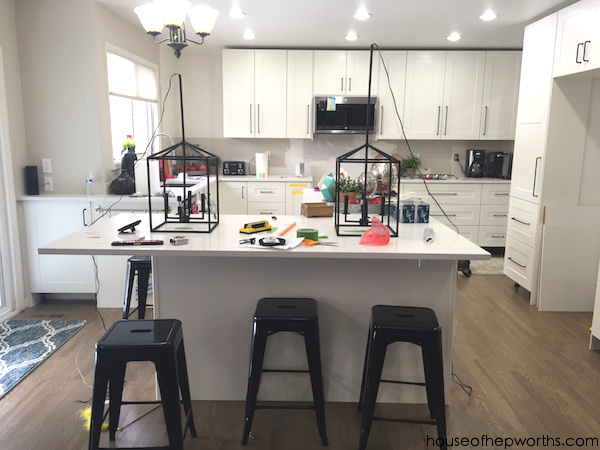
Here they are, hung and ready to test out. Doing this type of project isn’t that difficult, but does feel somewhat time consuming and requires several tools and makes a huge mess!
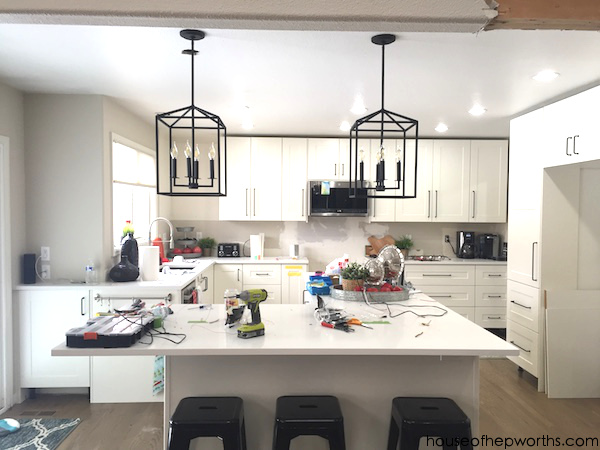
After a little kitchen clean-up, the new kitchen and lighting is looking on point.
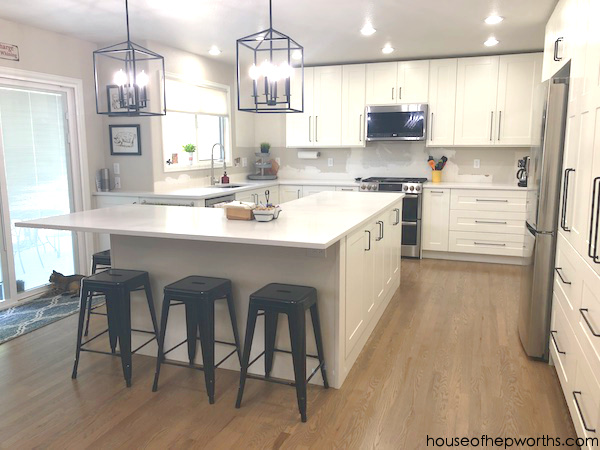
I am just so loving how this kitchen is coming together. We still have a ways to go, but it is getting there. I can definitely see the light at the end of tunnel now.
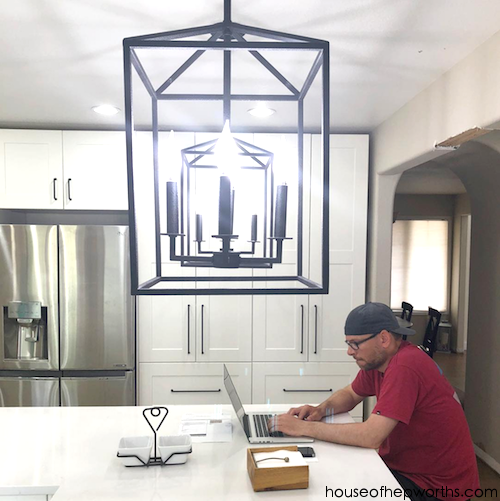
Our kitchen island has become the epicenter of our house. We pretty much hang out, sit around, and work at the island all day every day. I love this artsy shot of Ben working at our island with our new lights shining bright.
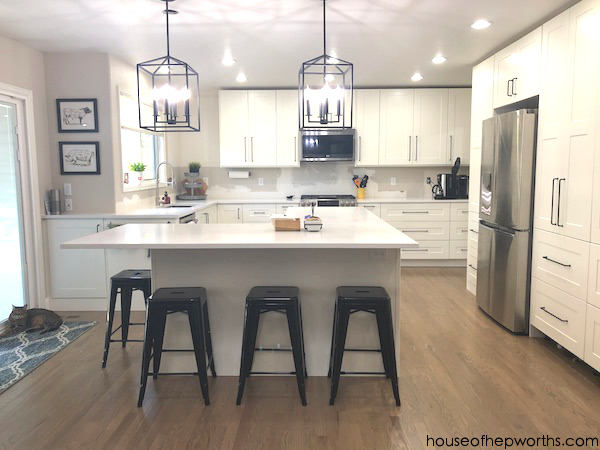
We are mostly caught up to real time now. We started the kitchen several months ago and I’ve been playing catch-up on the blog to share all the kitchen posts. The following picture is real-time. We still have to hang crown, finish some trim and baseboards, build and hang floating shelves, and tile the backsplash. I also have a little bit of drywall work to finish up. My next post about the kitchen will be about the appliances we chose, why we chose them, and how we feel about them now, after using them for six months.
Shopping list:
Sea Gull Perryton lights
LED Chandelier light bulbs – daylight
Frog Tape
Here are all the posts in our IKEA kitchen series:
Building your own custom IKEA kitchen || the planning & ordering process
Assembling and installing IKEA Sektion kitchen cabinets
Adding plug outlets inside IKEA pantries || IKEA sektion renovation
Pull-outs & Lazy Susans || Custom Organization in our IKEA Kitchen
Everything you want to know about building a custom IKEA kitchen island
Create Custom Canned Goods Storage from IKEA Cabinets
Creating a wrap-around cabinet & moving the dishwasher
Run Cables in-wall with a PVC Cable Drop
Installing IKEA quarts countertops – Frosty Carrina
How to install hardware like a Pro – IKEA kitchen renovation
Installing new pendant lighting in our custom IKEA kitchen
Start at the VERY beginning of our WHOLE-HOUSE renovation:
New to this series? Click here to start at the beginning!

Instagram || Facebook || Pinterest || Youtube
This post contains amazon affiliate links
Thanks for reading! Have a wonderful week!

Looking good. But please don’t ever let anyone stand on your counters again. Ours cracked when our tiny little son stood on them! There is a risk there; it’s not worth it!
That’s terrible that happened to you! How scary! We have quartz which is stronger than a natural stone. Our countertop installers ensured us they are safe to stand on. I didn’t stand on the over-hang where the bar is though. That did make me extra nervous. I tried to keep my weight along the edges of the cabinets as well. But yes that is a great tip and you should always be cognizant that that is a risk.
I love this series – so many things to think about as we plan our kitchen. Did you ever do the post about the appliances? I couldn’t find it.
Hi! I have ABSOLUTELY loved your ikea kitchen blogging and have absorbed every single word. Thank you so much for taking the time to do all that you have for our benefit. I’m wondering if you ever got around to finishing the kitchen? What backsplash did you choose? How did you do the crown molding?
Thanks again!