You read that right! I’m continuing to make progress in the guest bathroom. So far I’ve painted the disgusting gallbladder-colored walls with some lovely Route 66 gray and shared tips on how to paint around a toilet and hang shelves level.
Today I’m showing off the new hardware that replaced the cheap boring builder-grade hardware. And as always I’ve got a tip or two thrown in the mix to help make your life a little easier.
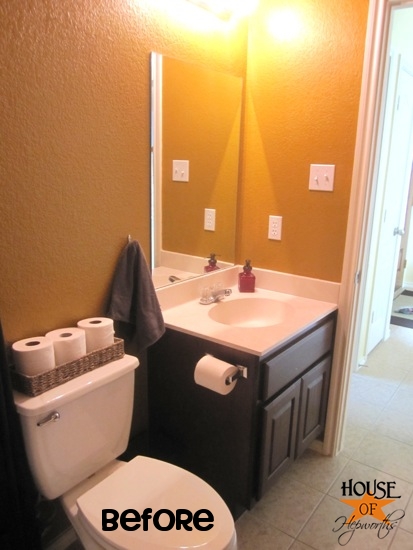
When we moved into our house a year and a half ago, the bathroom was looking a little queasy with the mustard colored walls. It also came with the cheapest builder-grade hardware that you can purchase:
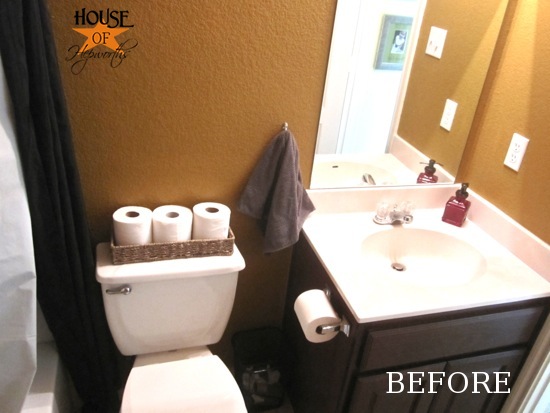
In fact, it didn’t even have a towel ring or hook for a hand towel! I installed a small hook that I had on hand, but I never loved the look. Plus, the towel fell off the hook constantly right into the trash can.
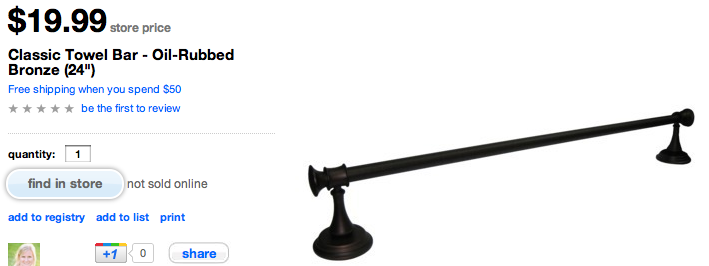
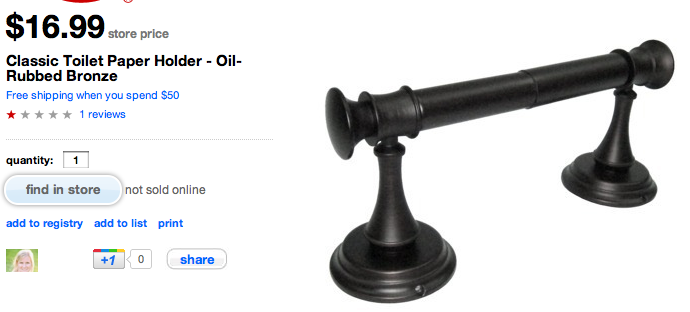
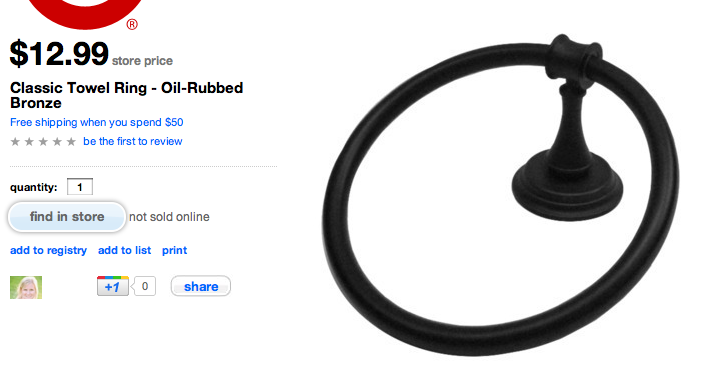
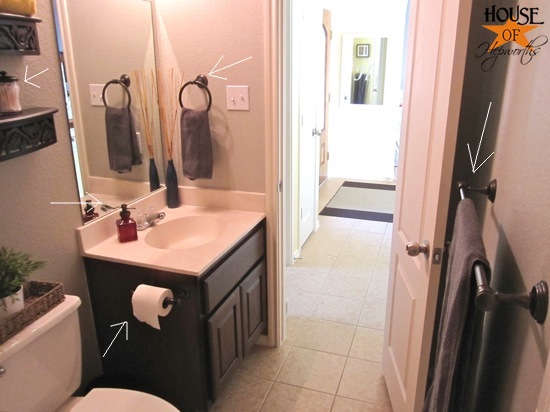
All the new hardware was purchased at Target. I honestly do try to shop around at other stores, but I always end up finding exactly what I want for a great price at Target. Here’s what I purchased for my guest bathroom makeover:
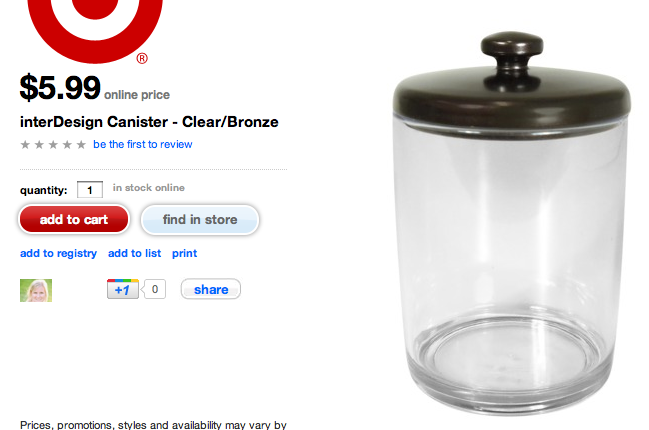
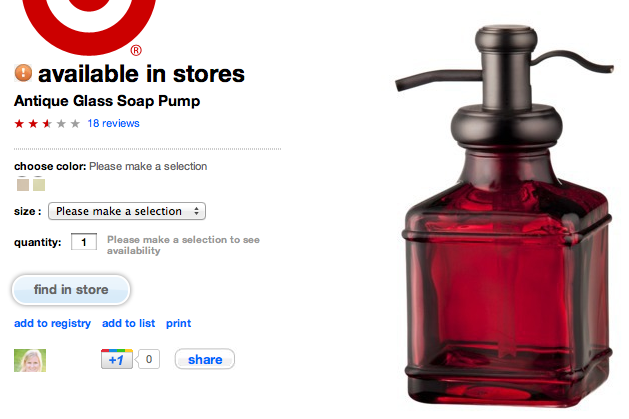
I also found this darling little soap pump (also from Target) at Goodwill. The pump was broken, but I was able to fix it. Yay! I paid $6 at Gwil for it:
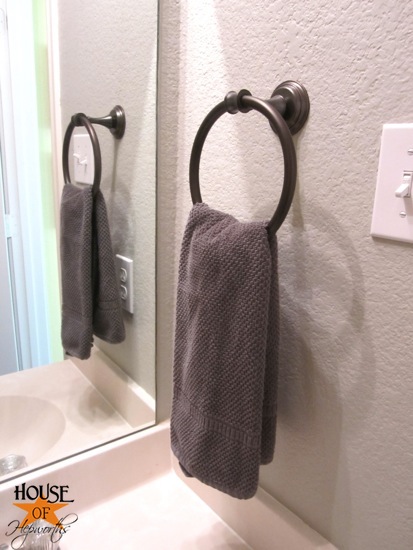
Everything was fairly easy to install. I am loving this new towel ring so much more than the little hook I previously had:
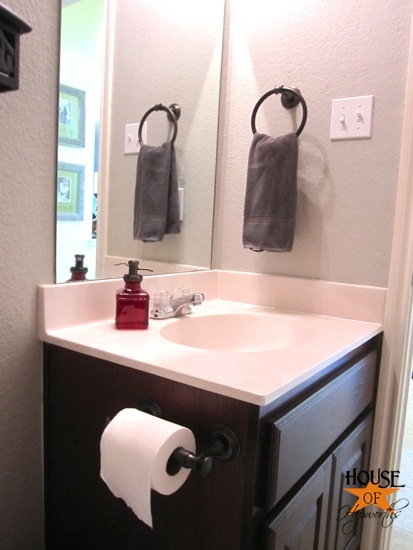
I really went back and forth about installing the ring here because of the plug outlet behind it, but in the end it seemed like the most logical place to hang a hand towel. I will just have to forgo plugging in any scented plugins.
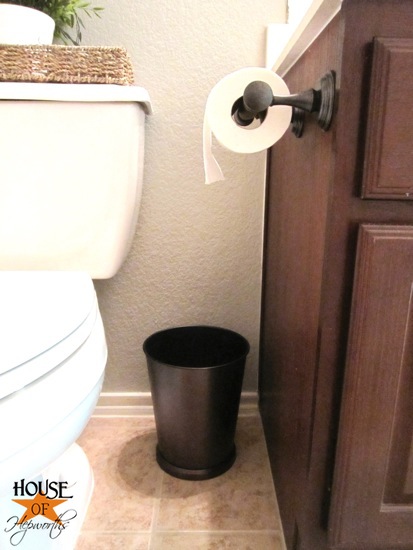
I also installed a toilet paper holder exactly where the old crappy one was previously installed.
Oh, I also purchased a bronze wastebasket to match the hardware. Target.com didn’t have it listed so I couldn’t grab a picture of it from their site.
I’ve never owned a nice wastebasket. Isn’t that pathetic? All mine are either plastic or from the dollar spot. I finally bit the bullet on this nice one for the bathroom that all our guests use when they come over. Maybe some day I’ll splurge and replace the plastic ikea one I’ve got in my bathroom.
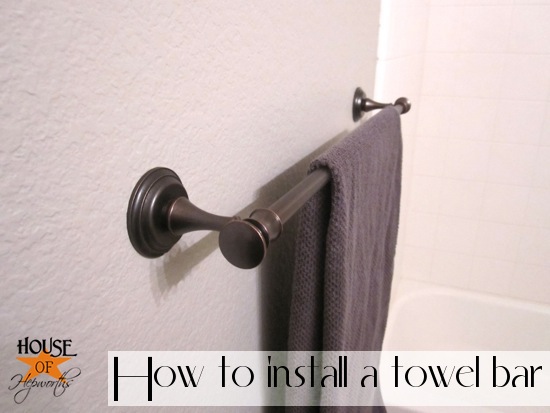
The other main piece of hardware I purchased was this towel bar that matches the towel ring and toilet paper holder.
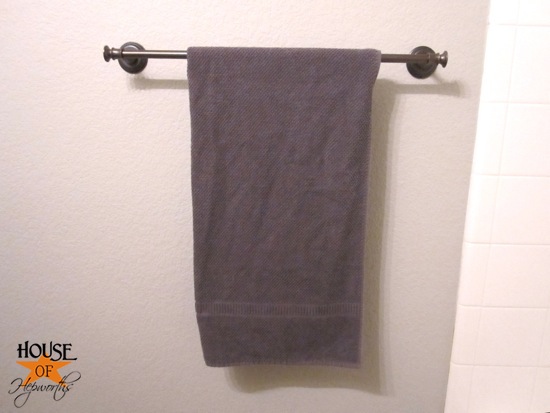
Have you ever tried to install a towel bar? It’s kind of a pain! I actually ruined my wall trying to hang it. I had to patch the first set of holes and then install it a 2nd time to get it right. Argh!
My pain is your gain though. I finally found a very easy way to install the towel bar, so I wrote up a little tutorial for you.
Okay, the first step in installing a towel bar is to TAPE to the wall the paper guide that comes with the bar. I tried to hold it in place and mark my holes with a pencil, and trust me on this one. It was a total mess.
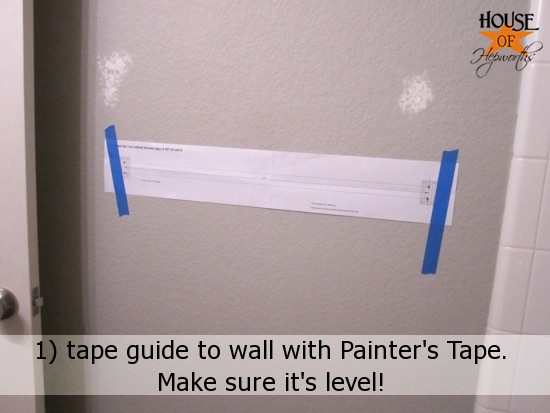
Once you have your paper guide exactly where you want it and you’ve double checked that it is level, insert your anchors half way into the wall THROUGH THE PAPER GUIDE. Don’t just make a pencil dot on your wall. Actually insert the anchors through the paper.
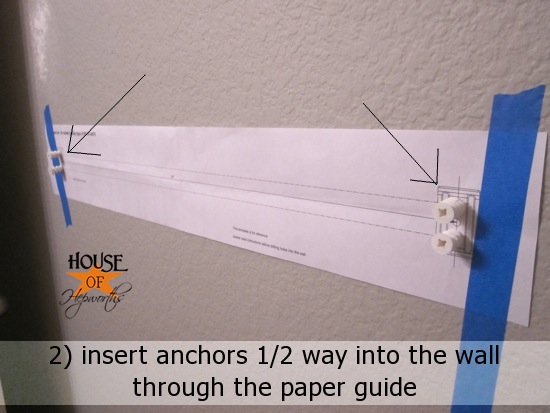
Side tangent: You know those little anchors that come with stuff like this? Um, ya, just throw them away. Go RIGHT NOW and buy a big box of
E-Z Anchors
and just keep them in your stash. First off, they hold a billion times better than those cheap little crappy ones that come with hanging kits. And second, they are so easy to install! Hammer them half way into the wall, then get a phillips screwdriver (the one with the plus sign on the tip) and screw them into the wall until they are snug. I highly recommend you buy these for all your anchor needs. End of tangent.
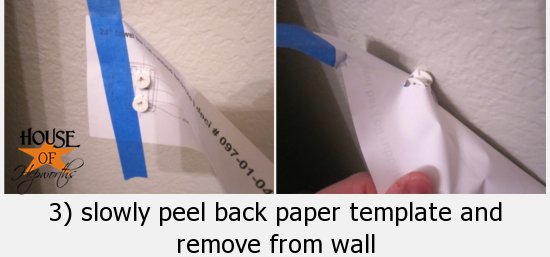
Next step for easy towel bar installation: Peel the paper template off the wall.
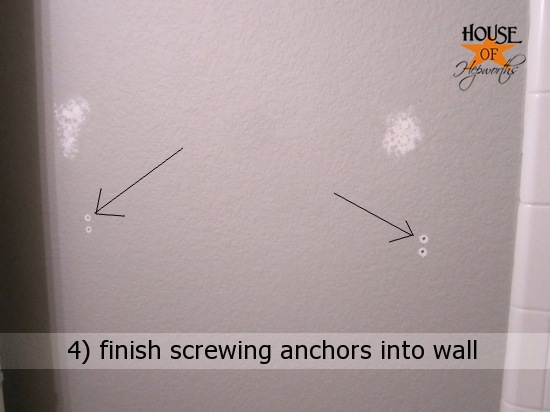
Now you have your anchors in exactly the right place! Suh-weet! From here, finish screwing the anchors into the wall until they are snug and flush.
You should now have perfectly placed anchors that are completely level. Now you can simply finish installing the towel bar using the directions that came in the box.
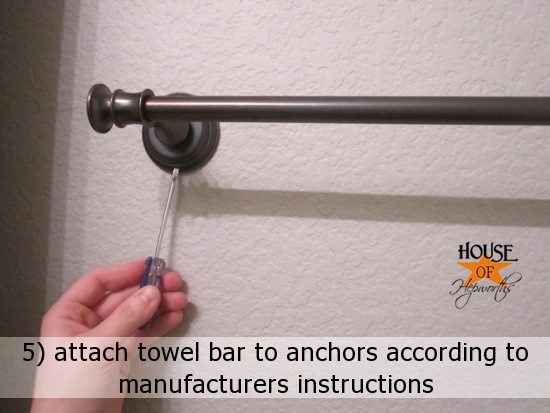
Once your bar is attached recheck that it’s still level. If it isn’t, try not to curse too loud and please refrain from beating the crap out of your new towel bar with a hammer. For the safety of everyone, let’s just assume the bar is level.
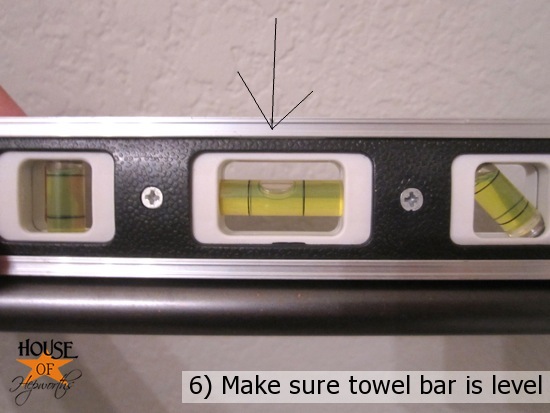
And that concludes the towel bar installation tutorial.

Here is a shot of the entire bathroom taken from inside the bathtub. It’s hard to get the whole bathroom in the picture!
This little ol’ bathroom is sure coming together nicely.
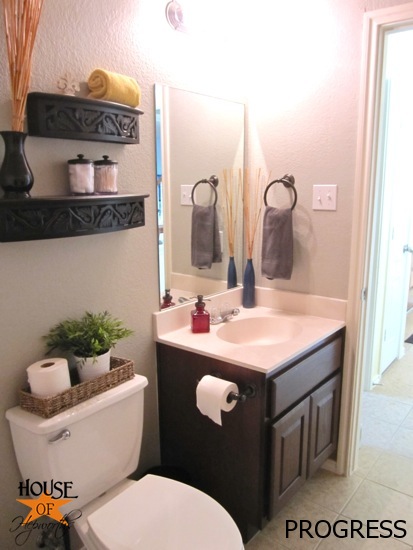
Next bathroom post will be all about the shower curtain! But for now, let me leave you with a side-by-side before and progress shot. Seeing them next to each other makes it so much more dramatic, dontcha think?

Here’s a list of where I got all the other decor/accessories that are in the bathroom:
* wicker basket on back of toilet – Garden Ridge
* fake plant & white planter – ikea
* shelves – TJ Maxx (I think)
* gray towel & hand towel – ikea
* yellow towel on shelf – already had (it isn’t staying in this room, FYI)
* both vases with sticks – Dollar Tree (vases) & Target (sticks) – the vases will be getting spray painted soon though


I just realized that we have the same bathroom layout. I recently remodeled mine in green and black. I did the same thing with the towel bar and now I’m hooked on E-Z Anchors too, lol. I really love the hardware you chose. Hmmm….maybe I should change mine. Here is my bathroom:
http://intheoldroad.blogspot.com/2011/10/bathroom-makeover.html
according to pinterest, a couple drops of yummy smelling oil inside the tp tube will scent the room nicely. i haven’t tried it, but it’s worth a shot if you are missing your plug-ins.
on my own tangent…i don’t believe i have ever “heard” you curse. i don’t mind, but i did have to go back and read it again to make sure i didn’t just use the words that would have come from my mouth.
~m
Excellent tutorial, once again, Allison – I chose that same wastebasket for my powder room…..and liked it so much, I bought one for the master bath. Finally gave up on the lovely plastic number
Michelle, thanks for the scented oil tip! BTW, I changed the “bad” word. I’ve had somewhat of an adverse reaction to it, so I just changed it. Plus, I’m not a huge curser in real life anyway. I just thought it sounded funny to say it that way. I’m going to keep things more PG-friendly around here.
It keeps getting better and better! Thanks for the tutorial! Now how about one for taking those things down! There are way to many in our master bath!
Allison, your new bath is beautiful! And I never would have realized that installing a towel holder would be so, ummmm, challenging. I’ll try to remember your tips when I redo my powder room this summer!
WOW! Small things make such dramatic differences! Amazing
Looks great! Nice and fresh!
Great tutorial on hanging these – I usually just make my husband do it! Maybe I’ll give it a try now. The hardware is gorgeous in that bathroom! This project would be perfect for our linky party featuring “Transformations” called Repurpose-Remodel-Reveal, I know our readers would love to see it too! (It starts tomorrow- Friday, March 16th 2012 at 7:00 am and reoccures every 1st and 3rd Friday). It’d make our day if you linked up!
-Whitney @ TheRoosterAndTheHen
A note on E-Z anchors for your readers that move a lot – they ARE awesome for holding things up, but they are a real pain to remove and, if you can get them out, leave monstrous holes in your walls. So be sure that you A) put them in the right spot and B) don’t plan on taking the item with you. I learned this the hard way when I used them to put up some decorative shelving in one of our homes!
We are in the military and I have become an expert at putting things up and taking them down. Also we generally rent or are in base housing so I’m not leaving my “improvements” behind like I would if I sold a home.
Man, I’ve been afraid to hang stuff with anchors but this tutorial really helped me!
Just a note: I had bought a double rod towel hook from H.D. and installed one end in a stud, the other, I used the wall anchors you mention. Unfortunately for me, my daughter managed to hang off one of the rods and pull half of the hardware off the wall! Yes, ugly holes left in the plaster, as I was bemoaning my fate, I whined, why didn’t “they” just make towel bars the width of the studs? Lo and behold, after perusing H.D. online, I saw you could just order the rods in a 30inch length, and now, I am happy to report that the extended rods are in place, in a stud, and the child has been warned the next time something happens, its coming out of her allowance!.
My darling daughter ripped the rod out of her last window as well. I was so mad! Glad to hear you got it fixed.
This was super helpful. I don’t have a towel bar because after patching and painting, I didn’t want to damage my walls and end up with a crooked messed up wall and towel bar! I can see things when their crooked I’m just PATHETIC at hanging stuff straight even WITH a level LOL. Love your writing style it’s like talking to my friends.