My laundry room and I go way back. We’ve been through so much together: floods, venting issues, stacking and unstacking the washer and dryer.

It seems I just can’t make up my mind with the configuration of this poor room. It’s plenty big enough to be both a mud room and a laundry room, yet it feels overwhelmingly suffocating at the same time.
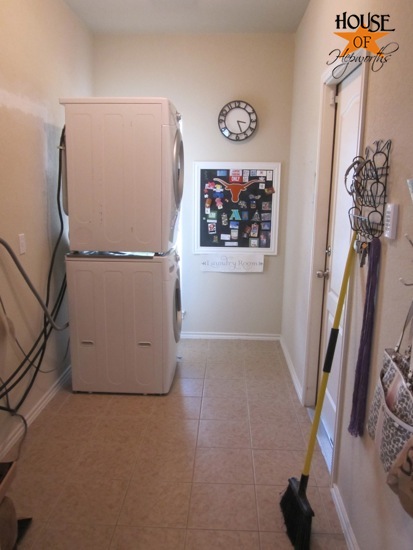
Several months ago I got sick of the current placement of the washer and dryer, so I bought a stacking kit and a bunch of new hoses and power cords. The appliances were then moved down the wall about 8′ and stacked.
One thing about making any room in your home work for you is trial and error. And I’ll be the first to admit…
After 5 months of a stacked washer and dryer blocking my window, I was over it. It seemed like a lovely idea at the time, but ideas are much different than reality. After living with this arrangement I quickly realized that maybe the builder really was smarter than me and maybe, just maybe, the original location for the washer and dryer really is the best spot.
So back they went.

And in the process, I have tackled the “mud room” portion of this room once and for all. I am still not finished (or close) but I’ll show you what I’ve done so far and what the overall plan is.
In my weekly link party two weeks ago (Hookin’ Up #115) I featured The Money-Pit’s semi-built-in mudroom area in her garage.

She built this whole set out of ikea furniture for $300. I have been pinning mud rooms for months, but after seeing this version, it was like a lightening bolt hit me. I just knew this was it.
I also want some beadboard in the room, so after scouring blogs and pinterest I came across this kitchen reveal from Saavy Southern Style. Her kitchen reveal itself is amazing, but here’s a close up of what really caught my eye: her installation of beadboard and the topper above it.
So really that’s pretty much the entire plan for the laundry room. I don’t have a paint color picked out yet and I’m not really 100% sure on all the little details, but that’s how I roll. Putting together a full mood board in advance doesn’t work well for me. I like to just have a basic idea in my mind and pull it together as I go.
So I headed to ikea and our local hardware store to pick up my supplies. I will give a supply rundown at the bottom of this post.
I bought 4 sheets of beadboard. They come in 4’x8′ sheets, so I had our local hardware store cut 3 of the sheets in half. All my wall pannels will be 4′ heigh, plus a topper. I kept one sheet full length because I wanted beadboard to span the entire back of the locker/storage bench section.
The first thing I did was get my full sheet of beadboard in place. Then I cut down a shorter piece and fit it to the right of the full sheet. I needed to get this beadboard next to the window in place before I could trim out the window.
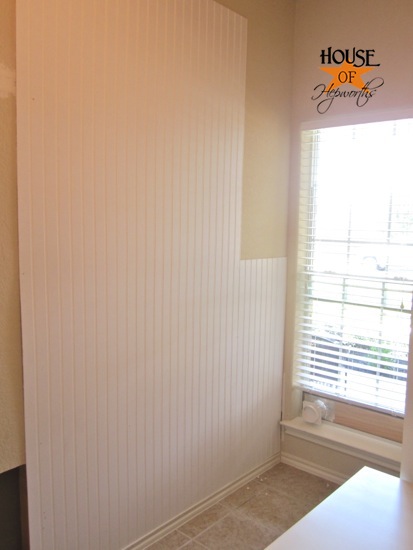
Next I added trim around the window. Here’s a tutorial I wrote for hanging trim and moulding.
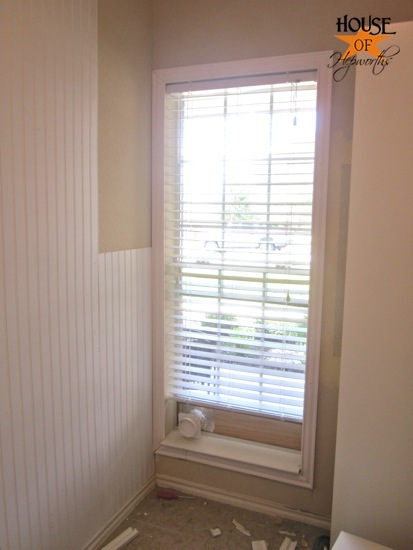
Like I did in my daughter’s room, I had to cut the side edges off the windowsill so the moulding could wrap around the entire window.
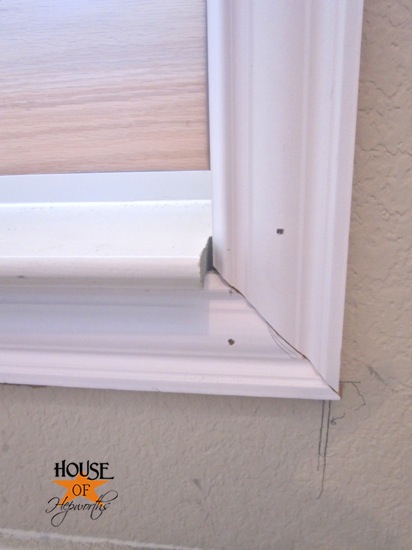
Once the moulding was around the window I could finish hanging all the beadboard.
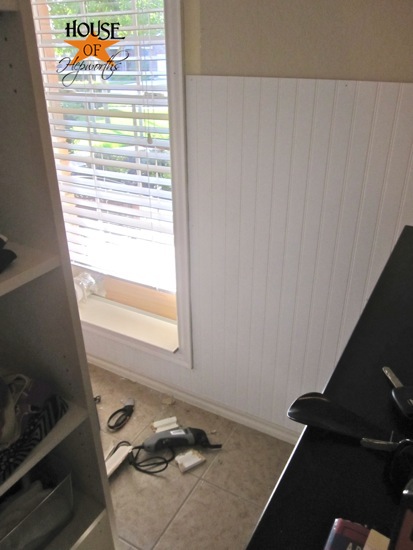
I haven’t even painted or caulked anything and I am already so excited about how it’s turning out!
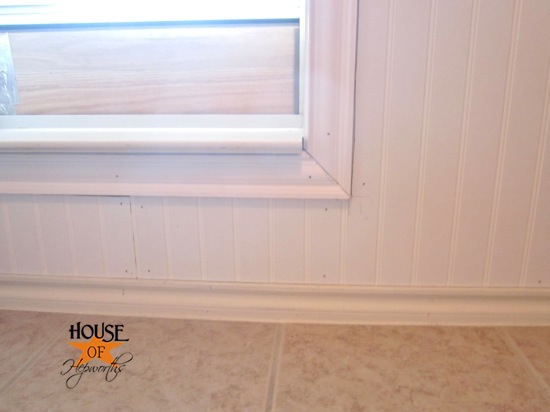
Here’s a quick rundown on how to hang beadboard. Cut your beadboard to size. Then take Liquid Nails for panneling and put a bunch on the back of the beadboard. This will help it really stick to the wall.
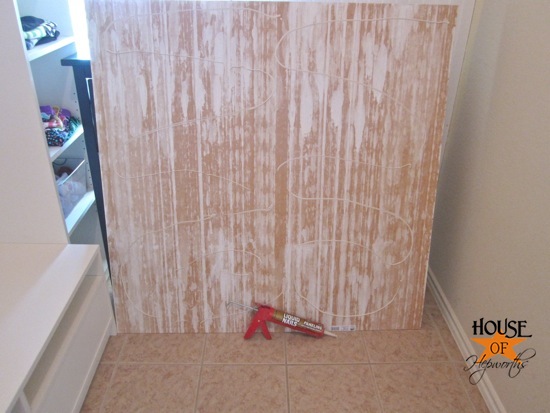
Here’s exactly what I bought. I found it literally right next to the beadboard on the trim isle.
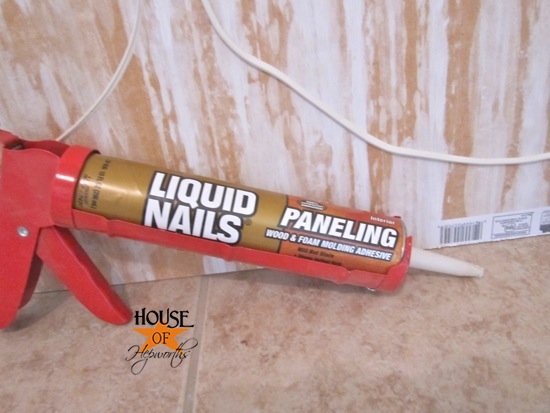
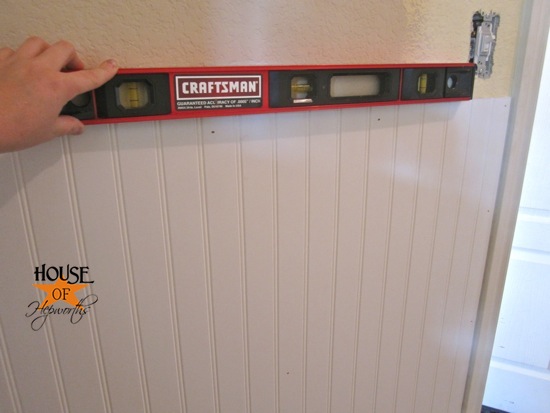
Once the beadboard is globbed up with glue, slap it on the wall and use a level just to make sure it’s, well… level. I used my already existing baseboards and just set the beadboard right on the top of them.
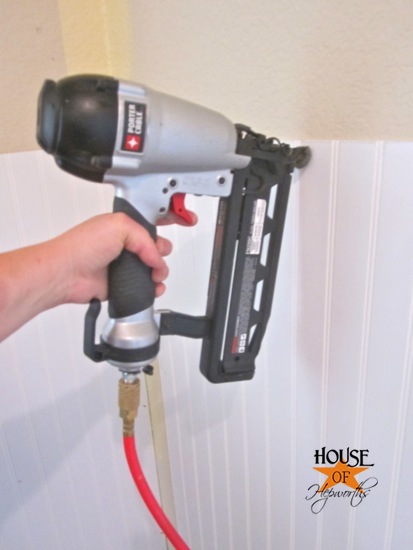
Now use a hammer and nails or a nail gun and nail the beadboard to the wall. It really helps if you can hit studs.
Easy to install, but still hard work because of all the measuring and cutting.
I did a dry fit of my ikea furniture to see how it was all going to fit. So far I am loving it! You can see the shelves and bench coming together. I also picked up a shoe organizer (the black dresser-looking piece on the right).
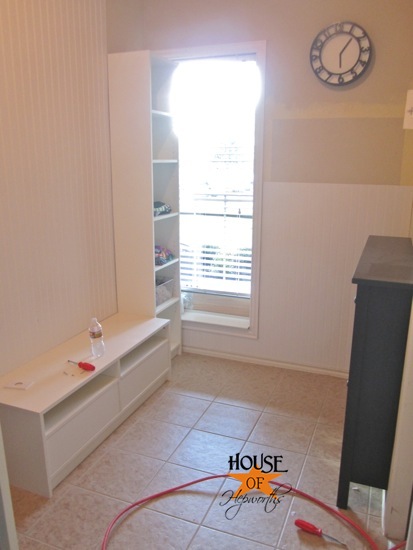
Once the beadboard was all cut, glued, hung, and nailed up it was time for that lovely topper I mentioned previously.
Fortunately I had a ton of 4″ wide mdf planks left over from my daughter’s room board and batten, so I used those, then just added a 1/2″x1″ piece of wood on the top to finish it off and create a cute little shelf. I glued both of these peices with liquid nails as well before nailing them to the wall. They aren’t going anywhere.
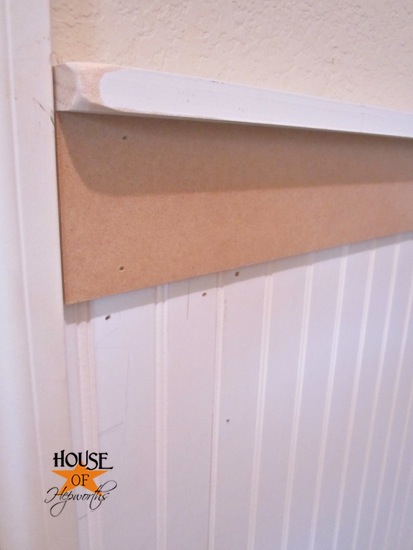
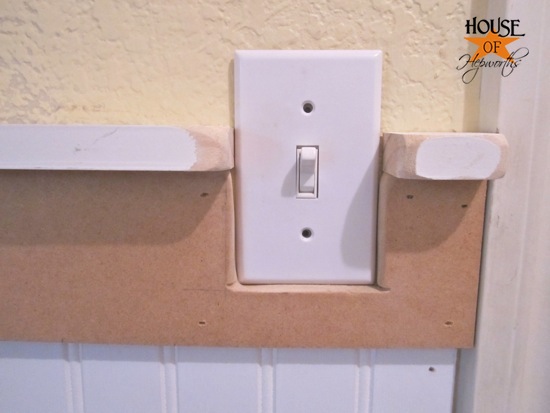
When I came across the light switch I just cut the mdf to go completely around it. Once it’s all puttied and painted I think it will look pretty darn good.
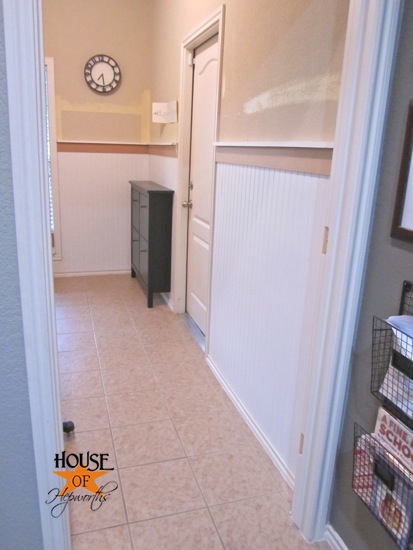
So here we are. All the board and batten is now hung and the topper is in place. It’s time to now start the tedious process of puttying up all the nail holes, caulking everything, and painting.
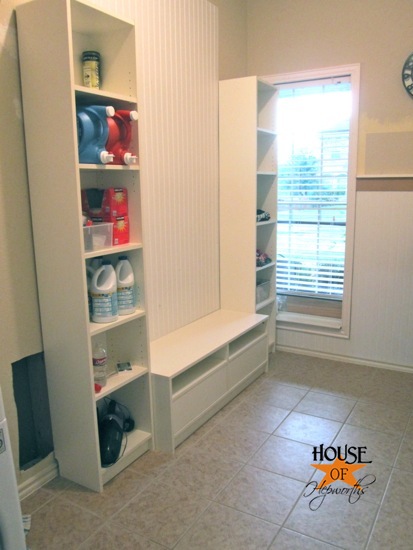
And here are 3 out of 4 of the ikea pieces in place (but not yet permanently attached to the wall). I {obviously} need to finish the board and batten to the left of the shelf as well.
Just as soon as I can get the room painted and gussied up, and once the claw hand recovers from said painting, puttying, and caulking, I will show you the next phase. Hopefully tomorrow, but it might be Wednesday.
I am so excited to get this room functional! I am already loving having somewhere to actually SIT when putting on shoes. I can only imagine how wonderful it will be to have hooks on the wall for backpacks too.
Here’s my supply list in case you want to recreate any of this:
ikea Benno entertainment center
ikea Hemnes shoe organizer (4 drawer one)
4 sheets of beadboard
liquid nails
caulk


You are awesome! Can’t wait to see the rest!
Love it!!!
Aaaack! It looks so good! Way to go!
I’ll be doing mine in a year (hopefully right? ) so thank you for paving the way! : )
Looks really great! Does the MDF overlap the beadboard, or does it just sit on top?
man you need to come to my house, I could so use your help, I am proud of myself when I hang a picture!
So great!!!! You are giving me great ideas….my laundry room is a disaster. Beadboard always reminds of the greatest powder room I saw years ago while we were house hunting. They’d installed beadboard all around, about 4 feet up, with a shelf topper, and then in the space left up to the ceiling, rather than paint, they put up the cutest blue and yellow wallpaper – it was almost a toile pattern, but a more modern version. I have never forgotten that bathroom!
That is looking so great! I love bed board. And, that IKEA mudroom configuration is awesome. Can’t wait to see how it turns out. You’re so handy!
This is FANTASTIC!
SUPER!!! you are a powerhouse of awesome, Allison … that is just fantastic!
Looks great! Thanks for the tips We are going to be installing beadboard in our Nook Under The Stairs this weekend, so this post came at the perfect time!
Oh my gosh Alison! I think we share one brain. I am the blogger with the mudroom built ins, AND I put beadboard in my laundry room: http://www.themoney-pit.com/2011/09/laundry-room-before-and-after.html AND I used that same topper treatment on the board and batten in my girls’ room: http://www.themoney-pit.com/2011/08/girls-room-board-and-batten.html Great minds!!!!
I’m considering adding beadboard to a powder room and hall way…could you take a close up shot of the beadboard sitting on top of your existing baseboards. I don’t want to have to remove mine, but I’d like to see how yours looks. And, will you caulk where the bottom of the beadboard meets the top of the baseboard? Thanks!