(I was one of the bloggers selected by True Value to work on the DIY Squad. I have been compensated for my time commitment to the program as well as writing about my experience. I have also been compensated for the materials needed for my DIY project. However, my opinions are entirely my own and I have not been paid to publish positive comments.)
My daughter LOVES to draw and is very crafty. We have artwork all over our fridge and taped to the walls. I made her a magnetic frame for her to display all her artwork, photos, notes, and cards. It looks a lot classier on a magnetic frame instead of taped to the wall!
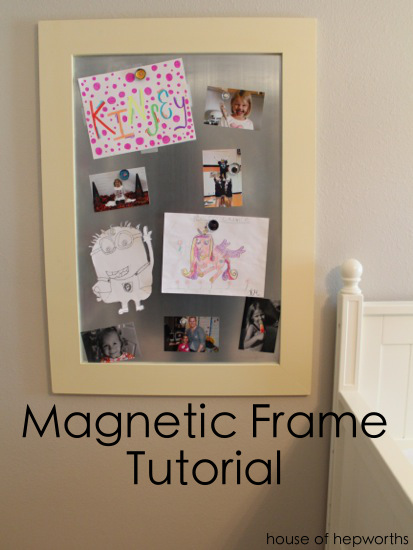
The frame is quite large. I wanted her to have enough space to display LOTS of artwork, not just a picture or two. Now she has plenty of room to expand her collection.
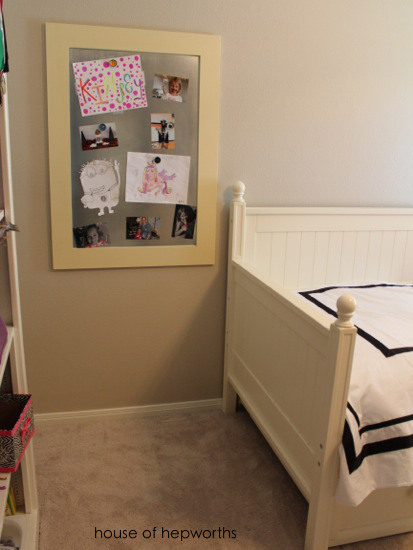
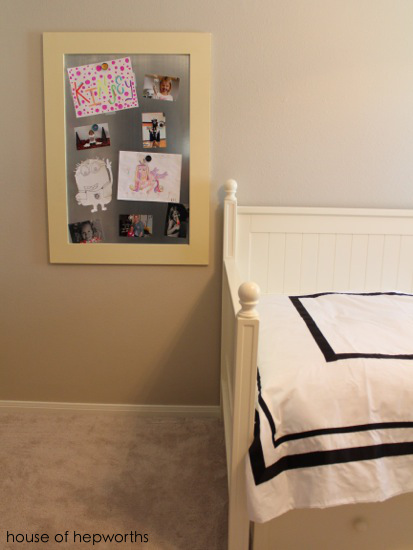
I couldn’t help but pull out some of my favorite old photos of her. Gah, she was just the most adorable little girl. Now she is 10! Time flies.
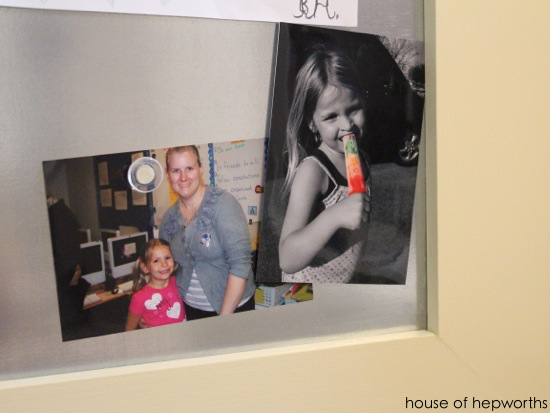
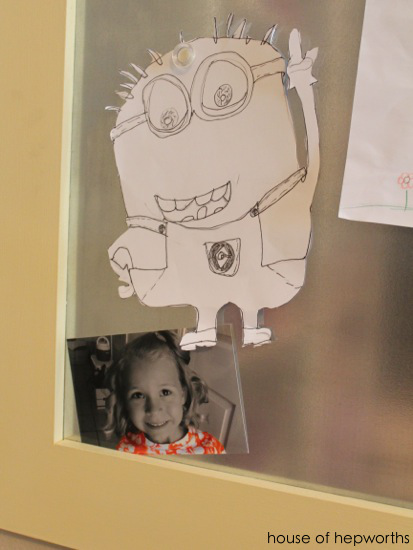
Here’s how to make your very own Magnetic Frame. I wanted something simple that I could make in a day. I started by purchasing a piece of magnetic sheet metal from True Value Hardware.
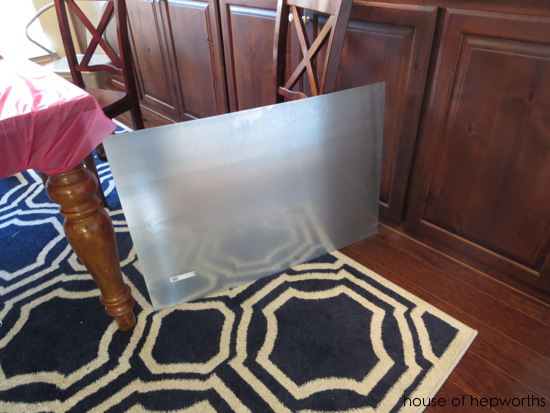
For the frame I used planks of MDF. These are 4″ wide that I had leftover from a previous project. Using the sheet metal as a guide, I cut the MDF with mitered edges, glued them together with wood glue, and then added some stapes on the seams on the back for added support. I let this dry overnight.
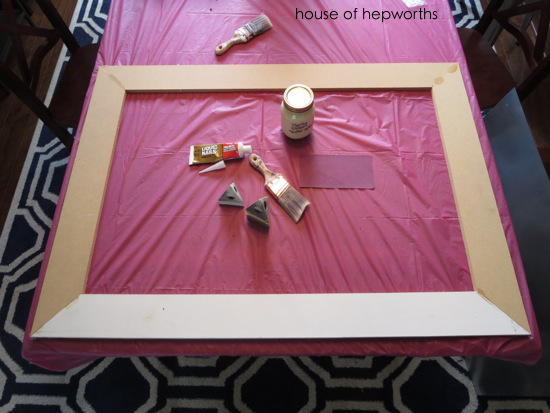
Once dry I lightly sanded the seams and all the edges.
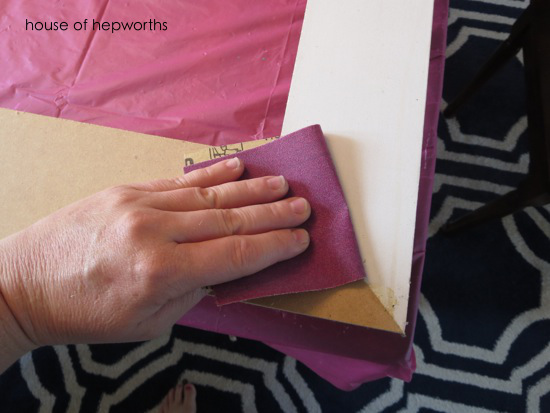
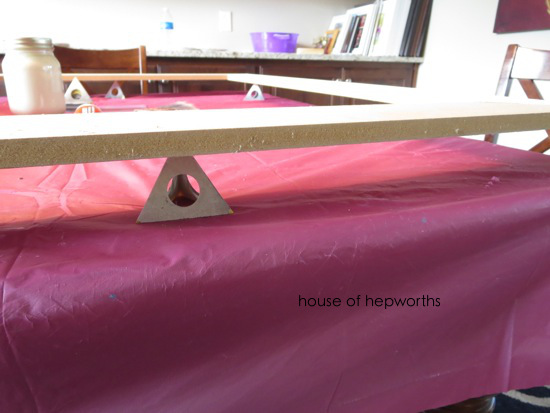
I used some Painters Pyramids to support the frame while I sanded and painted it. These things are great and as you can see by how colorful they are, I use them frequently.
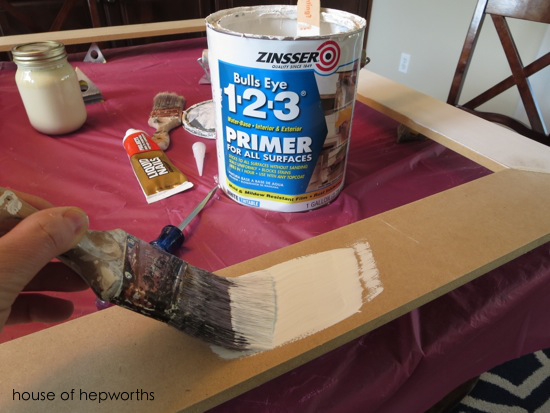
Once my frame was sanded, I added a coat of primer. MDF guzzles paint so it’s always a good idea to prime first. My favorite is Zinsser Bulls-Eye 1-2-3 Primer.
I let it sit for a few hours to completely dry before painting it. I used a leftover color – here is a similar one called Lemon Kiss at True Value. You can see in the picture below that I like to store extra touch-up paint in smaller glass jars. Much easier to use for small projects than a big metal paint can.
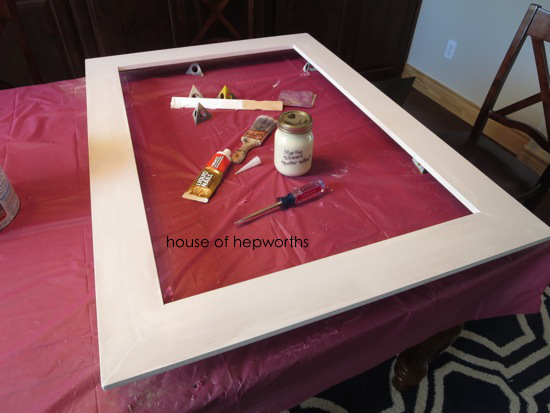
When the frame was dry I gave it a once-over with a can of satin clear top coat spray paint. Here is the exact type of top coat I like.
The sheet metal I purchased at True Value had a thin coating on it that I had to buff off with glass cleaner.
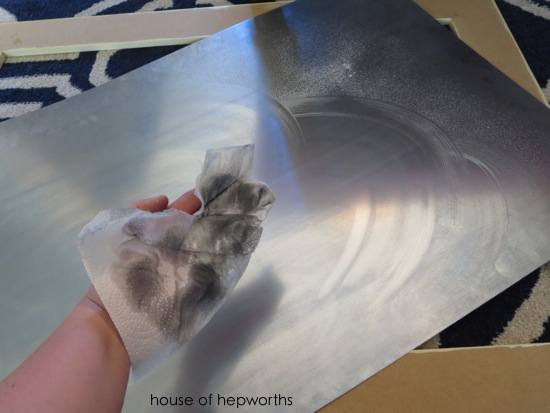
Once the frame was totally dry and the sheet metal was clean it was time to attach it to the frame. I did this using Liquid Nails.
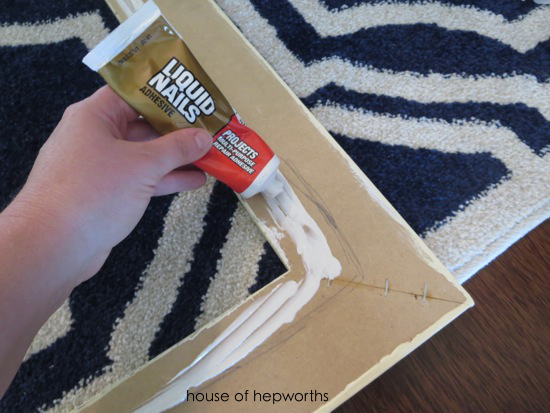
I coated the inside perimeter of the frame with the Liquid Nails and then placed the sheet metal on top of the adhesive. I also set a few heavy paint cans on the corners of the frame to create a tight bond between the liquid nails and the frame.
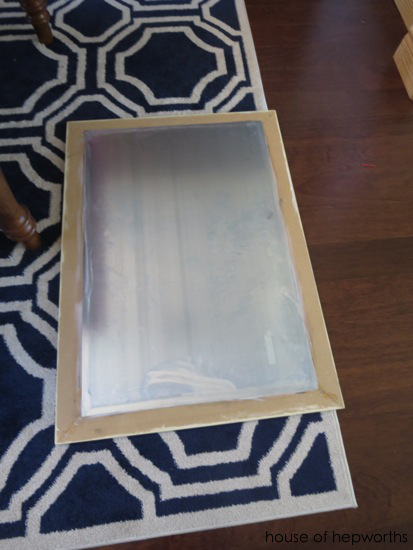
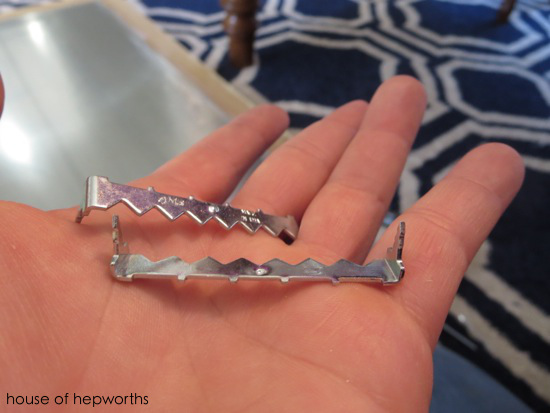
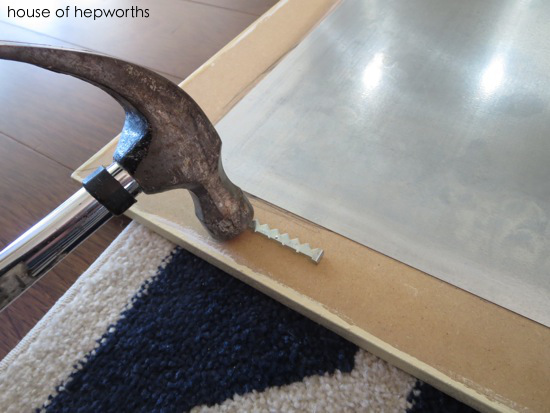
From there it’s time to add the picture hangers. I love these picture hangers that you don’t need little tiny nails to attach. You simply hammer the picture hanger directly into the frame.
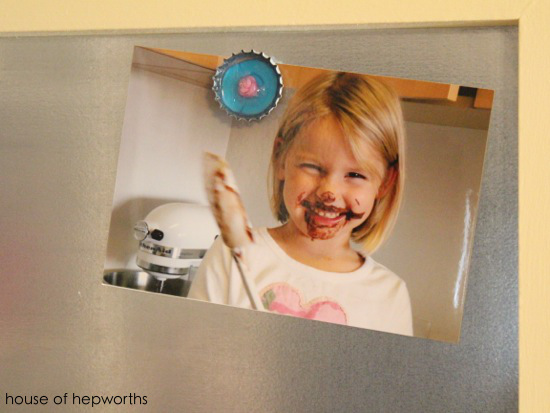
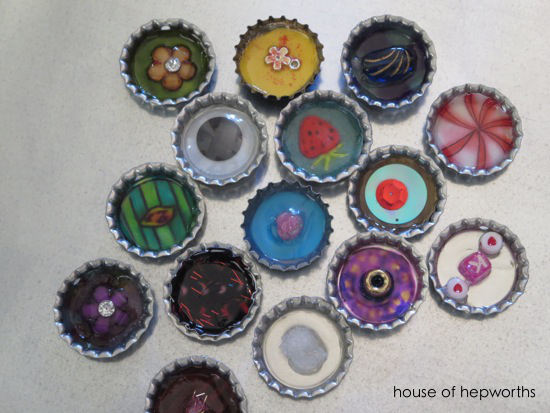
While I was making the frame Kinsey was busy making bottle cap magnets with a friend. She used leftover bottle caps, glued a magnet to the top of the bottle cap, flipped it over, decorated the inside of each cap, then gave it a good coating of mod podge dimensional magic. Aren’t they so adorable?!
From there it was just a matter of hanging it in her room and adding her creations!

I love all the little bottle cap magnets she made. It adds a nice finishing touch.

How do you display your kids artwork in your house? Artwork has a way of taking over the entire house. Have fun making your very own Magnetic Frame!
Check out all my other True Value projects here!
I love it!
Just wanted to let you know that you were one of the frist two blogs I ever started following and I have loved the journey. I know life happens but still hoping to see more of you. Blessings to you and yours this holiday season.
I’m not sure what is happening. But I hope to see you back soon. I’ve always enjoyed your blog so much. Great ideas and always a hoot reading about your projects and sometimes missteps. Have a great holiday and all the best to you and yours.
Are you hanging up your blogging towel?
Hey Pam! Thanks for checking in on me. I took an unintentional break, but I am back now. Things got too crazy and I just needed a break. I am currently drafting a post so expect to see it soon!