Hey guys! Today I’m sharing a quick and easy tutorial from our last house, Kinsey’s bedroom specifically, that can easily be applied to any reach-in closet. The tutorial of the day – how to build your own closet built-ins using a Billy bookcase from Ikea, a few pieces of MDF, several 1x2s, and a clothing rod.
I’ve also got a great tutorial for installing shelving in a closet here.
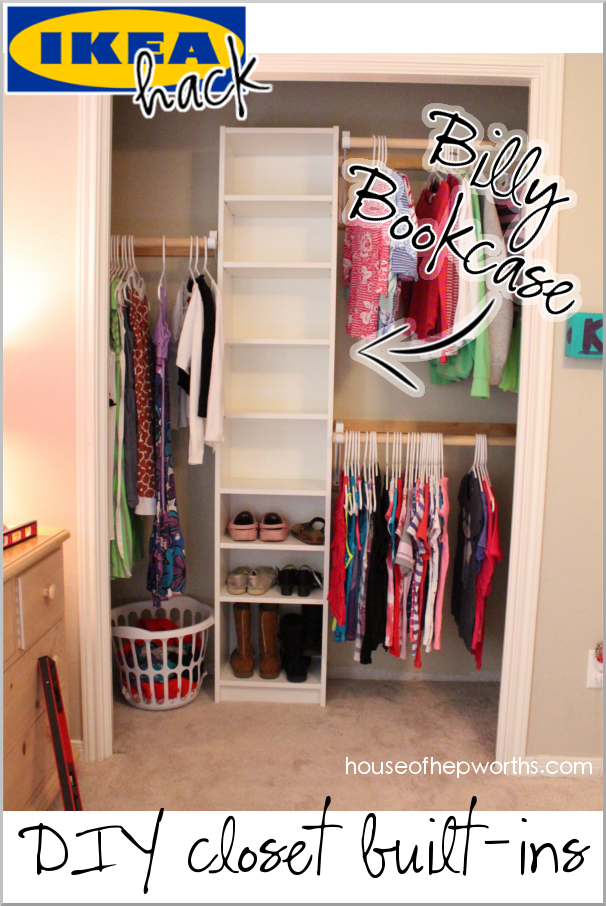
To complete this project you will need (affiliate links):
- Billy bookcase
- extra Billy shelves for the bookcase
- 1/2″x11″x{length you need to fit in your closet} MDF or shelving material
- wooden clothes rod
- 1x2s
- 1x4s
- shelf and rod bracket (x3)
- pole socket (x3)
- nail gun (I prefer Ryobi)
- wood filler to fill nail holes
- primer & paint
Here’s the before picture. Basically, a completely empty closet. The closet originally had one long clothing rod and a shelf on top.
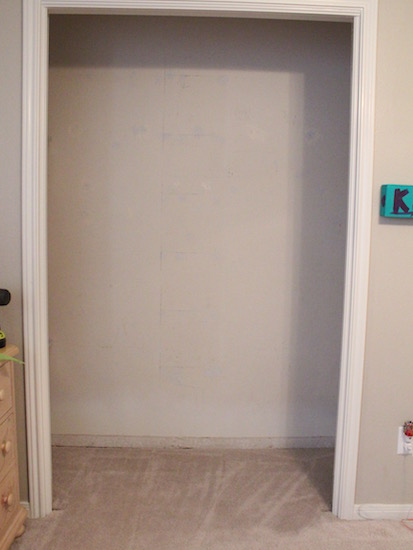
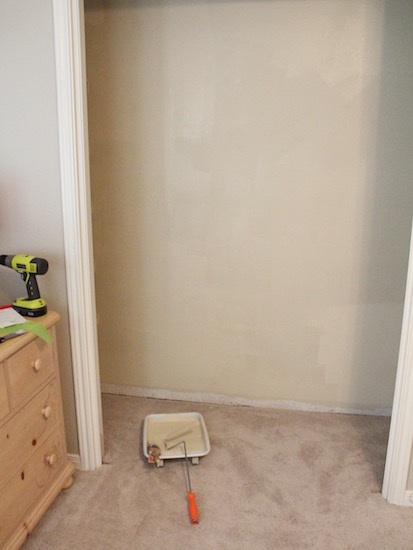
The very first thing I did before I started any built-ins was to paint the closet (Stucco by Sherwin Williams). Now I have a fresh clean surface to work with.
Building the closet is really easy. Assemble your Billy bookcase per the directions with the shelf. For this closet I purchased a tall narrow one (15 3/4x11x79 1/2″). Place the shelf exactly where you want it in the closet and anchor it to the wall using the enclosed anchor.
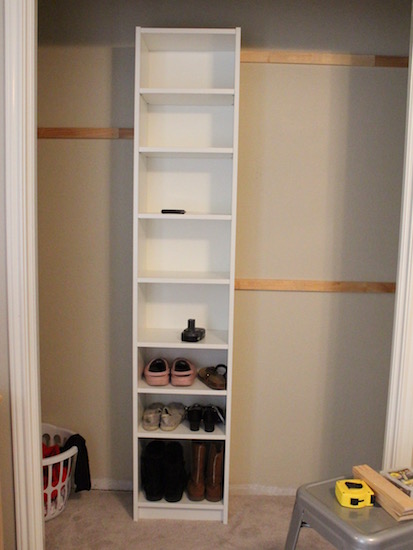
Now take your 1x2s and cut them the length of the back wall from the wall to the edge of the shelf. This will be the height of your clothing rod as well as the back support for the shelf on top of the rod. Here’s a great image for the standard height to hang your clothing rod.
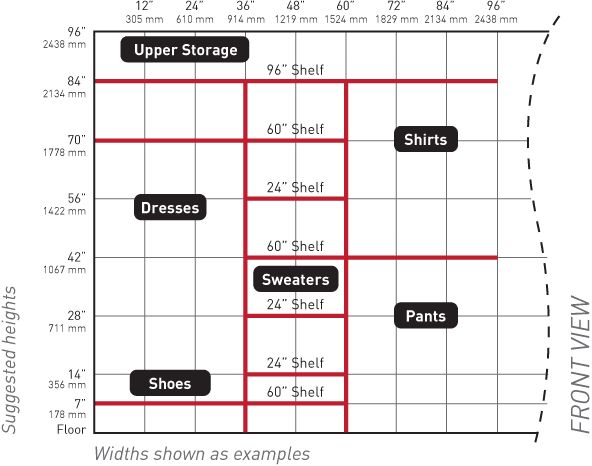
I hung my rods on the right at 42″ and 84″, and the rod on the left a little lower at about 65″.
You will also need 1x2s vertical below your horizontal piece so that you can attach your rod bracket to it. Each vertical 1×2 I cut just a bit longer than my bracket.
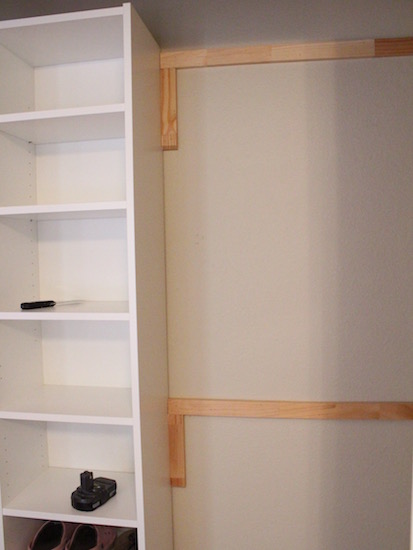
Next step, attach your shelf and rod bracket to the vertical 1x2s. For the inside of the closet against the wall, I attached a 1×4 horizontally to act as a support for the shelf on top. It also supports the pole socket.
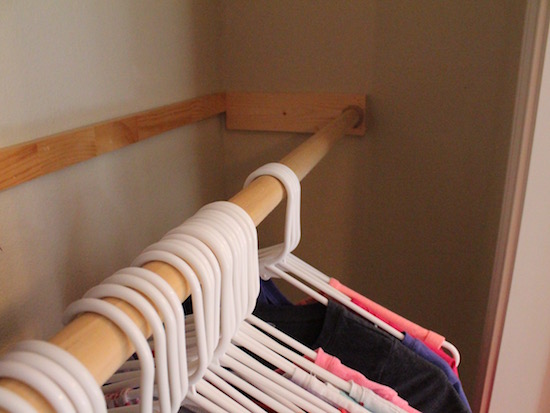

Once my brackets and sockets were attached, I measured, cut the wooden clothing rods to length, and installed them. To keep them from slipping out of the brackets I screwed each rod to the underside of the rod bracket using a short wood screw.
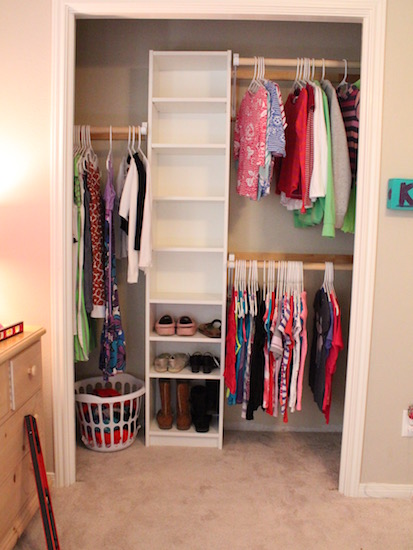
From there I cut my 1/2″x11″ MDF sheets to the correct length, added them to the top of each clothing section, and nailed them into place using my Ryobi nail gun.
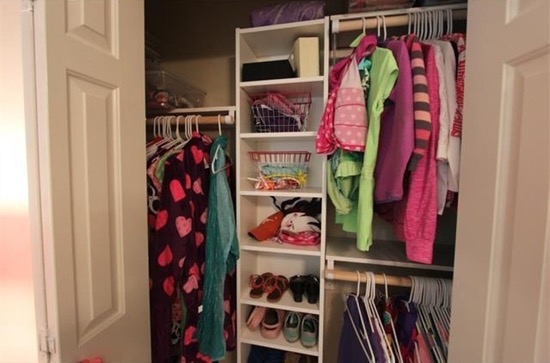
A quick coat of primer and white paint on all the exposed wood, and you now have professional built-ins that you completed in only a couple hours, all while saving hundreds of dollars!
I prefer using a Billy bookcase instead of an Expedit or Kallax because of the ability to adjust the shelves to any height. I also like that you can purchase additional shelves for the Billy to create even more storage room.

See all my other IKEA hacks here!

Instagram || Facebook || Pinterest || Youtube
This post contains affiliate links
Thanks for reading! Have a wonderful week!

Do you have a picture of the brackets? What kind are they? How are they attached?
I just bought some basic $2 brackets from Home Depot. I’ll try to find a link and post it.