My daughter LOVES to bake. I wouldn’t be surprised if someday she opens up her own bakery. She bakes yummy treats almost daily (which makes being low-carb even harder!). She is an amazing baker! Did I mention that she’s only 13?
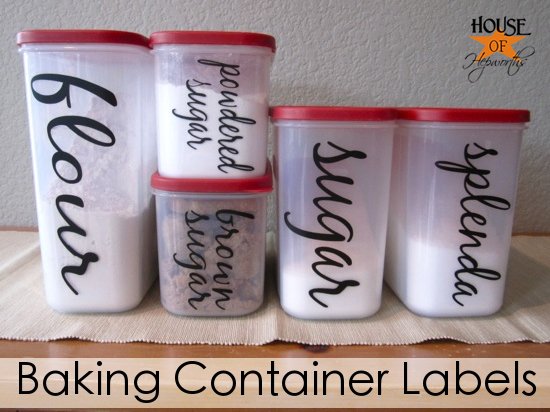
Because of all her daily baking, I wanted a functional AND pretty way to store all the baking goods. I found these awesome Rubbermaid containers on amazon and created some pretty labels using my Silhouette. Once I get more organized I plan on making these and selling them for those of you who don’t have a vinyl cutter, but for now I’m just sharing the tutorial. Here’s a link to purchase your own Silhouette Cameo.
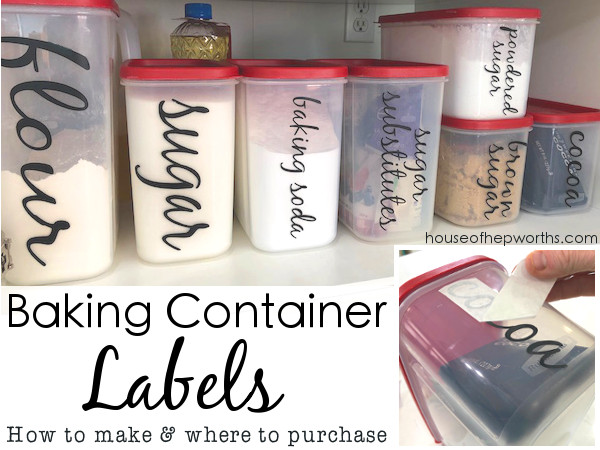
I originally came up with this idea a few years ago, but recently updated the containers to include even more labels.
Here’s how to make your very own baking labels for your baking containers.
Start by creating your labels. I’ll dive into how to create these labels at the end of this post, so scroll to the end to see the Silhouette tutorial.
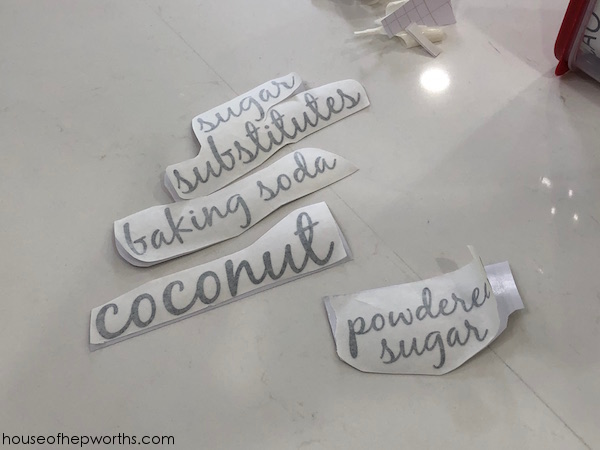
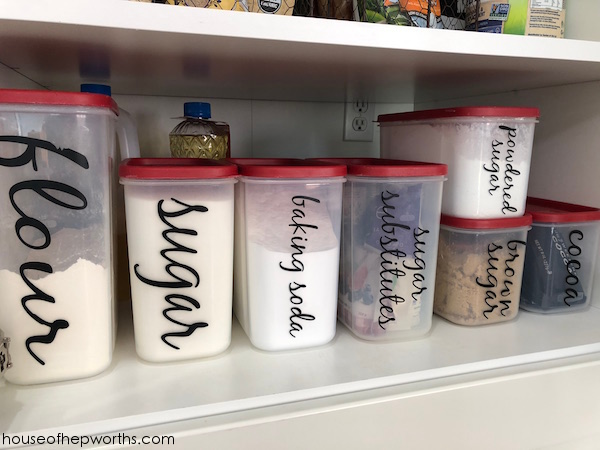
Once your labels are printed, simply line them up in the center of each container and stick them on.
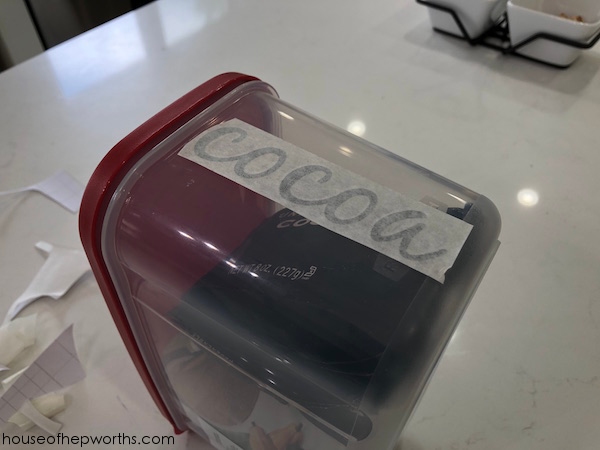
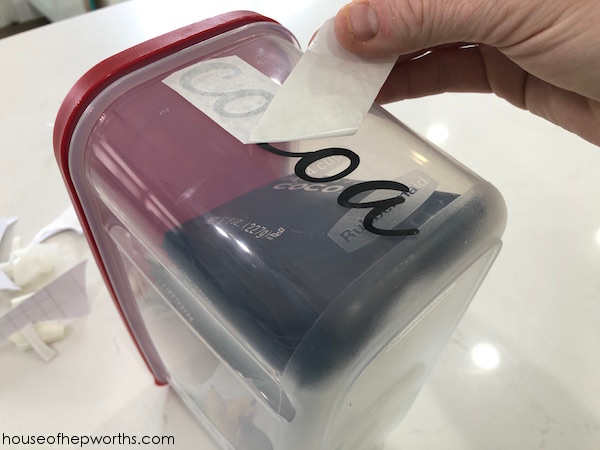
Your transfer paper should peel right up. Sometimes the vinyl wants to stay on the transfer paper so move slowly and make sure your vinyl stays on the container.
Now add your baking supplies to your containers! It’s really that simple.
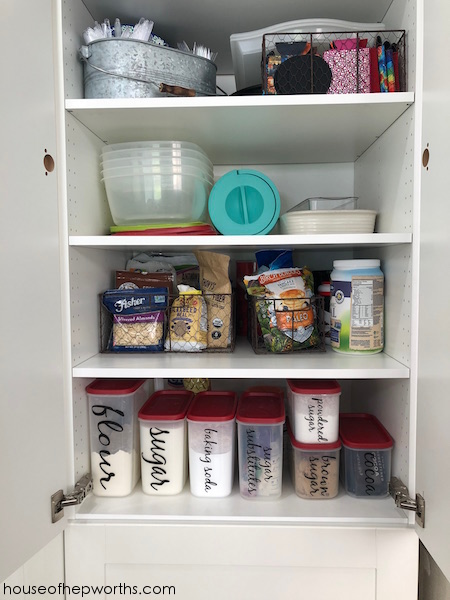
These are totally safe for hand-washing. I would avoid the dishwasher because I’m sure the vinyl would not survive that, but I’ve washed the containers by hand several times over the years and the vinyl stays put.
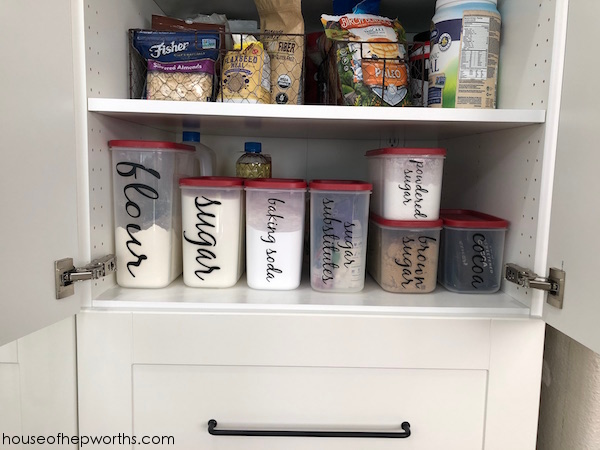
These containers and vinyl labels are such a simple upgrade with such a huge bang for your buck. They make your pantry pretty, but most importantly, they make your pantry and your baking time more functional.
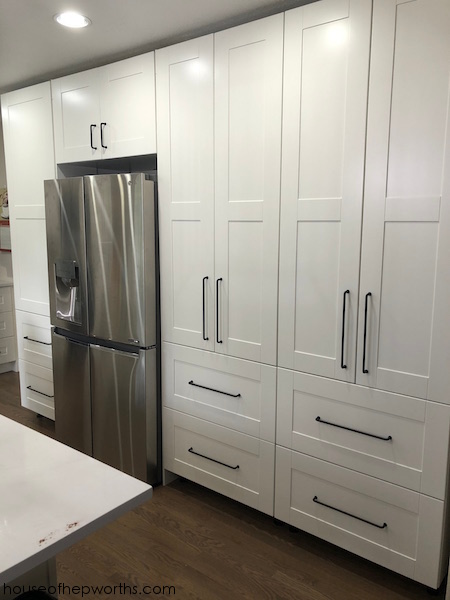
When I’m done with my containers I line them up inside my pantry. Here’s my almost finished pantry. We are in the middle of an IKEA kitchen renovation. You can read all about my awesome new IKEA pantries here.
I honestly can’t get over how pretty these containers look in our pantry. And using them is even easier. No more messy bags and spoiled flour. Also, measuring cups fit right inside them so it’s very easy to scoop exactly what you need.

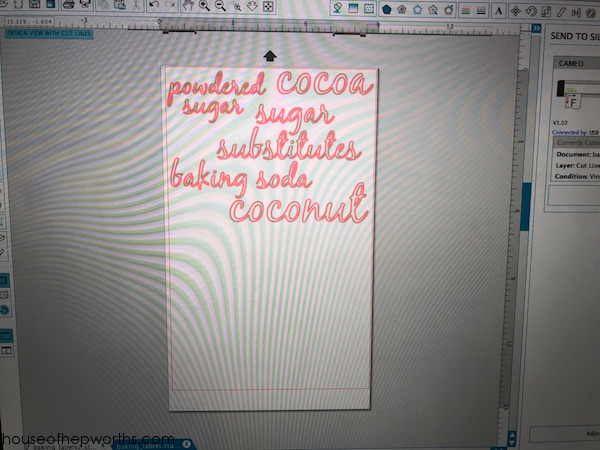
And now, for the Silhouette tutorial! Start by typing your labels in the Silhouette software.
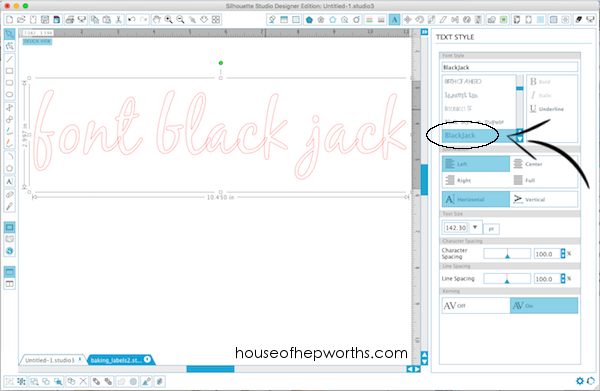
The font I used is called BlackJack. I found it here. In order to get BlackJack to print properly and have each letter connect, you will need to weld the font together. Start by selecting BlackJack from your font menu:
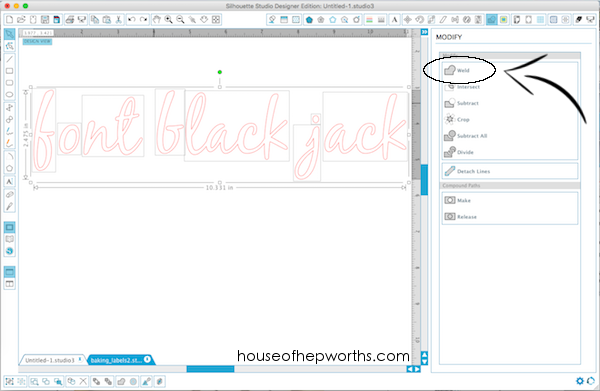
Go to “Modify” menu and select “Weld”.
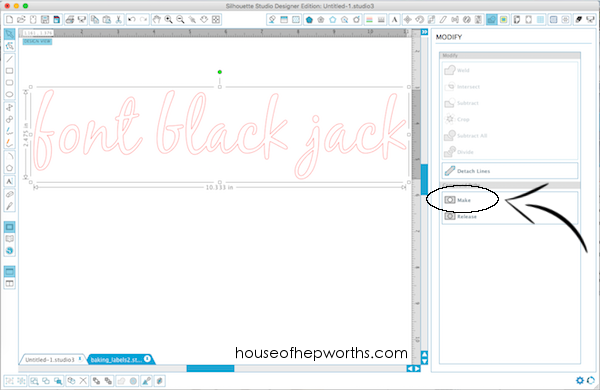
From the same menu, go down to the bottom and select “make”. Now your BlackJack font is ready for printing.
Once you have your labels ready to go, simply print them out!
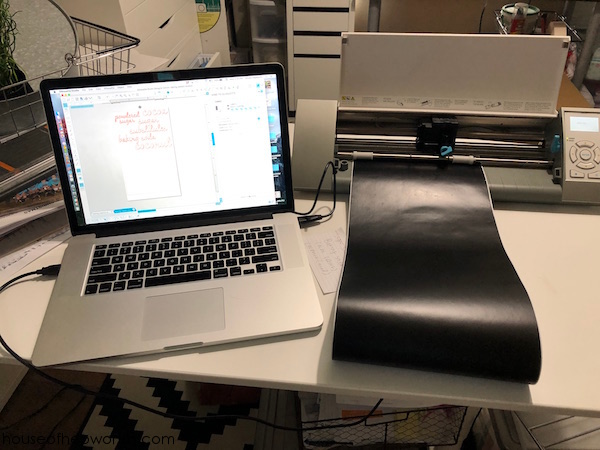
So easy to create your very own labels and upgrade your pantry. All your friends will be begging for you to make them a set!

See my original post about creating your own Baking Container labels:
BlackJack Font: https://www.fontsquirrel.com/fonts/BlackJack
Purchase Storage Containers and Silhouette
More Vinyl craft projects:
- Custom Band Decals
- M&M costumes
- Buddy the Elf Christmas Quote
- Heat Transfer custom decal t-shirts and bags – drum set, unicorns, keyboard
- Custom DISNEY personalized water bottles
- How I Met Your Mother Start Being Awesome barnwood sign
- Rhinestone Butterfly bag with custom polkadot ribbon handles
- Personalized Caboodles; an 80’s throwback!
- Custom Monogrammed hand-painted Soap Pump makeover
- Custom Monogrammed and hand-painted Knife block

This post contains amazon affiliate links
Thanks for reading! Have a wonderful week!

Leave a Reply